(Last updated on January 9th, 2023)
Procreate is one of the top Apple apps for painting if you’ve got an iPad ever since it debuted in 2011. It can be used to paint just like in Photoshop but with more iPad support. To paint like a pro, it helps to know how to blend in the program. In this article, we’ll go over the various blending options you can pull off in Procreate to make your paintings come to life.
Can You Blend On Procreate?
If you’ve ever painted with physical media, you know how important it is to blend paints. If you’ve ever watched Bob Ross’s painting program, the blending of colors can make a real difference in your artwork. The perfect blend can create a happy little tree without too much work.
Procreate doesn’t exactly offer a simple blending tool. That being said, there are some handy methods you can use with a variety of tools. Here are some of the best ways to blend in Procreate.
Procreate Blending Method #1: Smudge Tool

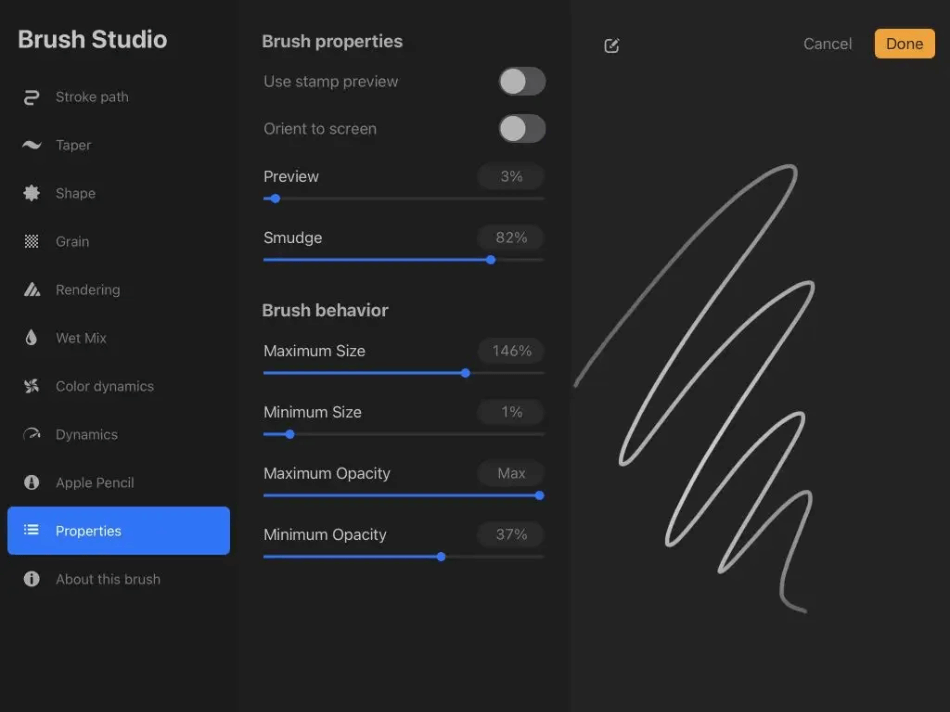
The smudge tool is one of the easiest methods for creating a blending effect quickly. This tool can be found by tapping the top-right hand icon. You can also use this tool with your current brush by tapping and holding in the canvas area or changing the settings in the brush selection area.
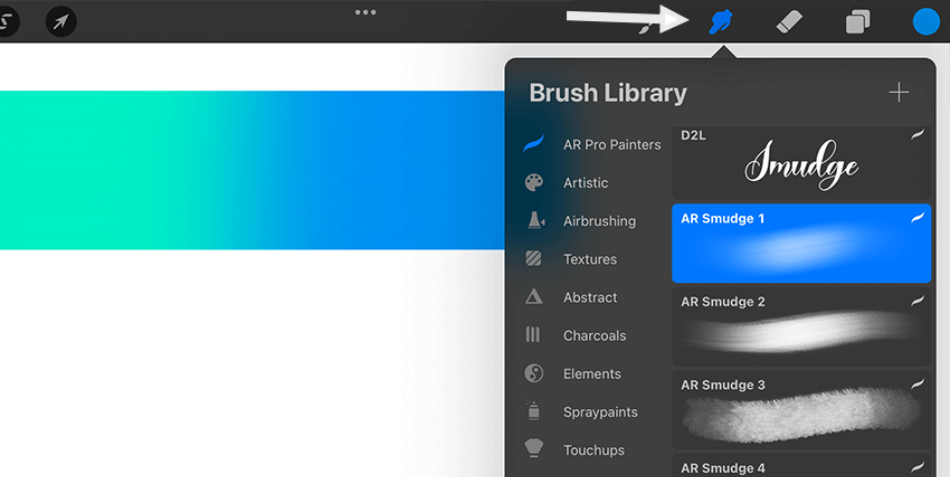
Both ways of using the smudge tool should work just fine. For preference, however, using it with your current brush is the easiest and most effective way. Most users find this way works faster and you might agree after trying this method for yourself.
Here’s how to use the smudge tool effectively for blending.
- After drawings with your two contrasting colors together, turn on the Alpha Lock. This function will ensure you’re only smudging the colors for the layer and not anything else on the canvas.
- Now you can select the Smudge tool and start smudging. Start smudging from the darker color if you want more of a shadow or the brighter color if you like an even mix.
If you’ve chosen colors that are more analogous than complimentary, you should end up with a strong blend. You may have to do some color experimenting to find which one smudges together best.
Procreate Blending Method #2: Gaussian Blur
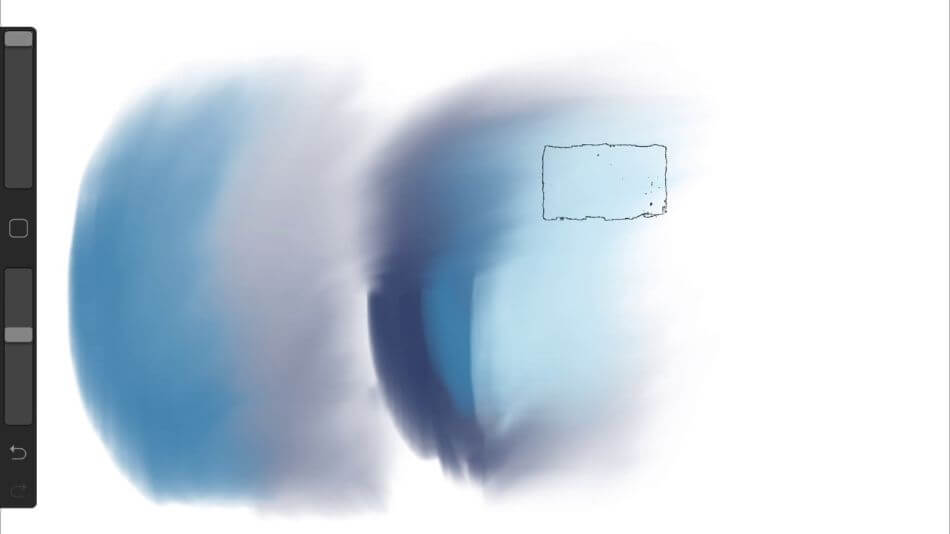
The Gaussian blur tool can be handy for more understated situations of blending. This tool can blur parts of your canvas but only to specific areas you specify. This makes gaussian blurs easier to implement on specific brushed areas or separated layers; it all depends on which way works best for your painting.
Here’s a great way to use the Gaussian blur tool for blending:
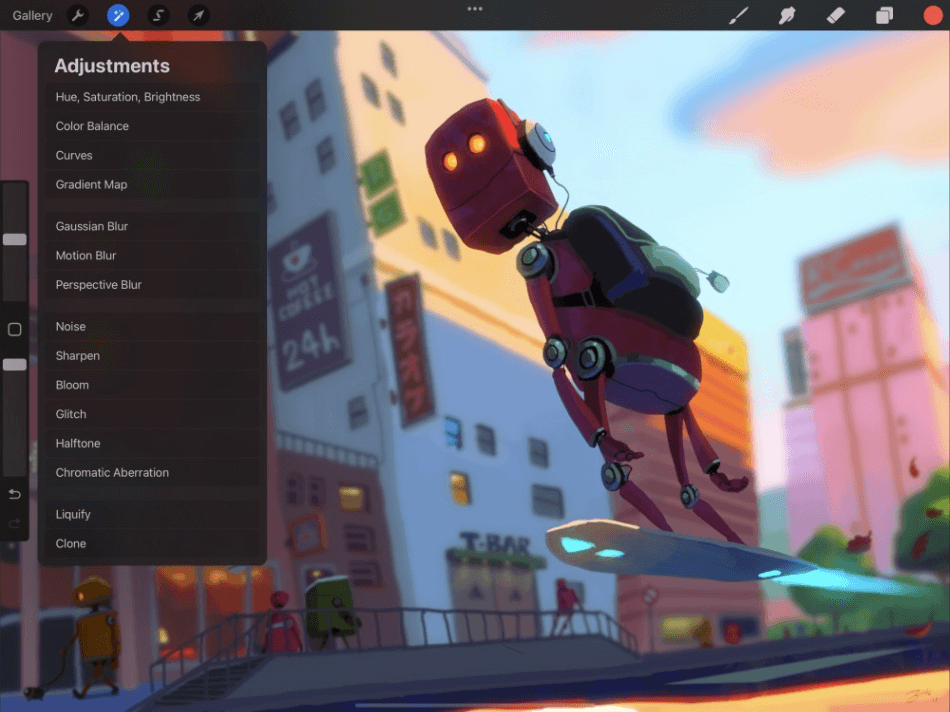
- Open the Adjustments window by tapping the magic wand icon in the app’s top-left corner.
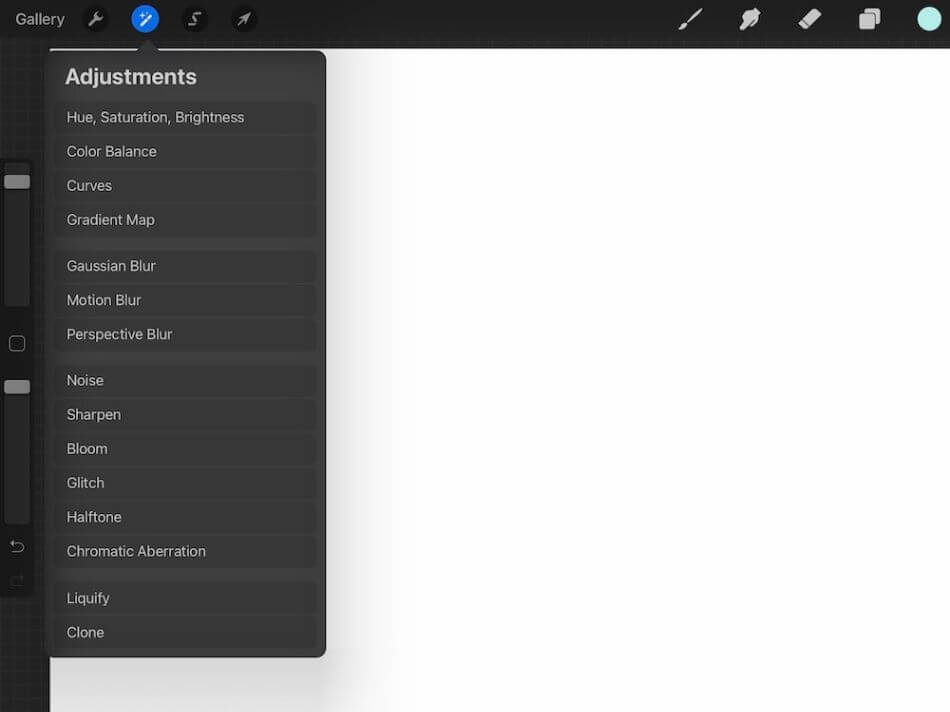
- In the Adjustments submenu, find Gaussian blur. If you plan on blurring an entire layer, select Layer under Gaussian blur, and choose which layer to blur. If you plan on drawing the blur onto your canvas, choose Pencil instead.
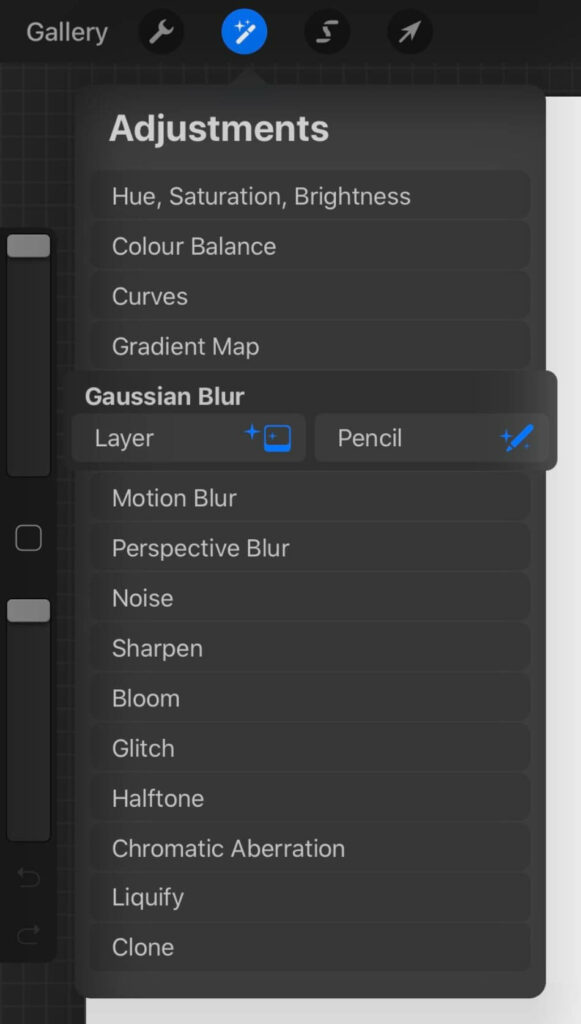
- After applying the blur, you can change how present it is by swiping up or down on the screen. The higher you swipe up, the more noticeable the blur will become.
The gaussian blur technique can be helpful for creating subtle bleeding between colors. Combined colors can have a softer edge with the blur applied. Use this tool if you want a mild blend that seamlessly transitions from one color to another.
There are other blurs that you can try out as well. You can try out the Motion blur or Perspective blur to see how they work with your design. In most cases, the Gaussian blur is the best blur option but feel free to try out the other blurs for yourself.
Read more:
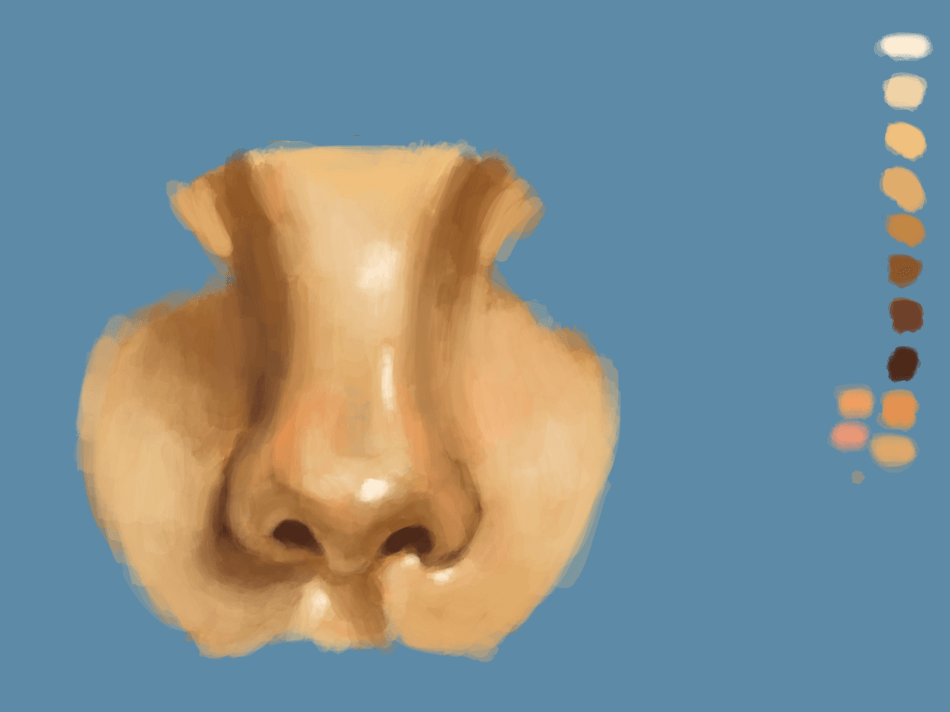
Procreate Blending Method #3: Blending with Brushes
For the most control over blending, you can create brushes specifically for blending. Unlike the previous methods, you can directly blend your colors with more than just a few options. Using blend brushes is an excellent choice if you want a specific blend with the most control.
Here’s how to use the blending brushes:
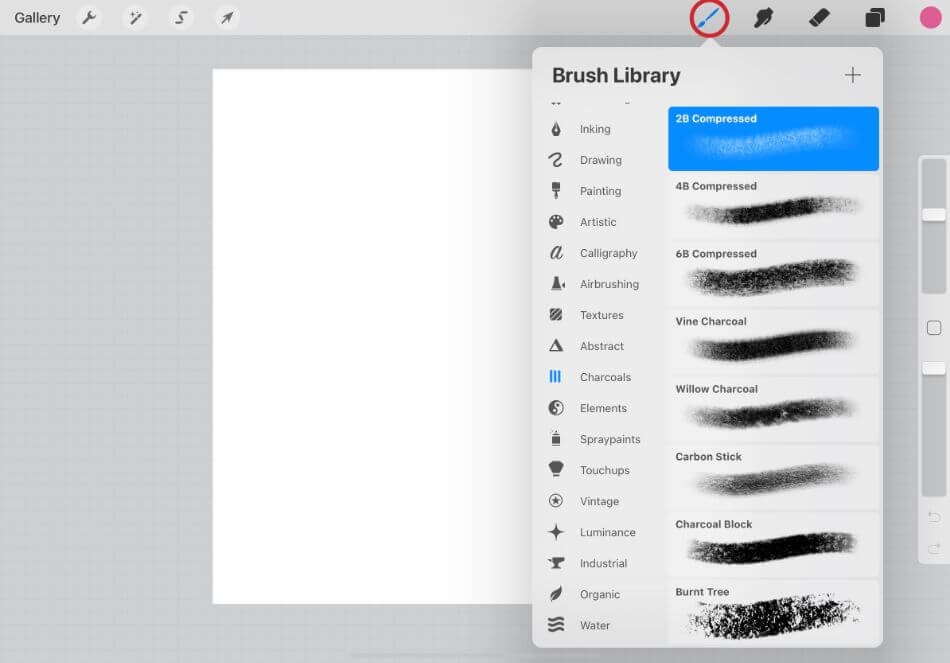
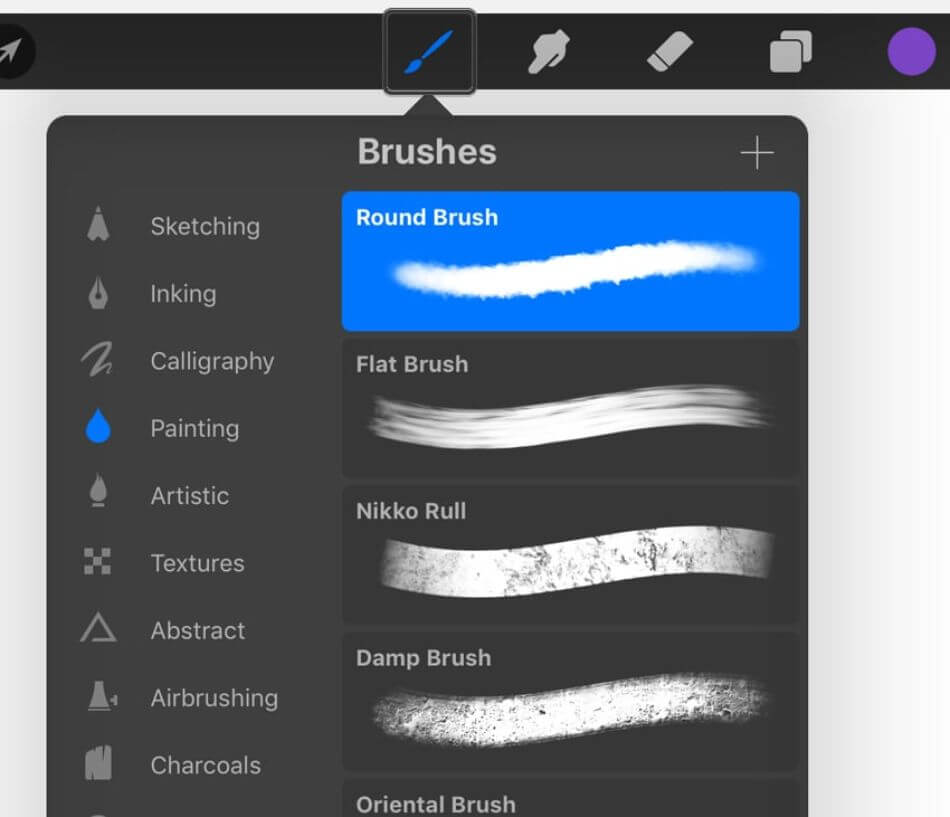
- First, start by choosing a brush in Procreate. You can try any brush but begin with the standard rounded brush. This will give you a good idea of how the blending technique works and how it might work with other brushes.
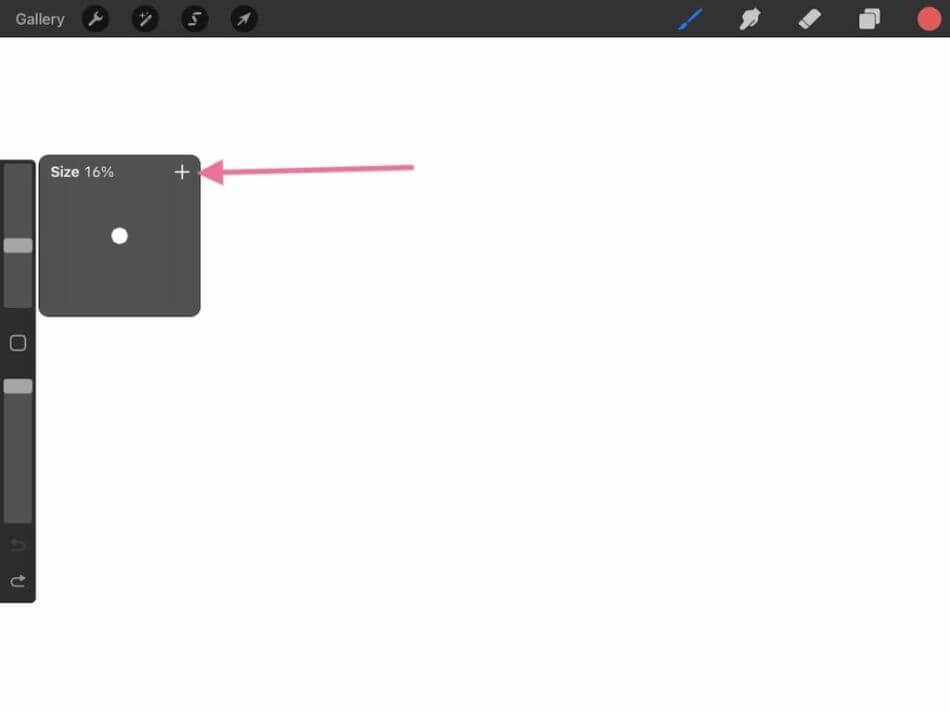
- Next, we’ll turn down the opacity of the brush on the left-hand slider. Drag it down, so it’s relatively low.
- Choose the color you want to blend onto your colored canvas. Start from one color on the canvas and then tap and drag into the other color. You should notice the color blending subtly depending on how you paint.
These are just the basics of blending with brushes. If you play around with the different brush types, sizes, opacities, and colors, there’s so much more you can do. Get creative with these settings to find what types of brushes work well for your paintings.
Tips For Blending in Procreate
The previously mentioned tools for blending work well but can still leave room for errors. You may spend a lot of time trying to find the perfect blend. Here are a few tips to help with blending for better results promptly.
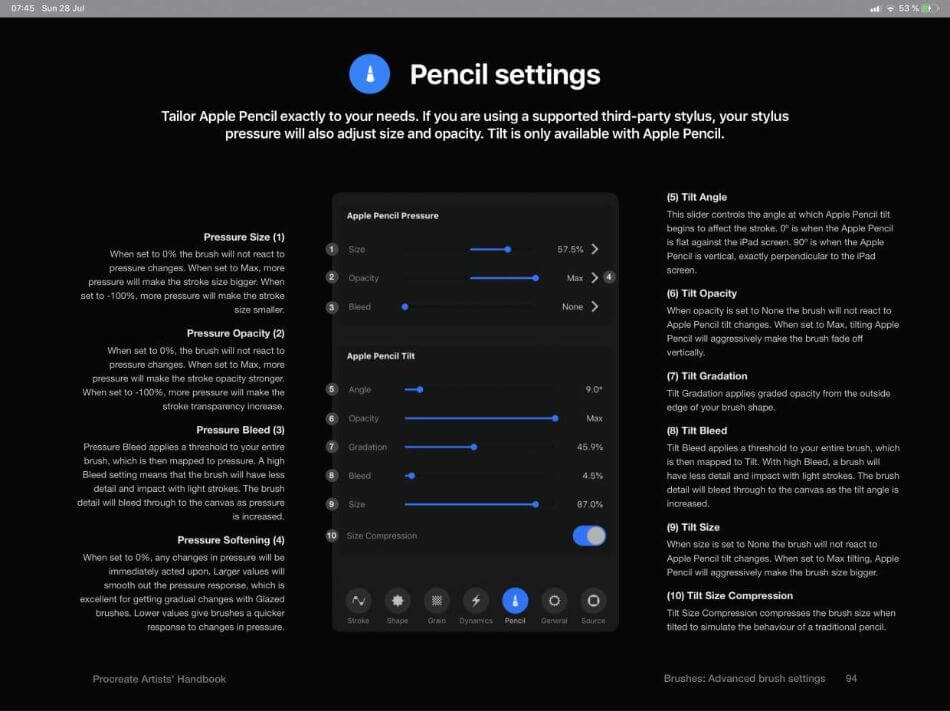
- Focus on Pressure: If you’re using the Apple Pen for Procreate, keep in mind the pressure you place on the pen while painting. If you brush harder, the strokes will be heavier. If you brush gently, the strokes will be lighter and more subtle. The pen pressure can be a major help when trying to get the blend looking just right.
- Brush Types: When going the route of the blur or brush tool technique, keep the brush type in mind. You don’t have to stick with the simple rounded brush and can change the shape to various styles. Airbrushes, for example, would be an excellent choice for creating softer shadows in your blends. The best part is that you can also load custom brushes, giving you far more control over your options for blending.
- Brush Sizes: The size of your brush can also make a difference in how you blend. Smaller brushes can create sharper blend marks, while a bigger brush can build a more significant effect of mesh colors. As with the brush types, you should experiment with sizes to find out which level of brush suits your project best.
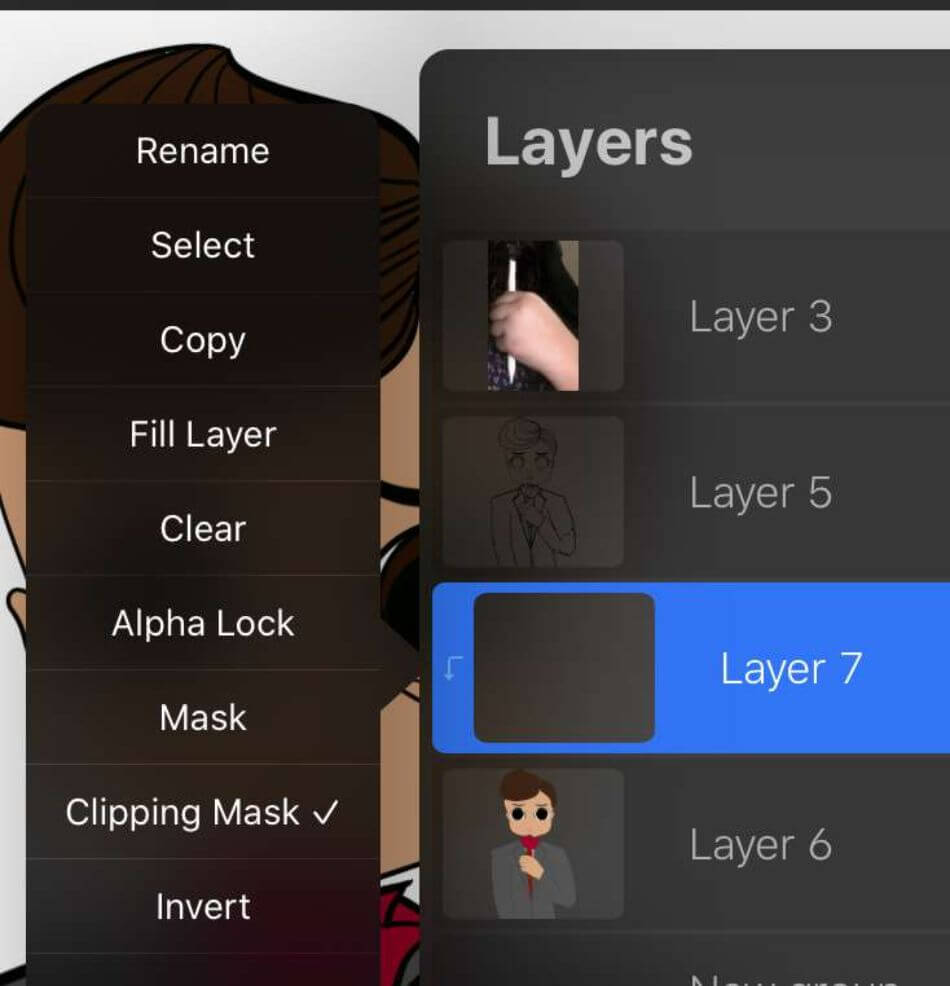
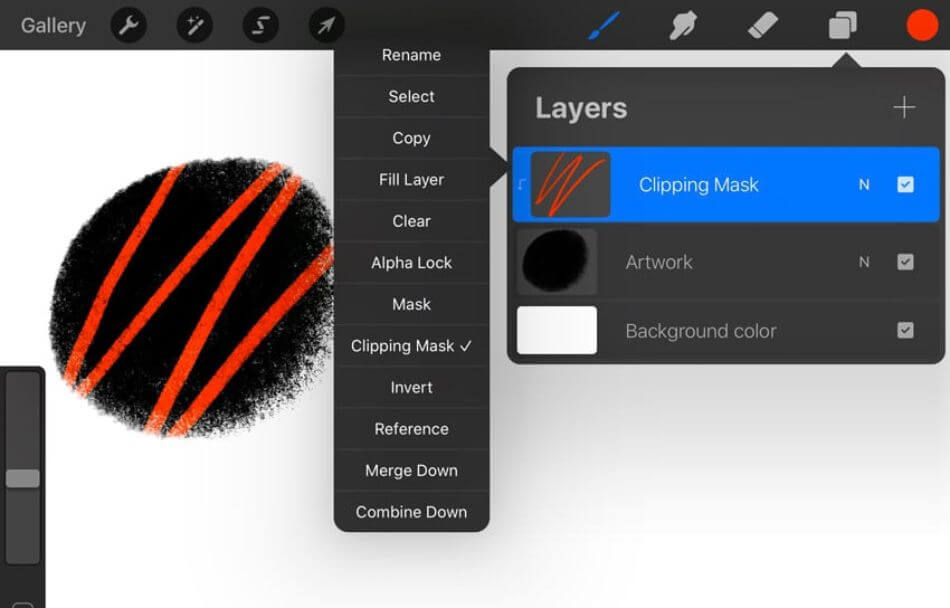
- Clipping Masks: To avoid making mistakes that will take extra time to undo, you should consider using clipping masks. These masks will save your original work on layers. To enable clipping masks, go to the Layers panel and add a new layer on top of the one you’ll be blending. Keep the new layer selected and start your blending work. This will keep your blend confined to a layer you can turn off or remove at any time, preserving your original design.
Frequently Asked Questions
Procreate doesn’t have a blending brush you can select, but you can create one. All you have to do is choose a brush, lower its opacity, choose a blending color, and start drawing on the area you want to be blended with the selected color. Finding just the proper settings and how to paint on your canvas may take some experimentation. It’s worth the wait, as you’ll have the most control over blending with this option.
Procreate features a smudge tool that is ideal for blending.
You create a blending tool with the brushes in Procreate. Select a painting brush, set opacity low, and choose your blending color. You can then use the smudge or gaussian blur tools for blending colors.
No one tool for blending in Procreate is perfect for the job. However, if you want the most control over your blending, you’ll want to use a brush altered for blending. Having a brush will give you the most options for fine-tuning how your colors will blend.
Procreate offers different blur brushes to use on your canvas. The blurs include Gaussian, Motion, and Perspective. If you’re trying to blend colors, a Gaussian blur will work best.
The Gaussian Blur tool can be found in the Adjustment window. In that window, you’ll find the Gaussian Blur option with choices to apply as either a layer or a brush. Choose Layer if you want to blur everything on the layer of your choice, or choose Pencil if you’re going to draw on the blur yourself.

Mark McPherson has been working as a video editor and content writer for over ten years. His background started in animation and video editing before shifting into the realm of web development. He also branched out into content writing for various online publications. Mark is an expert in video editing, content writing, and 2D/3D animation.