(Last updated on February 10th, 2023)
Photoshop has an incredible range of tools that allow you to manipulate images in a near-limitless number of ways. A great toolset to learn as a beginner is the blur tools. These allow you to add blurring effects to different parts of your images for creativity and privacy. In this guide, I will show you how to blur in Photoshop in three different ways!
What Can You Use the Blur Tool for in Photoshop?
You may be wondering why on earth you would want to blur an image in Photoshop. Surely you want your photos and graphics to be crystal clear? For the most part yes! However, as you will see below, blurring is incredibly useful and can be brilliant in the following situations:
- Blurring people’s faces for privacy purposes and data protection.
- Blurring an entire image to create an artistic effect.
- Blurring the area surrounding an image to place focus on it.
For example, let’s say that you have an amazing street photography photo that you want to use, but you didn’t get permission from the people who happen to be in it. You could use the blur tool to block out their faces and protect their privacy. This is something that Google Street View does!
Alternatively, perhaps you simply want to create an artistic image to serve as a background for something else. Blurring the photo could be a great way to minimize distraction, and make sure the emphasis is on the text/graphics on top of the background.
Lastly, blurring is often used in photography to place the emphasis on subjects. Lenses with a large maximum aperture can achieve this naturally but you can do this artificially by using the blur tool in Photoshop. There are more uses, but these are the main three and the ones you will learn below.
How to Blur an Entire Image in Photoshop
This is a handy trick to know and it can be useful. Perhaps you want to blur an image for a desktop wallpaper, or for a background of a graphic. The process is so simple and literally takes a few clicks as shown below:
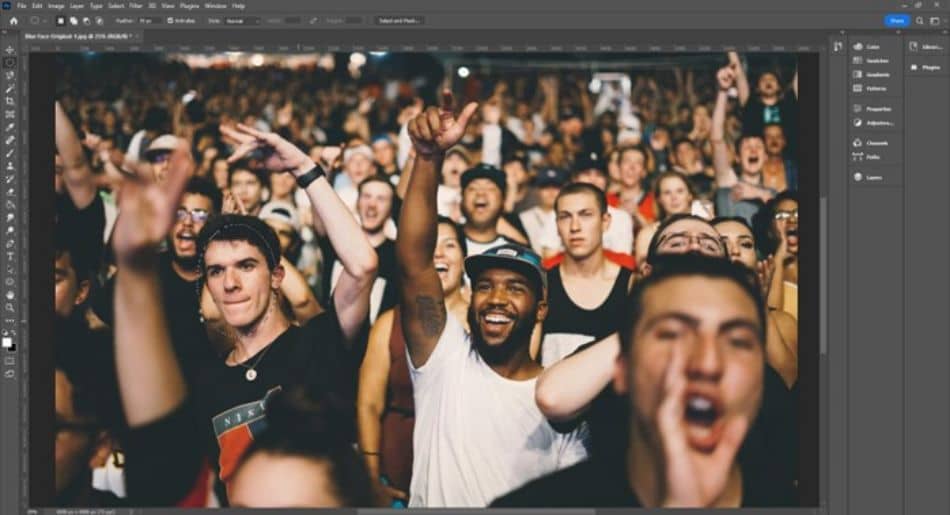
- Open your image in Photoshop
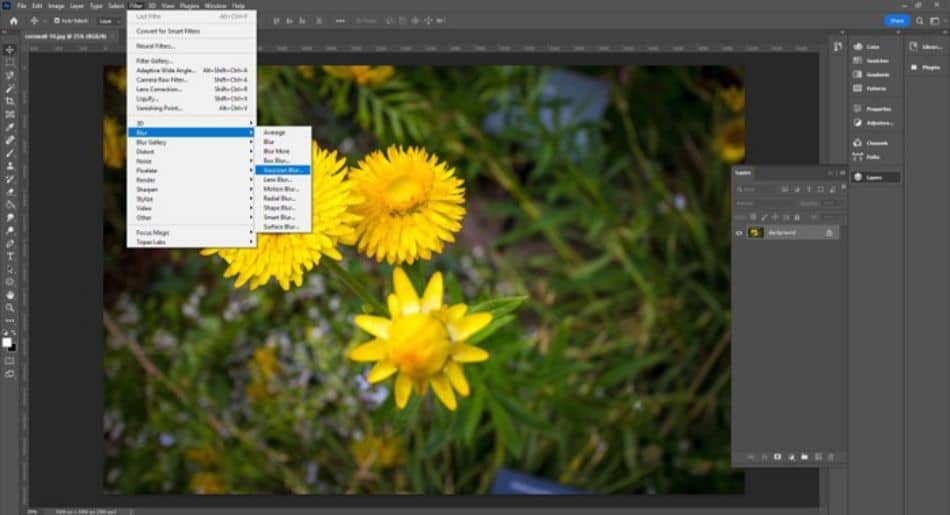
- Go to the Filter main menu
- Navigate to the Blur sub-menu
- Select Gaussian Blur
- Choose the blur radius
- Click OK
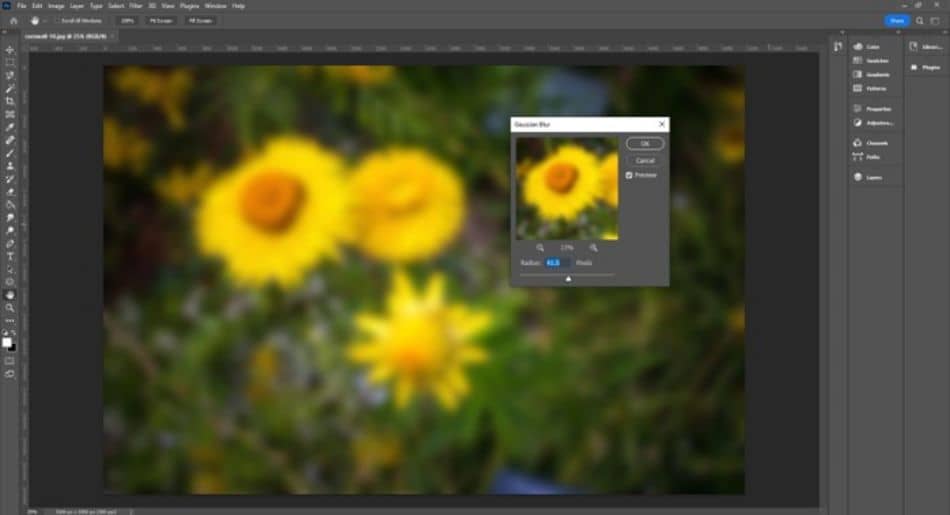
When you click on the Gaussian Blur option, a pop-up box appears. This shows a zoomed-in preview of the blurred image although the original should update in real time when you change the slider too. All you have to do is adjust the slider to get the amount of blur you want and then click OK – job done!
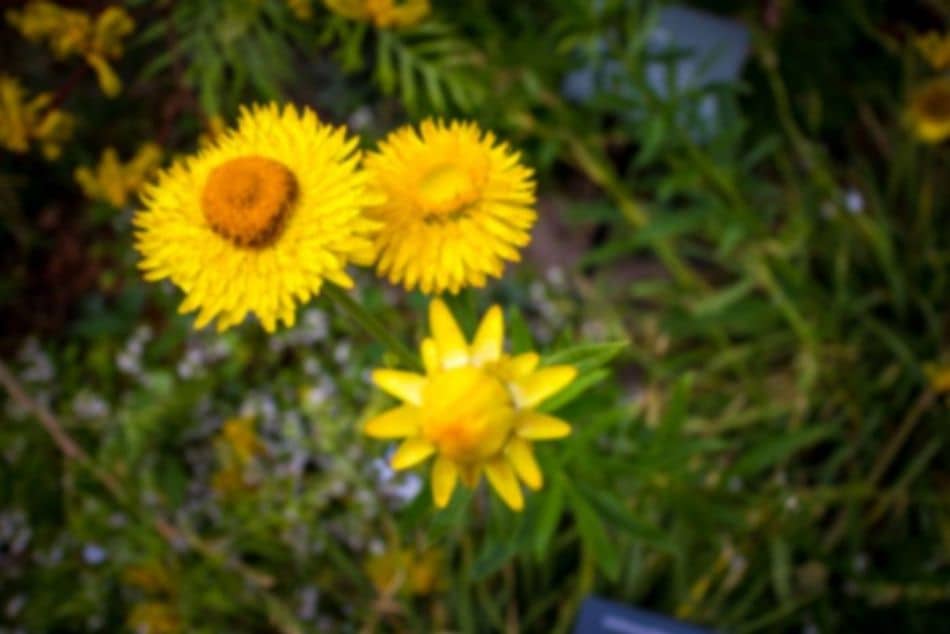
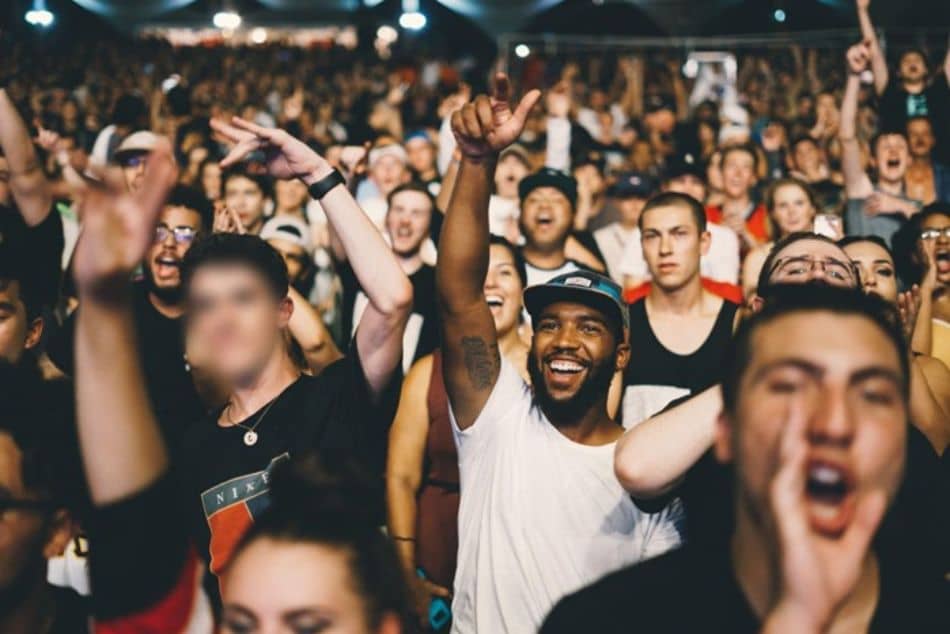
As you can see, this is incredibly easy but useful to know! The photo below was blurred using the Gaussian Blur tool.
How to Blur Part of an Image in Photoshop
Now we get to the interesting part – blurring individual parts of an image. This is pretty straightforward too, but it involves the use of a selection tool. To blur part of an image in Photoshop, do the following:
- Open your image in Photoshop
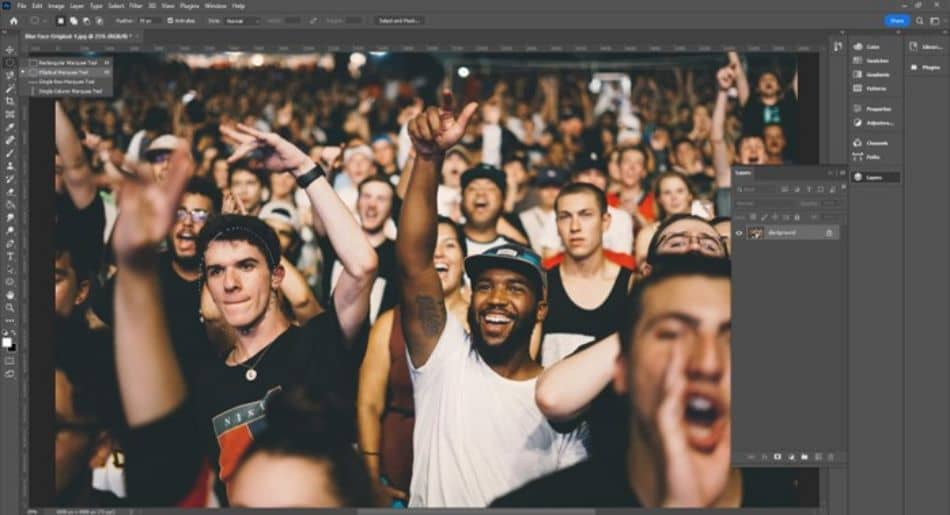
- Select the Elliptical Marquee Tool from the side toolbar
- Change the Feather in the top options to 30
- Click and hold near the face and drag a circular shape that covers it
- Reposition the circle if necessary
- Navigate to the Blur sub-menu
- Select Gaussian Blur
- Choose the blur radius
- Click OK
- Deselect the circle using Ctrl + D
Credit: Paul Skidmore.
If you want to blur someone’s face, I advise using the Elliptical Marquee Tool. There are other selection tools available, including ones that allow you to draw a selection area. However, the Elliptical Marquee Tool is perfect for blurring rounded objects like a person’s face.
Credit: Paul Skidmore.
Before you draw your selection, it’s important to change the feather option at the top. By default, this is usually set to 10. Feathering means the transition between the selected and unselected areas. The smaller the number, the harsher the transition.
Therefore, by changing it to 30 you will get a nice smooth gradient from the blurred face to the non-blurred surrounding area. If you leave it at 10, it will look harsh and less professional.
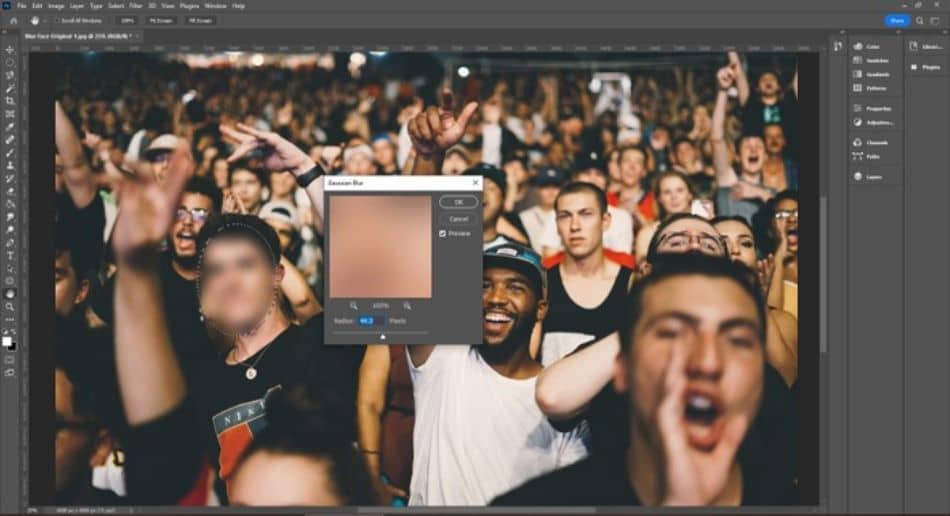
As before, we simply use the Gaussian Blur tool. However, this time, as we have used the Elliptical Marquee Tool, the Gaussian Blur is only applied to the selected area i.e. the person’s face! As you can see below, with a feather of 30 and a blur radius of 44.3, this completely obscures the detail of the person’s face. This tutorial on YouTube shows some different blur options too like the radial blur –
Credit: Paul Skidmore.
How to Create a Blur Effect in Photoshop
Lastly, you may want to create an artistic blur effect that places the emphasis on a single object – like professional photographers do. This is a little more complex and uses the Iris Blur tool – but still easy to learn. Simply do the following to create a blur effect in Photoshop:
- Open your image in Photoshop
- Go to the Filter main menu
- Navigate to the Blur Gallery sub-menu
- Select Iris Blur
- Move the circular selector to the area you want to keep sharp
- Change the size and angle if necessary
- Use the slider on the right-hand-side to change the blur amount
- Click OK on the top menu
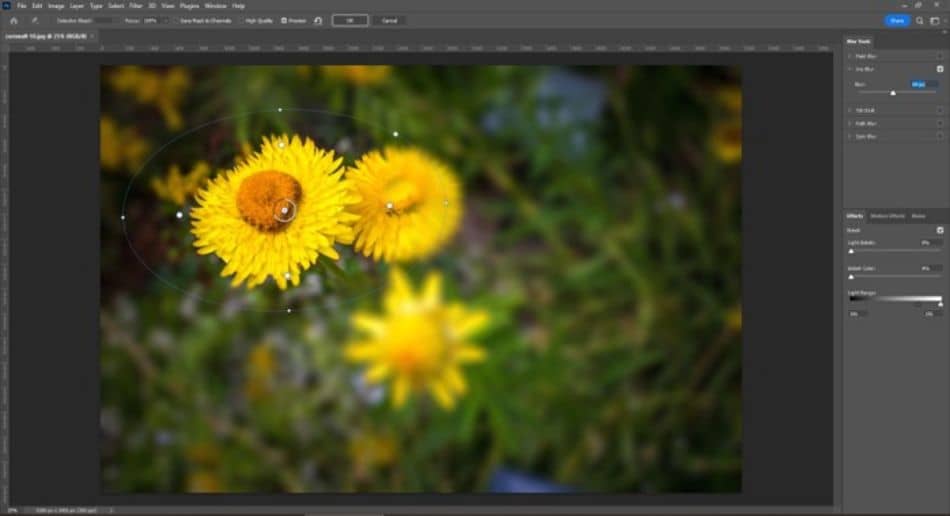
The Iris Blur tool may seem a little daunting at first, but don’t worry. The main thing to remember is that anything inside the circle will remain sharp, while anything outside the circle will be blurred.
You can use the anchor points (the little square dots) to change the size and shape of the Iris Blur selection. Moreover, if you hover your mouse anywhere in the blank area inside the circle, your cursor should change to the move icon. When this happens, you can then click and drag and this will move the entire Iris Blur selection.
Basically, you have to use the anchor points and move tool to position the Iris Blur over the area you want to keep sharp! Once you are happy with the selection, use the slider on the right-hand-side of the blur tools menu. This allows you to change the blur radius like with the Gaussian Blur. You should see a live preview of the changes.
Once you are pleased with the effect, click the OK button on the top menu and the Iris Blur will be applied! This could take a few seconds depending on the specs of your computer. As you can see from the below image, this effect can create some professional photos and put emphasis on single subjects.

Credit: Paul Skidmore.
Use the Blur Tool To Add Creative Effects to Your Images
The entire set of blurring tools in Photoshop is incredibly useful and you can do some cool things with them. As shown above, a great place to start is using the gaussian blur tool. This is the simplest tool and you can use it to blur faces or even entire images. It’s also great for putting the focus on single objects in your images.
Frequently Asked Questions
This is really easy. All you have to do is click on the filter main menu at the top of Photoshop, then navigate to the blur sub-menu. Click on Gaussian Blur and choose the desired blur radius and then click OK. The radius affects how much blur is applied to the image.
The easiest way to do this is by using the Gaussian Blur tool in Photoshop. Once you have your image open, go to the following: Filter > Blur > Gaussian Blur. You can then select the blur radius which will dictate how much blurring is applied.
Use a selection tool like the elliptical marquee tool to select the area of the photo you want to blur. You can then do Filter > Blur > Gaussian Blur, choose the desired blur radius, and this should only apply a blur inside the selection.
Yes! Gaussian Blur can be used to blur people’s faces for privacy purposes. You first have to select the face(s) using the elliptical marquee tool. With the face selected, you can then do Filter > Blur > Gaussian Blur.
Only if you have the document active and have not closed it. If you have applied a blur filter and are not happy with the results, you can use Ctrl + Z to undo your last action. Alternatively, the undo option can be accessed from the main edit menu.

Mark McPherson has been working as a video editor and content writer for over ten years. His background started in animation and video editing before shifting into the realm of web development. He also branched out into content writing for various online publications. Mark is an expert in video editing, content writing, and 2D/3D animation.