(Last updated on March 10th, 2023)
So you want to crop in Illustrator but can’t find the crop tool. Well, sadly, there isn’t exactly a crop tool, but there are some fun ways for cropping.
In this article, I will cover how to crop using Illustrator and give some practical advice on when to use them.

Illustrator and Images
Adobe Illustrator processes images in a way much different from Photoshop. While Photoshop is a raster-based graphics program, Illustrator is vector-based. It uses a more complex method of creating detailed drawings that carry more information than the drawings you’d make in Photoshop.
That’s good news for artists who like to draw, but not so much for when it comes to handling images. Illustrator handles raster images much differently than vector ones. This can make it feel like you’ve got to learn two sets of tools when editing images.
This aspect is accurate in terms of cropping. It’s important to consider what image you’re working on within Illustrator, how you want it cropped, and the best technique. Let’s go through the various ways Illustrator allows you to crop.
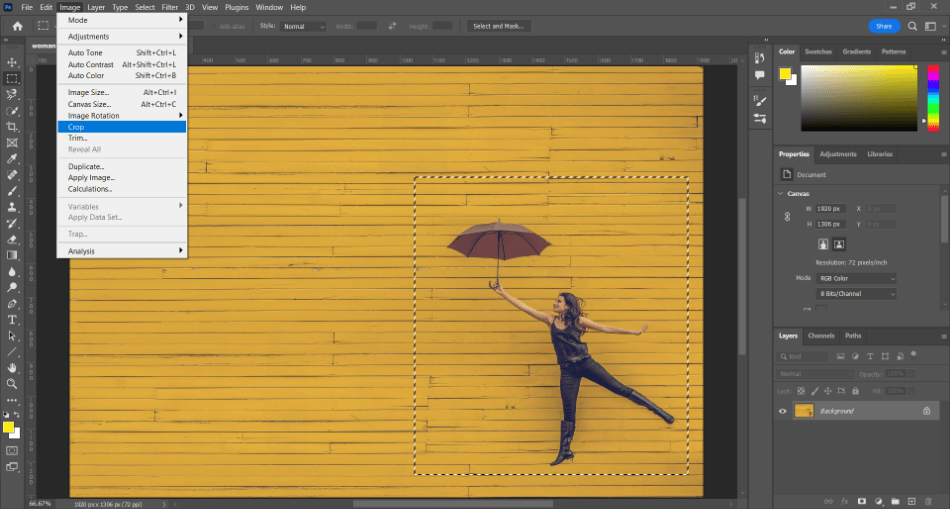
The Crop Button Method For Raster Images
This is one of the more accessible cropping methods for making quick crops on raster-based images. It should be noted this method is also destructive cropping, meaning you won’t be able to recover the areas you delete. Here’s how to use the crop button:
- Select your image using Illustrator’s Selection Tool.
- With the image selected, locate the Crop Image button in the top toolbar and click it.
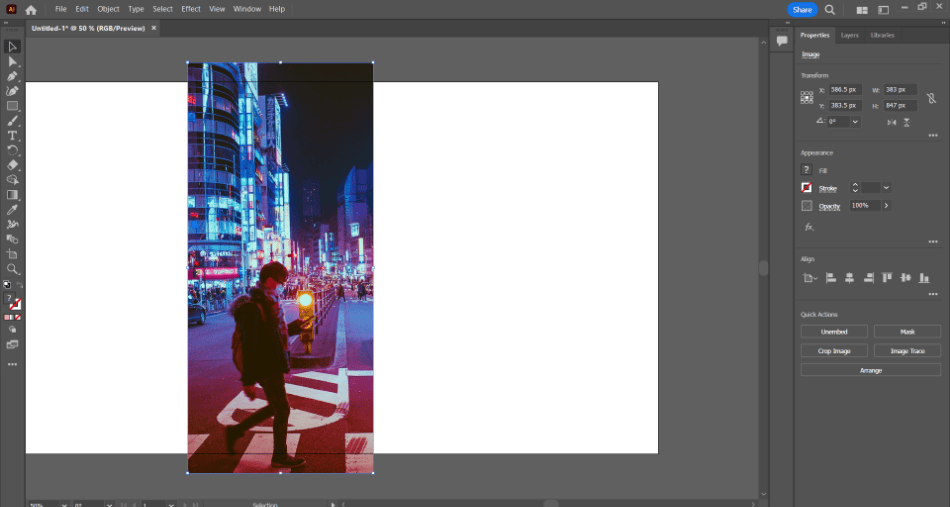
- Drag the corners and anchors to create the crop area you desire.
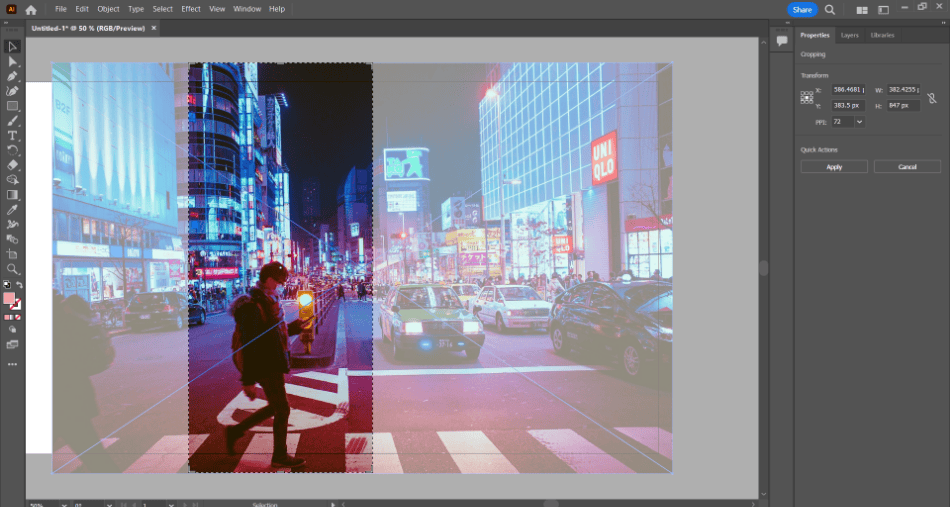
- Click Apply to finalize the crop.
The Crop Button Method For Vector Drawings and Images
Vector drawings and images can also be cropped in Illustrator using a crop button, but it works slightly differently. The process is somewhat different, as you’ll have to hunt a little more for the right button. Here’s how to crop a vector-based image with the push of a button.
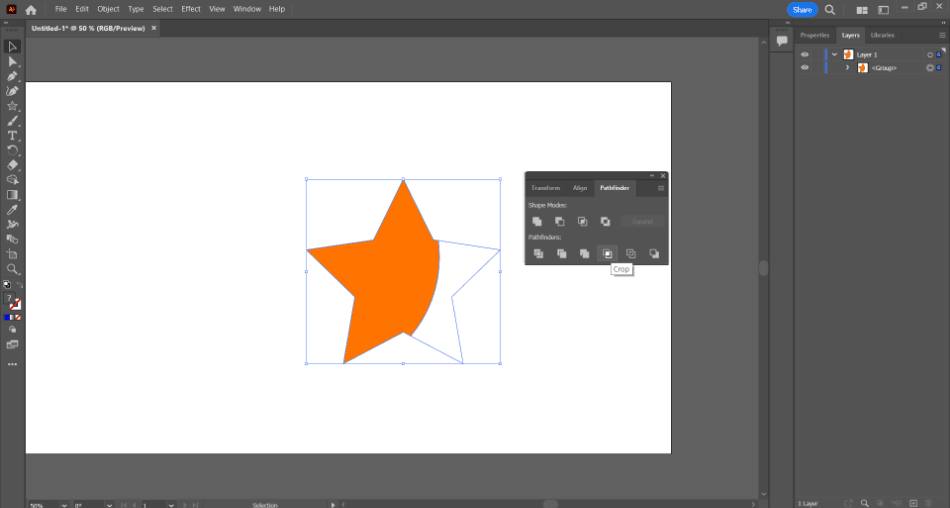
- Select your vector drawing/image with the selection tool. You can select multiple objects if you wish.
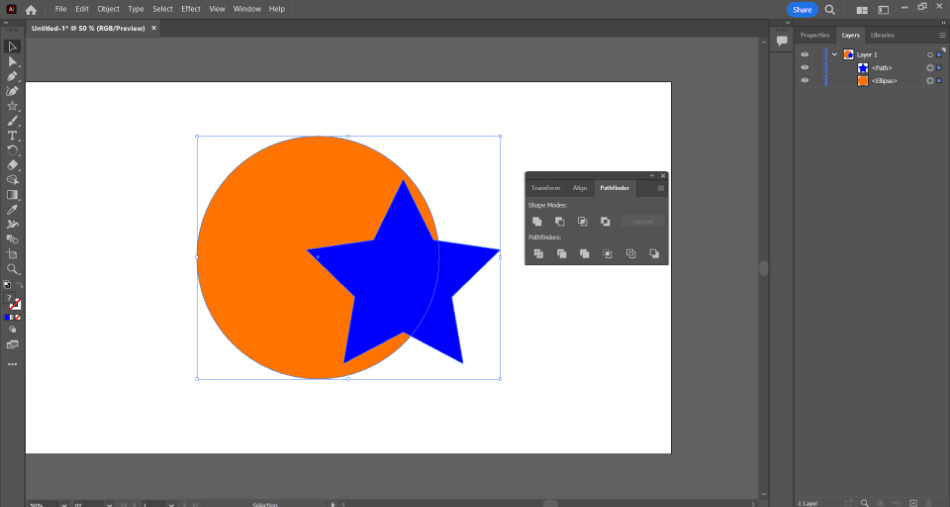
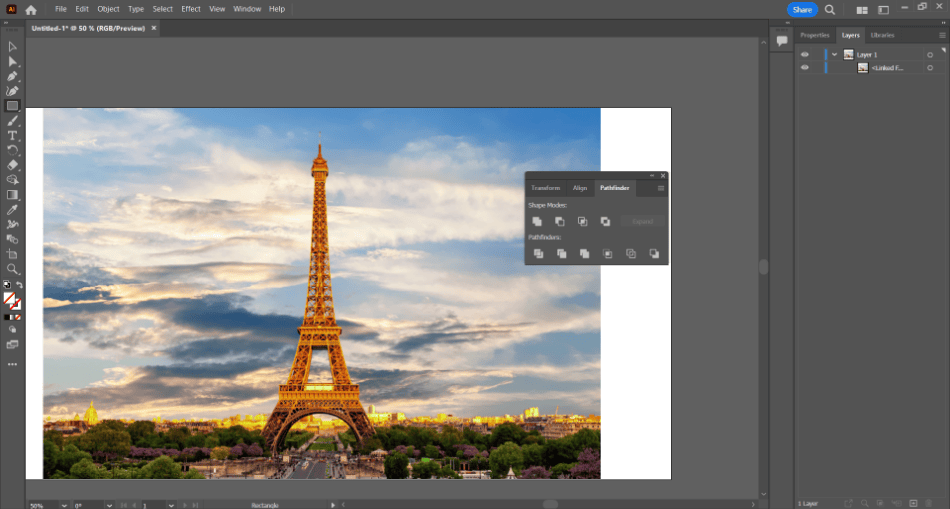
- Open the Pathfinder mini window by navigating to Window > Pathfinder. In the Pathfinder tab, under the group of Pathfinders, find the Crop button and click it.
- The areas outside of your shape can now be cropped.
While this method is more or less suited for projects you create in Illustrator rather than images you bring into the program, this is a helpful process to know for further Illustrator projects.
Use this technique for any artwork you create in the program as a quick means of cropping.
However, if you want to preserve that hidden artwork, you’ll want to use the clipping mask method.
The Clipping Mask Method
While the crop button might seem the most straightforward method, it’s destructive, meaning you won’t be able to retrieve a cropped-out area if you change your mind quickly.
This is where clipping masks come into play. Masks use a non-destructive method that preserves the areas you decide to remove.
Clipping masks can be a great way to crop and easily change cropped areas without having to undo much of what you’ve done. Using a clipping mask can be essential for maintaining a smoother workflow, especially if you’re designing something with a team who will be offering input.
Here’s how to apply a clipping mask in Illustrator:
- Add your image or create your Illustrator drawing on the canvas first.
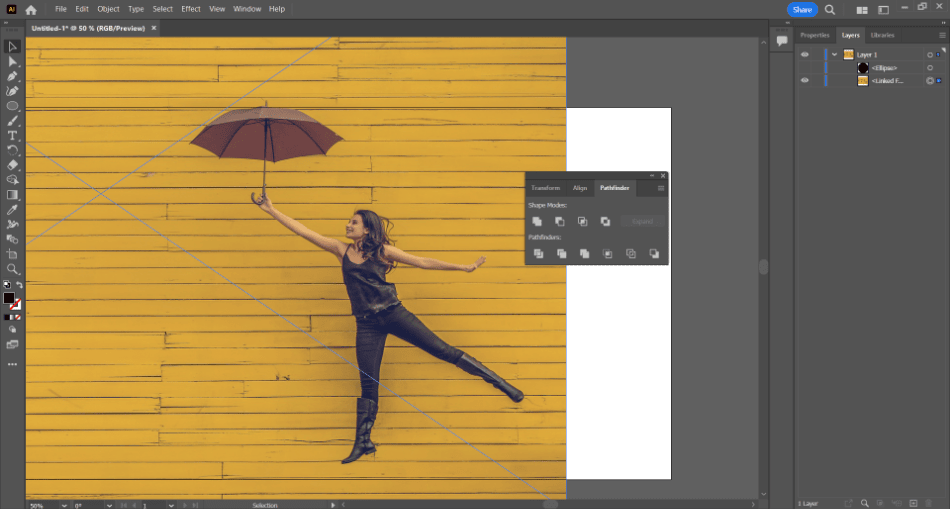
- Create the clipping mask by making a shape on the canvas. This shape will represent the area you want to be cropped.
- Select the mask and the image/drawing you want to crop. Make sure that the mask exists on top of the image.
- In the menu bar, select Object > Clipping Mask > Make.
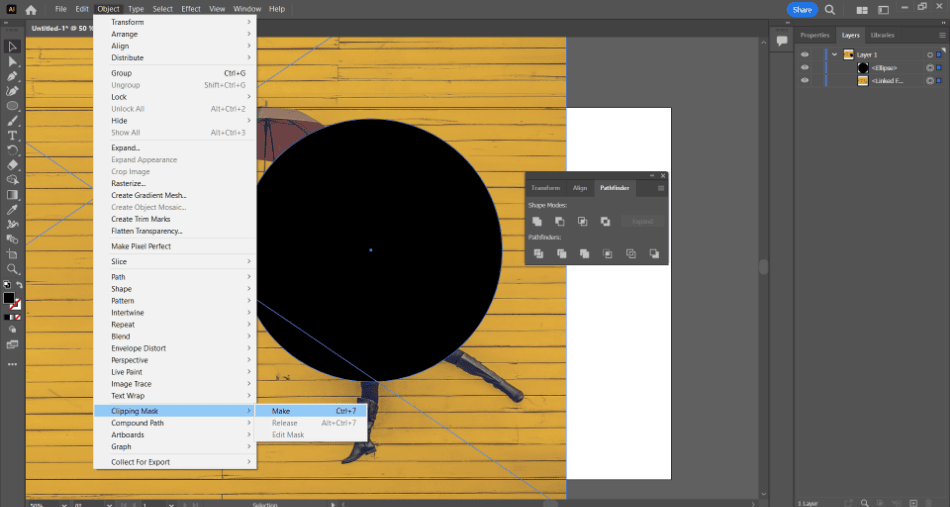
- The clipping mask should have cropped the image it was placed on top of.
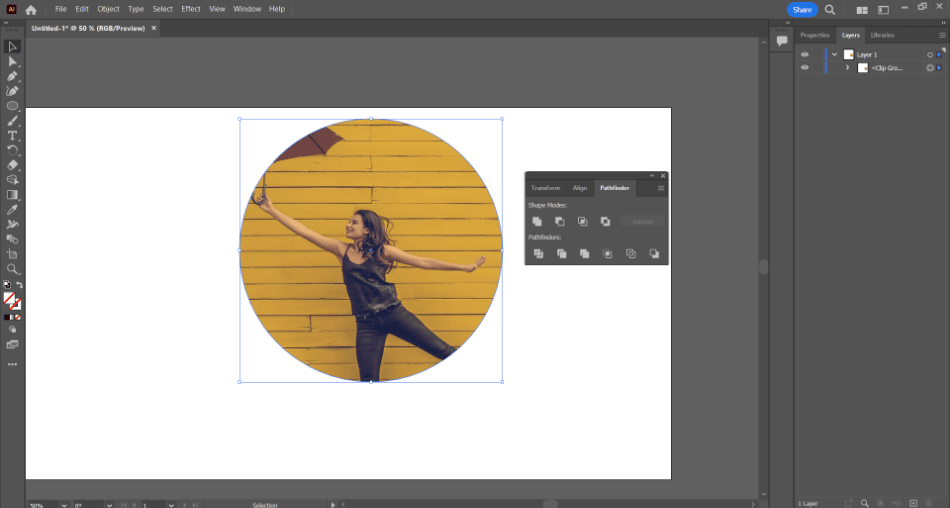
The mask can be edited or turned off at any time with the other options in the Clipping Mask part of the menu.
This includes Releasing to turn off the mask and editing the mask to alter its shape. These options make it easy to go back and change the crop at any time.
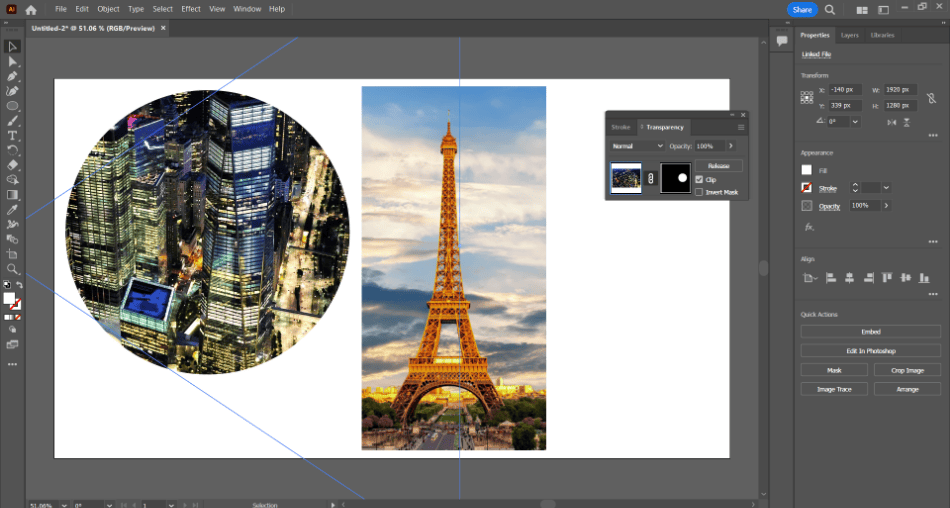
The Opacity Mask Method
Opacity masks work similarly to clipping masks but with a few differences. This method actively recognizes the spaces to hide by determining transparencies. Here’s how to apply an opacity mask:
- Insert your image onto your Illustrator canvas.
- Draw the shape of your crop using black and white colors with the shape tools. The white will represent the part of the image that will be opaque, and the black will be used to determine which areas are transparent. Grays can also be used to create a gradient effect. To keep this crop simple, I will use white.
- Select your shape and the image, ensuring the shape is on the top.
- Navigate to Window > Transparency to open up the transparency panel. Click Make Mask.
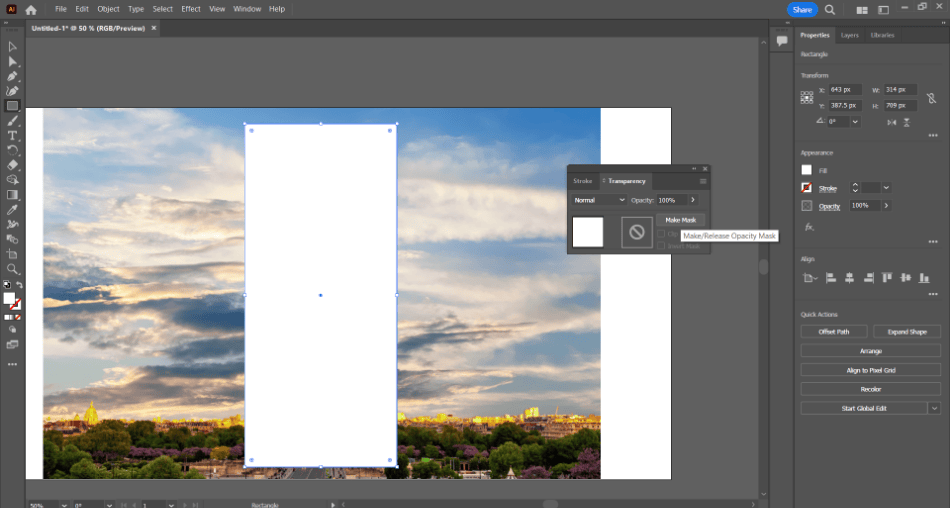
- The white part of the image should only be visible now.
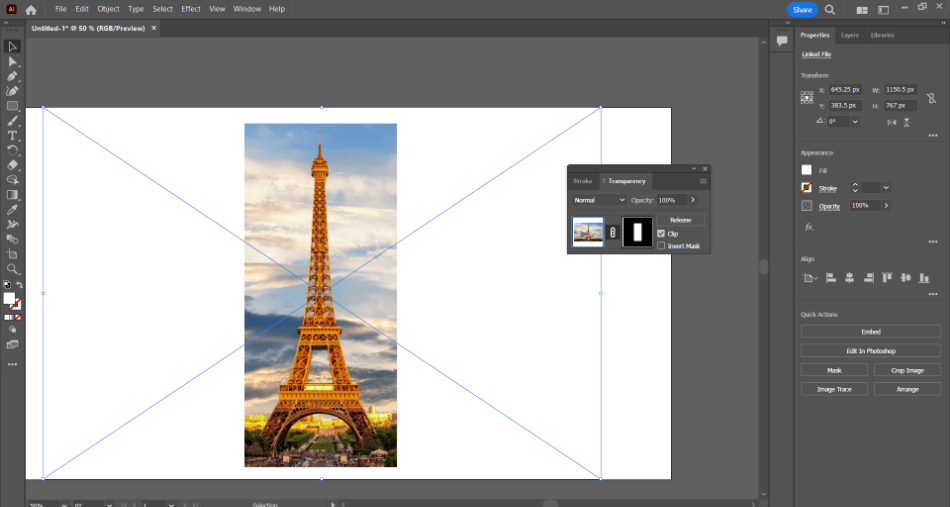
This can be a handy technique to create a negative crop, making more of a frame out of the image. The transparency panel also has options for adjusting the opacity of the cropped-out area.
The Quick Art Board Method
It’s possible to crop your images with the use of artboards. The bad news is that this method works best with simple, rectangular crops and only works when exported.
The good news is that it’s non-destructive and doesn’t take much time to implement. Here’s how simple this method is:
- After placing your image on the Illustrator canvas, click on the Artboard icon.
- With the artboard shape engaged, resize the rectangle to the area you want to be cropped.
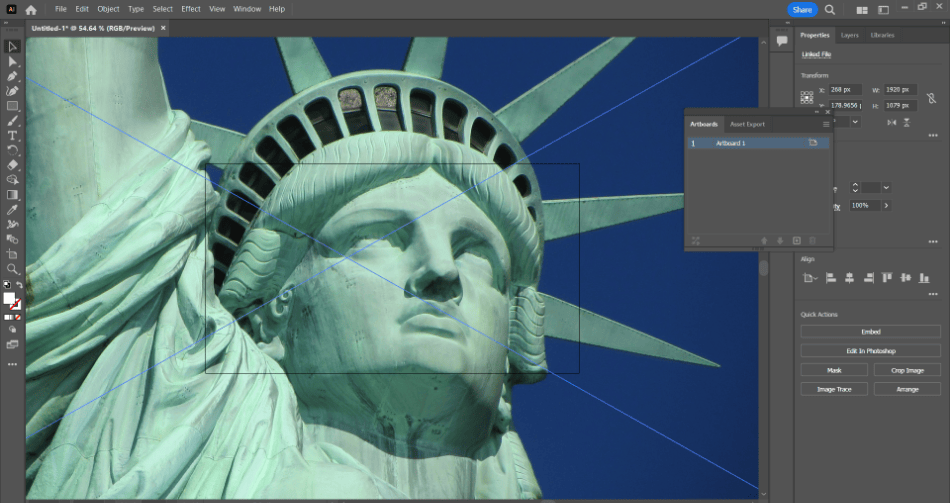
- Export your artboard as an image by navigating to File > Export As. The image will now save out of Illustrator to the area you cropped.
This speedy method is only recommended if you crop an image quickly. It’s not ideal for cropping an image if you use it in an Illustrator project.
Use this technique only if you need the image cropped for exportation purposes.
Alternatives For Cropping
Before cropping an image in Illustrator, it’s essential to consider all your other options for cropping. Here are a few software alternatives to consider as well for your image-cropping needs:
- Adobe Photoshop: As the title implies, Photoshop is excellent at handling image edits. Cropping in this program can be performed by cutting out a selection, changing the image size, or creating a mask.
- Camera RAW Filter through Adobe Bridge: Within Adobe’s file management software called Bridge, there exists the Camera RAW filter. This filter is primarily used for altering color and detail, but it does have some features for zooming in or creating vignettes that can act as cropping methods.
- Adobe InDesign: InDesign is a vector-based program like Illustrator, but its primarily used for publishing. Like Illustrator, it has similar image editing tools for cropping.
- Paint: Yes, that free program on your computer can be used for quick and simple crops. Paste an image into the program, resize it to crop it, and then save it. It’s not the best program for photo edits, but it comes through for quick and dirty cropping.
- Vectornator: If you like working with vector-based graphics editors, Vectornator has a similar look and feel to Illustrator. It can crop using either a cropping tool or masks.
- Canva: The in-browser app can be used for quickly cropping your images. Considering this app is free to use and doesn’t require you to install the program on your computer.
Tips & Tricks
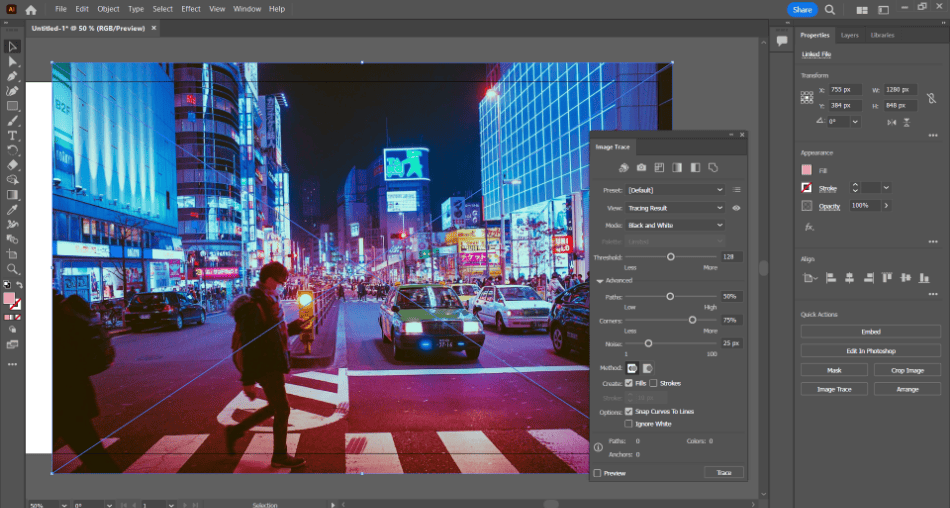
Consider Tracing Your Images
Illustrator can make some crops and edits to your images, but only a handful, as the program is vector-based. Using the trace feature on your images can turn them from raster-based to vector graphics with more editing options. Tracing, however, can often bring a loss of quality and tax your computer to process depending on the computer. Use the trace function only if your image isn’t that complex.
Stick With Non-Destructive
It’s best to stick with the non-destructive methods of cropping images in Illustrator. It can be easy to lose track of your work and desire to return and fix a previous crop. Rather than start all over again, consider using one of the mask methods for an easy means of cropping and editing that crop later.
Mark McPherson
Remember the Order: It’s important to remember the order in which you select your mask/cropping shape and image. If you choose them in the wrong order, your mask or crop will not work. Ensure that the mask/shape is always on top of the image.
Conclusion
Adobe Illustrator takes some getting used to when it comes to image cropping, but it works well enough for vector-based projects. If you know the images you’re cropping will integrate with vector designs, you can save some time by bringing them directly into Illustrator. If Illustrator sounds like your ideal program, here’s how to buy the app.
Frequently Asked Questions
A: There is a shortcut in Illustrator for the clipping mask crop. Start by selecting your mask and the image. Then press Ctrl+7 (Win) or Command+7 (Mac) as the shortcut for making a clipping mask to crop the image.
A: Yes, it is possible to crop an object in Illustrator with a clipping mask. Use the shape tools to create the mask over the image. Then navigate to Object > Clipping Mask > Make or use the keyboard short Ctrl+7 (Win) or Command+7 (Mac). This will make a clipping mask that will crop your object to the area you specified with the shape.
A: If you’re trying to crop an image in Illustrator, this can be done quickly using the selection tool and crop button. Use the selection tool to select the image. Then find the Crop Image button in the toolbar at the top of the interface. You can now shape the crop area of your image by pushing and pulling the various points.
A: Images can be cropped in a few ways in Illustrator. You can select the image using the selection tool and press the Crop Image button. If you prefer a non-destructive method, you can place a clipping mask over the image by drawing a shape on top, selecting them both, and selecting Object > Clipping Mask > Make.
A: If you don’t want to use a clipping mask, another method for cropping images in Illustrator is to save them as artboards. Click the Artboard icon and then resize the board area. Export the image from Illustrator, which should be cropped to the specified area.
A: Images in Illustrator can only be cropped if adequately selected. Make sure you have the right image selected when applying a crop. If you’re using the clipping mask method of cropping, make sure you have the mask on top of the image before creating the clipping mask.

Mark McPherson has been working as a video editor and content writer for over ten years. His background started in animation and video editing before shifting into the realm of web development. He also branched out into content writing for various online publications. Mark is an expert in video editing, content writing, and 2D/3D animation.