(Last updated on January 9th, 2023)
You don’t have to settle for simple text in Photoshop. Your titles can become more dynamic and striking if they’re given a curve. In this article, we’ll go over the different methods you can use to curve text in Photoshop using a variety of tools and functions.
Using Text in Photoshop
As with most graphics programs, Photoshop creates text as a vector object. Vector-based objects carry extra data that allows them to be easily editable. This makes the text easy enough to change for the content or formatting.

Curving your text is also possible within Photoshop. This process takes a few more steps than changing the characters or lettering of a text object. Thankfully, it’s an easy task that doesn’t take much time, and there’s more than one way to do it.
The Classic Method for Curving Text In Photoshop
For curving text, we’ll be creating a warp text effect. To show how this tool works best, we’ll apply it on a blank canvas for this step-by-step guide. This will let you see clearly how well the warping effect works and possibly even give you some ideas of images where it would work best.
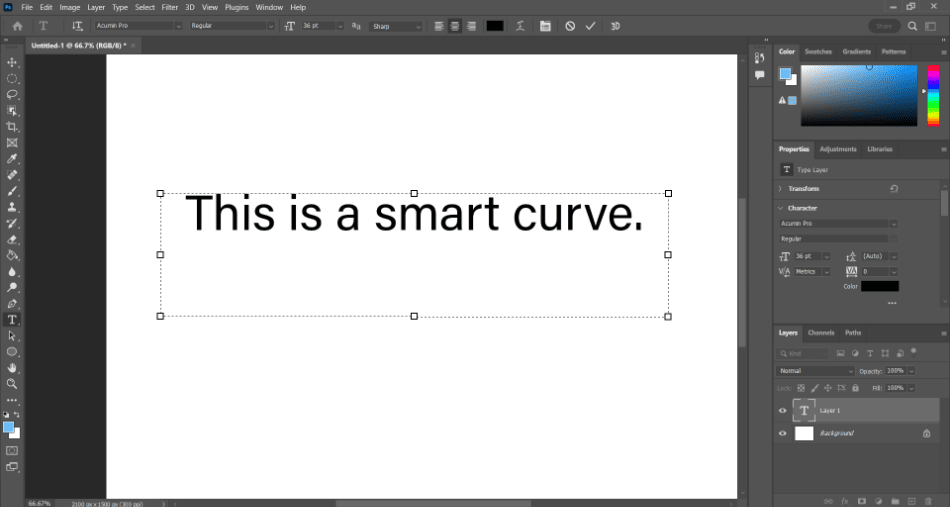
- On the Photoshop canvas, create some text using the Text Tool found in the toolbar. You can write any text, but ensure it’s long enough to allow curvature. Choose the right font style or size. You’ll be able to edit them later if you’re not happy.
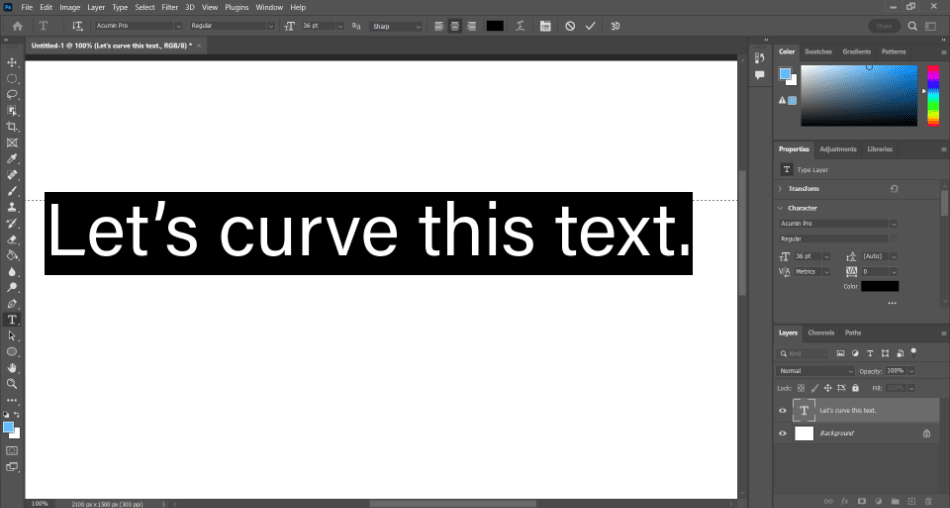
- After completing your text, click the checkmark icon in the top options section for the Text Tool.

- Before proceeding, ensure your newly created text layer is selected in the Layers panel. The Layers panel should be located in the bottom-right corner of the interface.
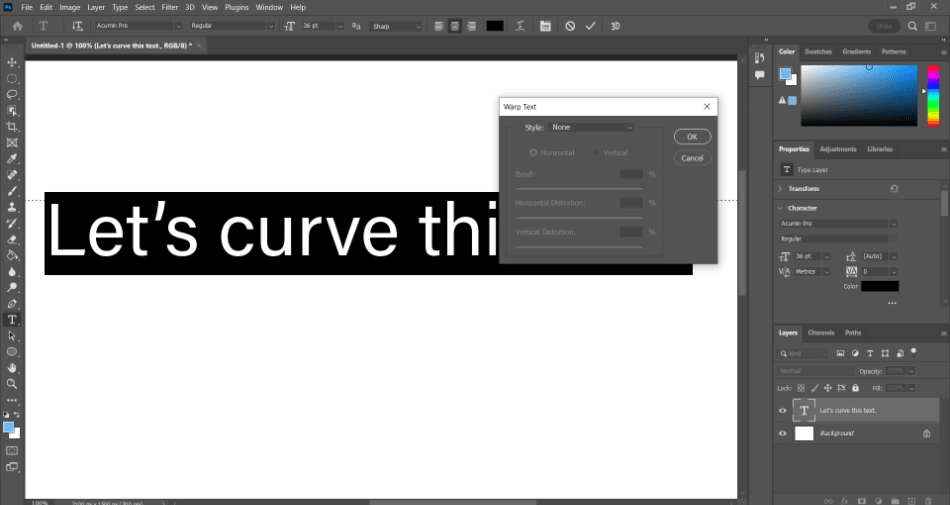
- With your text layer selected, navigate to the top of the interface and find the Create Warped Text icon. It should look like the letter T on top of a hill.

- Once you click Create Warped Text, a new window will open for warping your text. Here, we’ll make all the necessary choices for curving our selected text.
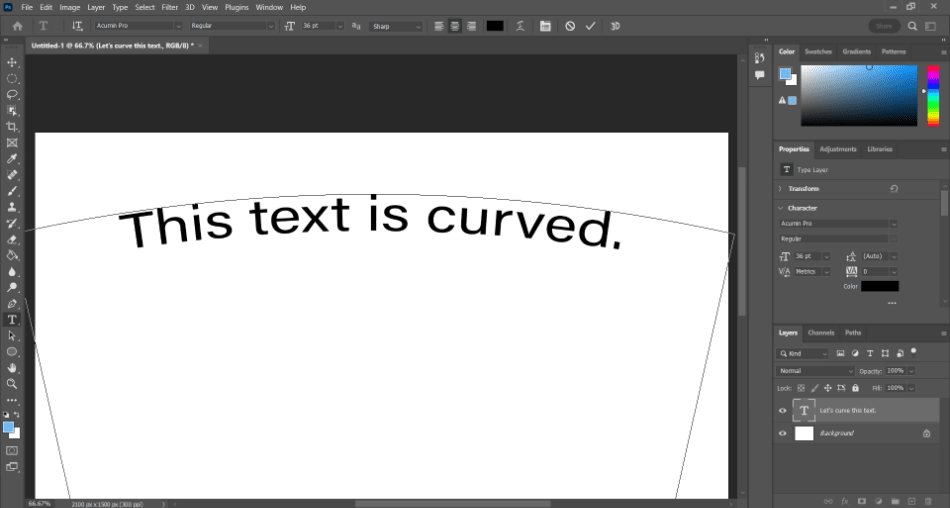
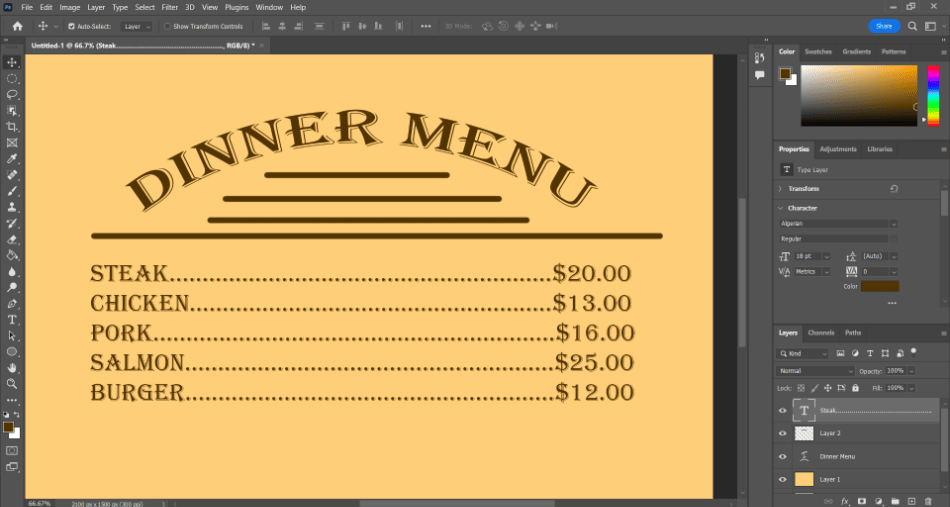
- The first option you’ll change is the Style dropdown menu. Click on it and select Arc. You can then play with the Bend slider in the right direction of curvature. When happy with the results, click Ok to confirm the curvature.
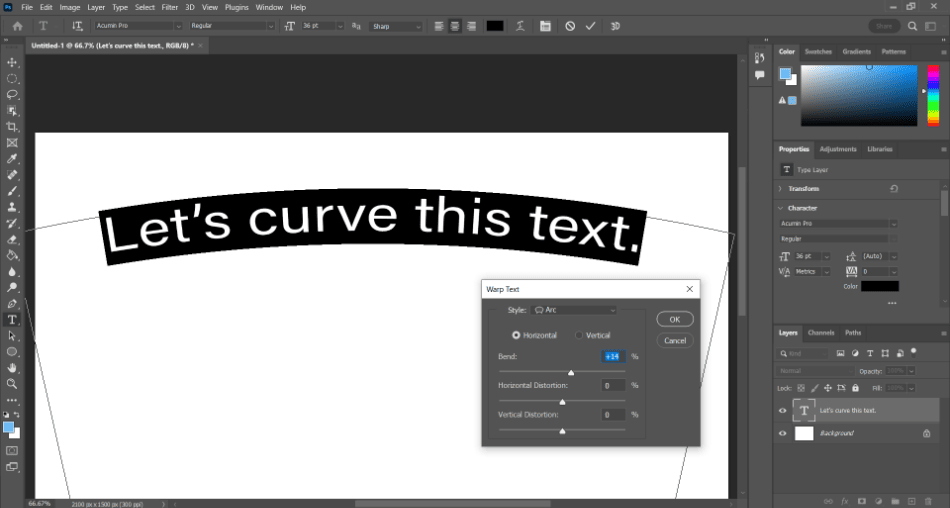
- While the curvature is fixed, the text itself is still editable. Click on the text and edit it for any format or size you wish. The curve you applied will remain unchanged.
The Shape Method for Curving Text in Photoshop
If you want more control over the curve of the text, you can place your text on top of a shape. This method requires extra effort but is worth pursuing if you desire a specific design.
Let’s go through the steps of the Shape method:
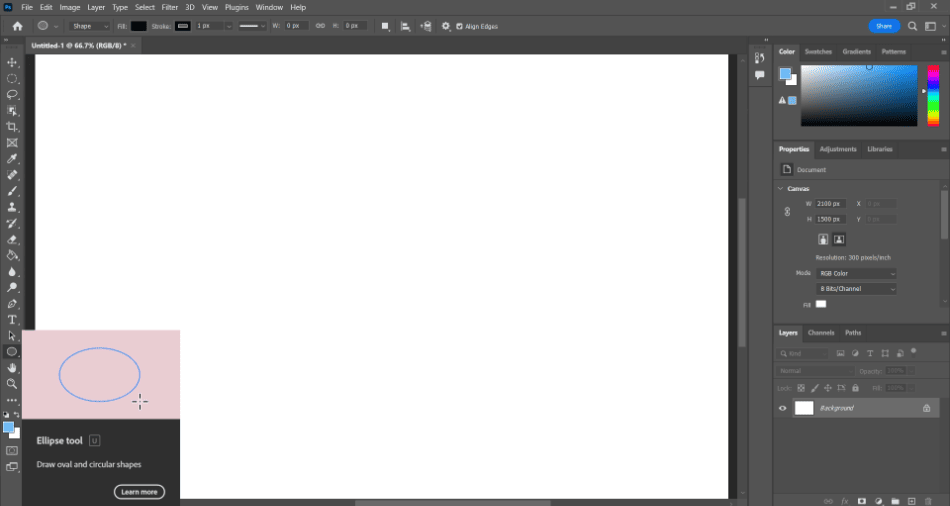
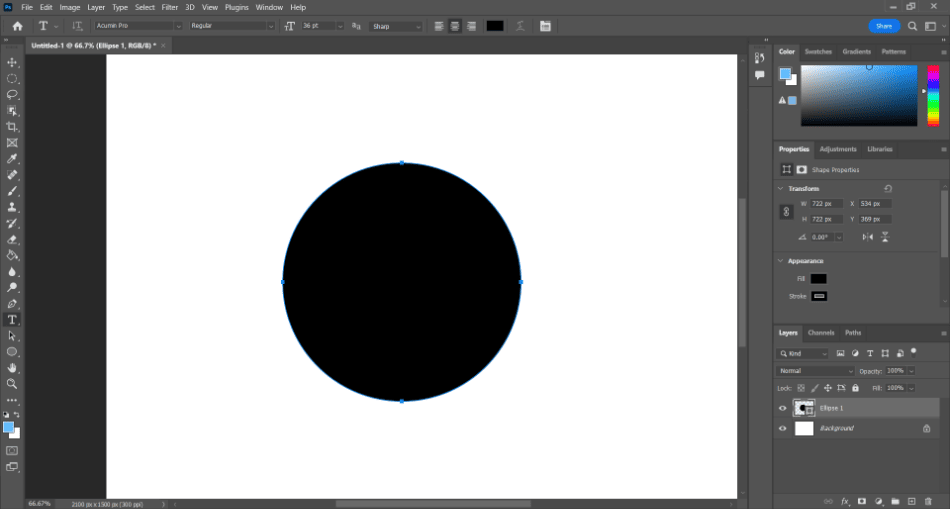
- Start by creating a shape using the Ellipse Tool. You can find it in the toolbar or activate it by pressing U.
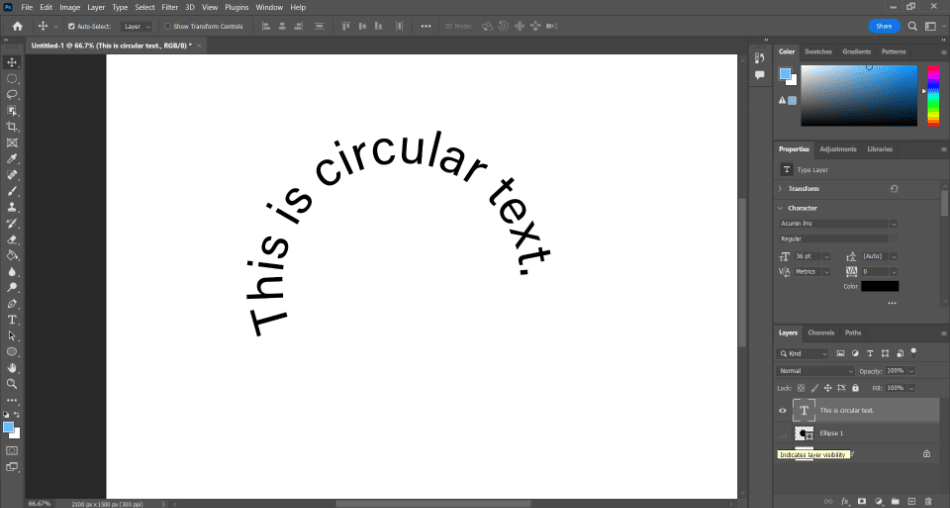
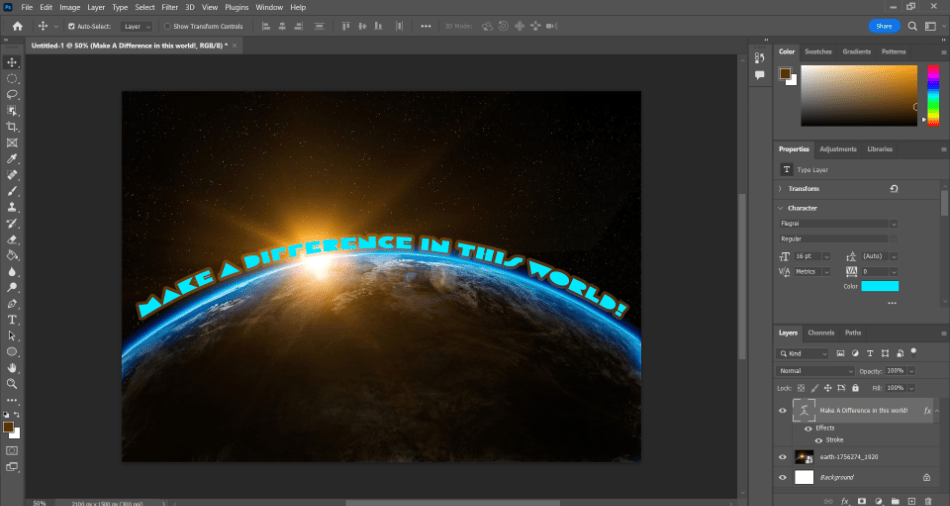
- Select the Text Tool and hover over the ellipse you just created. Your tool should turn into the Text on a Path cursor. Click on the edge of the shape, and you can start typing your text. It should now curve around the shape.
- You’ll notice now that your text and shape exist on separate layers. Hide the shape layer, and you’ll have your curved text.
Read more:
The Smart Object Method for Curving Text in Photoshop
One of the most innovative methods for curving text involves smart technology. If the warp options aren’t good enough and you’ll not keen on creating accurate shape curves, this is one of the best choices. It’ll give you the most control over your text and isn’t that hard to implement.
Here’s how to curve your text using the Smart Object method:
- Start by creating your text on your Photoshop canvas. Make sure it’s long enough to have a noticeable curve.
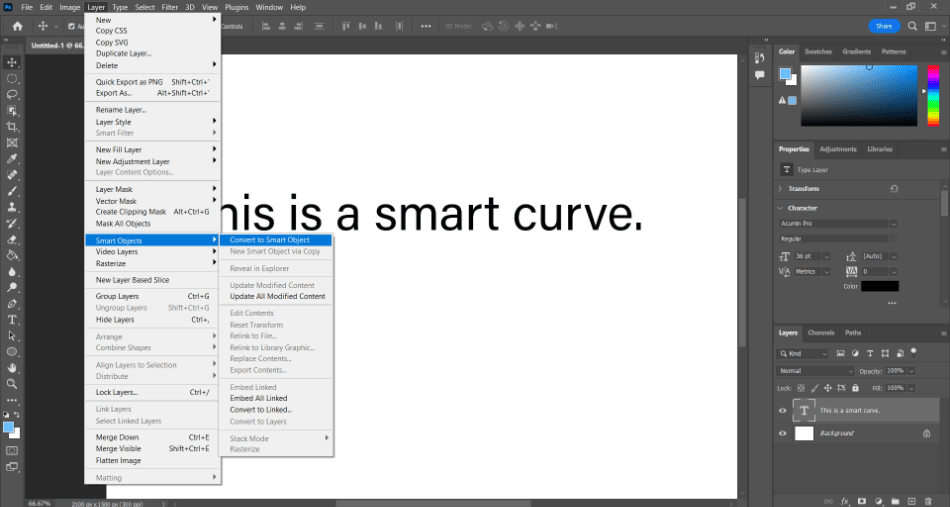
- Now navigate to Layer > Smart Objects > Convert to Smart Object. You should notice a change in your text layer when this is applied.
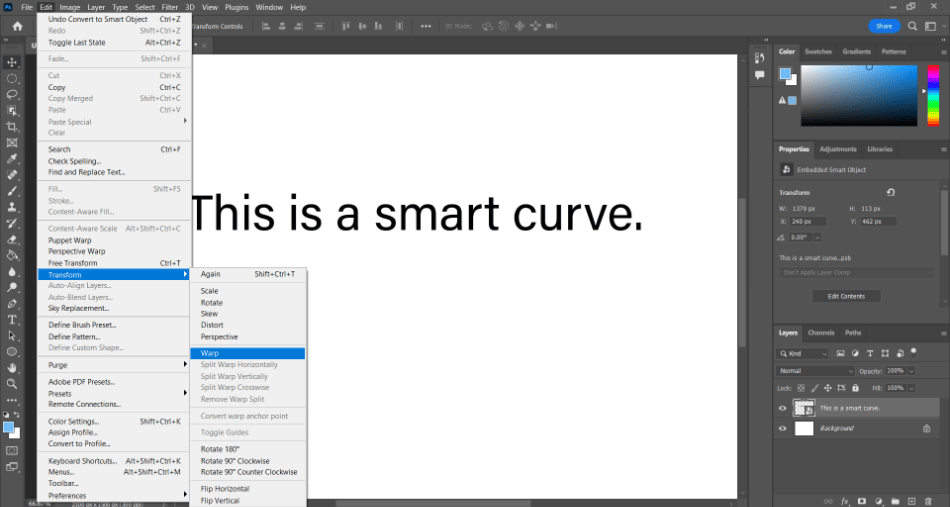
- Next, navigate to Edit > Transform > Warp. This will place a grid around your text.
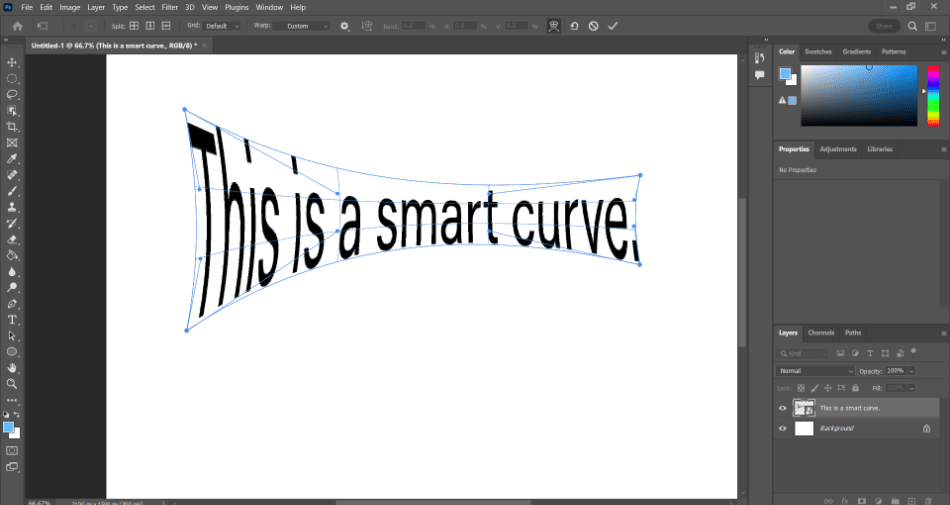
- The grid can be edited by clicking and moving different points. When you’ve finished with the curve you prefer, click the transform button at the top of the interface in the Warp options.
Keep in mind that this process will prevent your text from being editable as a smart object. Make sure you have the text you’re happy with before proceeding.
When To Use Curved Text?
Curving your text is best suited for cases where you want to preserve and change it later. If you’re working on a commission in Photoshop, your client may want you to change the content or font of a curved text. Having your curved text easily editable will save you a lot of time.
You can rasterize your text if you want to make more cosmetic edits to your written text. These edits can include painting over the text, applying filters, and distorting the design. If you go down this route, however, you won’t be able to change the characters or fonts.
Since rasterized fonts often lose quality and can’t be changed back, keeping your curved text preserved as a vector object is recommended. You can tell it’s still a vector-based graphic by finding the T letter in your text layer. When rasterized, that T will go away.
What Can Curved Text Be Used For?
As with many Photoshop techniques, your mind might be racing about what you can do with this skill. What unique designs could you accomplish with this curving text method? Well, here are a few examples.
- Posters: Creating a poster often leads to a dynamic presentation. Your text can feel more pronounced with a specific curvature to make it stick out as the primary title.
- Packaging: Packages with designs that wrap around often benefit from having a unique shape to the design and title.
- Marketing Materials: It sometimes helps marketing materials to carry a specific flow to lead the eye through a wealth of information. Giving your titles a slight curve can help make these informative designs more eye-catching.
- Magazine Layouts: If you’ve ever looked at magazine layouts, you’ll notice the text isn’t always as straight or bound by specific areas. Curving your text for these designs can make your printed pages stick out beautifully.
- Social Media Avatars: It’s not usually recommended to place text in social media avatars, considering how small they appear. Curving your text can help fit the circular designs favored by most social media platforms if you want some text included. You should only use a few characters, perhaps even initials, to curve for these small designs.
Frequently Asked Questions
Text can be curved in Photoshop by either warping the text or placing it on top of a curved shape. The classic method is simply using the Warp Text Effect tool in the text tool options and choosing a bend. You can also place your text on a shape or transform it into a smart object that can be easily warped with transform options.
Text created in Photoshop is generated as a vector-based graphic. As long as it remains a vector graphic, the text can be edited for characters and fonts, no matter how you warp it. It stops being editable when you transform it from a vector graphic to a raster graphic.
Text can be created in Photoshop using the Text Tool located in the toolbar. Text generated in Photoshop is displayed as a vector object, making it easily editable for characters, font styles, size, formatting, and more.
Start by creating a circle shape with the ellipses tool. Then select the Text Tool and hover your cursor over the shape’s border. You’ll notice the cursor change for fitting text to a path. Click on the shape’s edge and start writing your text that should now curve around the shape.
Text can be manipulated in Photoshop using many tools and options present with the Text Tool. You can make more transformative edits by turning your text into a Smart Object. If you want to draw on top of the text and change it further, you can change it from a vector object to a rasterized piece of text.

Mark McPherson has been working as a video editor and content writer for over ten years. His background started in animation and video editing before shifting into the realm of web development. He also branched out into content writing for various online publications. Mark is an expert in video editing, content writing, and 2D/3D animation.