(Last updated on January 9th, 2023)
If the edges of your graphics look too sharp in Photoshop, feathering is the key to rounding those corners. Having softer edges can better blend your graphics, and it doesn’t take much work. In this article, we’ll take you through how to feather edges in Photoshop with an easy-to-implement tutorial.
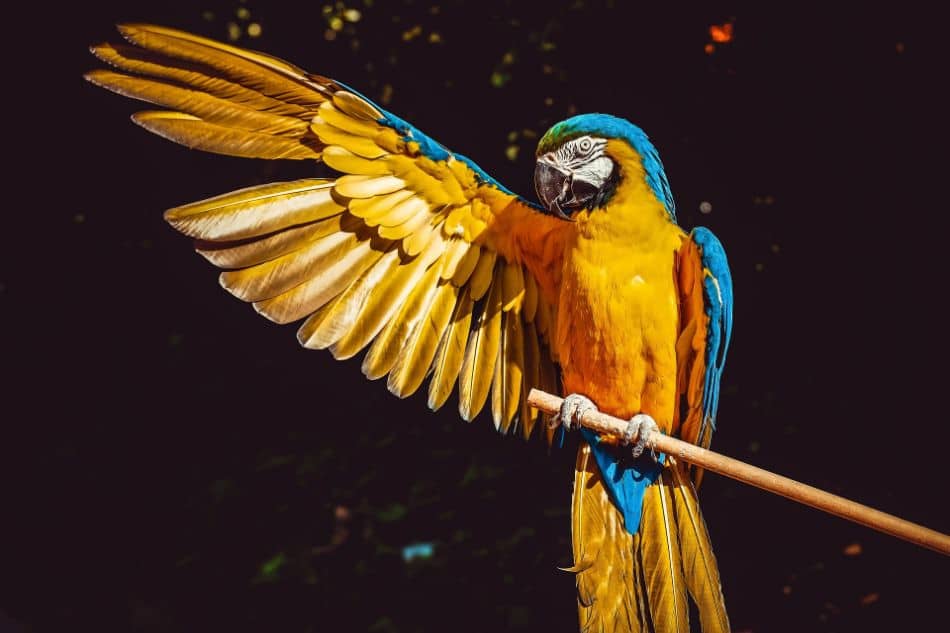
Photo Credit: Pixabay.
What is Feathering?
Feathering in Photoshop refers to turning edges from hard to soft. A gradient is created that gives graphics a gradual fall-off. This creates a stronger blend, so it doesn’t feel like graphics are hastily pasted together like a cut-out collage.
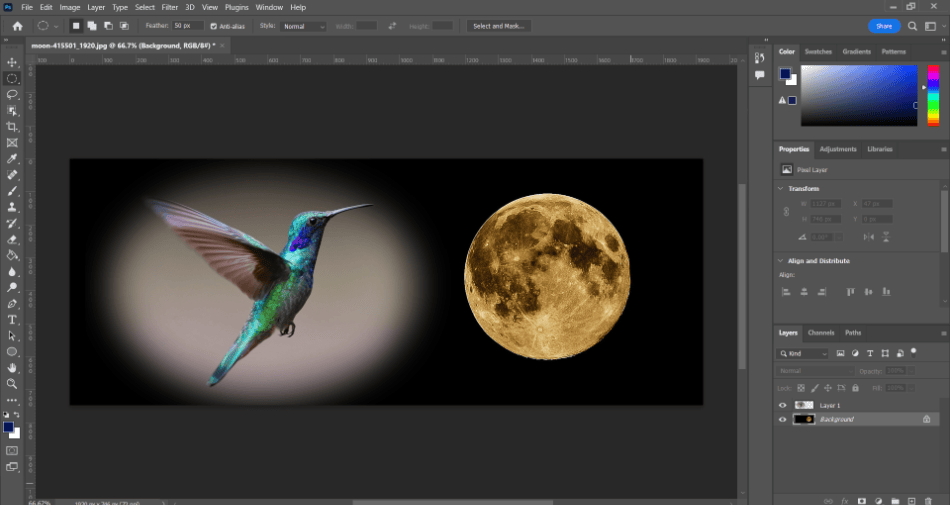
Photo Credit: Mark McPherson
Have you ever seen a photo and noticed how some of them have a white border that quietly creeps around it? That can be accomplished by a feathering effect known as a vignette. Want to make a picture of an animal better blend into nature? Feathering can make that happen.
Getting the right level of feathering can take some experimentation to get just right. There are, however, different methods of feathering to consider based on the graphic and how you want it blended. Here are some valuable options for feathering in Photoshop.
Create a Vignette
One of the fastest ways to feather a graphic or photo is to add a vignette effect. This effect creates a border that fades and darkens the edges. This is one of the more straightforward methods, considering how much control you have over the feathering.
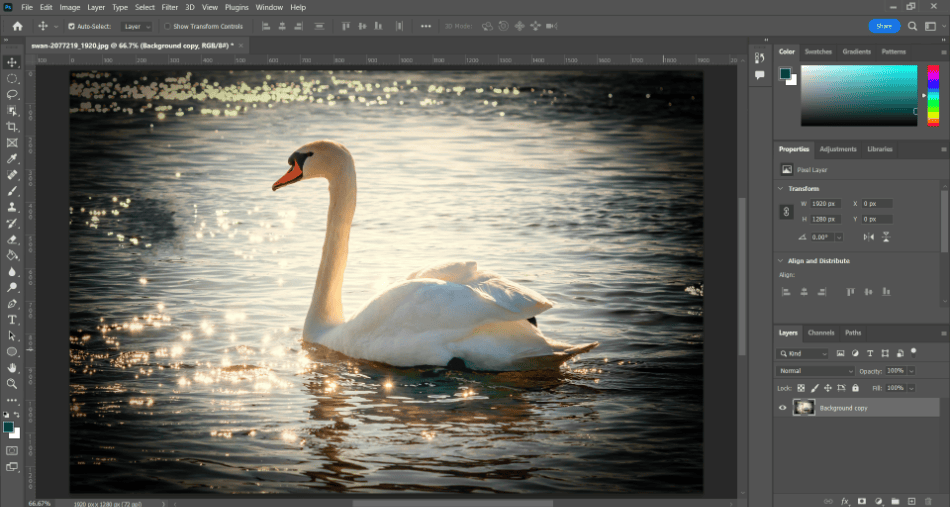
Photo Credit: Mark McPherson
There are multiple ways to add a vignette in Photoshop. Here are some different ways to add a vignette::
- Navigate to Filter > Correct Camera Distortion. This will create a distortion effect that can give the appearance of a vignette.
- Enable the Camera Raw filter from the filters menu. This will open up a new menu for editing your image, like Lightroom. Look through the tools and sliders, and you should find the sliders for creating a vignette. See how good it looks. Click Ok to save this vignette to your Photoshop project.
- You can simply paint the vignette by adding a black-filled layer and then navigate to Add layer mask > Invert Mask. Then use a feathered white brush to paint the vignette.
- For the most accurate feathering, use the eraser tool to manually erase the edges and create a blur effect with the falloff and opacity.
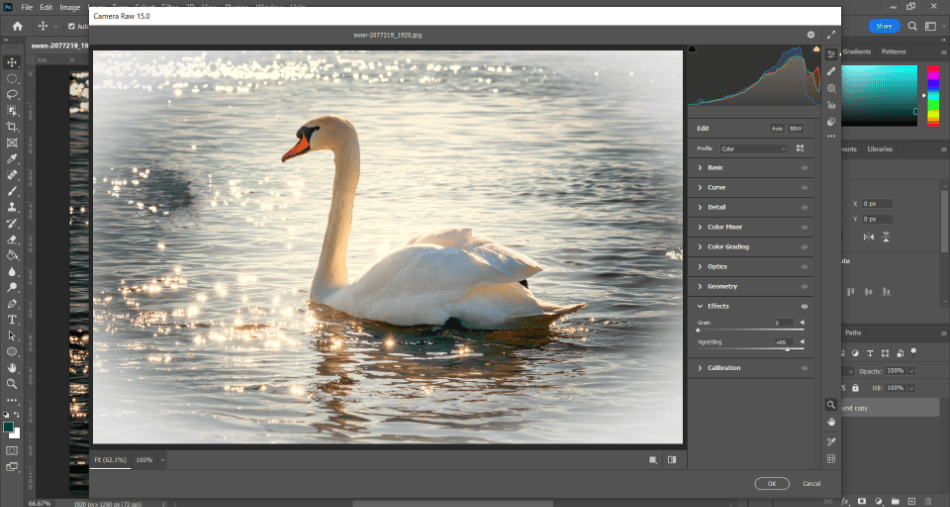
Photo Credit: Mark McPherson
Vignettes are best suited for photographs more than anything. They’re better used for providing white space borders around images resembling a family photo with a halo around the subject. Consider the other methods mentioned below for a feathering better suited for graphics that will bleed into the background.
Feather a Shape
If the area you’re trying to feather is simple enough for a box or a circle, you can get away with creating feathering around a shape. This can be useful for controlling the overall structure of what parts of the subject you want to fade. It’s widespread for creating buttons or blended photo collages with effortless flow.
Here is how to feather a shape:
- Select a shape from the selection tools in the toolbar. The options should include the Elliptical tool and the Lasso tool.
- After choosing one, draw on your canvas for the area you want to have feathered edges. After releasing your mouse while drawing, your shape should look like it has moving lines surrounding the border.
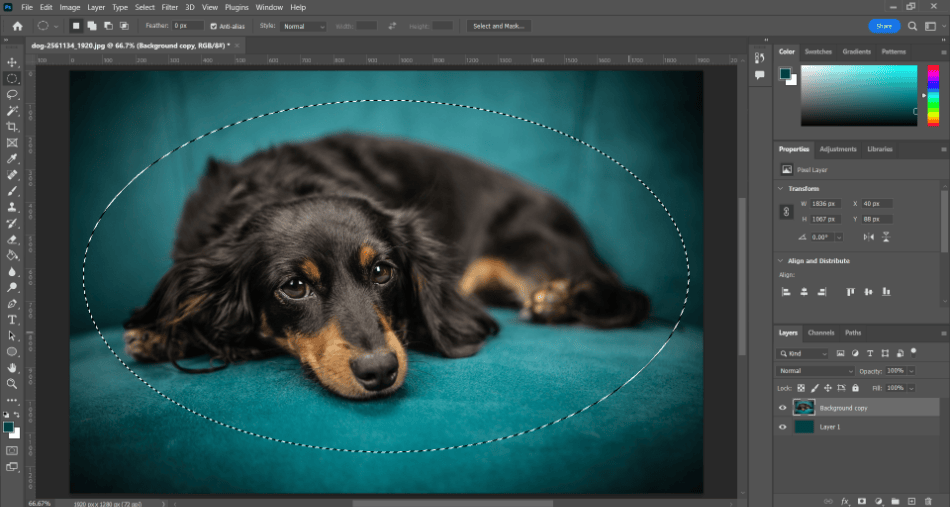
Photo Credit: Mark McPherson
- With your area selected, go to the settings bar at the top of the window. There should be a button that says Feathering. Add in the feathering by pixel size spread.
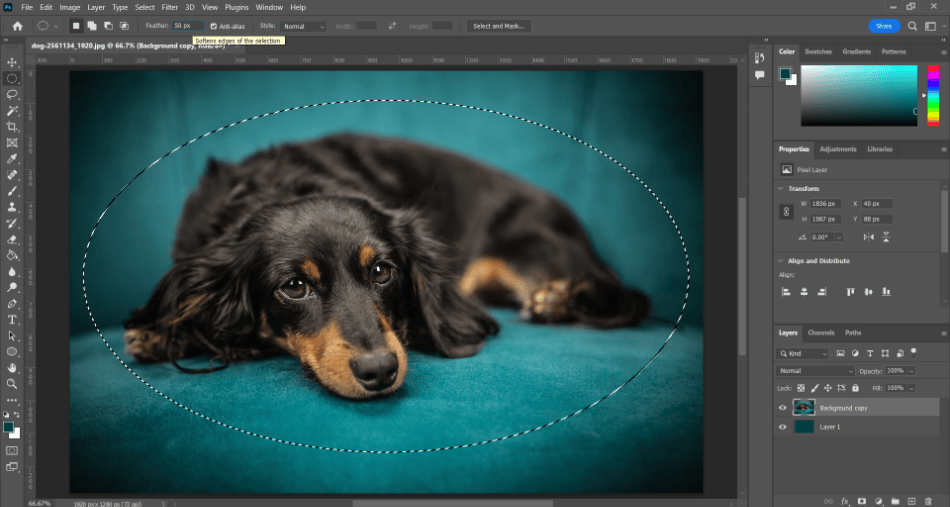
Photo Credit: Mark McPherson
- Now copy your shape and paste it on a new layer to see the feathering effect. The shape should now have much softer edges when you place it in front of a background.
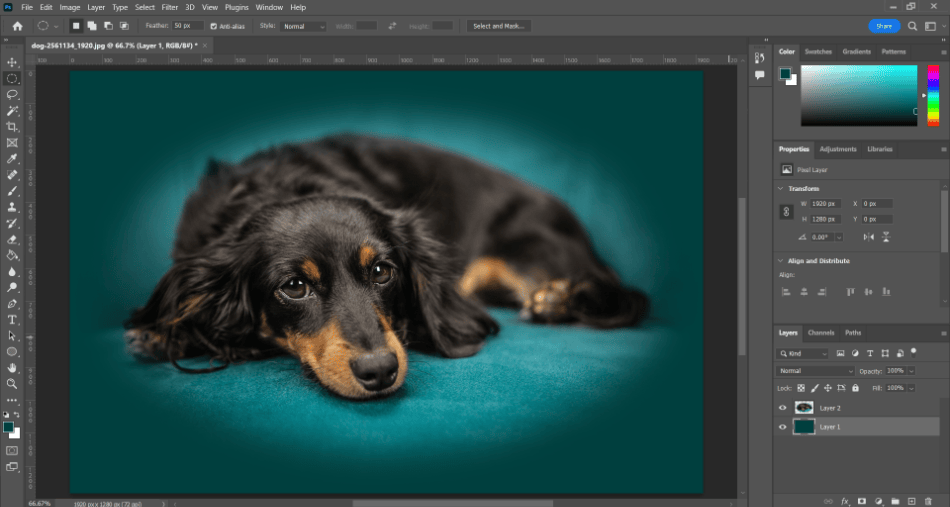
Photo Credit: Mark McPherson
Feather a Selection
Feathering a selection can be ideal for blending specific subjects into a background. Let’s say a bird needs to be perfectly placed in a woodland scene, but the selection method doesn’t trim off all the edges. This is where the feathering technique comes into play.
- Start by creating a selection around your subject and then separating it from the background. There are many methods to choose from, but using relatively easy choices like Quick Selection or Object Selection is recommended. For this tutorial, Quick Selection will be used.
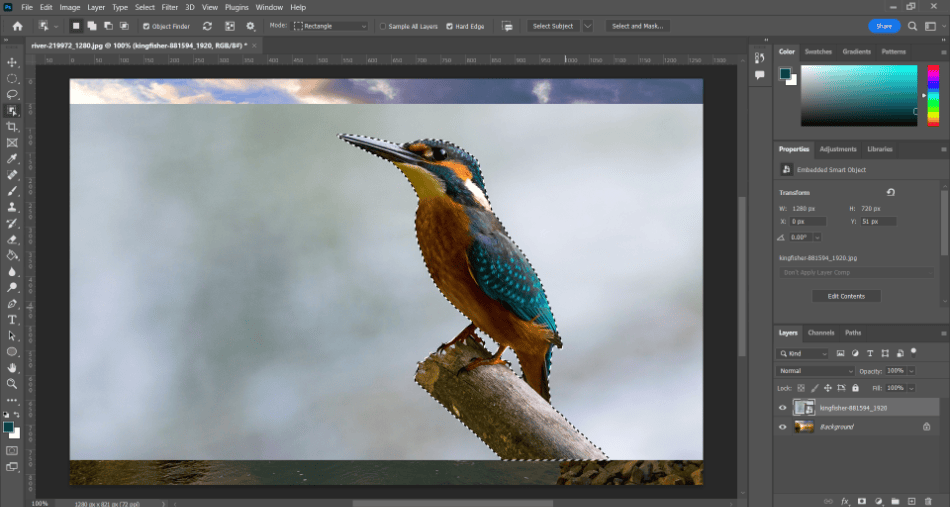
Photo Credit: Mark McPherson
- Remove your selected subject from the background by copying it onto a new layer. Don’t worry if the selection still has some background lingering around the edges. The feathering will take care of that soon enough.
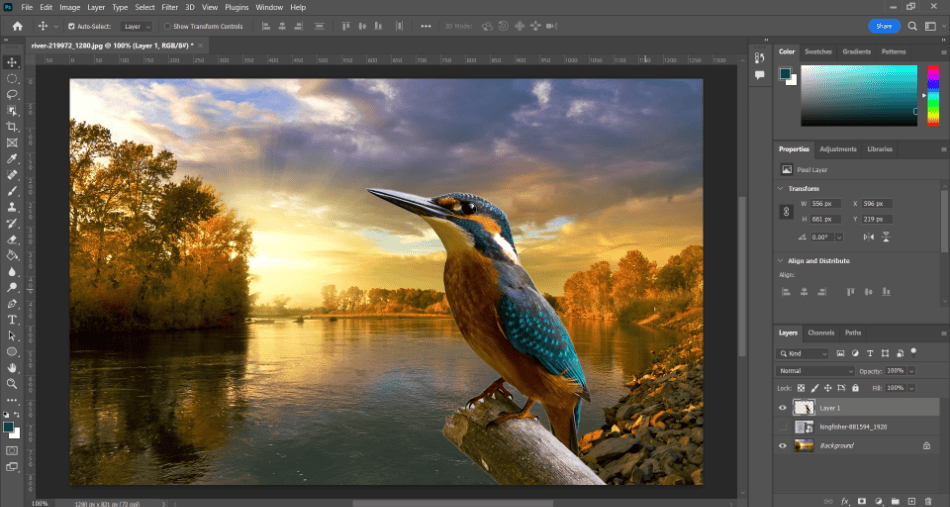
Photo Credit: Mark McPherson
- Place a background layer behind your isolated subject. This will be present to see how the feathering will look and how well it will blend.
- Now we’ll create a mask for our selection by navigating to Select and Mask from the options bar or Select menu.
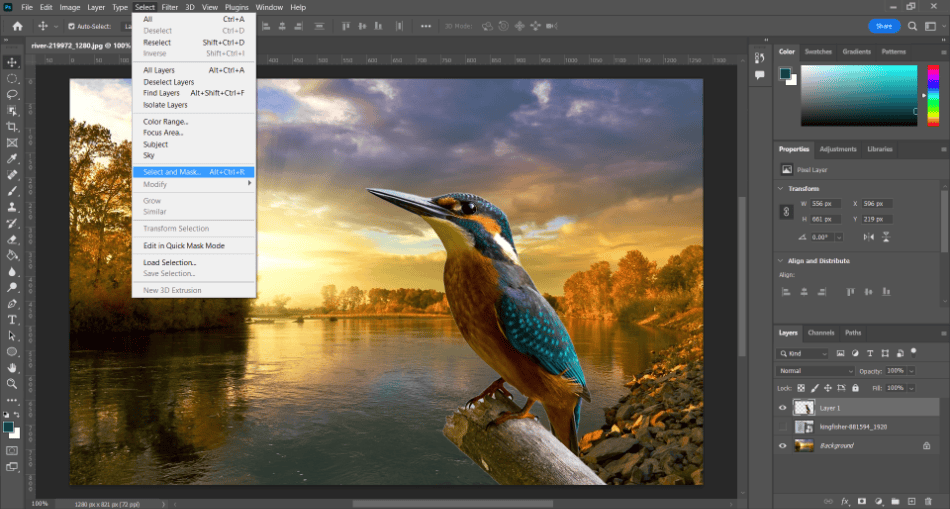
Photo Credit: Mark McPherson
- Find the Properties panel on the right side of the screen. In that panel, you’ll find a slider for Feathering. This will allow you to create a blur effect over your selection’s bordering area.
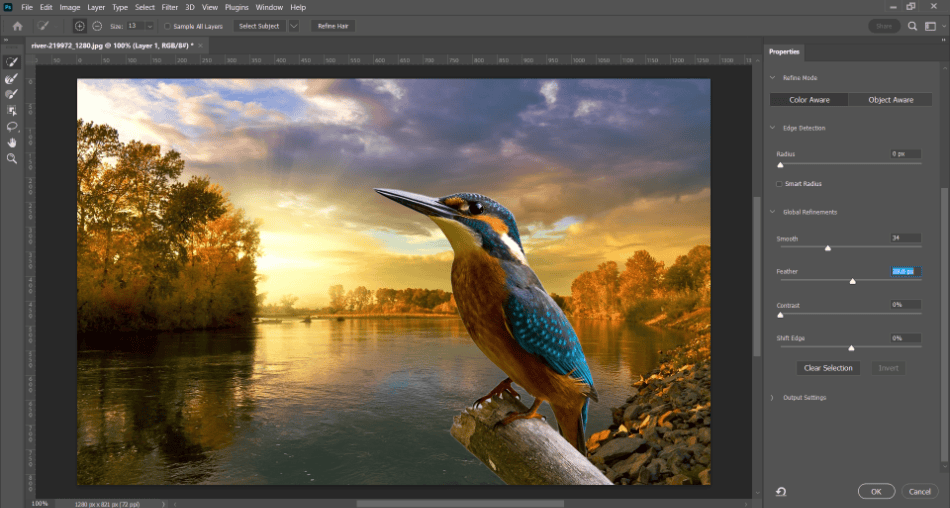
Photo Credit: Mark McPherson
- When the feathering looks correct, click Ok to finalize the feathering.
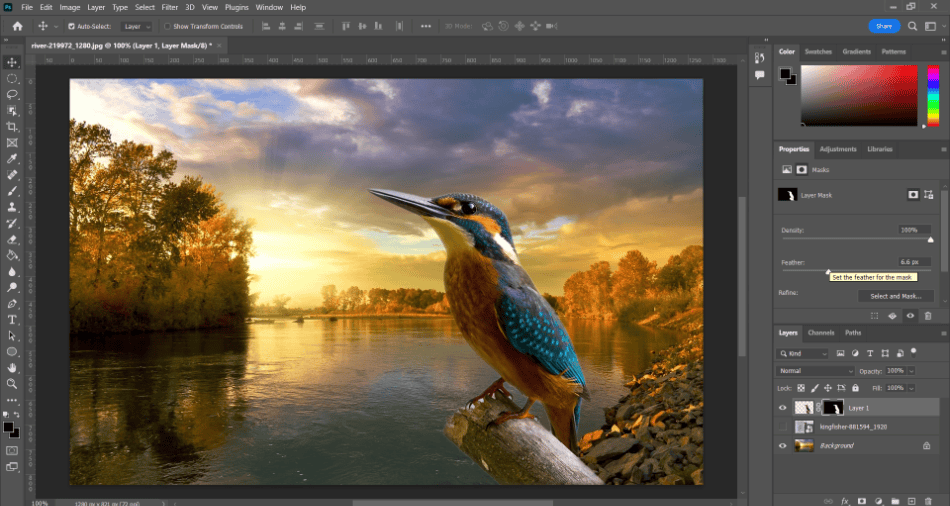
Photo Credit: Mark McPherson.
Feather a Radius
Sometimes it’s desirable for the feathering to take on more of a simple shape. In the same way that gradients can be radial, feathering can also be placed in a radius. Here’s how to pull this off.
- Create a selection around the object you want to feather.
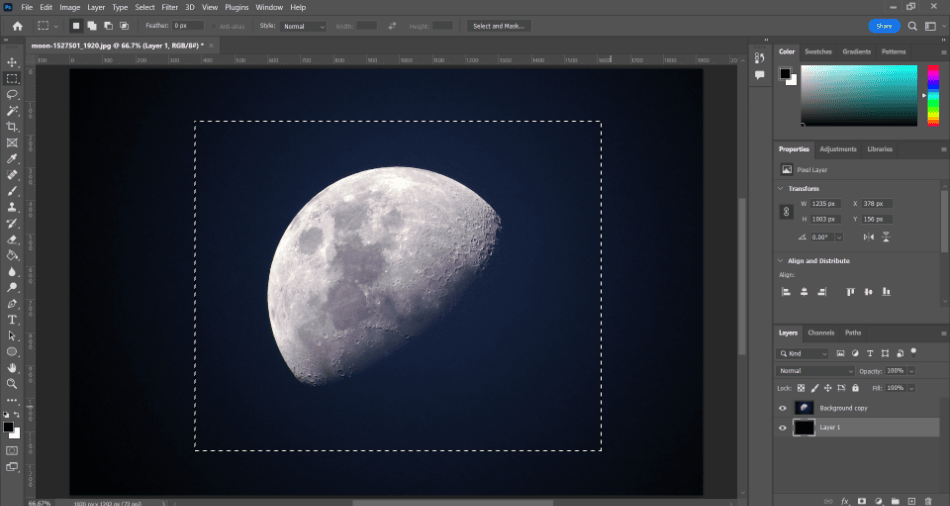
Photo Credit: Mark McPherson.
- Navigate to Select › Modify › Feather or the hotkey Shift+F6. This should open up the modification settings for feathering, where you can form a radius by raising the pixels.
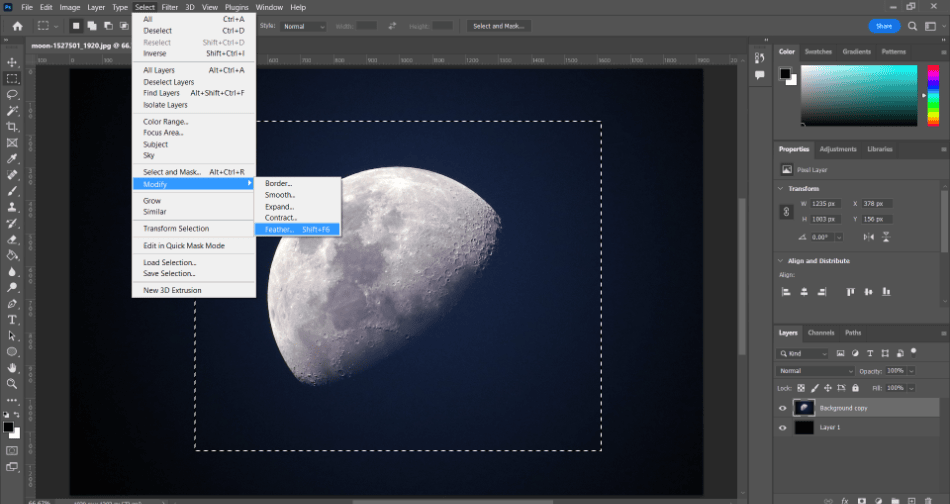
Photo Credit: Mark McPherson
- After clicking Ok, you’ll see the results of the feathering. The selection is now more circular than square.
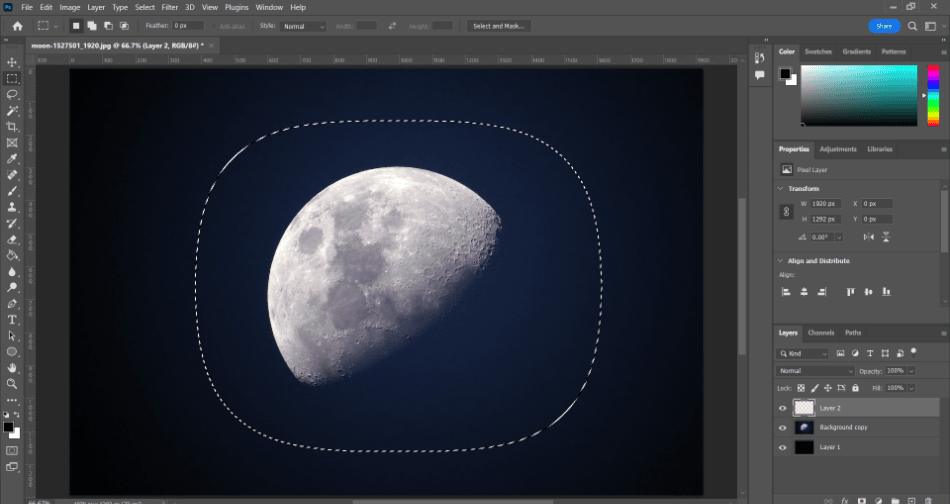
Photo Credit: Mark McPherson
Related Article: How to Outline Text in Photoshop
- Copy and paste the feathered selection to a new layer. Try it out in front of a background to see just how much was feathered. You may have to experiment a few times with this to get the best results.
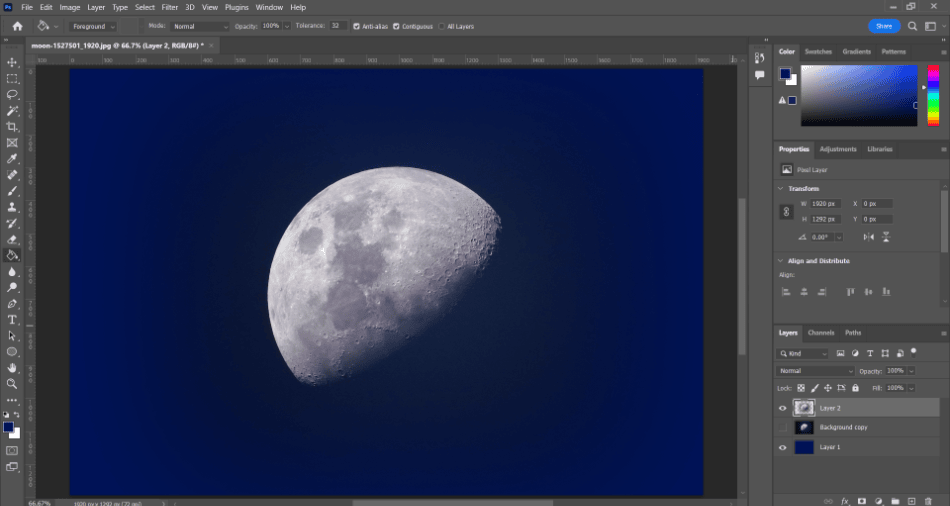
Photo Credit: Mark McPherson
When Should Edges Be Feathered?
- When a subject needs to better blend in with a background.
- When you want to create an aura around a subject.
- When the edges of a selection are too sharp.
- When highlighting a certain graphic and separating it from the background.
Tips and Tricks
- Cropping: Try to crop as much of the image as possible to remove the desired areas. This can save some time when it comes to applying feathering.
- Overlays: When applying feathering, don’t forget to test some overlays if you’re trying to better blend a photo or graphic. Be sure to note the Fill percentage as well in the layer properties.
- Other Techniques: If you’re aiming to remove as much of the background as possible, consider using the instant background-removal tool or the smart object selection tool to isolate your subject better.
Frequently Asked Questions
Fading edges of photos in Photoshop can be accomplished through feathering. You can make this edit by selecting the area you want to feather with the selection tools and then navigating to Select › Modify › Feather.
Once you’ve applied a mask in Photoshop, there should be a properties panel on the right-hand side of the screen. There should be a slider in there for Feathering. Play with it to get the desired results.
Once you’ve applied a mask in Photoshop, there should be a properties panel on the right-hand side of the screen. There should be a slider in there for Feathering. Play with it to get the desired results.
Edges can be blurred by applying a mask and adding a gaussian blur. Make your selection in Photoshop by isolating your subject. Next, apply a mask by pressing Q for Quick Mask mode. Then navigate to Filter › Blur › Gaussian Blur to use the blur slider. Hit Q to leave Quick Mask mode and then alter the Brightness/Contrast until the blur looks appealing.
Shapes can be easily blurred around the edges with some feathering. To add feathering to a shape in Photoshop, use the Elliptical or Lasso tools to draw around a selection. In the settings bar, select Feathering and alter the feather settings to find just the right amount of feathering.
Yes, it is possible to feather a mask in Photoshop. After selecting and applying a mask, navigate to Filter › Blur › Gaussian Blur. The blurring will create a feathering effect around the mask. Additionally, you can find the Feathering settings through Select and Mask from the options bar and find Feathering in the Properties panel.
Once you’ve made a selection in Photoshop, choose Select and Mask from the options bar. This will give you access to Feathering through the Property settings. Play with the settings to find the right fit.

Mark McPherson has been working as a video editor and content writer for over ten years. His background started in animation and video editing before shifting into the realm of web development. He also branched out into content writing for various online publications. Mark is an expert in video editing, content writing, and 2D/3D animation.