(Last updated on February 10th, 2023)
Canva is a straightforward app, but it can also get crowded quickly. If you’re working with many design elements, grouping them can save you a lot of trouble. In this article, we’ll show you how to group elements in Canva and keep things organized.

Credit: Pixabay.
How Canva Works With Elements
Canva is one of the simplest design apps to use. Its intuitive nature and in-browser interface make it one of the best applications for non-designers. That being said, the program can get a bit complicated with busy and intricate designs.
As you add more elements to your design, the canvas grows all the busier. You may want to move a particular group of elements to one side of the screen or shift their size. Doing so by clicking one-by-one on the elements can become a tedious experience.
Credit: Mark McPherson.
Thankfully, there’s a solution to this common problem. Grouping elements together makes collecting various elements in easily editable groups easier. As with many of Canva’s features and tools, grouping doesn’t take much effort to figure out and will quickly become a standard part of the design process going forward.
Grouping and Ungrouping in Canva Desktop
Grouping in Canva
If you’re using Canva on a desktop, here’s a step-by-step guide to group elements:
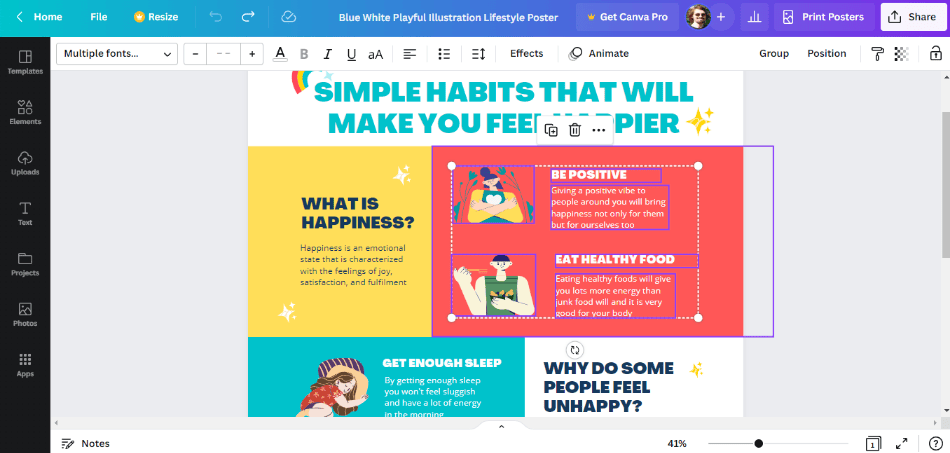
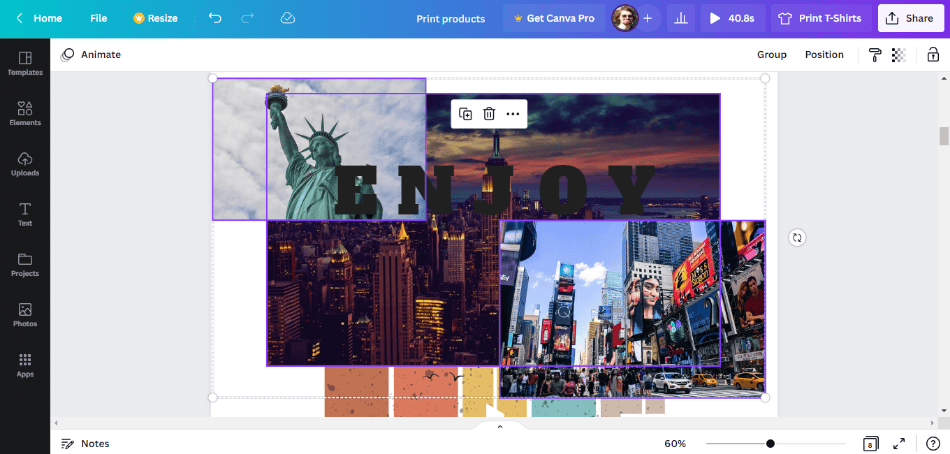
- Start by selecting all of the elements you want to be in a new group. This can be accomplished by clicking and dragging over the elements you want to be collected in the group. Like Photoshop, you can also hold Shift and click on each element you want to be grouped. You can also use Shift to deselect from the grouping as well.
Credit: Mark McPherson.
- With the elements collected, it’s time to group them. Look in the top toolbar for the Group button. Click it, and the elements will be grouped. Alternatively, you can also use the keyboard shortcut of CMD+G (Mac) or CTRL+G (Windows).
Credit: Mark McPherson.
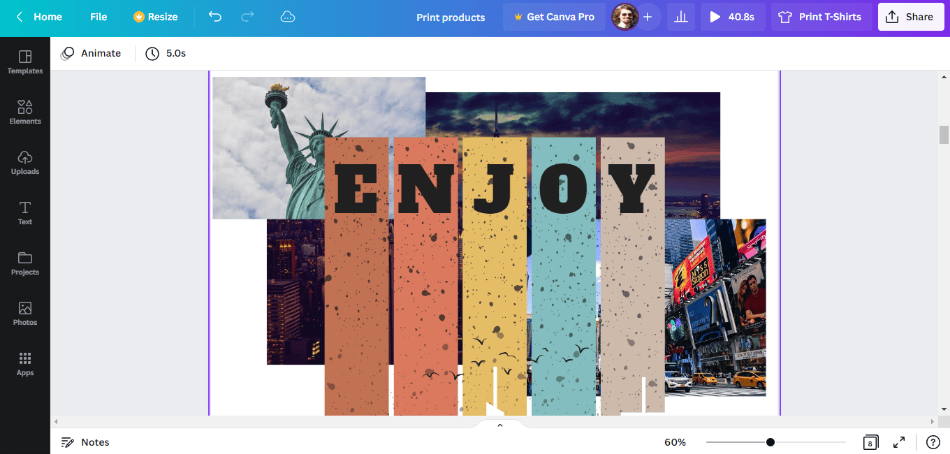
- The elements are now grouped and can be moved or manipulated together.
It should be noted that grouping only works for moveable elements and doesn’t apply to grids or charts on your canvas.
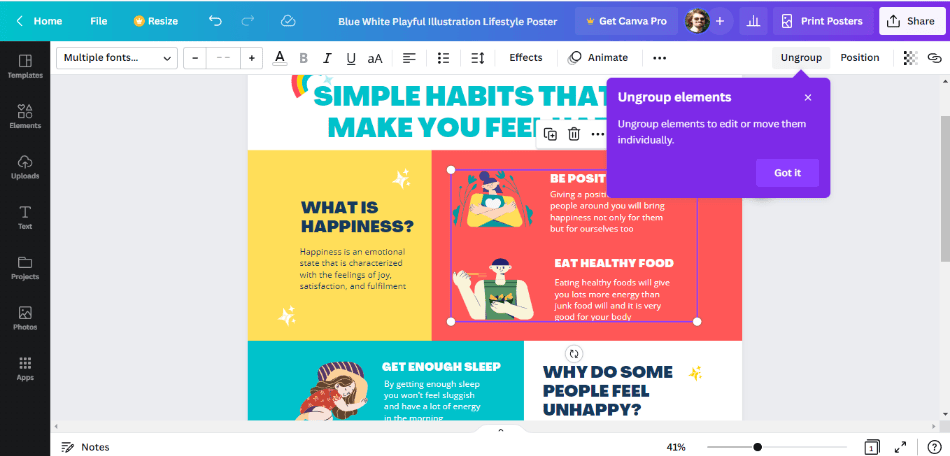
Ungrouping in Canva
If you need to break the grouping to change an individual element, it’s a simple process. Ungrouping can be accomplished easily by selecting the group and clicking the Ungroup button in the top toolbar. This will automatically separate out your elements into individual parts.
Grouping and Ungrouping in Canva Mobile
The mobile version of Canva also has the grouping function. It works differently in terms of the selection process. Here’s how to group on Canva’s mobile application.
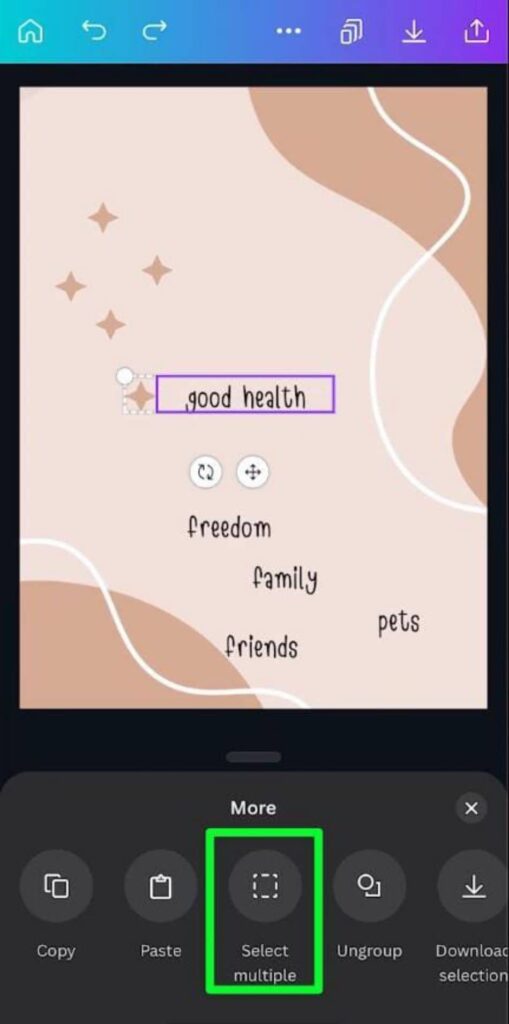
- On your canvas with elements, tap and hold your finger on one of the elements until a menu appears.
- Now tap on Select Multiple, which will look like a box with a dotted line. After that, tap on other elements in your design that you want to be in a group.
Credit: Brendan Williams Creative.
- When you have all the grouped elements you want to be selected, look in the bottom toolbar for the Group option. After tapping that, your group is created.
The group can be ungrouped on Canva mobile by simply tapping the group and then finding the Ungroup option from the editor toolbar.
The Layering Alternative on Canva Desktop
In addition to grouping, another option for altering elements together is layering. This process is a bit simpler, considering that elements are already placed on layers labeled for front and back. Changing the layering is easy, as it’s just a matter of pushing the placement around.
Here’s how to change the layers in Canva when working with many elements:
- Start by clicking on the first element you grouped.
- Next, select multiple other elements by holding Shift and clicking on each one.
- When you’ve selected a group of elements, look in the top toolbar for the Position option. You might have to click on the periods to find this feature if it’s buried in the toolbar.
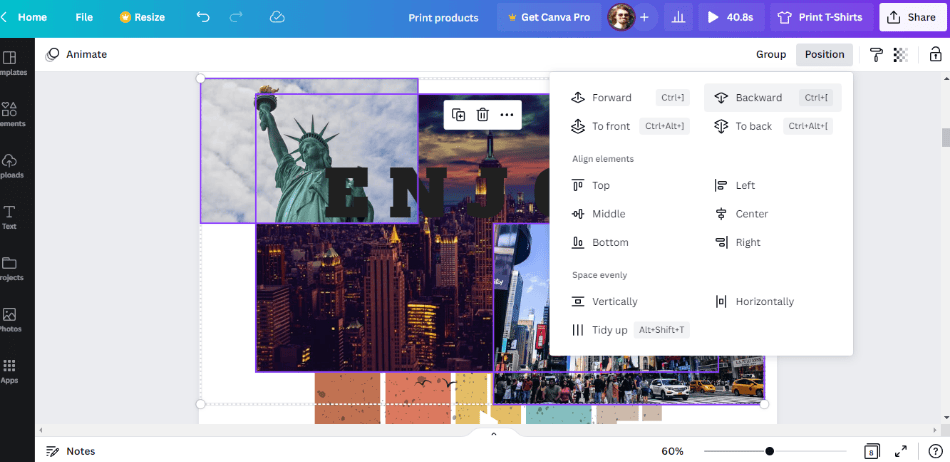
- After opening Position, you’ll be presented with a submenu of how you want to position this group of selected elements. Here are your options for changing the positioning of the elements:
- Forward: This will bring the selected elements one layer forward, pushing them closer to the foreground.
- Backward: Brings the elements one layer backward, pushing them further into the background.
- To Front: This option will bring the elements to the topmost layer, placing it above all the other elements.
- To Back: Brings all the elements to the far part of the background, behind every non-selected layer.
Another option in the Positions menu is alignment, where you can align the entire grouping to any position on the page. Elements can be aligned for top, bottom, middle, left, center, and right. The layer position and alignment will happen when you click one of these options.
The Layering Alternative on Canva Mobile
Using the layer method on Canva mobile is similar. Here’s a guide on how to go about changing the layering position in the mobile version.
- Start by tapping the element you want to edit.
- Select Multiple from the toolbar and select the elements you want in a manner similar to the previous grouping method.
- With your elements selected, find the Position button in the toolbar, appearing with three squares as its icon. From there, you should be able to select the positioning.
The layering technique is handy for quickly bringing elements back or forward. It can also be used in conjunction with the grouping method as well. Using both for the right project can make your design process even smoother.
When To Group
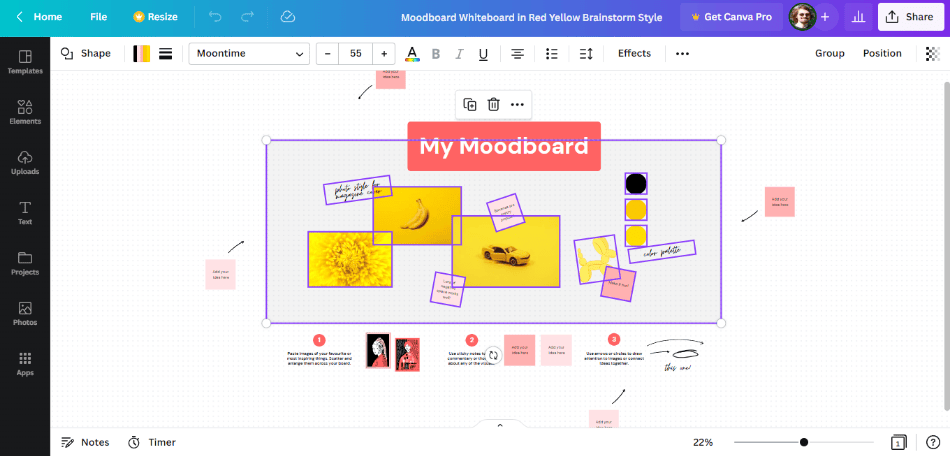
Credit: Mark McPherson.
- White Board: Whiteboard designs can get complicated rather quickly. For this reason, keeping all your text and shapes in neat groups that can easily be moved and edited is a good idea.
- Instructional Posters: Designs meant to convey much information can get relatively dense. Group up your text and images so they’re kept separate and can be easily altered.
- Website Designs: Designing websites can be daunting in Canva, but it is still possible. To avoid confusion in the many elements, use grouping to avoid your elements being buried in the background or clashing with other elements.
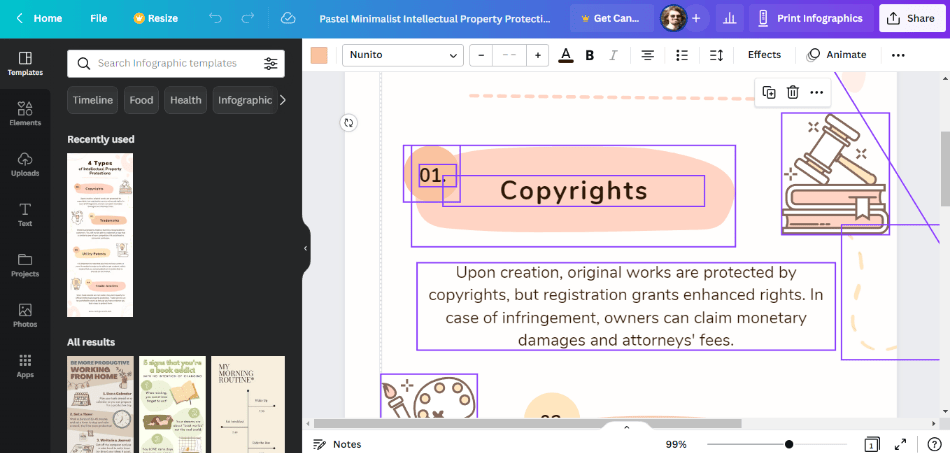
- Infographics: Infographics are notorious for becoming extremely detailed with information that grouping would be a necessity of these complex designs.
Tips and Tricks
Credit: Mark McPherson.
- Layer The Simple: While grouping is handy for keeping many elements together, you may not have to do so if your group includes 2-3 easy-to-click features. Consider layer-positioning and shift-selecting these elements if it saves more time.
- Consider the Design: If your design is becoming too dense with grouping, consider trimming down or fine-tuning the design to be less complex.
- Quick Selection: If you’re using the desktop version of Canva, you can quickly find the grouping and positioning options in the submenu periods that come up after making the selection. Take advantage of this to speed up the process.
Frequently Asked Questions
Grouping together elements in Canva is quite similar to how it is in most design programs. Start by clicking and dragging a box around the elements you want to group or click on each while holding Shift. Then click the Group option to turn that selection into a group.
Elements can be grouped in Canva on a Mac the same way on a PC. This can be accomplished by clicking and dragging over the elements and then clicking the Group button. The only significant difference is that the shortcut keys for grouping are Command and G instead of Control and G.
Sometimes, the group option in Canva can be hidden if the toolbar is too small. Expand the toolbar menu by clicking the periods. Alternatively, the grouping button can be found in the submenu periods that appear in the selection box when you’ve selected the elements you want to group.
Multiple items can be selected in Canva by simply clicking and dragging a selection box over the elements. You can also hold Shift and click on each item individually.
It is possible to group in Canva’s mobile version. You must tap and hold on to the first element and then choose Select Multiple from the submenu. Then begin tapping on the additional elements you want to group. Finally, tap the Group button to finish the grouping.

Mark McPherson has been working as a video editor and content writer for over ten years. His background started in animation and video editing before shifting into the realm of web development. He also branched out into content writing for various online publications. Mark is an expert in video editing, content writing, and 2D/3D animation.