(Last updated on January 9th, 2023)
It’s important to make sure text in Photoshop is visible. Giving text an outline can make it easier to read. In this article, we’ll go over how to place outlines over text in Photoshop with ease.

Why Use Outlined Text in Photoshop?
Photoshop’s text can only look as good as you style it. White text on a white background will look terrible and unreadable. Having an outline on that text will make it much easier to see.
Text outlines are essential for any graphic design you create in Photoshop. Even if you think the color balance looks decent, the text could still be unreadable from certain angles or in different formats. With the aid of an outline, you can ensure your text will be more readable by the audience.
Sure, you could create an outline for your text by merely duplicating the text layer and making the one behind it bigger and darker. That route, however, has some problems with alignments. There’s a far easier way to apply for a border that doesn’t require much work and is more straightforward than aligning and duplicating layers.
How To Apply Outlines in Photoshop
Applying an outline to Photoshop text can be done by applying a Stroke style. This process is so easy you’ll be using it as part of your regular Photoshop routine in no time. Here is the step-by-step process for adding an outline.
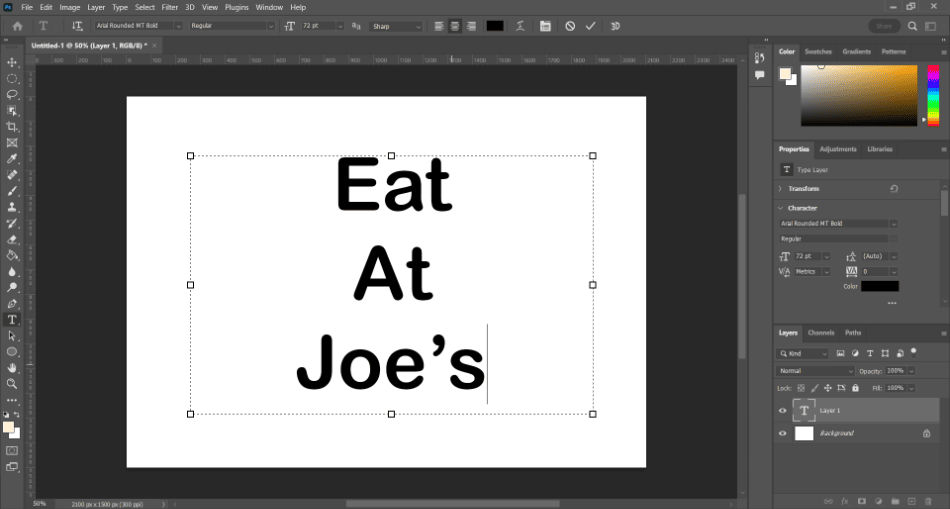
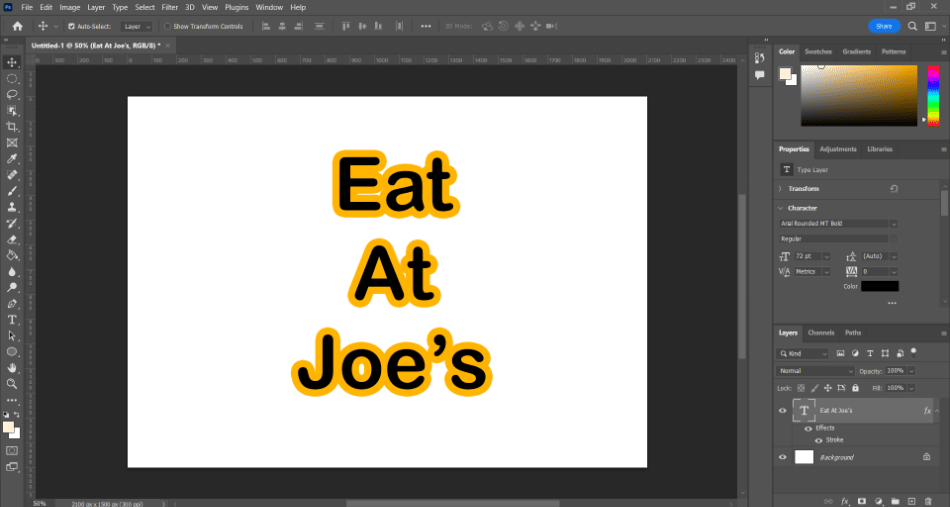
- Place some text on your Photoshop canvas. It doesn’t matter what type of font you use for this example. If you’d like to see how well outlines work, try choosing a thin font family to see how ideal outlines can be for your text.
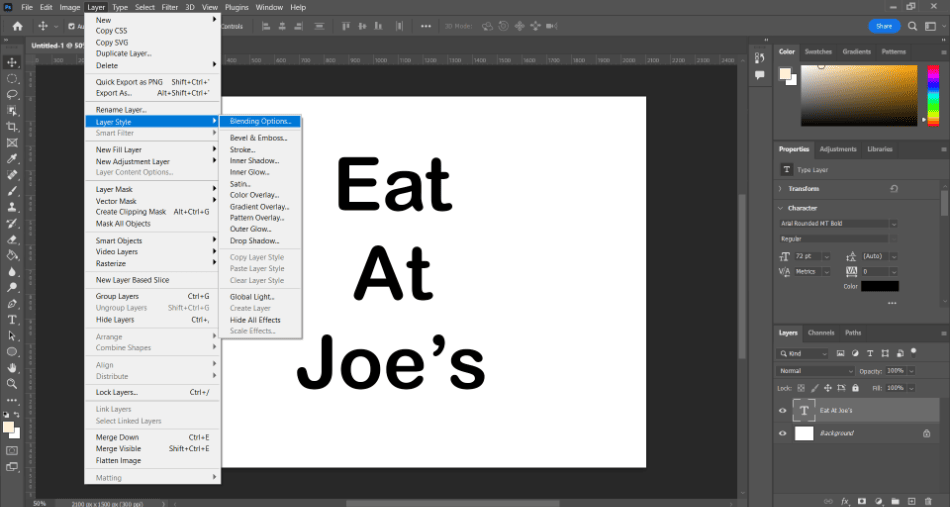
- With your text layer selected, navigate to Layer > Layer Style > Blending Options. Alternatively, you can right-click on the layer itself and select Blending Options.
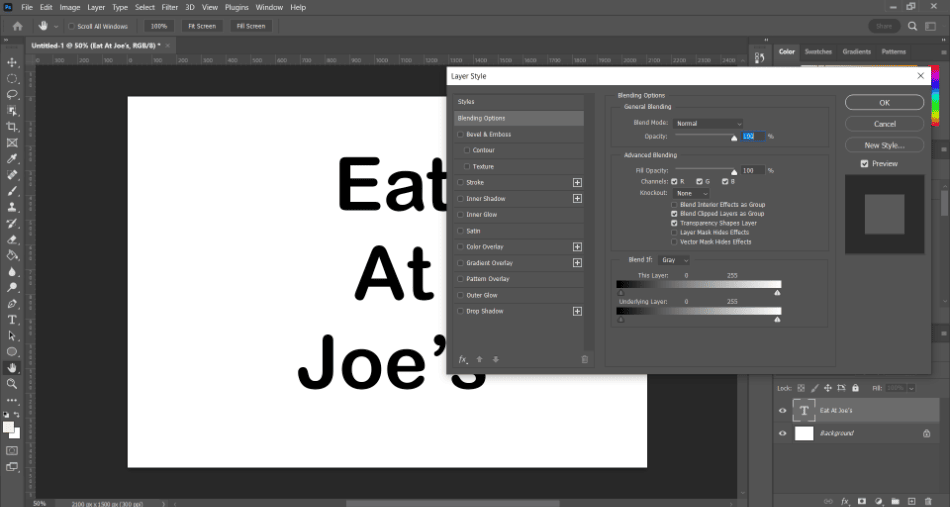
- After opening the Blending Options, you should have a new window with a checklist of different styles to apply. Scroll down to the checklist item that says Stroke and click it.
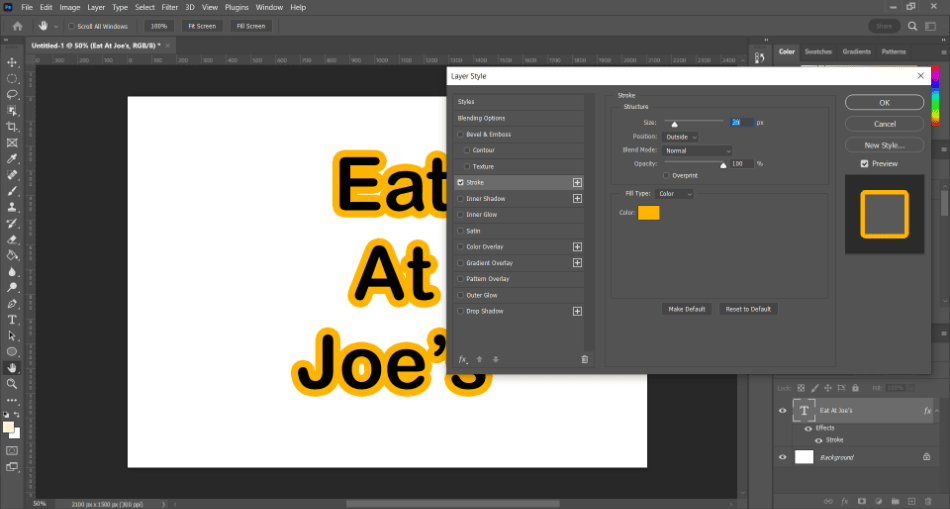
- Once you click the checkbox, you should see an outline around your text. Edit the stroke size and color options, and select a color that would be visible and distinct from your background. Check out blending modes as well if you’d like to experiment.
- When you’re finished, click OK. Your text should now be outlined. If you want to change it at any time, you must open up Blending Options again.
It’s worth noting that this outline doesn’t just have to be applied to text. It will work on most layers, providing outlines for shapes and pictures. Keep this in mind for other Photoshop projects where this option would be helpful, like throwing a border on a photo.
Turning Off The Fill
You may want to have just an outline of a text without a color inside, making the text look more like a stencil. If you want to create this type of text, all you have to do is set the Fill of your text layer to 0%. Changing this setting will make your text disappear except for the outline.
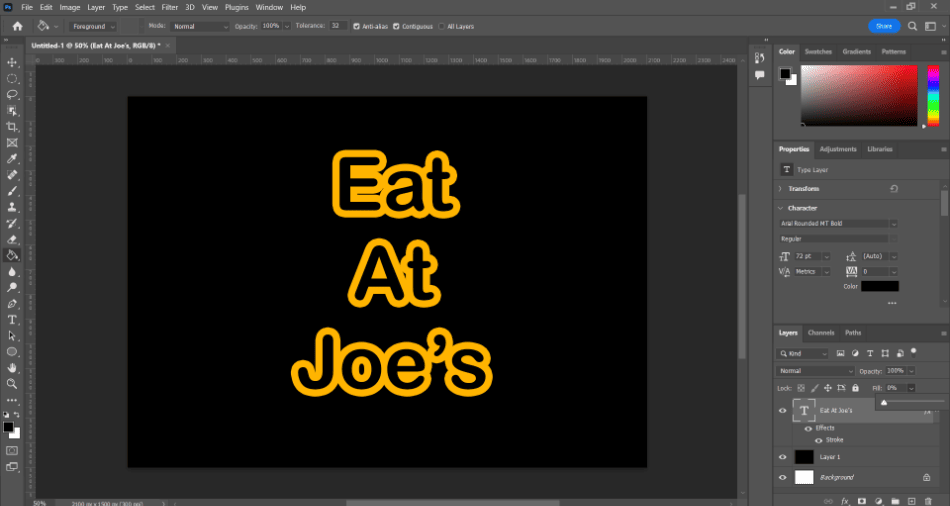
Outlined text with no fill can make your text look like a neon sign. This is also a great technique if you want to create more of a stencil for your text, where the fill could be another layer. You may have to play around with masking to get this to work, but it is worth the experimentation time.
What Can I Use Outlined Text For?
Outlined text can serve several different projects. Here are a few examples of where it would be helpful to have this feature applied to your text.
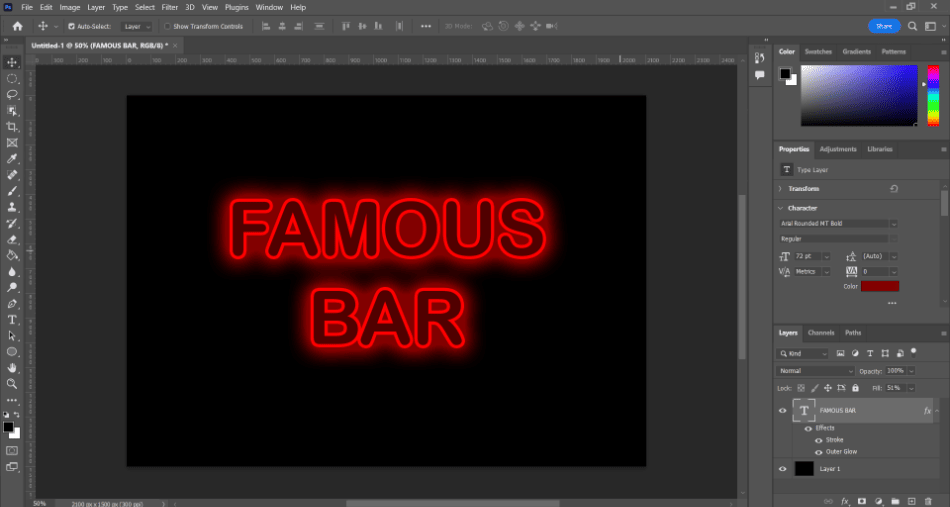
- Neon Signs: Take out the fill of your text, add a stroke, and then some glow. This can make your text look like a neon sign you might see in the city or the window of a bar.
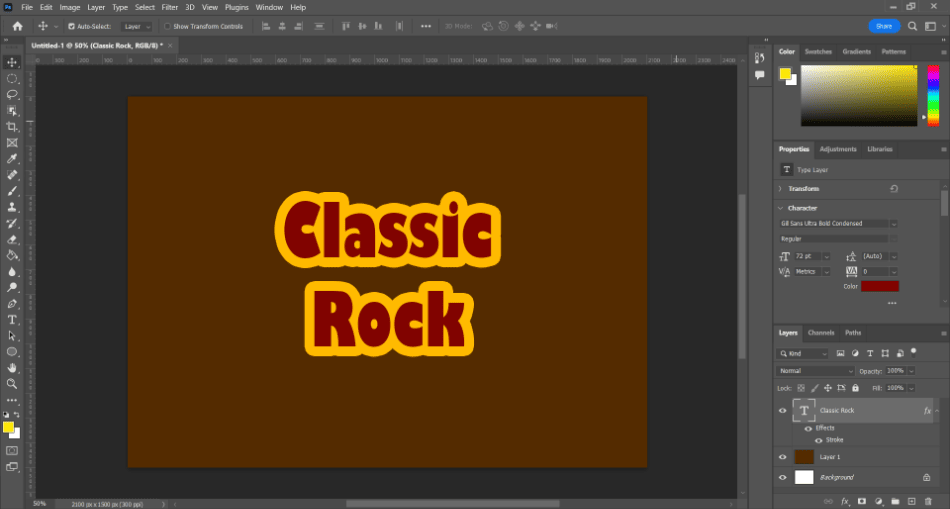
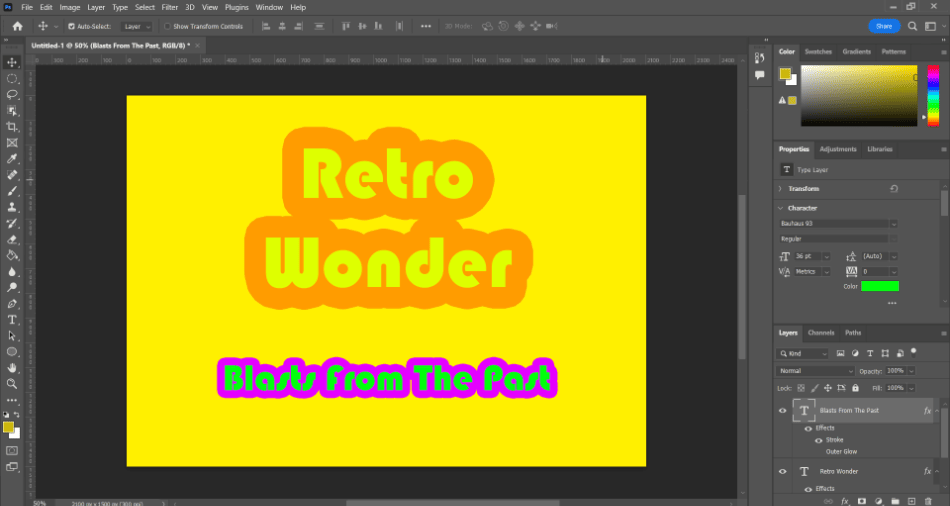
- Playful Posters: Text with thick outlines can have an eye-catching look similar to 1970s designs. If that’s the retro style you’re aiming for, try throwing on some warm colors and a heavy stroke.
- Readable Pamphlet Text: If you’re creating text for a pamphlet, it can be difficult for readers to read all the text if it clashes with the rest of the colors. To make pamphlet text easier to read, try adding a thin enough stroke to make the font more pronounced.

Read more:
Tips and Tricks for Outlined Text
- Play It Subtle: The outlined text doesn’t always have to be big and pronounced. Sometimes you can make it a subtle enough border to make your text visible. Try going for the thinnest stroke first with a basic black and see how pronounced your text becomes.
- Hide It More: Play with the opacity slider to make the outline less visible. This can be handy to make the text more apparent but boldly with its stroke.
- Experiment With Opacity and Fill: Try different variations of altering the stroke and fill of your text layer. Testing your text this way can make it easier to blend into other projects.
- Not Just For Text: The Stroke style doesn’t just work for text layers. If you ever have to rasterize your text or turn it into a smart object, you can still apply the stroke to these layers. Keep in mind that you can also use the stroke on image layers.
Alternative Outline Styles in Photoshop
As you may have noticed with the styling options, there’s more than one type of style you can apply to text. Consider these other style choices if you want your outline to have some more detail or a particular look.
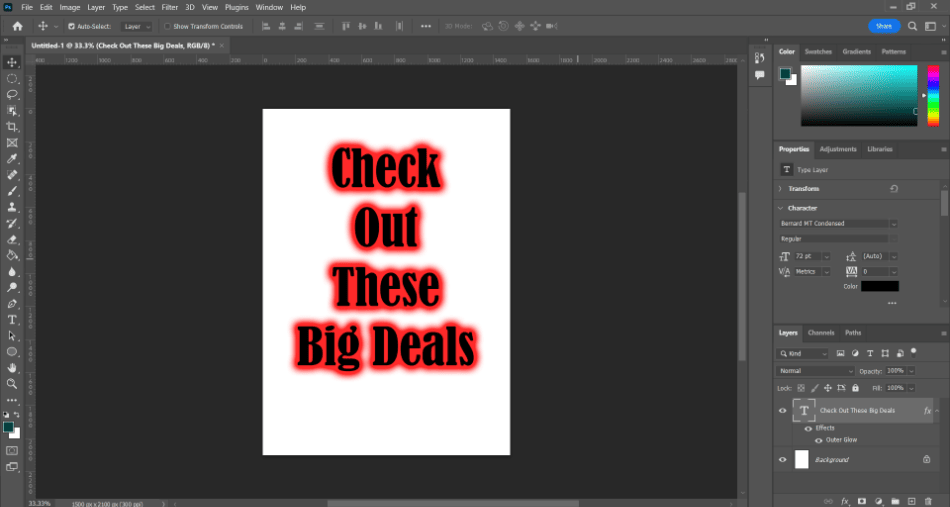
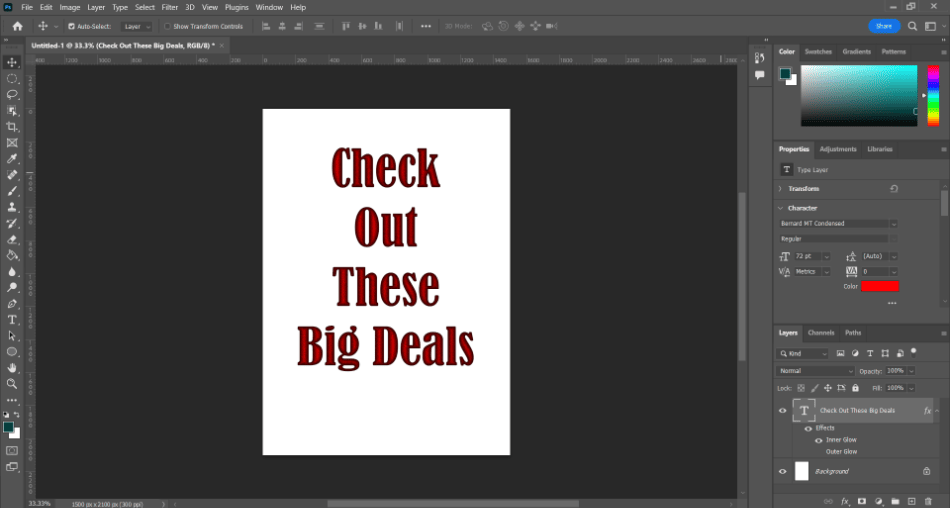
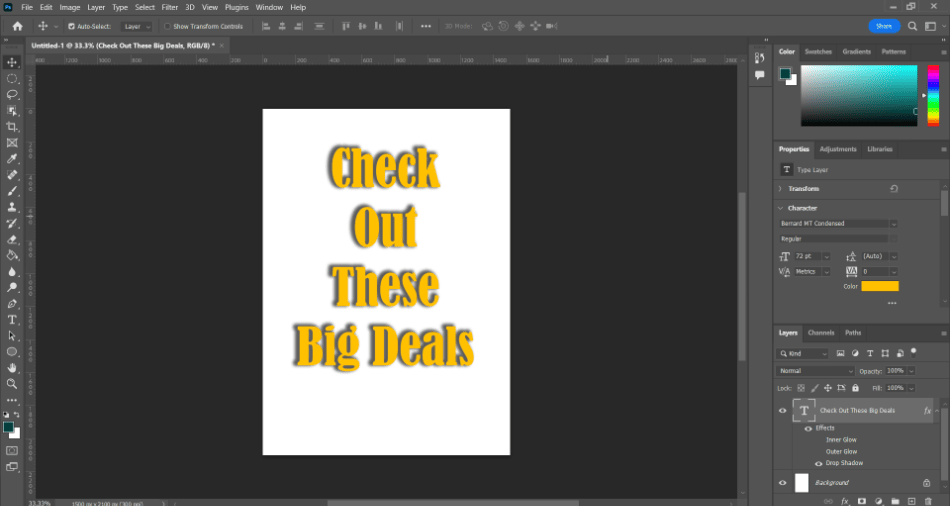
- Outer Glow: This style will add a glow to your text, as though it’s shining through the darkness. This is an excellent choice to create a specific warm tone or attention-grabbing effect.
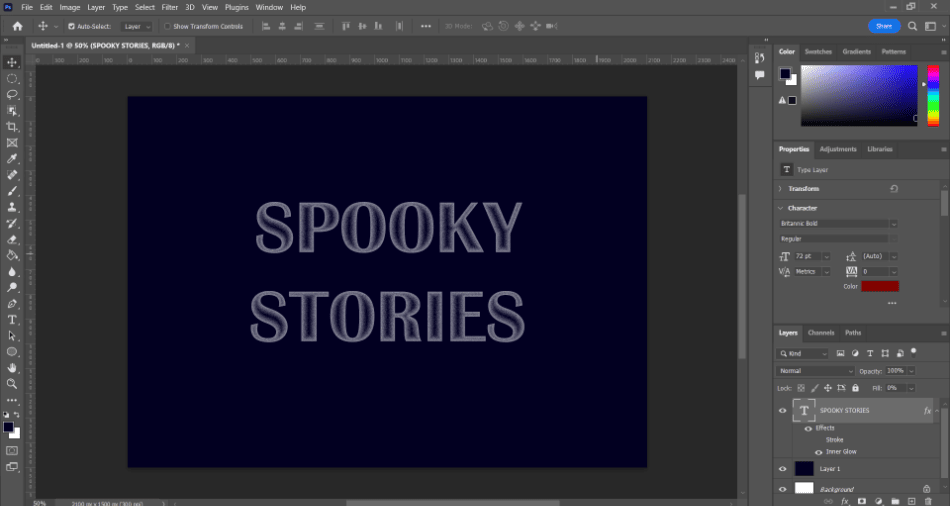
- Inner Glow: Having an inner glow can fill in more of the text area to create a unique fill replacement.
- Drop Shadow: For a subtler way of drawing attention to your text, a drop shadow is a decent choice. Drop shadows can make it feel like your text has depth with shadows being cast.
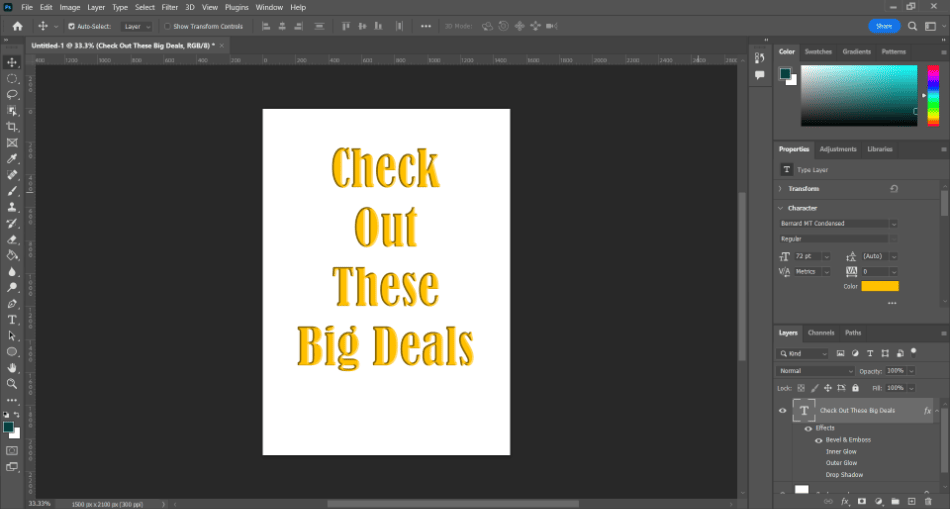
- Bevel & Emboss: Try out the bevel and emboss feature for a more inner outline. This tool will make your text look like it’s been rounded off around the edges like a finely cut piece of wood. You can also add texture and contour to the beveling to bring even more detail to your text.
Frequently Asked Questions
Text can be outlined in Photoshop using the Stroke feature in the Blending Options of your text layer. The Stroke can be edited for size, opacity, color, and more to give your text the most suitable of outlines.
Yes, Photoshop does allow text to be outlined. You accomplish this task by turning on the Stroke style for a text in the Blending Options. Additionally, you can add drop shadows or glows if you want a different type of outline.
To create Photoshop text that is outlined without a fill, you first need to place a stroke on your text. After adding the outlined stroke, go to your layer and change the Fill percentage to zero. This will remove the fill but leave the outline of your text.
Hollowing text can be accomplished by adding a stroke and removing the fill. Additionally, you can try out the various Blending Options for Inner Glow and Inner Shadow to give your text more of a hollowed-out look.
The Blending Options in Photoshop don’t require changing the layer into a rasterized or smart object. You can apply an outline to your text and change the content.
The Blending Options can add Strokes to the text in Photoshop. The stroke creates a border around the outline of your text and can be edited for size, color, opacity, and even blending options.

Mark McPherson has been working as a video editor and content writer for over ten years. His background started in animation and video editing before shifting into the realm of web development. He also branched out into content writing for various online publications. Mark is an expert in video editing, content writing, and 2D/3D animation.