(Last updated on January 9th, 2023)
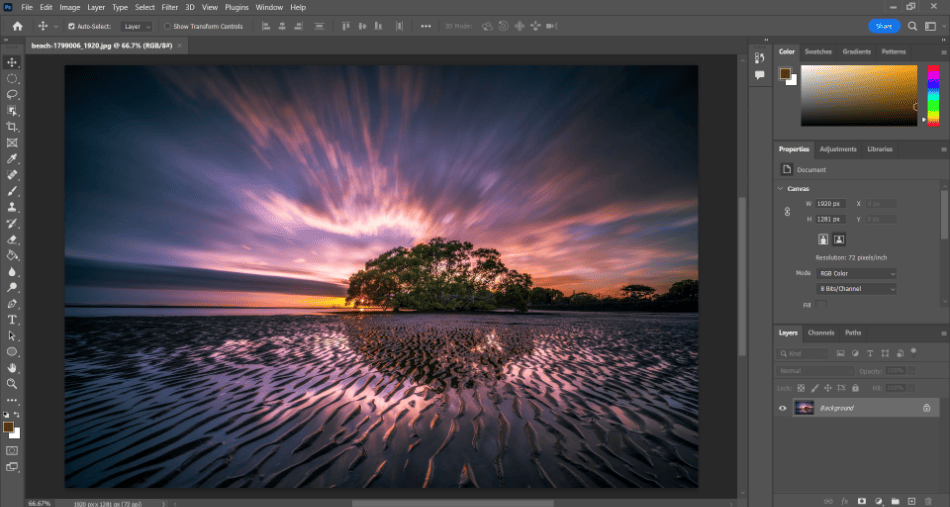
Resizing photos is one of the most common Photoshop operations. It’s a process that doesn’t take much time to learn and is incredibly handy. We’ll walk you through this aspect of Photoshop in this step-by-step tutorial on image resizing, covering everything you need to know about this common practice.
There’s a lot that you can do with images in Photoshop. You can alter a photo’s color, contrast, crop, and more. So something as basic as image resizing shouldn’t be a problem.
Image resizing has multiple uses in Photoshop. For the most basic of needs, you may need a smaller image to place on a website or send to a printer. Another condition might be to alter the size for a Photoshop project like a collage or poster design.

Resizing Images in Photoshop
There are two methods to use when resizing an image. You can either resize the entire image on your canvas or use the transform tool if you want to resize the image within the canvas area. We’ll go over both methods so you know which path works and will suit your needs best.
Resizing With The Image Size Tool
The Image Size tool is the easiest way to resize an image in Photoshop. This function allows you to resize the entire image without using any tools to drag the image around. It’s the speediest way to resize an image and takes the least effort.
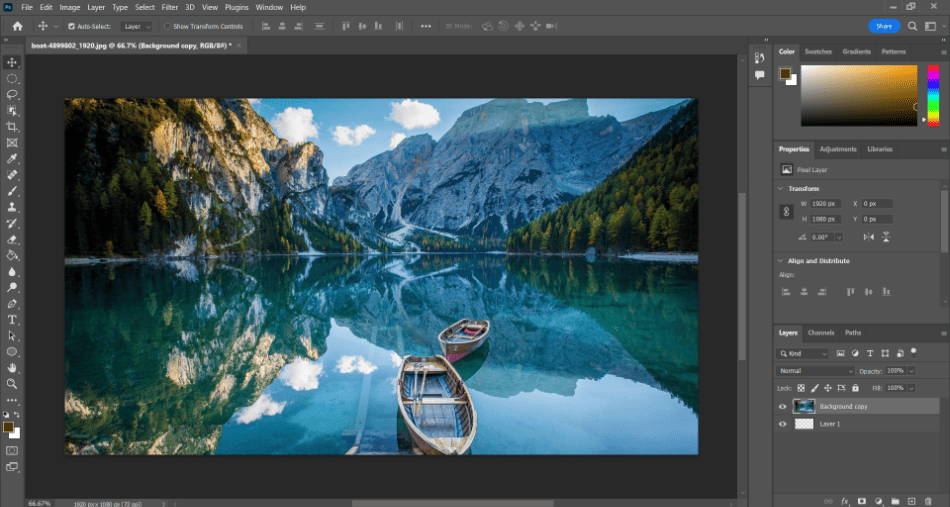
- Start by bringing your image into Photoshop. Make sure it occupies the entire canvas. If you opened a photo with Photoshop, this should already be done.
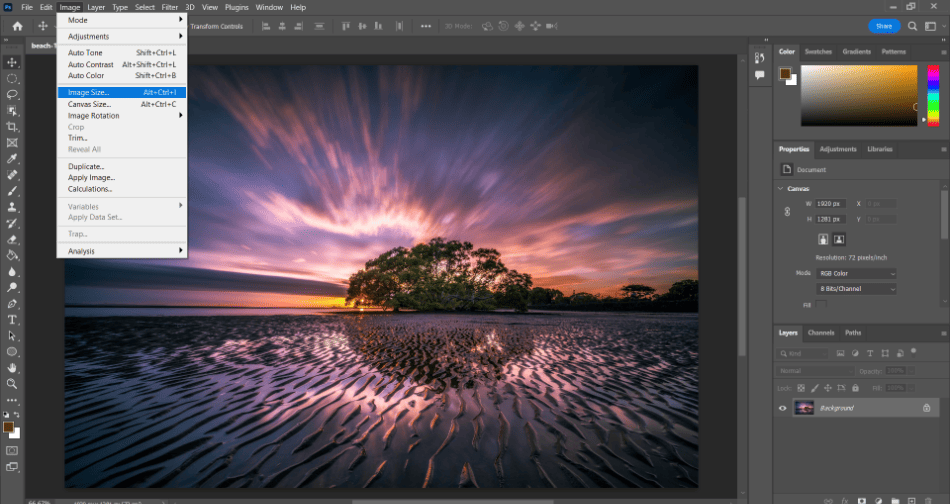
- Now navigate to Image > Image Size.
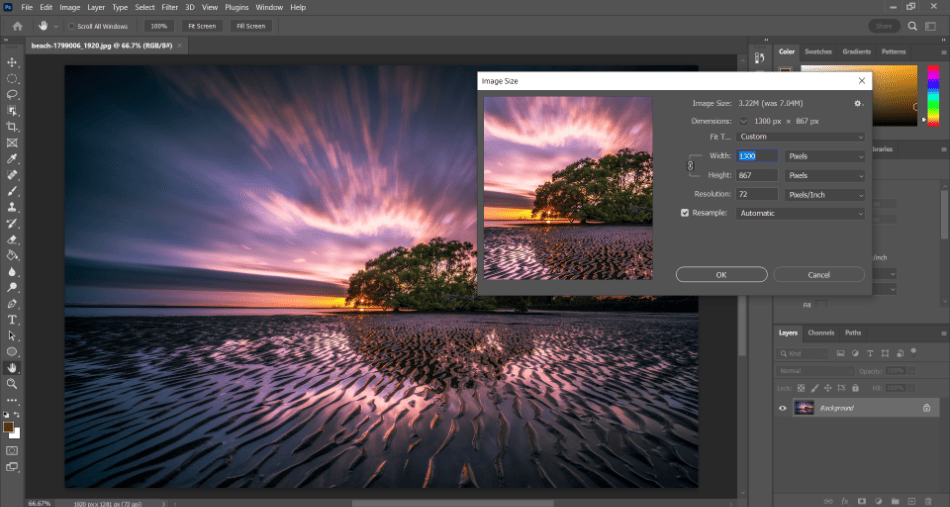
- When you click on Image Size, you’ll get a new window. In this window, you’ll determine the new size for your image. You can enter the new size by width, height, and resolution. You may notice that there’s a chain link between width and height. This icon maintains the aspect ratio so that your image will not stretch. You can disable this if you don’t mind a stretchy picture by clicking once on the chain link to make it disappear. If you don’t like the sizes you’ve chosen, you can revert to the original size by going to the presets dropdown menu and selecting Original Size.
- When you think you have the right size, click OK to confirm the image size change. Your image should now be a different size in Photoshop. You can now easily save the picture at this size to use in whatever project you have in mind.
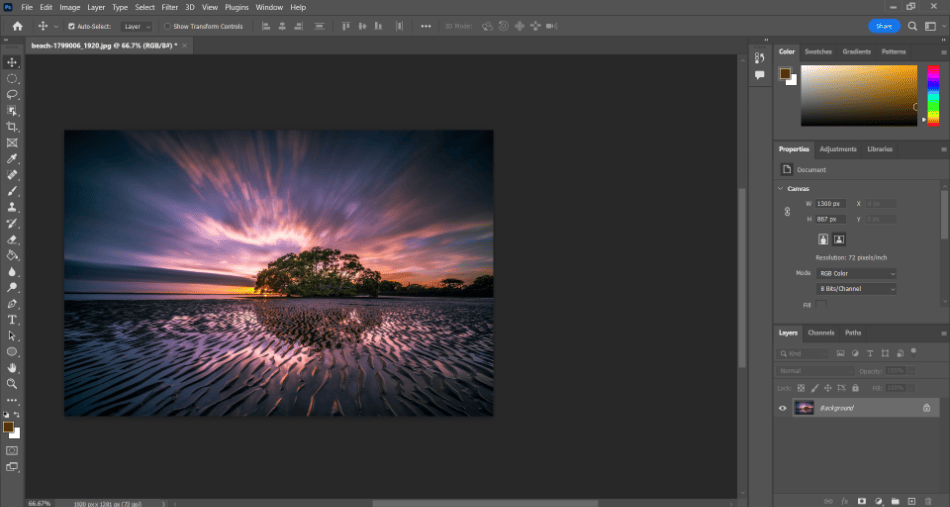
The image size tool changes the size of the image and the canvas it occupies. It’s a method best suited for photographers who only need to change their photograph size quickly.
If you’re planning to edit an image in Photoshop for a Photoshop project, you might not want the canvas resized and just like the image a different size. If that’s the case for your project, you’ll want to use the free transform tool.
Resizing With The Free Transform Tool
The transform tools can be used for resizing anything in Photoshop. This is true not just for images but for shapes, drawings, and most rasterized graphics. Here’s how to use the tools with your pictures.
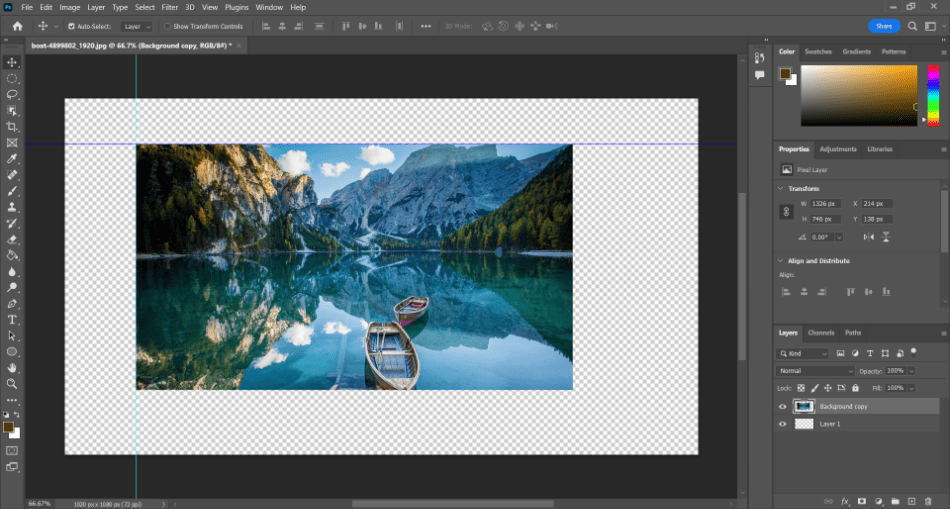
- Start by selecting the layer with your image. If it’s on a locked background, you may have to duplicate the layer to make it editable.
- With your layer selected, navigate to Edit > Transform > Free Transform. This will make your layer editable in the canvas area. The transform tools in this menu can help you manipulate your photos.
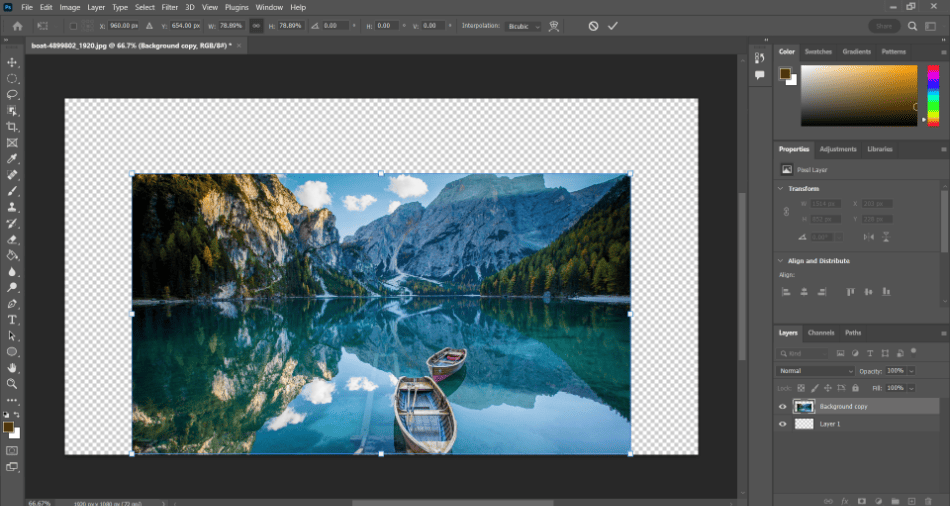
- Now you should see your image has a thin border around it with points you can click and drag. Try clicking and dragging the points to make the image smaller. Drag your cursor outward to make the picture bigger. Don’t hold Shift while dragging to retain the same aspect and shape of the image as you resize. If you don’t mind your image being stretched, then hold Shift.
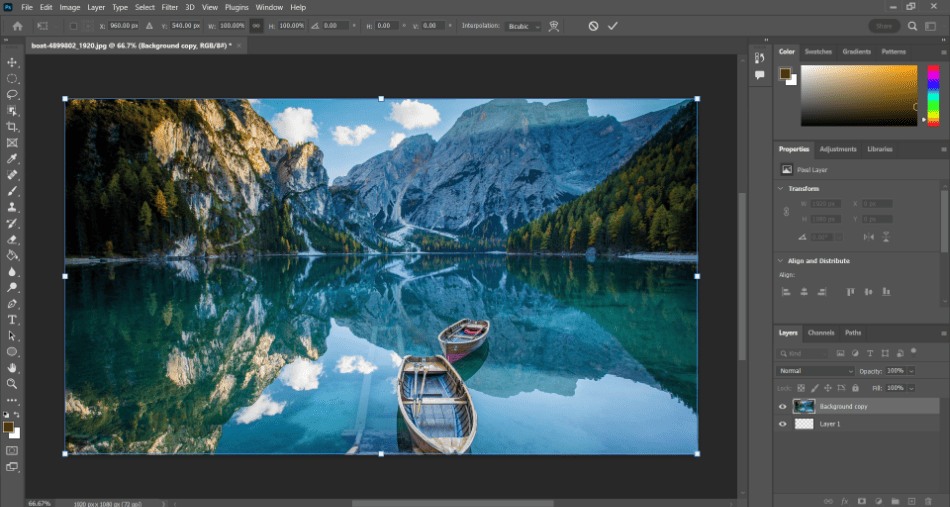
- Once you’re finished, press Enter to finish.
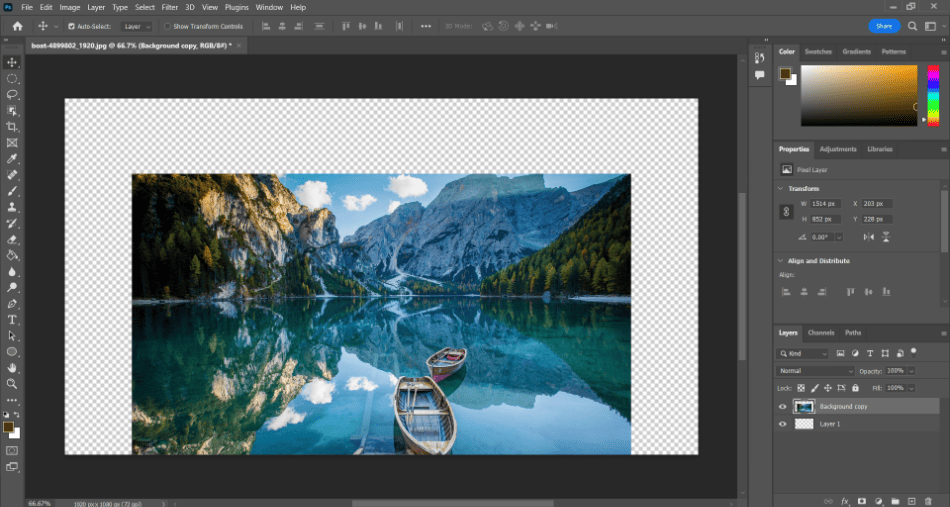
It should be noted that you need to confirm your transformation before doing anything else in Photoshop. If you make a transformation with the free transform tool and don’t press Enter, you won’t be able to do anything else in the program. Keep this in mind in case you fear that Photoshop locked up on you while you are making an image size edit.
Read more:
Using Guides in Photoshop
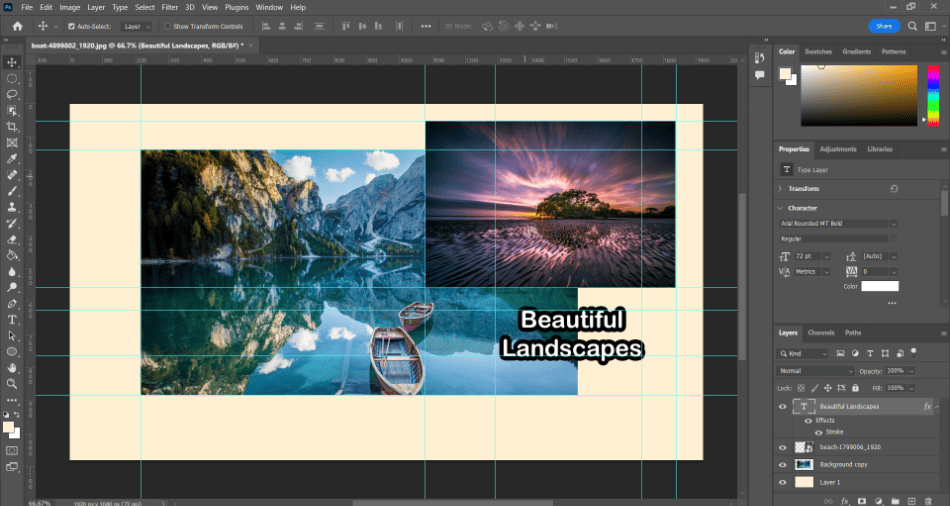
Another useful feature in Photoshop to use with the free transform tool is the guides. If you drag some guidelines onto your Photoshop canvas, it can be easier to align your image better when resizing. This is a handy function if you plan on resizing many photos on one canvas and want to maintain uniformity and alignment.
The free transform tool is also automatically enabled if you drag an image onto a Photoshop canvas. Try setting up a Photoshop project first and then drag an image from your file viewer onto the canvas. The image will automatically be placed with free transform anchors active.
Tips and Tricks for Image Resizing
- Keep The Original Size In Mind: It’s best to be aware of the quality of your original image. This is handy for making size edits and being aware of the level of quality present in your photo. For example, a PNG may have much more detail than a JPG and resize better with a higher resolution.
- Remember The Shift Key: Remember not to hold down the key when using the transform tools to maintain the aspect ratio.
- Use Guides: If you’re using the free transform tool for image resizing, it might be helpful to have guides enabled. Having guides can help you better align resized images on your canvas to fit a specific area or have a particular look. You can enable guides in the View menu and then drag them onto your canvas.
- Try Dragging Into Photoshop: Images dragged into Photoshop can be resized immediately as the free transform tool is active upon importation.
- Know Your Transform Tools: There’s more than just the free transform tool for image editing. Keep the other transform tools of flip and rotate in mind for making basic Photoshop image edits in a hurry, and don’t want to use the free transform tool for photo altercations.
Frequently Asked Questions
Images in Photoshop can be resized with either the transformation tools or the image size option. Use the transform tools if you want to resize the image on your Photoshop canvas. Use the image size option if you want to resize the image and the canvas together.
If you’re resizing an image in Photoshop with the free transformation tools, the dimensions should maintain so long as you don’t hold down the Shift key. This method prevents your image from being distorted as you resize it.
Photoshop features transform tools that allow you to easily resize various graphics. The transform tools can be used on images and any rasterized graphics, like shapes and drawings.
While resizing your image with the free transform tool, you can maintain your original dimensions so long as you don’t hold down the Shift key. There are also options in the Image Size option to prevent you from losing your measurements.
Using the Image Size function also allows you to change your image’s resolution. This can be used to ensure that quality isn’t lost with a diminishing resolution with increased or decreased size.
Stretching with images can be avoided automatically with the free transformation tool. Remember to make sure not to hold down Shift while using this tool, as that will cause the image to stretch. You can also maintain the dimensions by ensuring the width and height are linked using the Image Size function.

Mark McPherson has been working as a video editor and content writer for over ten years. His background started in animation and video editing before shifting into the realm of web development. He also branched out into content writing for various online publications. Mark is an expert in video editing, content writing, and 2D/3D animation.