(Last updated on February 3rd, 2023)
Sometimes images turn out blurry, and I need to work some Photoshop magic on them. When it comes to fixing this mistake, sharpening a picture can help clear up those pesky blurs. In this article, we’ll walk you through how to use this invaluable aspect of Photoshop.
Sharpening Blurry Images
For one reason or another, some photos can turn out blurry. It might be because something was moving too quickly or the camera wasn’t quite in focus on its subject. Or maybe the photo was focused, but there’s an integral part of the image you want to unblur most.
While not all blurs can be easily fixed, most can be cleared up with some sharpening. Sharpening refers to the increase of contrast around the edges of an image to make it blend better. This means there’s less falloff between your subject and the background, focusing the blur on becoming more visible.
There are a few ways to sharpen an image in Photoshop. Let’s go through the various ways to accomplish this image enhancement.
Sharpen an Image with Photoshop Filters
As with most Photoshop photo fixes, sharpening comes as a filter. Getting some quick sharpening on an image doesn’t take much effort. Here’s the step-by-step guide to applying to sharpen.
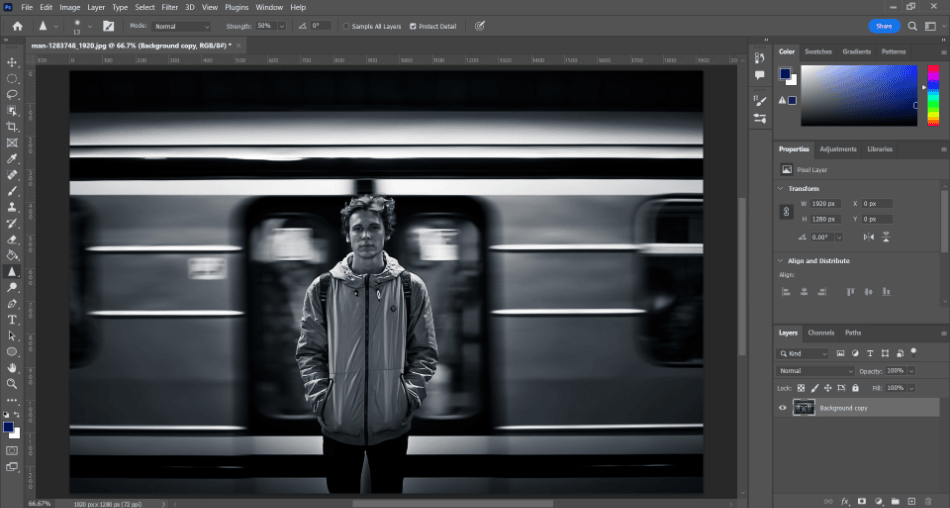
- Place an image in Photoshop on its layer and ensure it’s unlocked so it can be edited. Select that layer with the image.
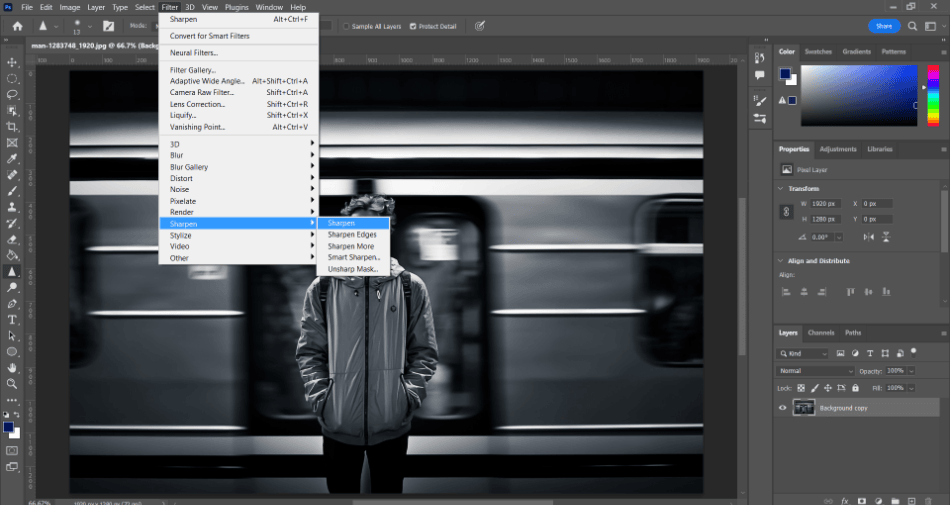
- Now navigate to Filter > Sharpen > Sharpen.
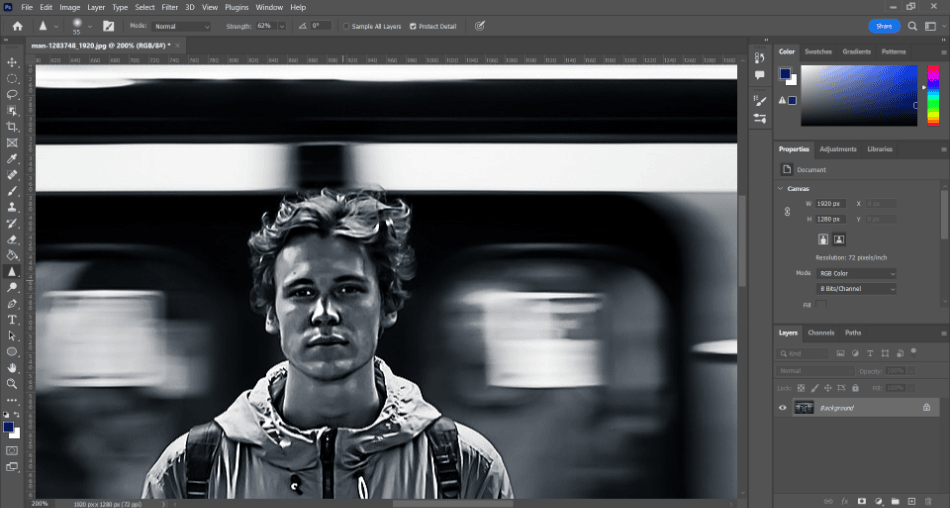
- Using a brush tool, you can now draw around your image where you want it to be sharpened.
Smart Sharpen
While the simple Sharpen tool might get the job done, you can customize the sharpening further without brushing it onto the image. You’ll want to enable the Smart Sharpen filter to accomplish this task. Here’s a guide on how to apply that filter.
- Have your image layer selected and editable.
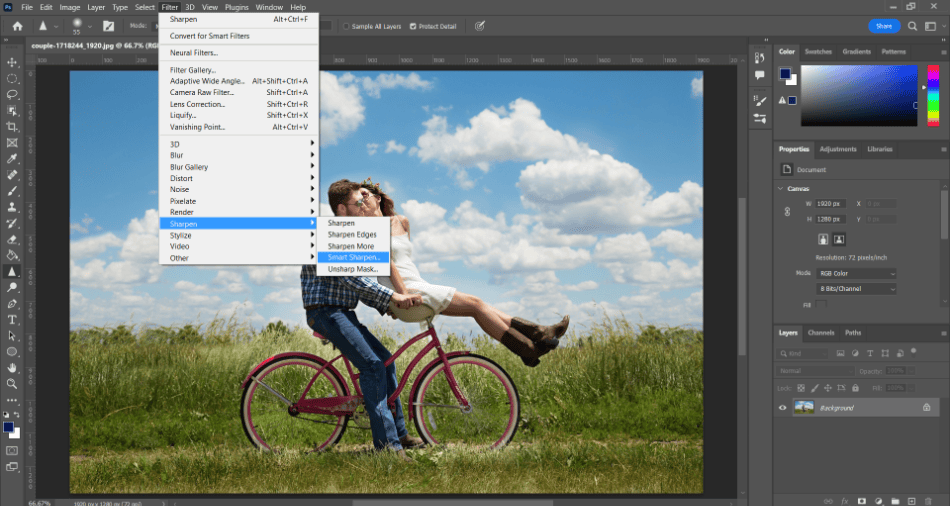
- Navigate to Filter > Sharpen > Smart Sharpen. Selecting this option should open up a new window.
- In the Smart Sharpen window, you’ll have access to sliders to customize the sharpening amount and radius and reduce noise. There will also be a drop-down menu for selecting what type of blur you’d like to remove with this sharpening. Additionally, there’s a submenu for tweaking the shadows as well.
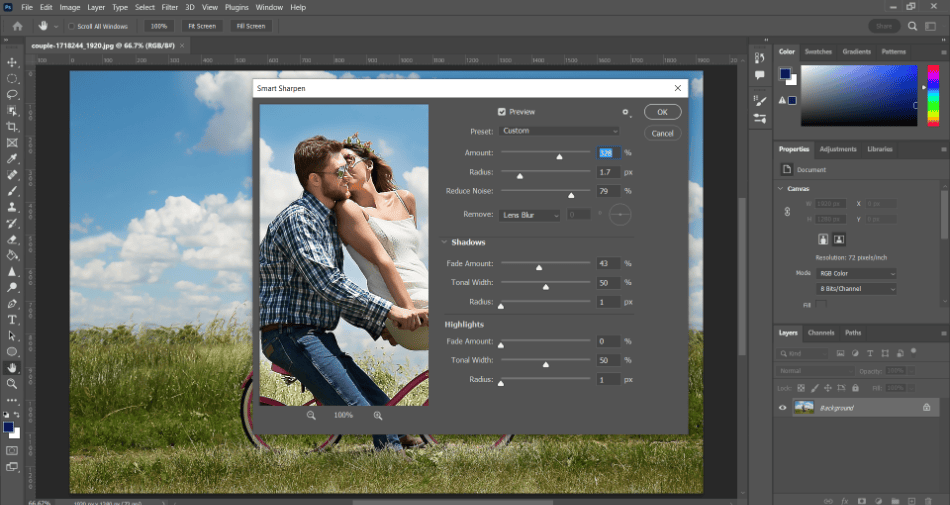
- When you have the right amount of sharpening for your image, click Ok to finalize the changes.
Unsharpen an Image in Photoshop
Let’s go in the opposite direction. Suppose you want to go in the opposite direction. There’s a filter for that: Unsharpen Mask. This can be used for equal parts addition of blur or removal. Let’s walk through how to apply this effect.
- Select your image layer for unsharpening.

- Navigate to Filter > Sharpen > Unsharpen Mask. This option will open a new window for applying the Unsharpen settings.
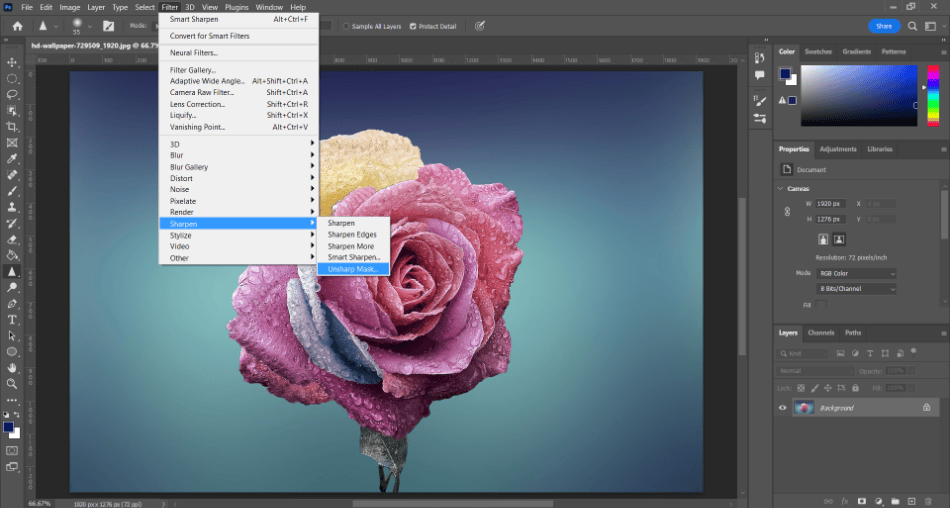
- You’ll find slider settings for amount, radius, and threshold in the Unsharpen Mask window. The threshold will recognize certain elements not to sharpen like the grain of the sky.
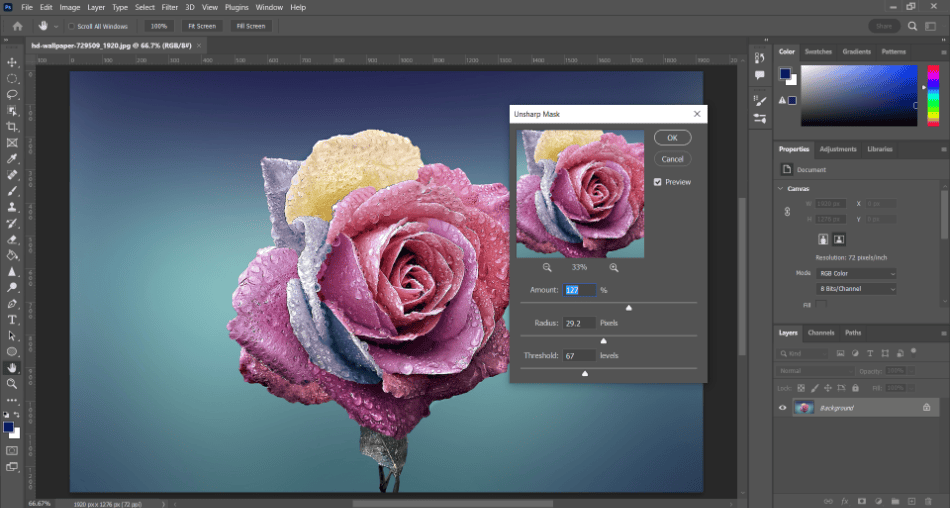
- When happy with the results, click Ok to finalize the effect.
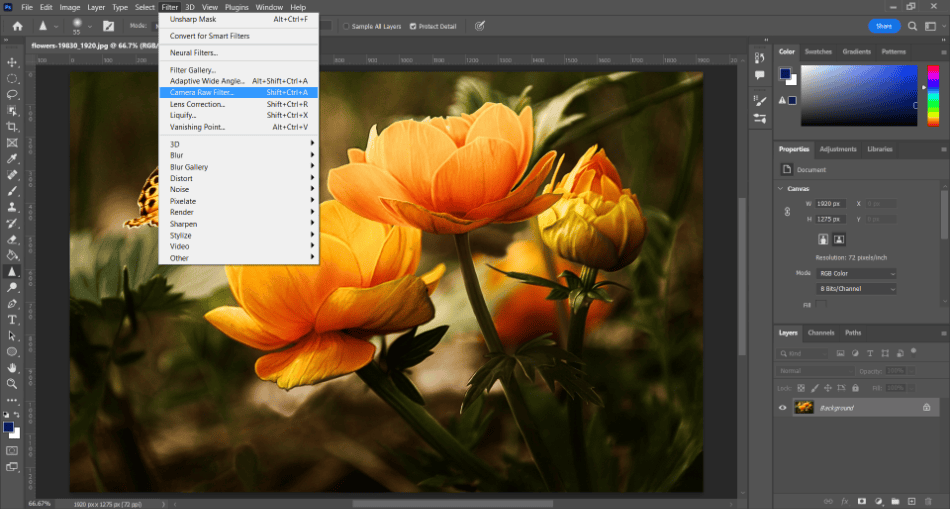
Sharpen an Image with Camera Raw Filter
Photoshop also comes with a handy feature known as the Camera Raw Filter. This is a unique tool that makes fast and detailed edits to images. Users of Lightroom will recognize some distinct similarities. Here’s how to sharpen a photo using Camera Raw.
- With your image selected, navigate to Filter > Camera Raw Filter. This should open up the Camera Raw window.

- With the Camera Raw Filter open, you should see numerous slider tools present on the right side of the window. Navigate down to the area for Detail and open that submenu.
- In the Detail submenu, find the slider for Sharpening. Play around with it until your photo starts to look less blurry. Be sure to test out the Noise Reduction slider to reduce the graininess.
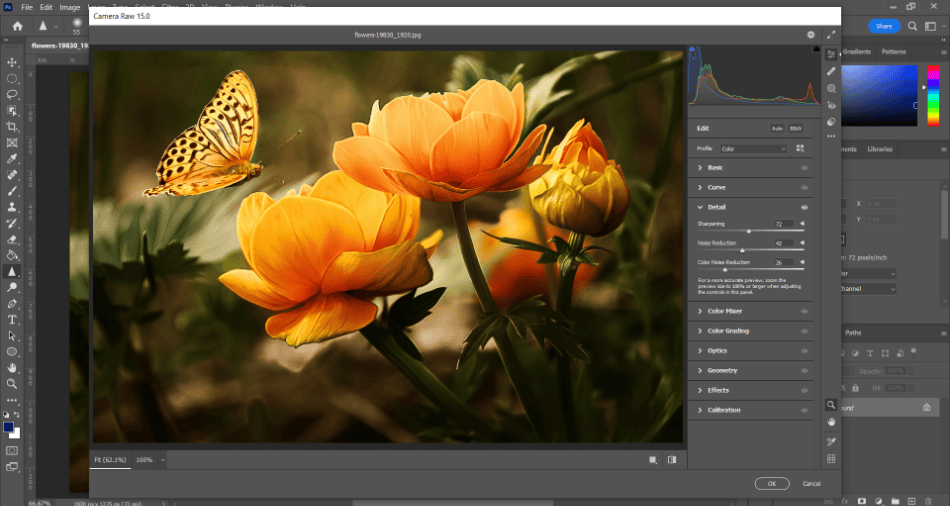
- When satisfied with the sharpening, click Ok to finalize the changes. This will close the Camera Raw Filter window and return your Photoshop interface to its previous look.

It should be noted that the Camera Raw Filter doesn’t exist primarily in Photoshop. The filter can also be used in Adobe Bridge and Adobe Lightroom. Keep this in mind, as editing multiple photos for sharpness through the file management of Bridge can save you time in editing various images.
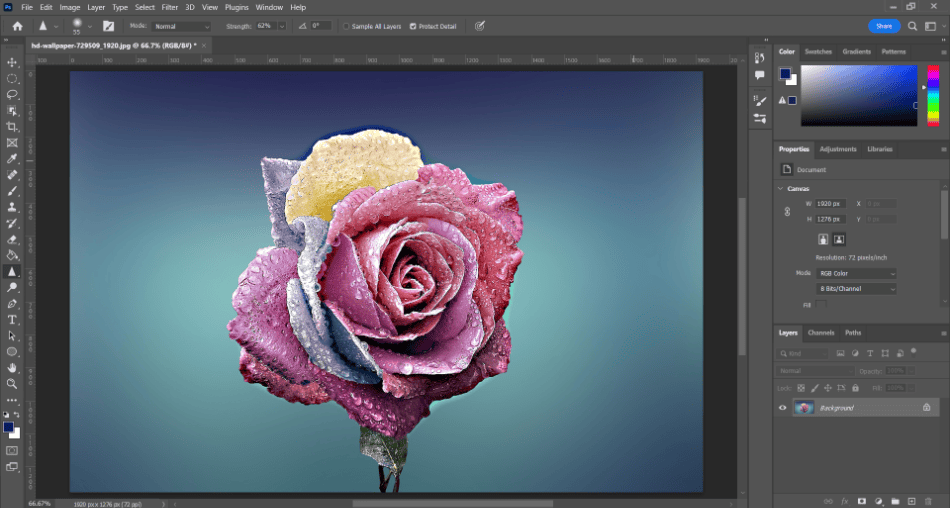
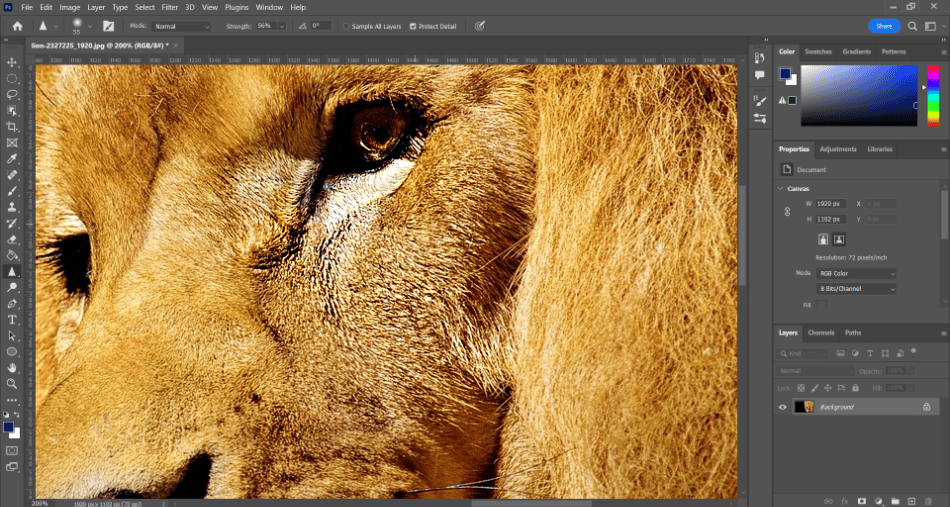
The Sharpen Tool from the Toolbar
You can additionally sharpen the image using the sharpen tool in the toolbar. This method makes it easier to lump sharpening in with similar techniques for blurring, smudging, and making other cosmetic edits with brushes. Let’s go through how to use this tool.
- Select your image layer.
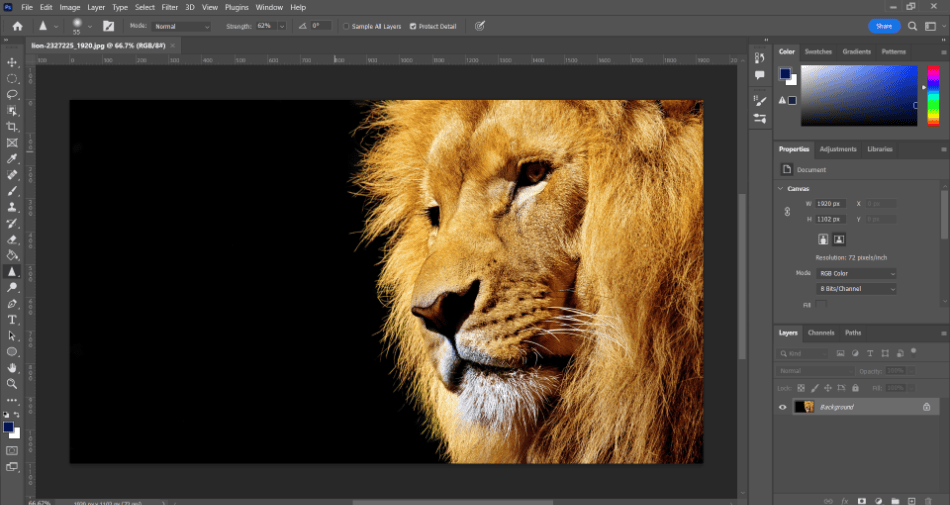
- In the toolbar on the left side of the interface, find the Blur tool that looks like a water droplet. Click and hold to open the submenu and find the Sharpen Tool. It should look like a triangle to highlight the sharpened corners.

- Click on your image with the Sharpen Tool. When you do this, Photoshop may ask you to rasterize the image. Be aware that rasterization can’t be changed once it’s been applied. Click Ok to proceed.
- Now you can draw around the parts of the image you want to sharpen. Use the settings in the top menu to change the strength of the sharpening.
Tips and Tricks
- Fix Photos Before Taking Them: To avoid blurry photos, it’s best to ensure your camera has the correct settings. Check your camera’s settings for focus to ensure you won’t spend extra time trying to fix blurry mistakes in Photoshop.
- Combine Filters: Sometimes, getting your photo cleared up can rely on more than just sharpening. Try combining various filters to see how much they can improve the image. Experimenting through Camera Raw Filter is a great start.
- Duplicate and Test: If you’re using the sharpening tool, it’d be best to duplicate your image layer and experiment. This way, you’ll be able to avoid making unwanted edits and preserve the original image. This method is also recommended for sharpening filters as well.
Frequently Asked Question
Blurry images can be sharpened in two ways within Photoshop. You can apply one of the Sharpen filters from the filters menu or find the sharpening slider in the Camera Raw Filter. Either way will work, but you will find more options for customization by either using Smart Sharpen or Camera Raw Filter.
One way to make an image clearer in Photoshop is to adjust the sharpening. The sharpening can be changed through an applied filter or the Camera Raw Filter.
The Sharpen tool is used to sharpen an image’s edges so that there is less blur in the blending of pixels. The tool can only be used on rasterized images, so trying out a sharpening filter first is recommended, as it can preserve the image’s original state.
Yes, Photoshop has a sharpen brush tool. It can be found in the toolbar in the same submenu for the blur and smudge tool.
The Sharpen tool can be found in the Photoshop toolbar with an icon that looks like a pointed triangle. You can also engage this tool by applying a Sharpen filter.

Mark McPherson has been working as a video editor and content writer for over ten years. His background started in animation and video editing before shifting into the realm of web development. He also branched out into content writing for various online publications. Mark is an expert in video editing, content writing, and 2D/3D animation.