(Last updated on February 10th, 2023)
Sharpening a photo can bring things more into focus. If you’re working in photography, this is an essential skill in your Photoshop arsenal. Let’s go through how to smooth edges in Photoshop to get a crisper picture.

Edge Smoothing Selections
Pulling subjects out of the background in a photo is a common practice in Photoshop. That being said, it’s not always the simplest of procedures. Trying to isolate a subject with a lot of hair creates rough edges or sharp points that create jagged edges. Even pre-cut images can have this problem as well.
Some smoothing is required to make these isolations feel more believable and not look like we cut them out of a magazine. Smoothing out the edges can help make your image blend better. We’ll cover a few ways to fix the issue of making those edges less apparent.
Anti-Aliasing
Let’s start with one of the easiest ways to smooth out those edges. Anti-aliasing can be accomplished automatically with a mere click of a button. Here’s how easy it is:
- Select the layer with smooth edges.

- Choose one of the following selection methods:
- Lasso
- Polygonal Lasso
- Magnetic Lasso
- Magic Wand
- Elliptical Marquee
- With your selection tool chosen, find the tool properties at the top of the screen and click the checkbox for anti-aliasing.

Credit: Mark McPherson.
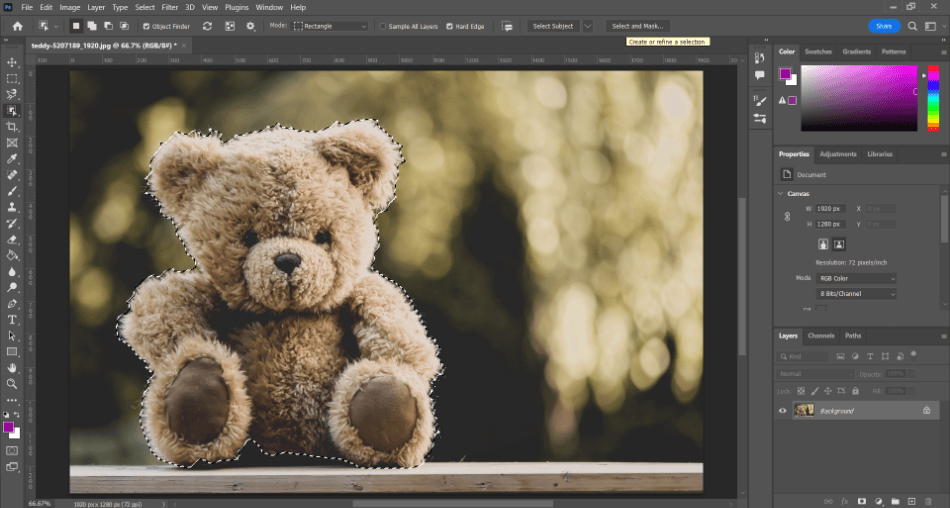
- Use the selection tool to isolate your subject. In this example, we use the magnetic lasso tool, which predicts the edges we recognize as we draw.

Credit: Mark McPherson.
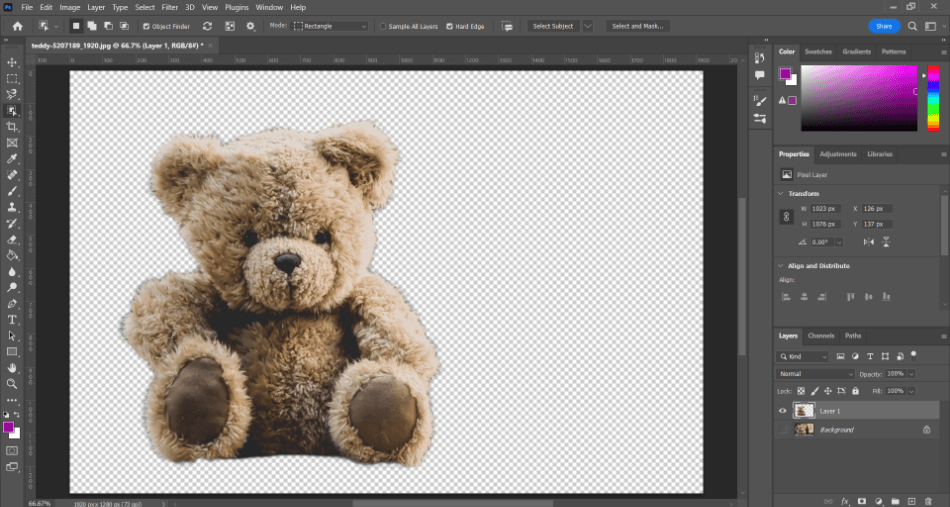
- Now copy and paste your selection onto a new layer. Thanks to the anti-aliasing, you can see how the edges have been trimmed and smoothed a bit.
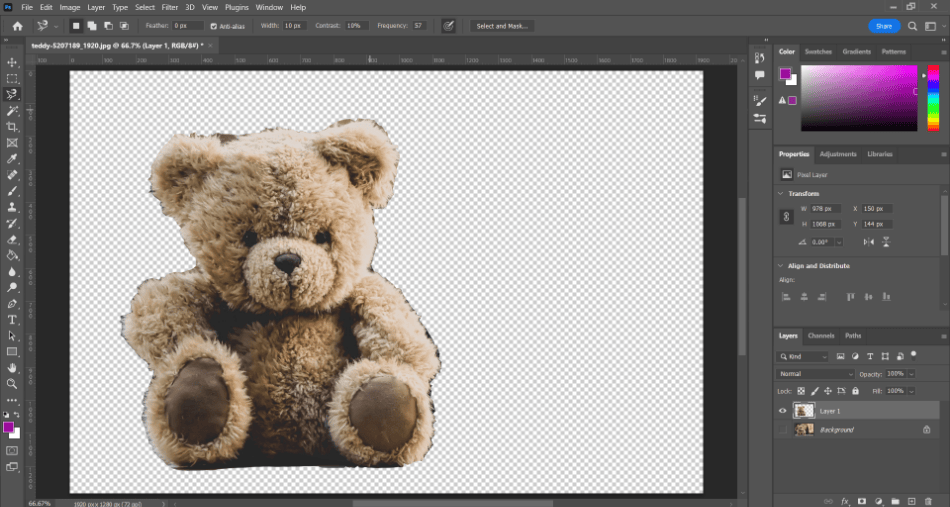
The anti-aliasing only works best for smoother objects. As you can see with the teddy bear, some areas could still be trimmed. We’ll explain how to trim and smooth those edges in the following few techniques.
Select and Mask Workspace
Let’s look at how to use masks with our selection to shrink the area better. For this example, we’ll go back to the image of the bear but use the more straightforward method of utilizing the Object Selection Tool. We’ll walk you through how to use selections and masks with the following technique.
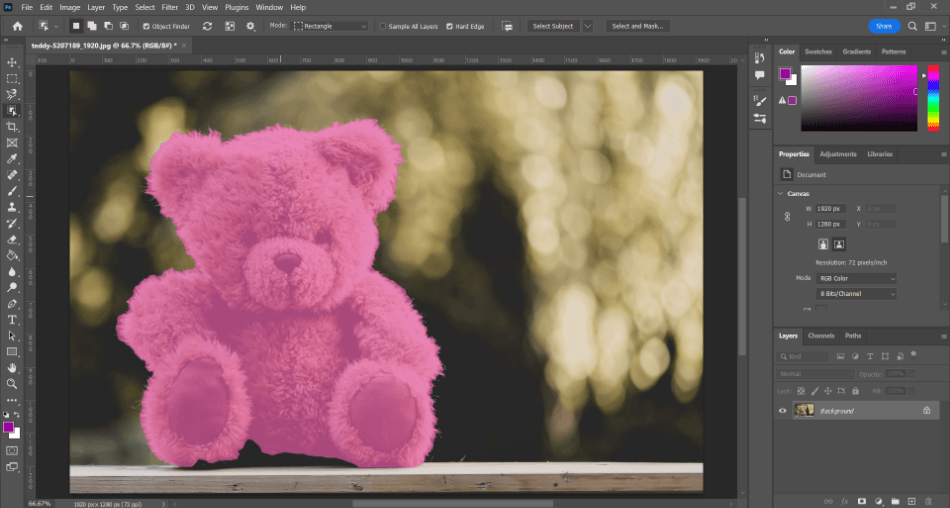
- Start by choosing the Object Selection tool in the toolbar. Hover over the subject, and it should be highlighted with a color. Click the subject, and the selection should be made.
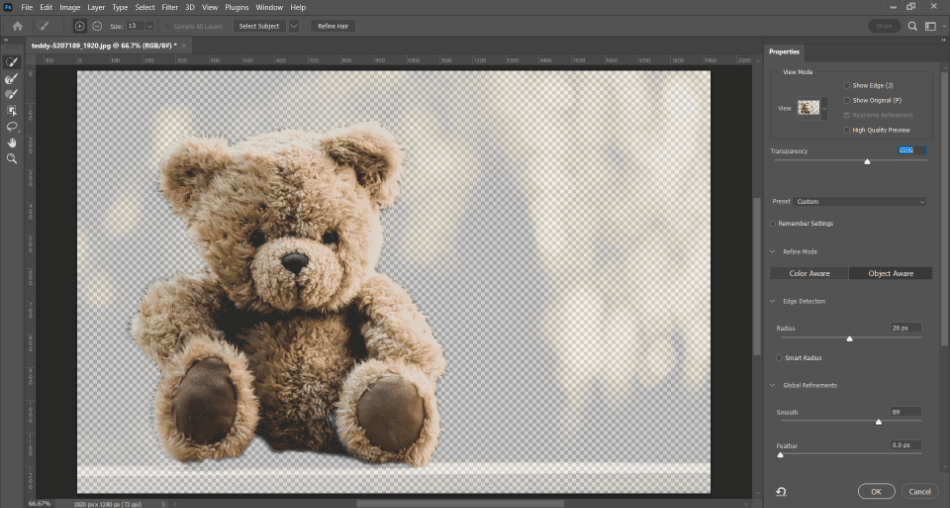
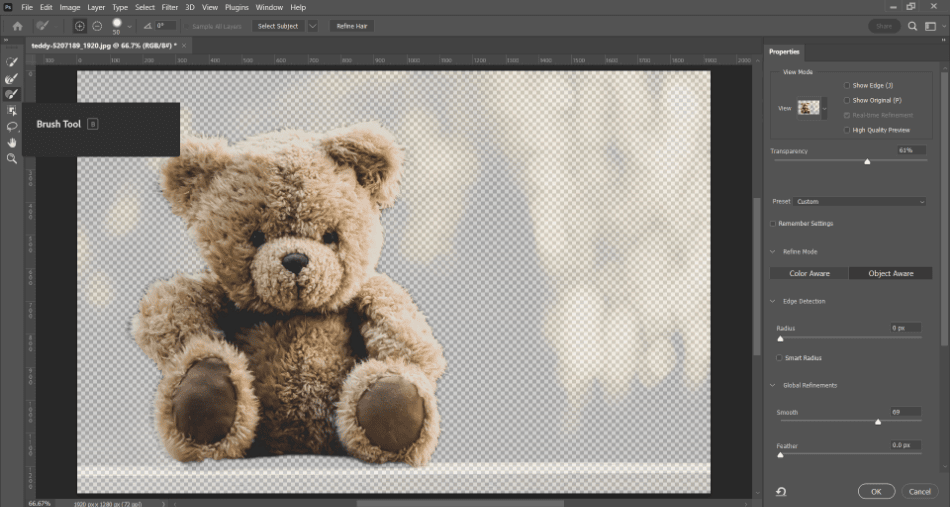
- Look at the top of the screen and find the Select and Mask button in the selected properties. Click it, and a new window should open for fine-tuning the mask.
- You can use the sliders from this new window to smooth the edges. Of the sliders to use, focus on the radius and smooth. Turning these sliders up will make the edges less apparent. To better see how the edges are hidden, you can also turn down the transparency to get a look at the background you’re masking from.
Credit: Mark McPherson.
- If you want to define the edges better, this window has some brush tools to help define the selected area better. The brush tool, for example, can be used to add in areas that the object selection tool might’ve missed.
- When you’re happy with your edges, click Ok to finalize the smoothing. Copy your selection and save it to a new layer. You should now have a masked layer with smoothed edges for your selected subject.
Credit: Mark McPherson
You may have noticed many more selection and brush tools in the Select and Mask window. Try playing around with them when dealing with more complex selections with rougher edges.
Use a Channel
Another nifty way to smooth the edges in Photoshop is through channels. This method is a bit more clever as it involves more work with layers than anything else. Let’s go through how channels can help with edge smoothing.
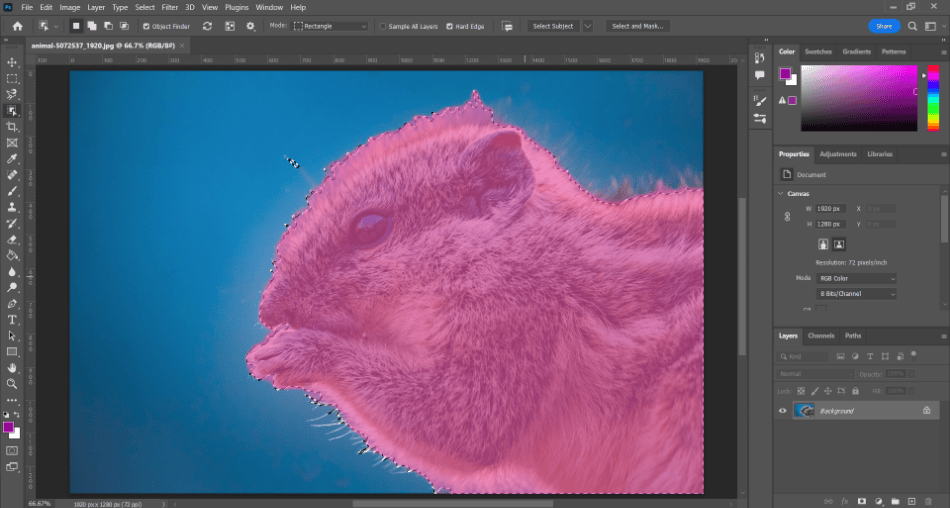
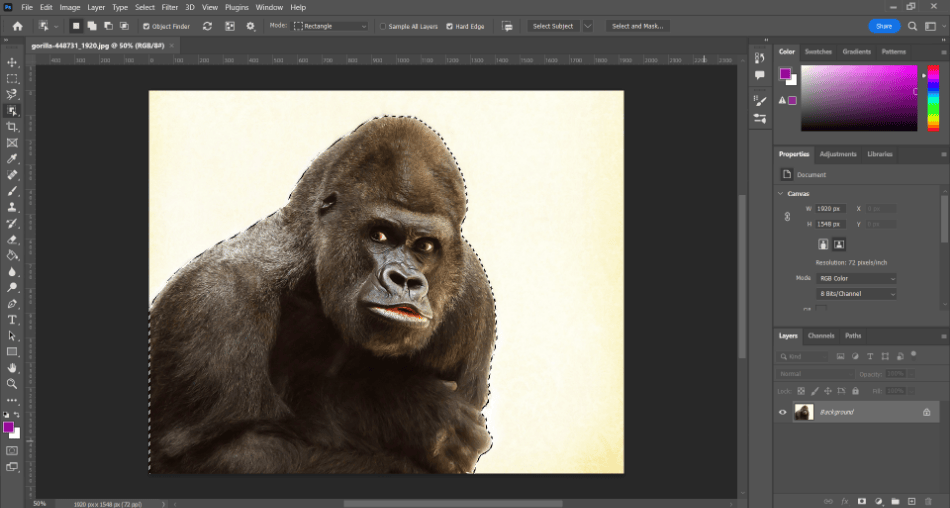
- Start by selecting your subject with the Object Selection Tool, though you can use any selection method you wish.
caption: Mark McPherson.
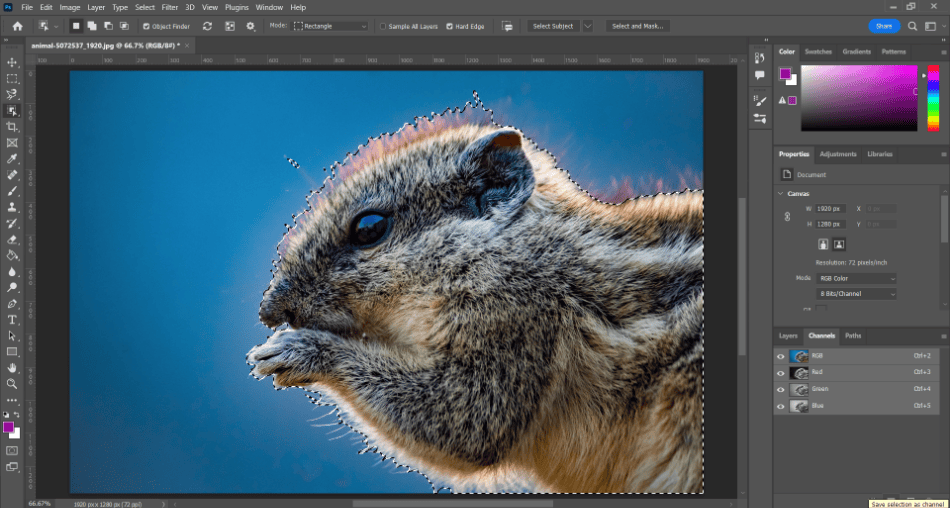
- In the layers tab, choose the Channels tab to open the many channels that make up this image layer. Find the “Save Selection as Channel” button on the bottom of the panel and click it.
Credit: Mark McPherson.
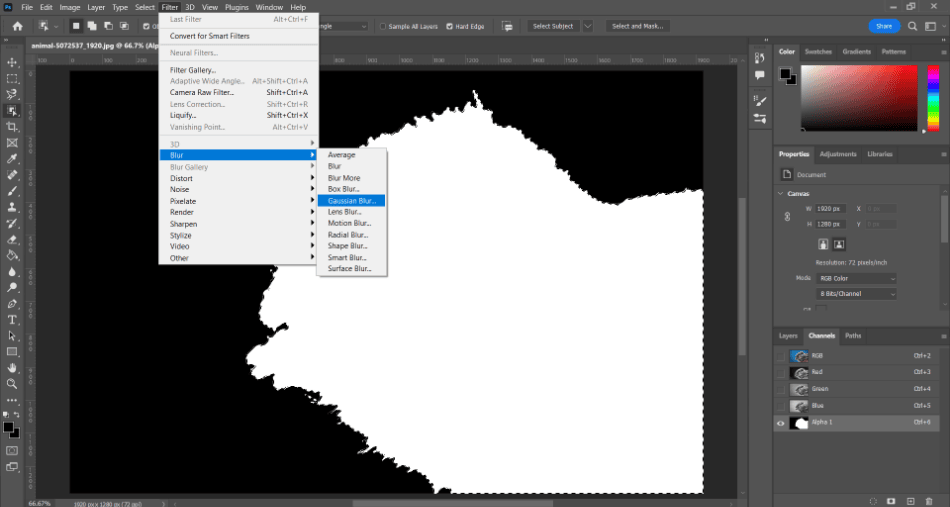
- We should now have an alpha layer of our selected subject. Click on the channel to see how it looks when selected. The edges might look pretty rough. To trim this, we’ll apply a blur from the filter menu. A gaussian blur should do for this task, which can be found in Filters > Blur > Gaussian Blur.
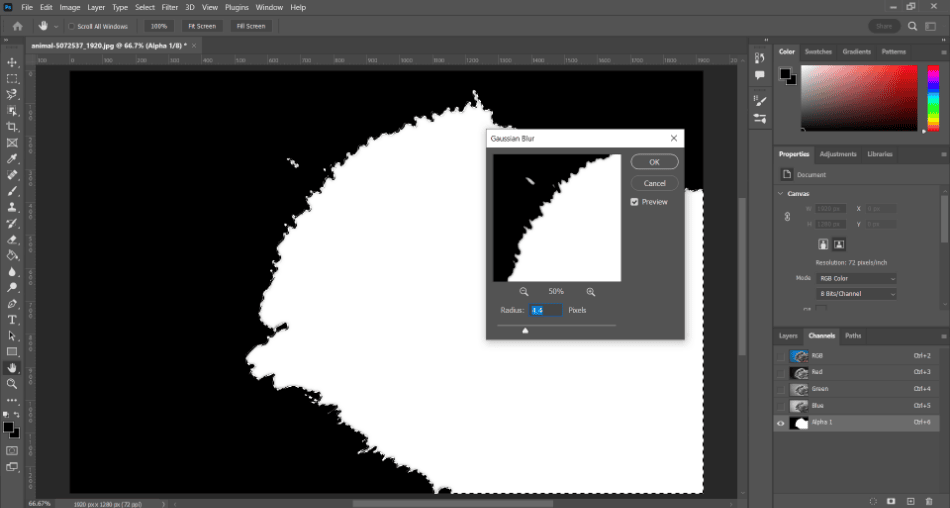
- After the gaussian blur is applied, turn up the blur with the slider. Notice how the edges get softer. Click Ok when you’re done.
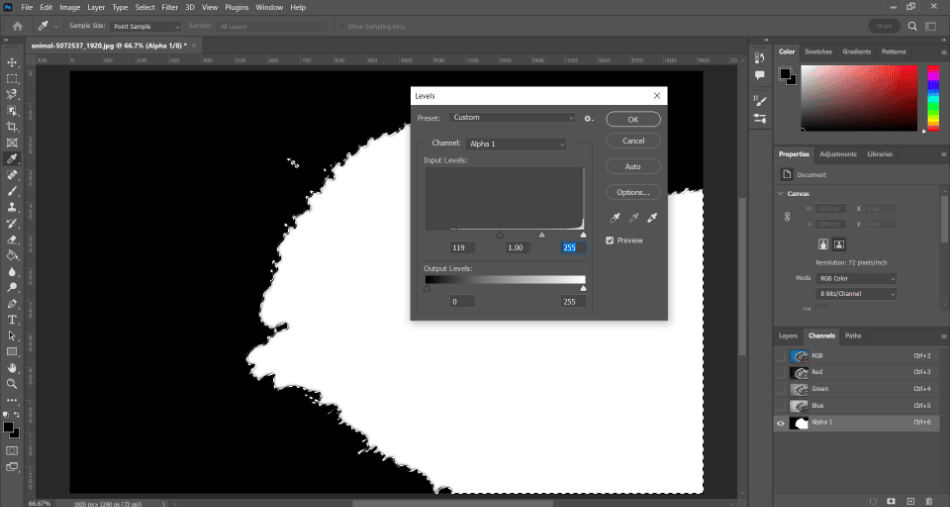
- Now open up the levels to fine-tune the rest of the alpha channel. You can do this by pressing Control, and L. Play with the levels slider until you’re happy with how the edges look. Click Ok when you’re done.
Feathering
One of the simpler tricks to smoothing edges is feathering. It is one of the simplest ways to automatically trim the edges of a selection. Let’s go through this relatively easy process.
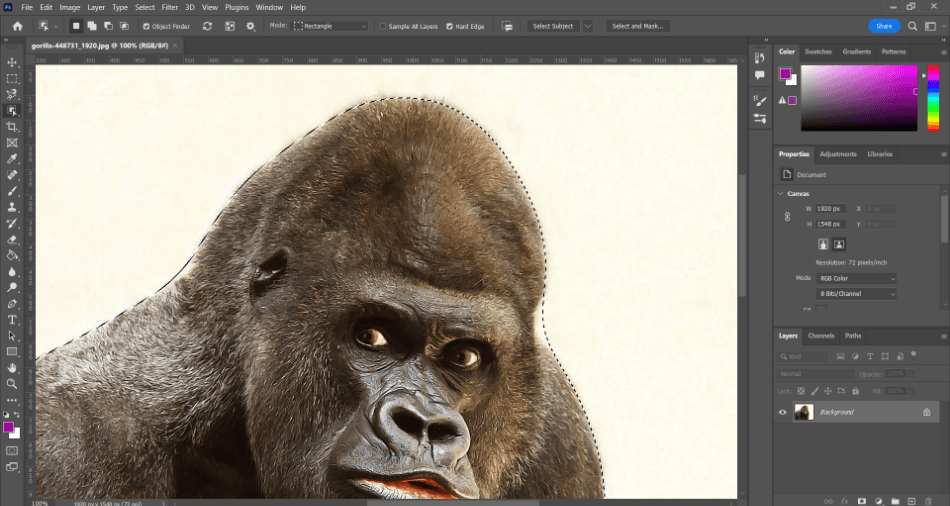
- Start by creating a selection using any method you wish.
credit: Mark McPherson.
- With your selection made, navigate to Select > Modify > Feather.
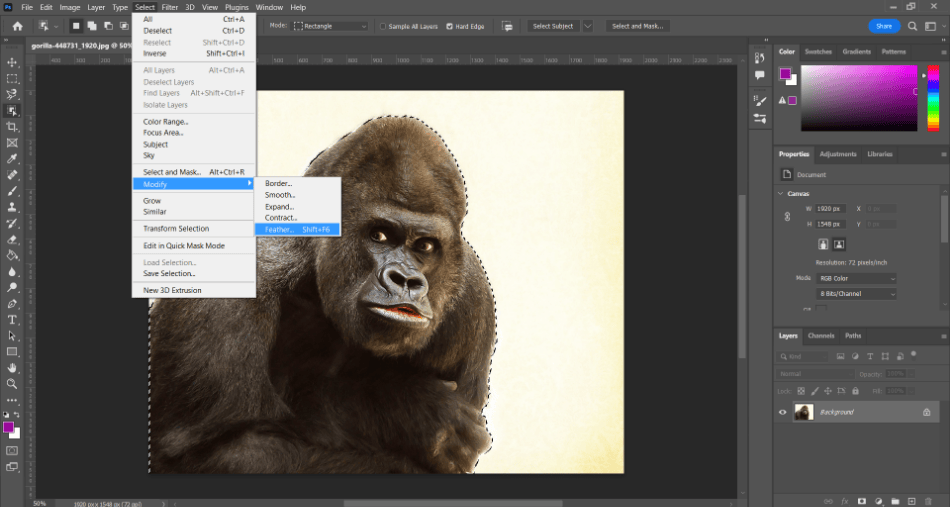
- In the new mini window that just opened up, set the range of the feathering. The higher the number, the rounder your selection will become. It doesn’t take much for this effect, so don’t go too high with the amount. You may have to experiment a few times with this.

- Click Ok when finished and notice how your selection is more smoothed around the edges.
Tips and Tricks
- Stick With Object Selection: The Object Selection Tool is one of the fastest and most innovative selection tools. It’s not always perfect but try using it first when making selections.
- Find The Simplest Route: The fewer edges you have to clean up, the least likely you’ll need to make intricate changes. Don’t get carried away with the tools when handling a simple selection.
Frequently Asked Questions
There are a few ways to smooth edges in Photoshop. You can try feathering the selection, blurring the alpha channels, or creating a selection mask. If your subject is not particularly complex, you might even be able to smooth those edges with a bit of anti-aliasing while using the lasso tool.
The best route for smoothing the edges of a selection in Photoshop is to use the Select and Mask method. After making a selection with the Object Selection Tool, click the Select and Mask button at the top of the screen. This will open up a new window with sliders you can use for smoothing the edges.
In the same way you can smooth edges with the Select and Mask function in Photoshop, you can also use it to sharpen edges. Play around with the sliders and brushes to make the edges more pointy and visible. You may also want to try using the sharpening tool in the toolbar for some touch-ups afterward.
There is no simple smooth tool to use in Photoshop. There are, however, tools for blurring and creating smoothed selections that can be utilized.
The best way to blend visible edges is to use the feathering technique. This can be used by going to Modify > Feathering after making your selection in Photoshop.

Mark McPherson has been working as a video editor and content writer for over ten years. His background started in animation and video editing before shifting into the realm of web development. He also branched out into content writing for various online publications. Mark is an expert in video editing, content writing, and 2D/3D animation.