(Last updated on November 1st, 2022)
Does your audio sound good in Adobe Premiere? Would you like it to sound even better with a fade-out for a powerful closer? Take a look at our step-by-step tutorial on how to make your audio fade out in Adobe Premiere.
So let’s say you have a fantastic film you’ve assembled in Adobe Premiere. You’ve done all the editing, added all the effects, and corrected all the colors. You may have even added in some transitions as well.
But suppose you want the audio to fade out at the end of your movie. You may not want an abrupt ending but rather a slow fade. It’s a transition that can make your ending feel more meaningful and slowly signal the end of a scene.
Fading out audio in Adobe Premiere is an essential aspect of creating compelling videos. It’s helpful if you ever find your video fading to black between scenes or ending a video. There’s a smoothness to it that works so well in slowly bringing the audience out of a world.
We’ll go over just how to create the perfect fade-out effect in Adobe Premiere. It’s not as tricky as you may think and doesn’t take very long to learn. It’s also a critical effect you’ll want to understand if you intend to go far in video editing as a career.
Tutorial Rundown Fading-out Audio in Premiere Pro:
- Setting Up Your Timeline
- Find The Audio Transitions Menu
- Apply A Fade to Your Audio
- Test The Audio With Preview
Step 1: Setting up Your Timeline
The first thing we’ll do is prepare a timeline with two audio tracks and layers. We’re going to set up the tutorial this way to apply two types of audio fades. One track will fade into another piece of audio, while another will fade into silence.
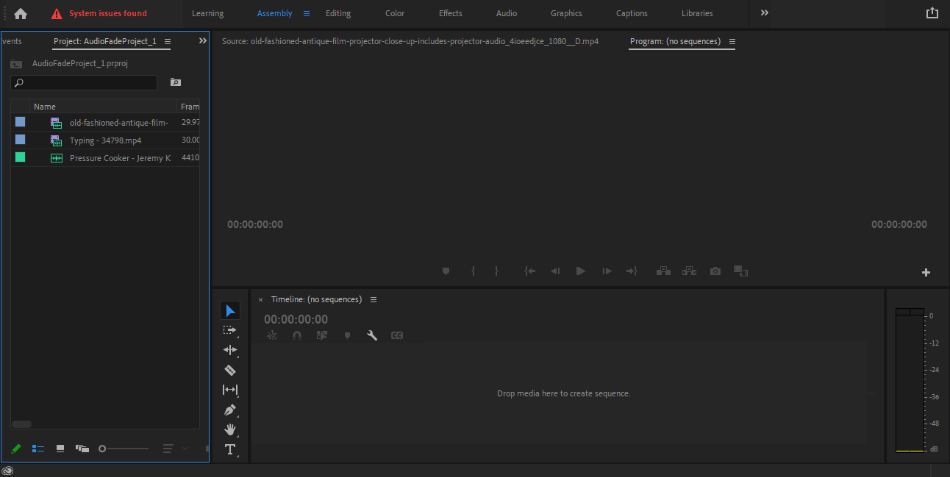
We will import and place two videos on the timeline with audio. Create a new composition (or simply automatically generate one by dragging a video clip onto the timeline) and place your imported video clips. Place them so that they are back-to-back and connecting.
Now we’ll set up the secondary audio track. Import a piece of audio, such as music, and then place it at the beginning of the timeline in the second audio layer. This audio will appear green instead of blue, telling us that this audio is not connected to the videos above.
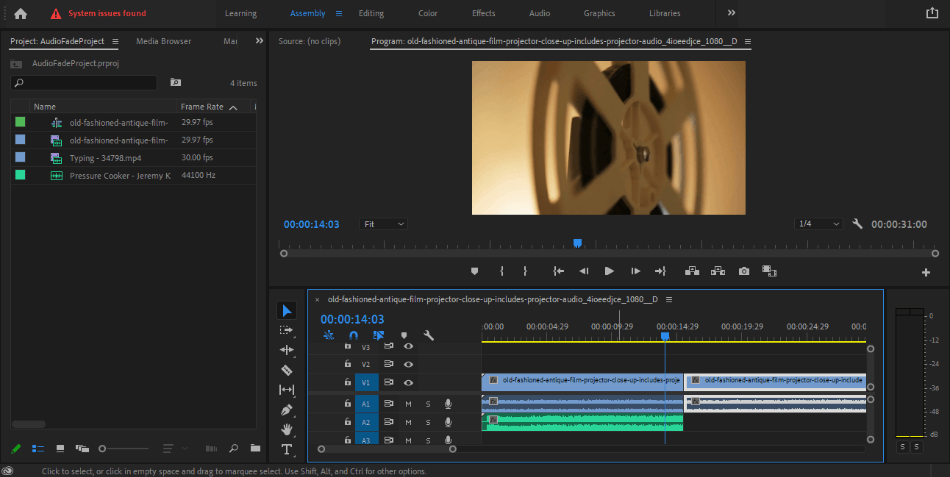
In this tutorial, we’ve added some music to our timeline. The music, however, is too long and needs to be shortened. Hover over the end of the music and drag it left to shorten how long the audio will play until the end of the first clip.
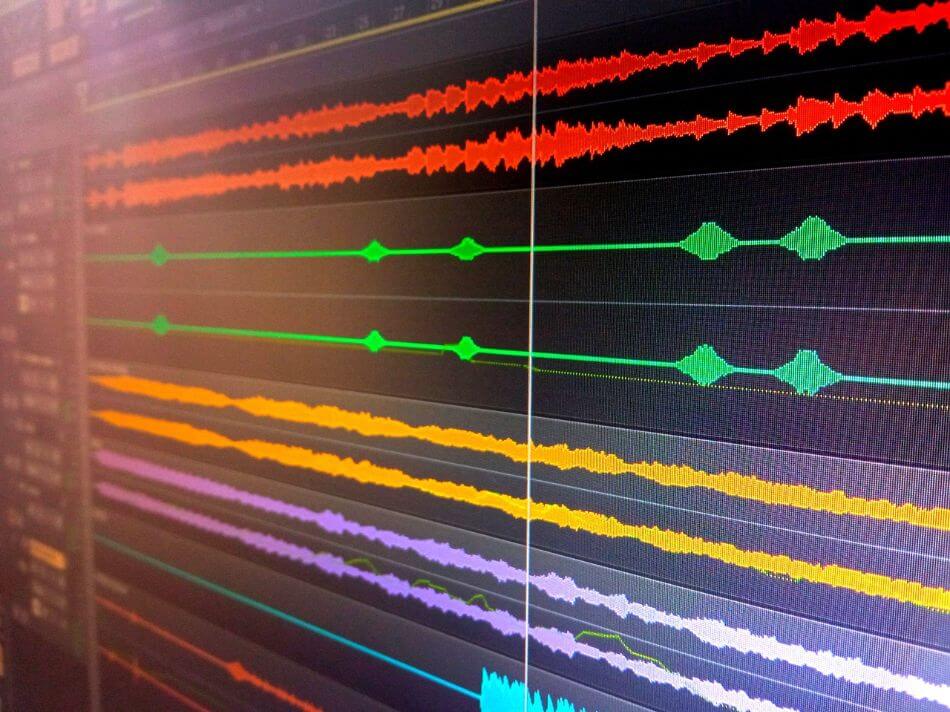
The music will only play for the first video clip and stop when the second video clip starts. However, as you may have noticed from the waveform inside the audio, the end of the music seems abrupt. The same goes for the audio connected to the video clips.
The goal here is to make sure there’s fading audio for both tracks. We’ll fade out the second audio track into silence when it finishes. We’ll also transition the audio of the first track so that one clip leads smoothly into the other.
Step 2: Find the Audio Transitions Menu
In the top tabs of your interface, locate Audio. Click on that button to open up the workspace specifically designed for editing audio. You can also use the Effects tab, but this workspace has everything we need to check audio levels.
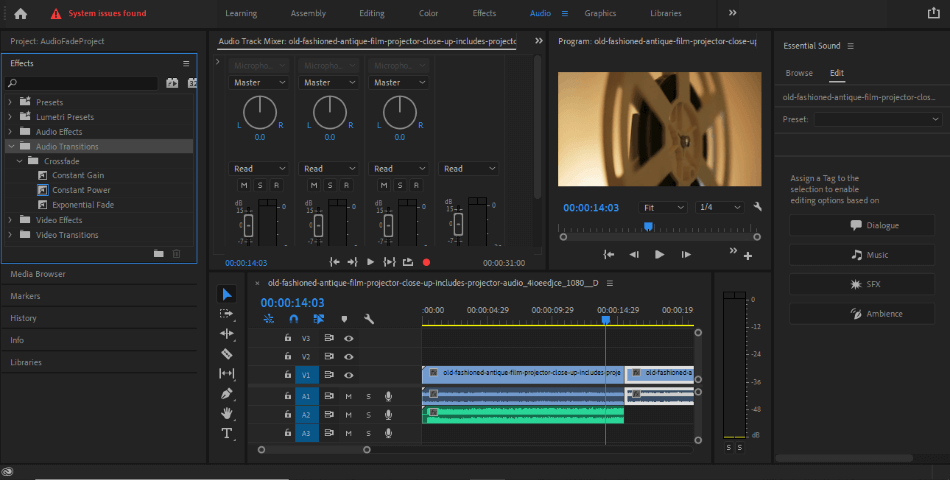
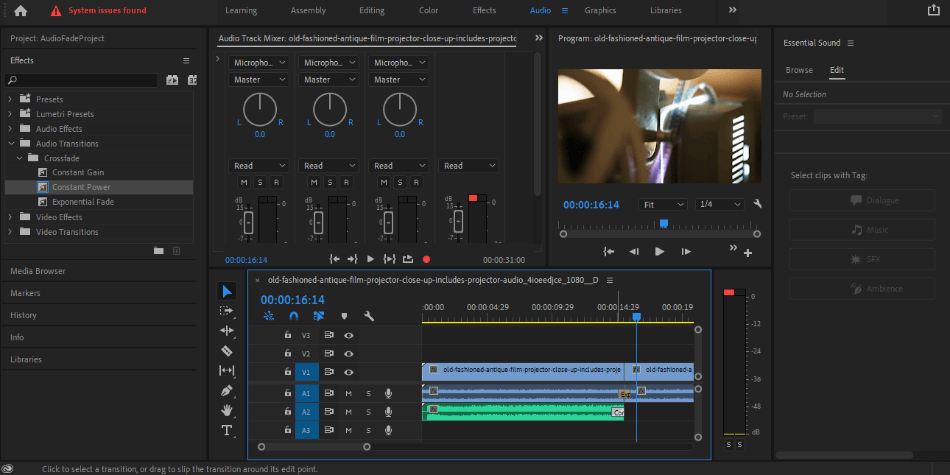
On the left-hand side of your workspace, you should see an Effects menu. Click on it to open that section. Here, you’ll find numerous effects for your videos, including Video Effects, Video Transitions, Audio Effects, and Audio Transitions.
Navigate in this window to Audio Transitions and expand this folder. Then expand the folder for Crossfade. You should now be given a choice of three audio transitions to choose from.
Here Is a Rundown of What Each One Does:
- Constant Gain: Changes audio at a steady rate that can sound almost abrupt.
- Constant Power: A smooth transition from one piece of audio to another.
- Exponential Fade: This fade will slowly bring down the audio of the first audio clip while raising that of the one next to it. It also differs from Constant Power by being more gradual.
Step 3: Apply a Fade to Your Audio
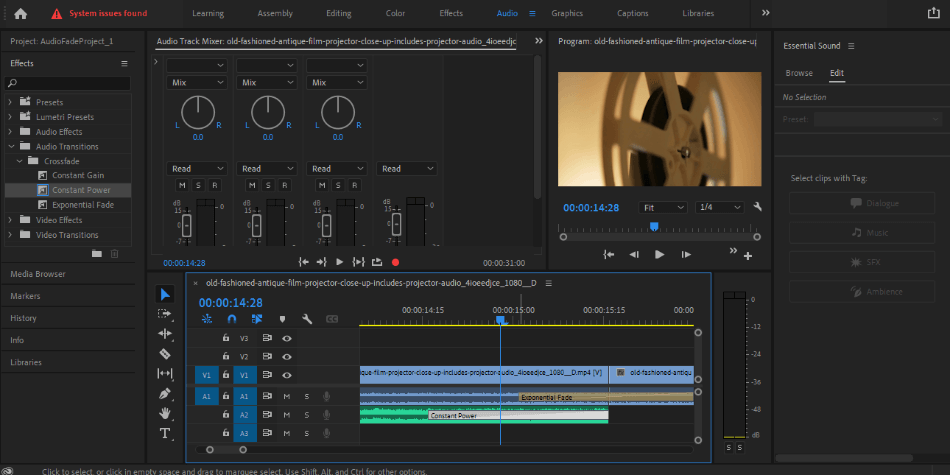
When looking at our transition options, we can figure out which ones will work best. Constant Power will provide a smooth out for our singular music track. Exponential Fade will help us make the video clip audio transition well.
Click on Constant Power and drag it to the end of the music track on the timeline. Then click on Exponential Fade and drag it to the seam between the two audio clips for the videos. Make sure the Exponential Fade covers both audio clips when placing the transition.
If you find that your video clips won’t allow for a transition to bridge their audio, you may have to trim the end of the first clip and the beginning of the first. If you’d prefer not to cut the clips, you can just apply two Exponential Fades: one for the end of the first clip and the other for the end of the second clip.
You’ll notice that your clips now have mini-bars inside them to let you know they have the fades applied. These can be edited as well. If you zoom into your timeline, you can hover over these transitions and drag them out to be longer or shorter.
Step 4: Test the Audio With Preview
Now that you have your audio transitions, it’s time to make sure they sound just right. Drag your marker on the timeline and press Spacebar to start a preview of your footage. Your audio should drop between the two video clips if you’ve done this right.
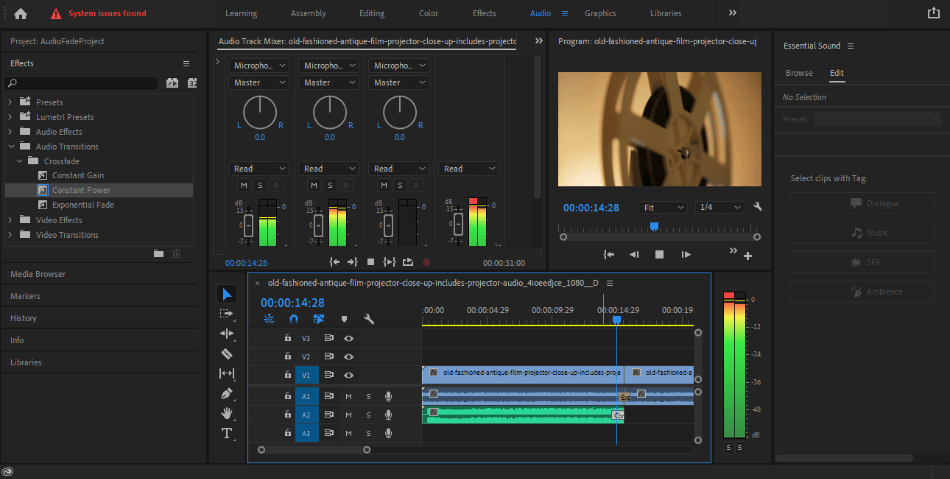
Here is where it’s more important to apply the fade through the Audio workspace tab instead of Effects. When you playback your audio, you check multiple audio tracks through the mixer in the center of the workspace. Listen to your audio and make sure it’s not too loud or too quiet.
Keep an eye on the levels to ensure that one piece of audio is not overpowering a more crucial audio track. For instance, if the music is too loud and you can’t hear a narrator, you may want to turn down the clip’s volume. You can quickly change the audio levels by right-clicking on the track and selecting Audio Gain.
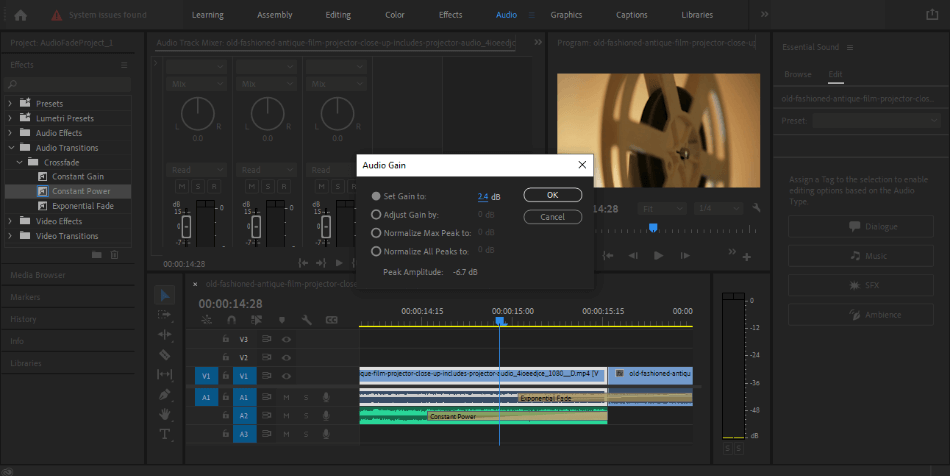
Audio Gain will open a mini-window where you can make the gain higher or lower. The higher gain makes it louder, and the lower-gain makes it quieter. The gain can also be animated if you set keyframes in the Effects Controls window, found in the Effects tab.
Admittedly, yes, you can animate an audio fade this way. This method is ideal if you want a longer fade you can’t accomplish with transitions. If your transition is relatively short, though, it’s more convenient to just use the audio transitions for fades.
While you’re checking audio and applying fades, you may also want to take this time to use video transitions as well. If you’d like your video to fade into the following clip as smoothly as the audio does, you can also apply video transitions. These transitions go beyond fade and include more elaborate effects with shapes and movement.
There are many practical uses for these fades. It can make scene transitions smoother and the beginning and end of your videos less abrupt. Use this technique to ensure that your videos are as pleasing to the ears as they are to the eyes. FAQ
Frequently Asked Questions
Adobe Premiere allows you to add a fade to your audio by using its options for audio transitions. Transitions can be found in the effects tab and dragged onto your timeline. The fade you apply can either make your audio drop to silence or transition into another audio track. All of that depends on where you place your transition.
Audio in Adobe Premiere works similarly to how video works on the timeline. Located below the video layers are audio layers, where you can layer different audio tracks. In the same way that you can edit the colors of your video, Premiere also comes with tools for tweaking the specifics of your audio. There are also a variety of options for audio effects and transitions.
Adobe Premiere costs a monthly or yearly subscription fee to use. There is, however, a free trial version of the software that you can use for seven days. The trial version doesn’t have any limits in terms of features and tools. You’ll have to pay for the subscription at the end of the trial.
As with most Adobe creative cloud applications, Premiere requires a subscription fee to use. The monthly cost for Premiere is $20.99 a month with an annual plan. You can also subscribe to Adobe’s complete Creative Cloud plan which includes Premiere, After Effects, Photoshop, and a host of other Adobe applications. That plan costs $52.99 a month with an annual plan.

Mark McPherson has been working as a video editor and content writer for over ten years. His background started in animation and video editing before shifting into the realm of web development. He also branched out into content writing for various online publications. Mark is an expert in video editing, content writing, and 2D/3D animation.