(Last updated on November 2nd, 2022)
Want to know how to resize a layer in Photoshop? You have come to the right place!
Today, we are going to be resizing a layer in Adobe Photoshop. Resizing a layer is a simple technique that all editors should learn. In this tutorial, I will go over different approaches used to resize a layer and layer basics.
Related: How Much Does Photoshop Cost? (Simple Explanation)
How to Resize a Layer in Photoshop?
To resize a layer in Photoshop, follow these simple steps:
Step 1: Click on the Move Tool or simply press V.
Step 2: In the layers panel, click on the layer you want to resize.
Step 3: Drag the corners and edges of the layer to resize. Hold down the Shift key to retain
proportions.
Note: You can also resize a layer using the Free Transform Tool. Use the Liquify Tool if you want to push, pull, bloat, or pinch a layer.
More Details
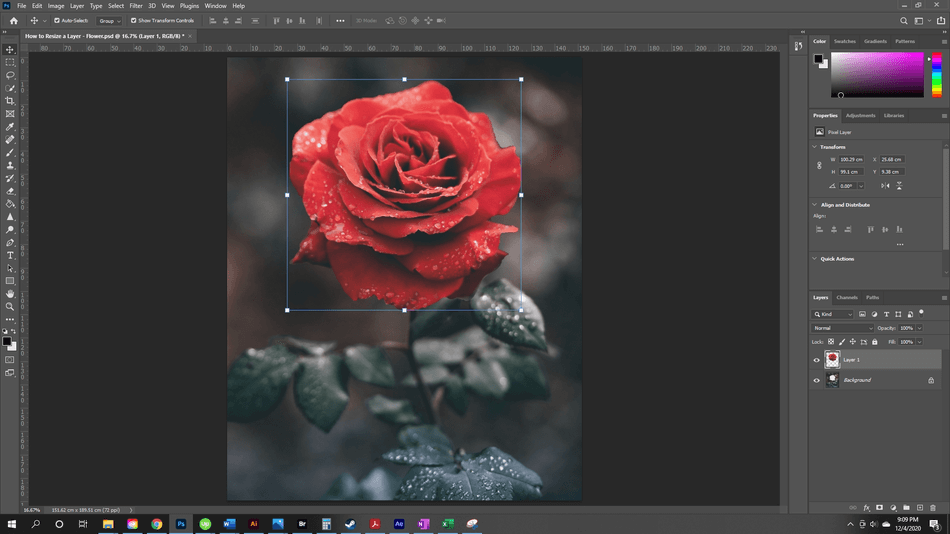
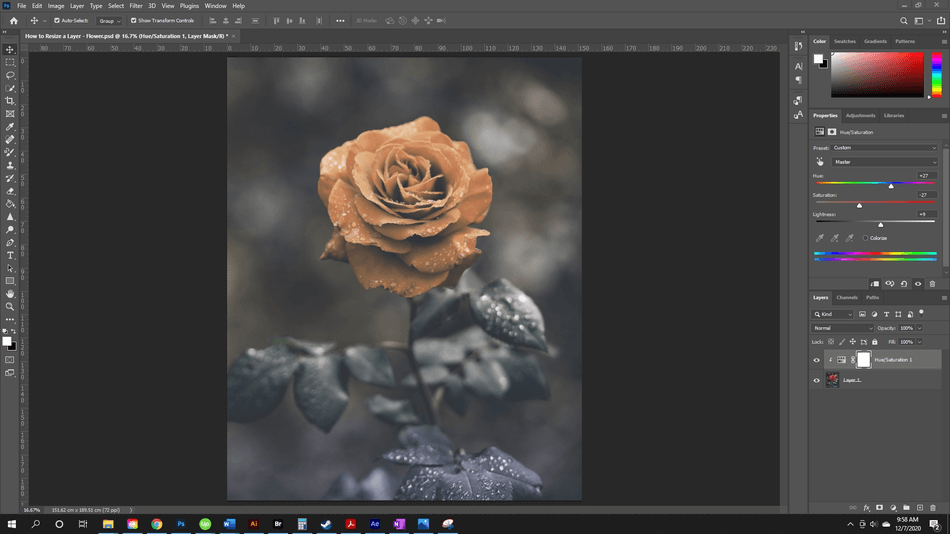
Here we have an image of a rose. I want the rose head to be bigger. I’ve already separated the rose into a second layer, separate from the background.
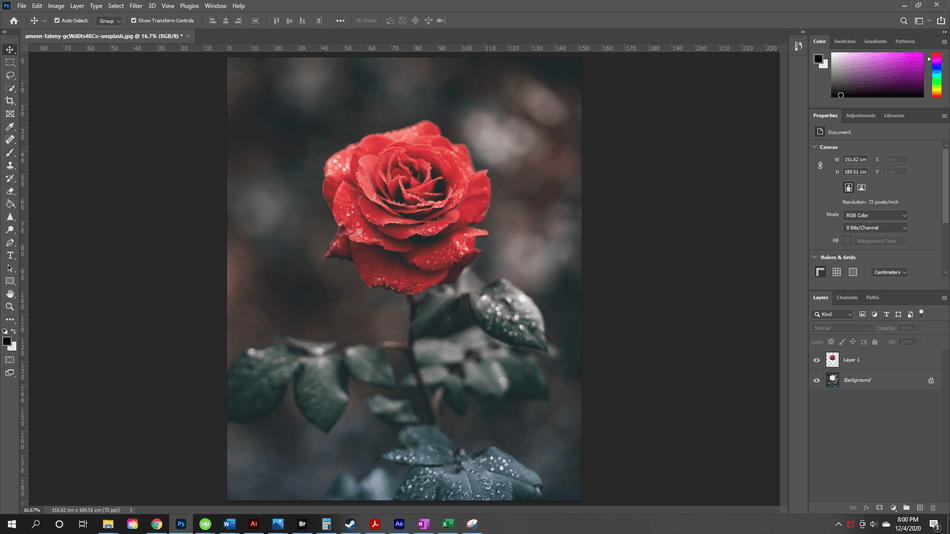
- Switch to the Move tool. You can do this using the V key or by clicking the Move icon at the top of the left-hand toolbar.

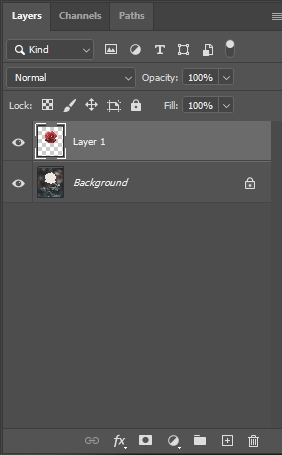
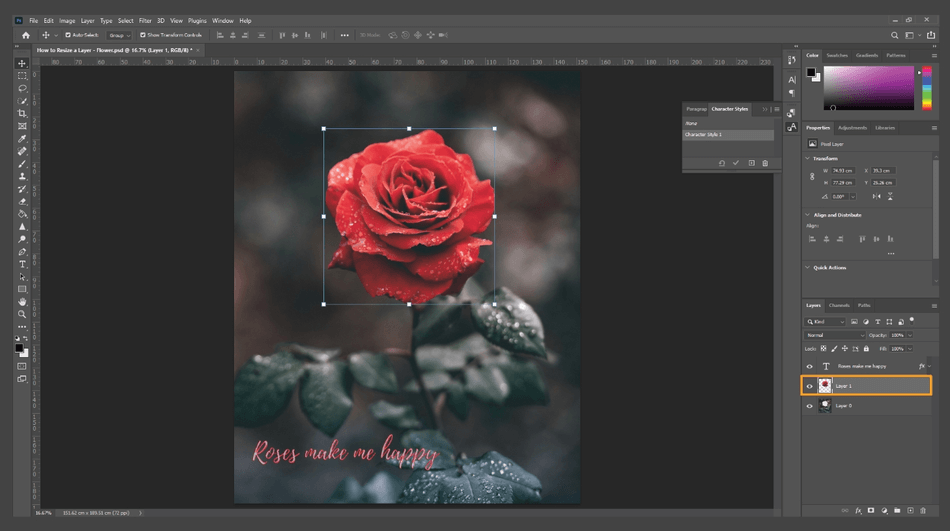
- Click on the layer you want to resize. In the layer panel, the layer will highlight white. Your selection will have a blue border around it to show that it’s the active layer.
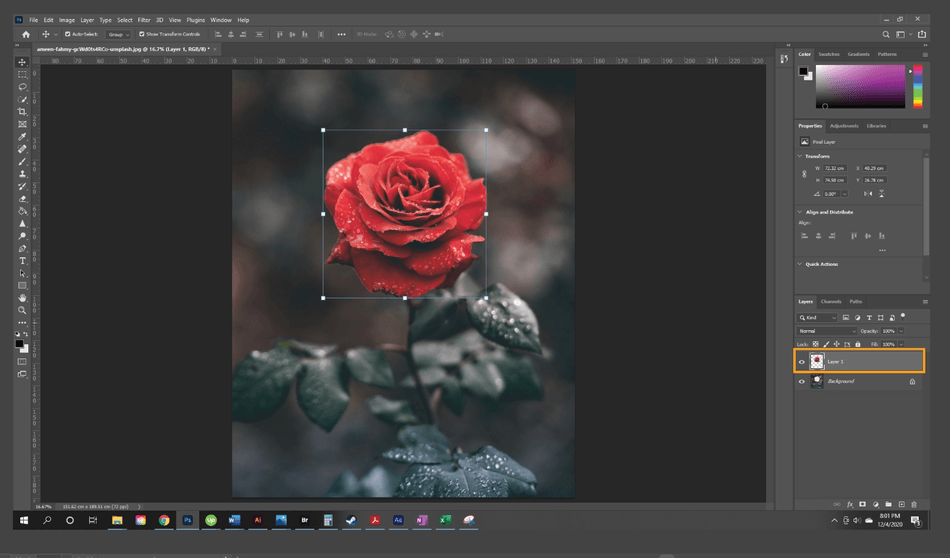
- Once selected, drag the corners and edges of the layer to resize. In addition, if you hold down the Shift key as you resize, the original layer proportions will stay the same. To move the layer, click inside the layer to grab it, holding and dragging it to your next position. To finalize, hit the checkmark or hit Enter/Return (Windows/Mac). You are done!
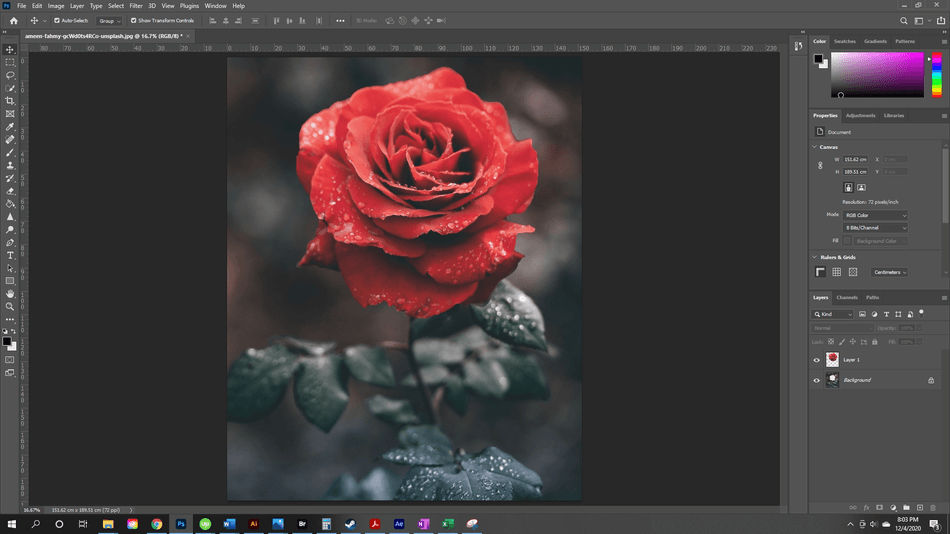
Resize a Layer in Photoshop using the Free Transform Tool
- Select your layer.
- Select the Free Transform tool by either going to Edit > Free Transform or using the command Ctrl/Cmd + T (Windows/Mac).
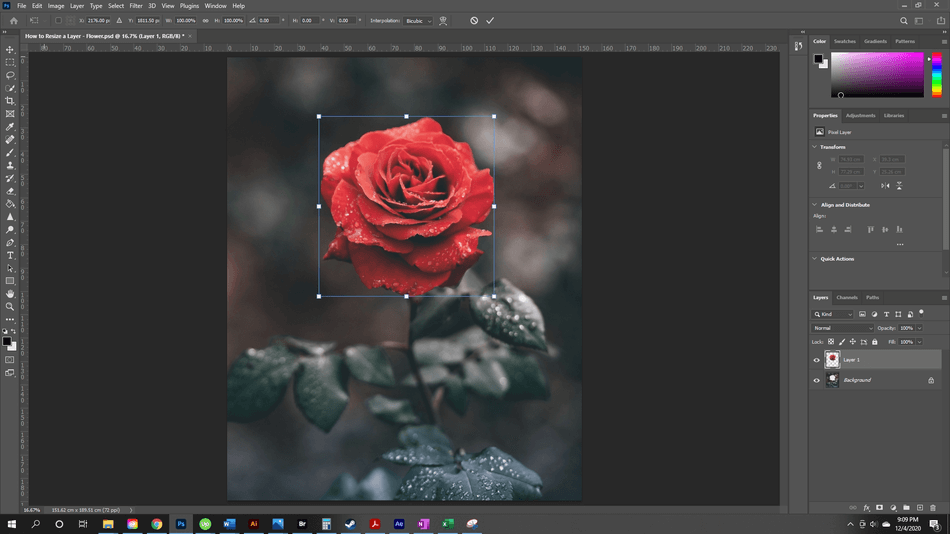
- Drag the corners and sides of the layer to resize. Drag the layer from the middle to place it into position. Hold Shift as you resize to retain the proportions of the original image. To finalize, hit the checkmark or hit Enter/Return (Windows/Mac). You are done!
Resizing a Layer Using the Liquify Tool
If you want to push, pull, bloat, or pinch a layer, use the Liquify tool. This tool lets you nudge the pixels into your desired shape.
- Select your layer by clicking it in the layers panel or clicking the layer in the canvas. The layer will be highlighted white when selected.
- Go to Filter > Liquify or Shift + Control/Command + X (Windows/Mac).
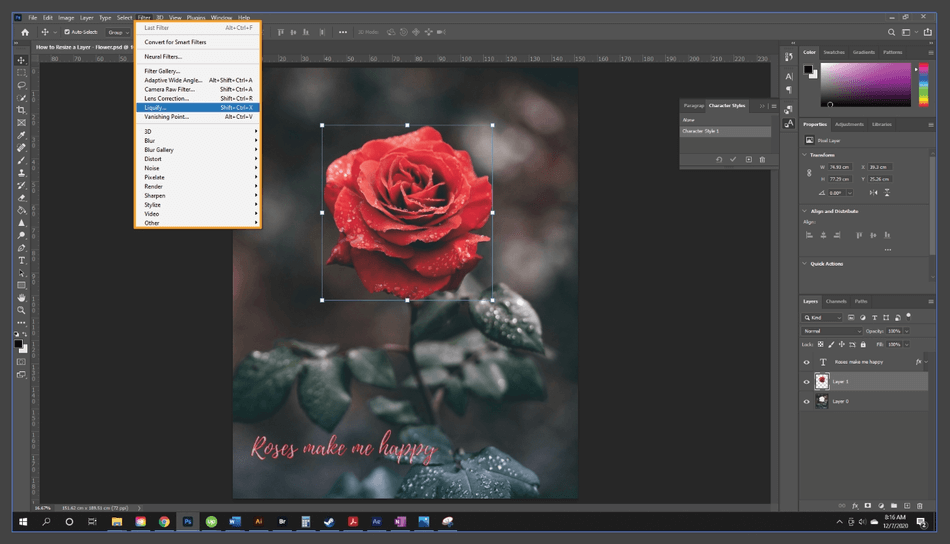
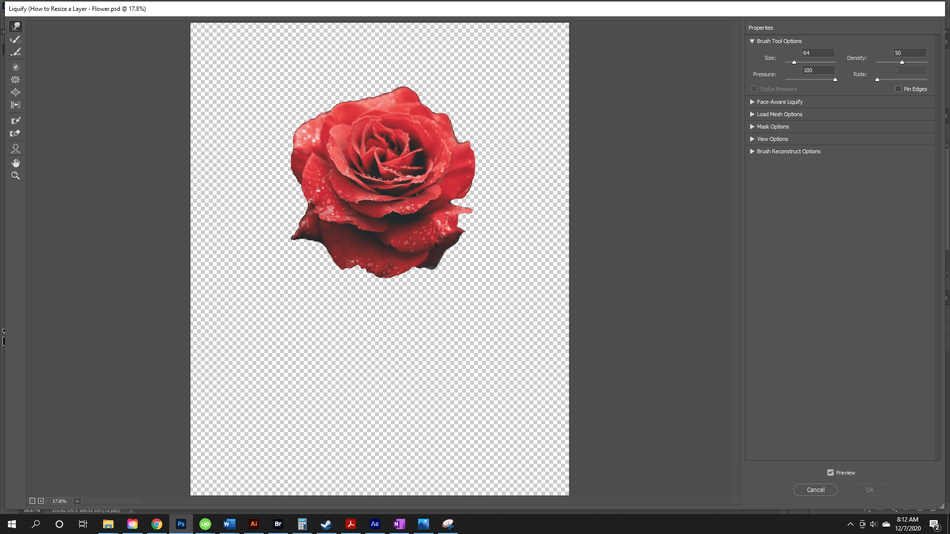
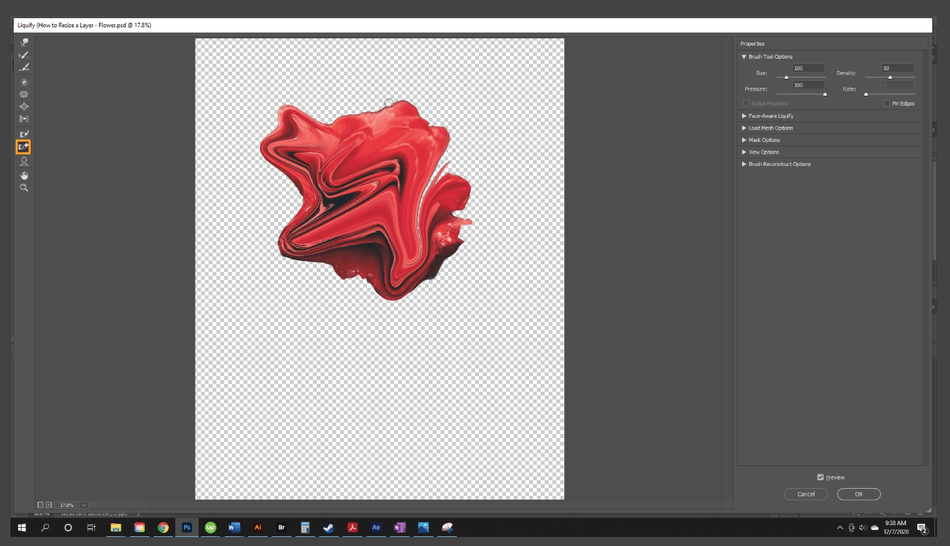
- This command will take you to the Liquify screen. Here, the layer will act as a liquid.
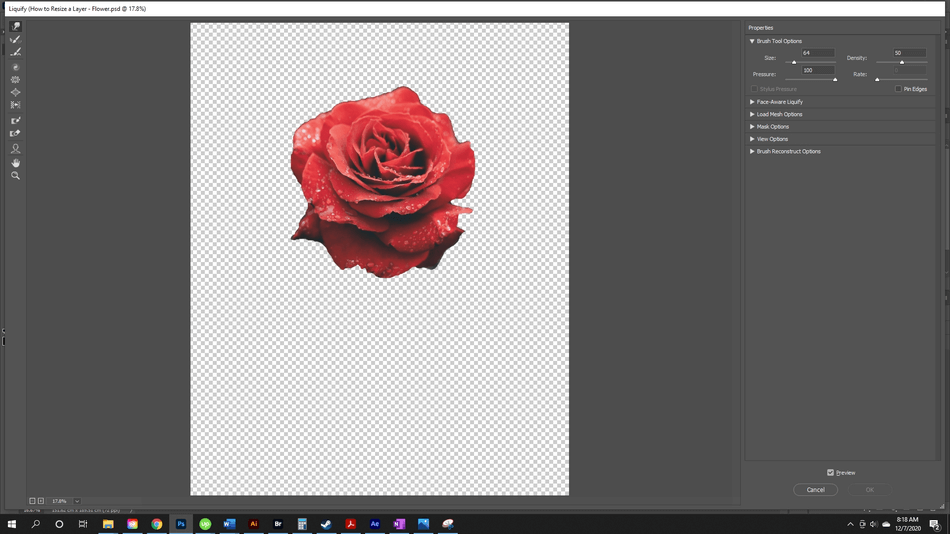
The left side will present all of the Liquify tools, and the right panel is the properties. To resize a layer bigger or smaller, you can use the Forward Warp tool, nudging pixels in and out to resize the layer. You can also use the Pucker and Bloat tool to pinch and expand the image.
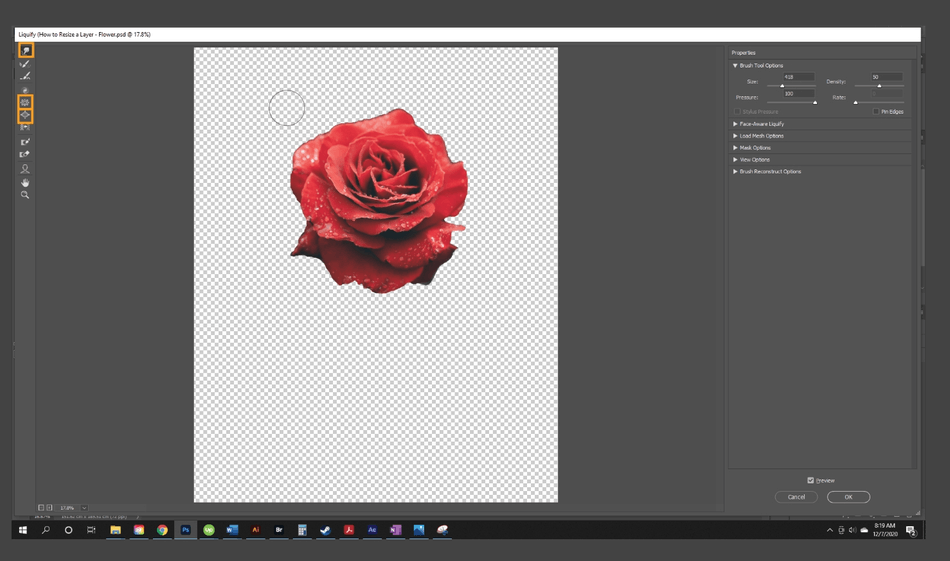
The tools, from top to bottom, are Forward Warp Tool, Reconstruct Tool, Smooth Tool, Twirl Clockwise Tool, Pucker Tool, Bloat Tool, Push Left Tool, Freeze Mask Tool, Thaw Mask Tool, Face Tool, Hand Tool, and Zoom Tool.
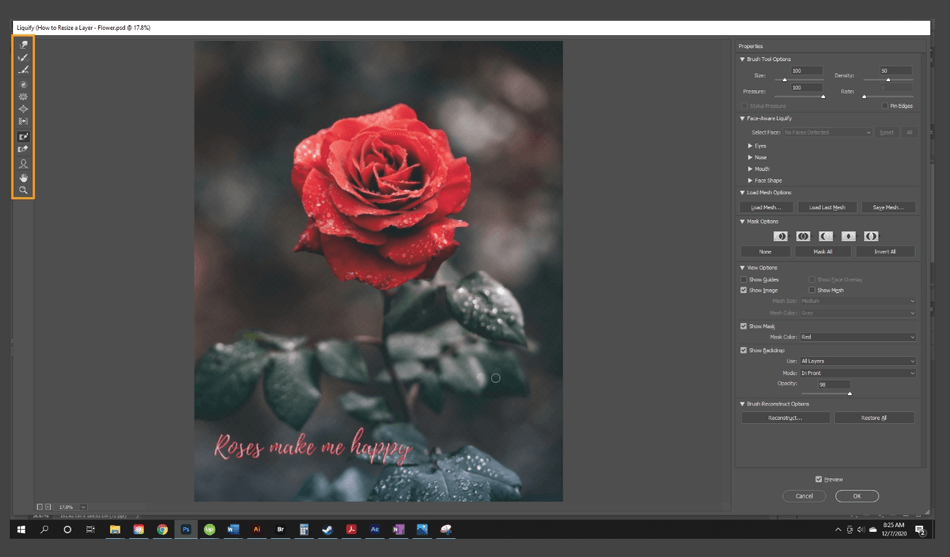
- The Forward Warp Tool will nudge pixels as you push them in any direction.
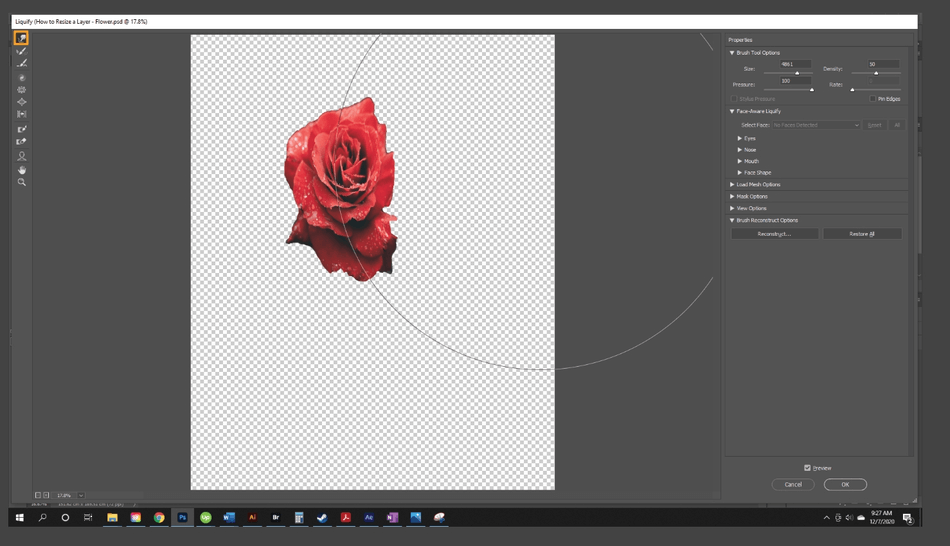
- The Reconstruct Tool will reverse the liquify distortions that you create. Like the brush tool, click and drag to apply.
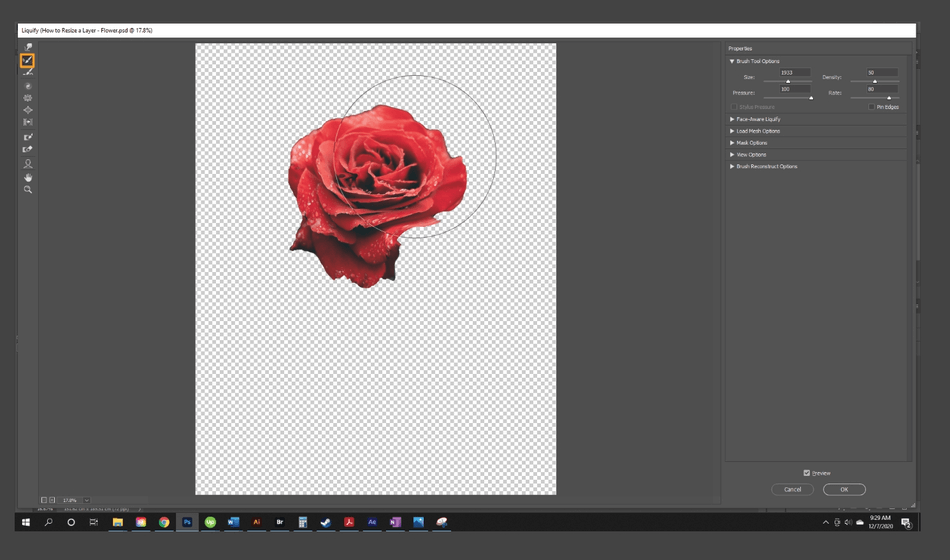
- Smooth Tool will smooth out distortions made on an image.
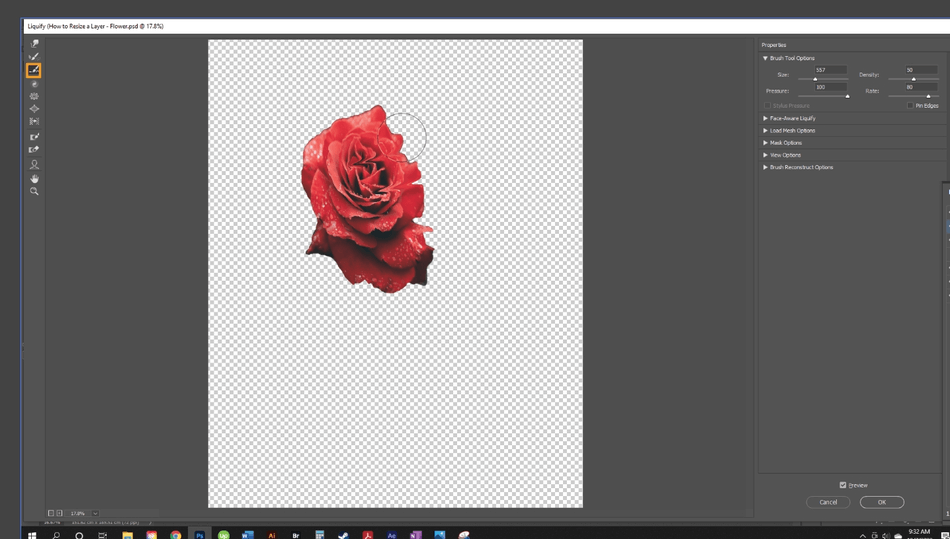
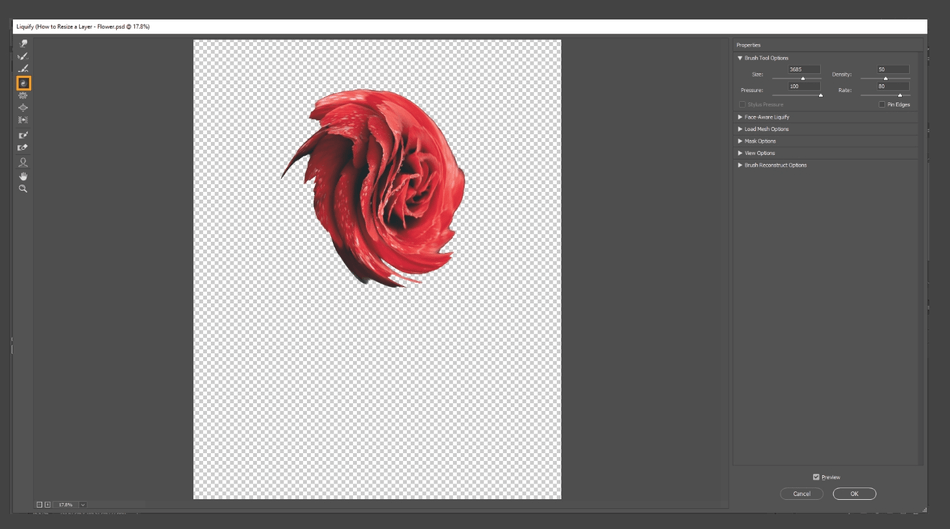
- Twirl Clockwise Tool will twirl the pixels in a clockwise motion. You can hold down the key Alt (Windows) or Option (Mac) to twirl the pixels counterclockwise.
- Pucker Tool will move pixels towards the center of your canvas.
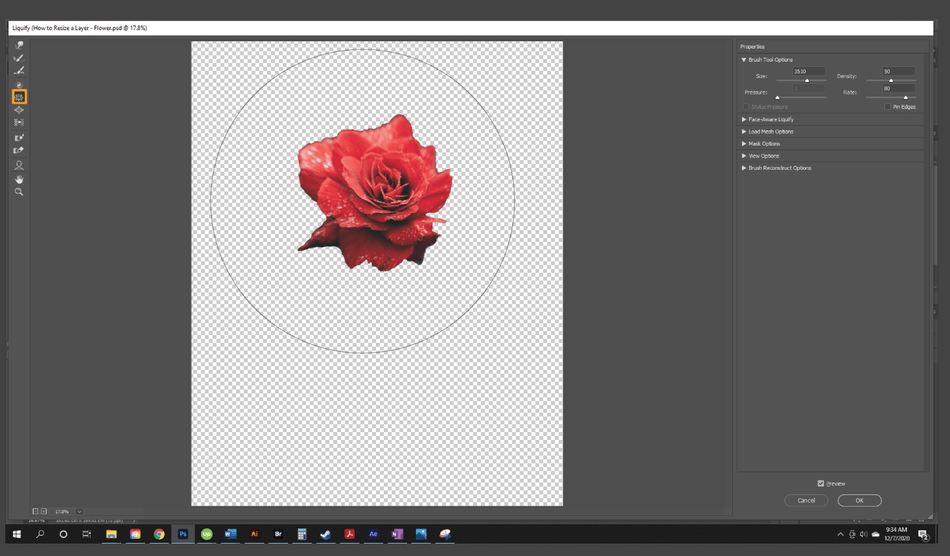
- Bloat Tool will move pixels away from the center of your canvas.
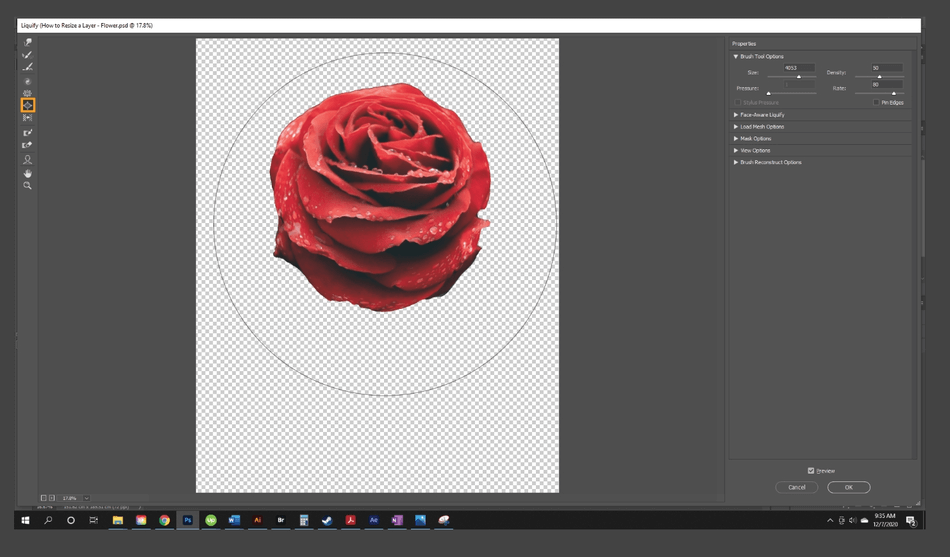
- Push Left Tool will move pixels to the left as you drag the tool straight up, right when you drag down. If you drag clockwise around an object, you will increase its size, decrease the size if you drag counterclockwise.
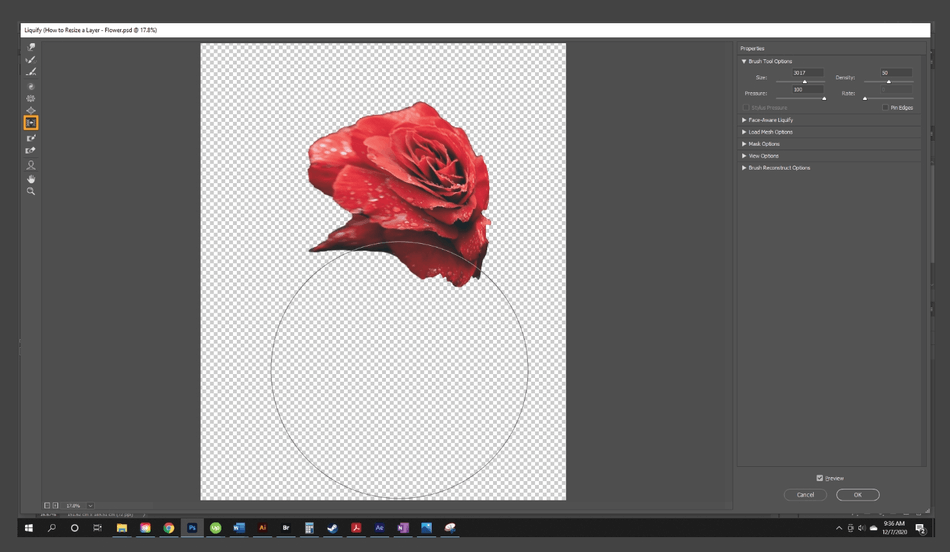
- Freeze Mask Tool will protect areas from distortion.
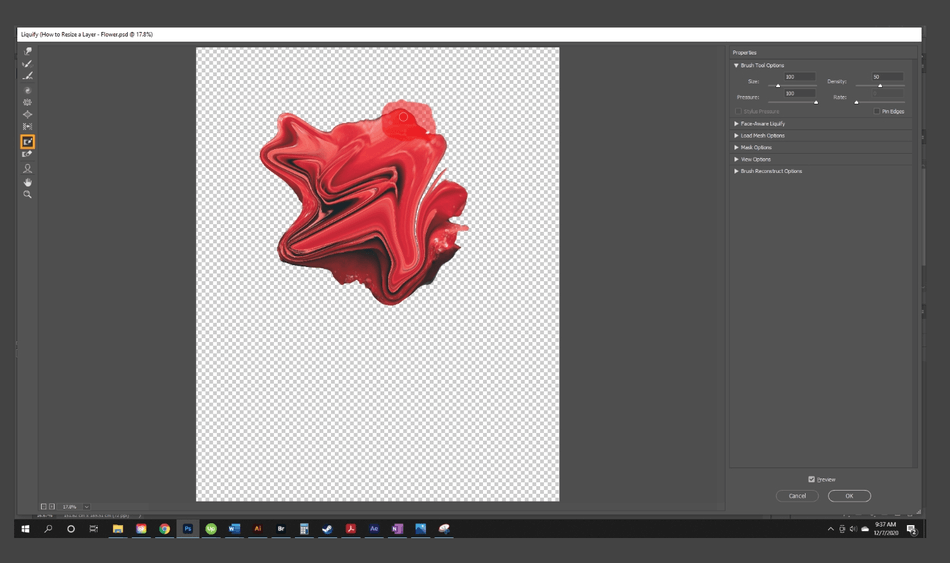
- Thaw Mask Tool will unfreeze areas, allowing them to be edited.
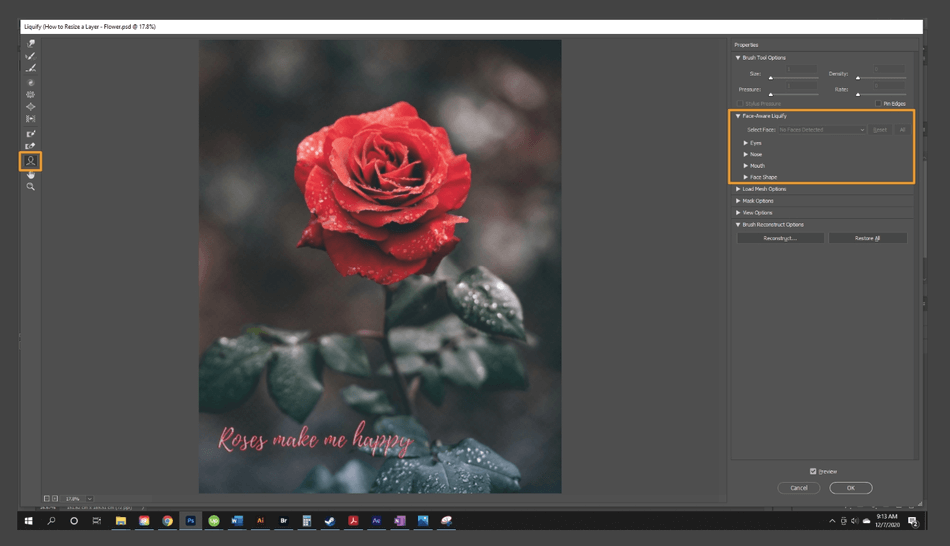
- The Face Tool will automatically identify faces in your picture. You can adjust individual features quickly, using the Face-Aware Liquify features in the Properties panel.
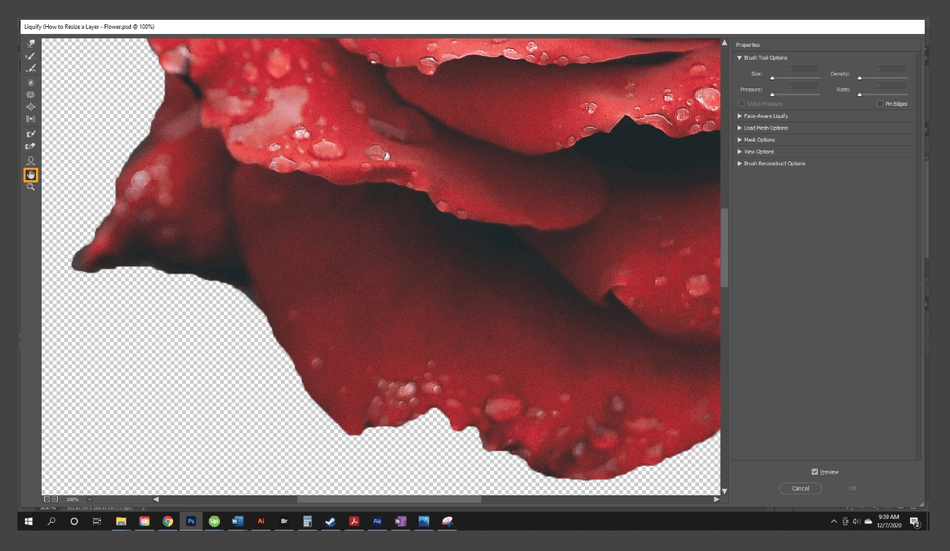
- The hand tool lets you navigate around the image.
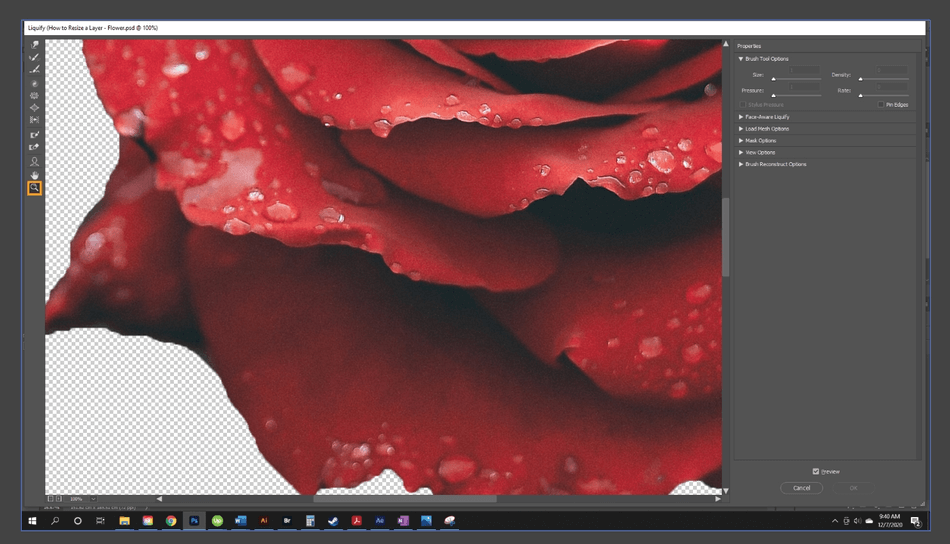
- The Zoom tool lets you zoom in and out of the image.
Diving Deep Into Layers
Layers can be a complex concept for the new Photoshop editor. While there is a learning curve, working with layers is an incredible advantage when creating digital art.
In a nutshell, layers let you edit your work in pieces, each stacked on top of the other. When you edit one piece of the project, the other layers aren’t affected. Let’s take a look at how layers work in Photoshop.
The Layer Panel
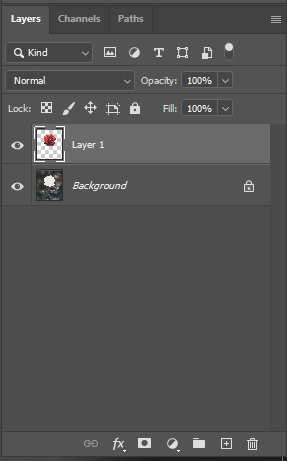
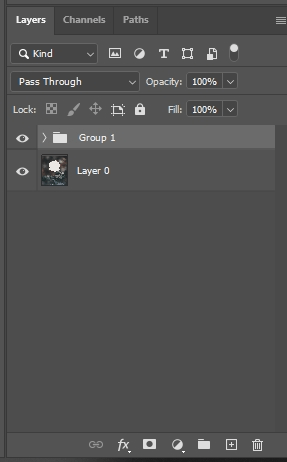
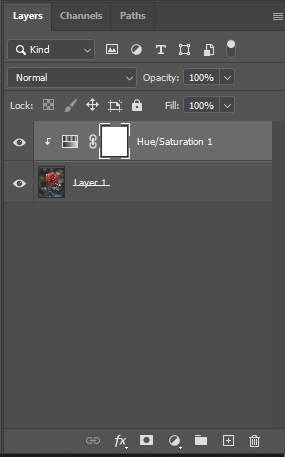
The layer panel is where you will work with layers, shifting, copying, organizing, editing, deleting, and creating new ones. Let’s look at the icons from top to bottom.
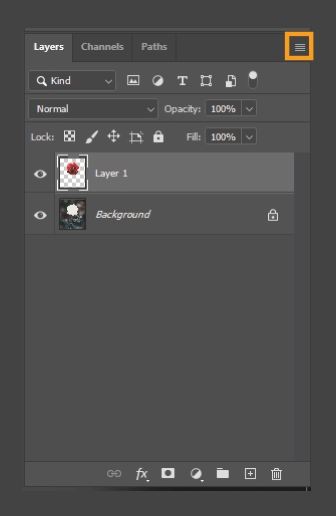
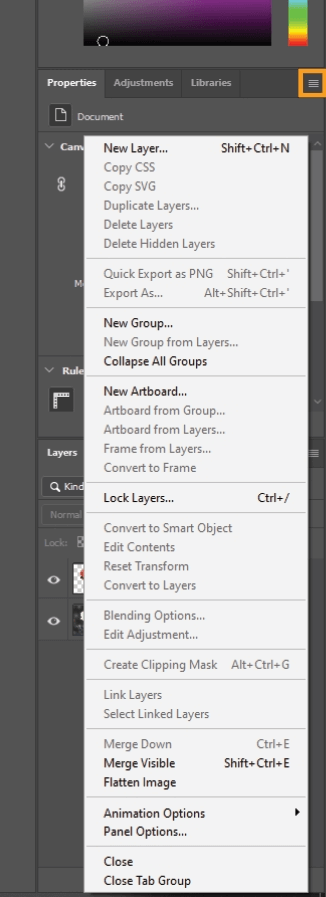
- In the upper right corner, we have the Layers panel menu icon. When clicked on, it opens up to give you a ton of options. Here, you can control everything from layers to groups to artboards and more.
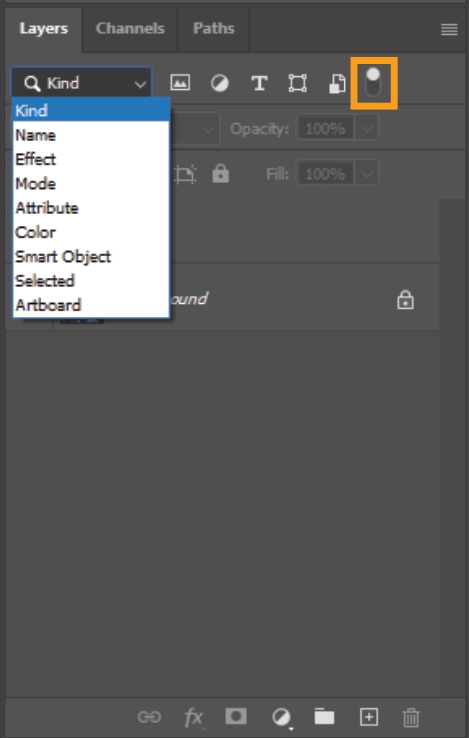
- Next is the filter feature. Here, you can filter through your layers to find a key document quickly. You can sort subsets of layers by these filters, Kind, Name, Effect, Mode, Attribute, Color, Smart Object, Selected, and Artboard. The icons to the right correspond to the filter.
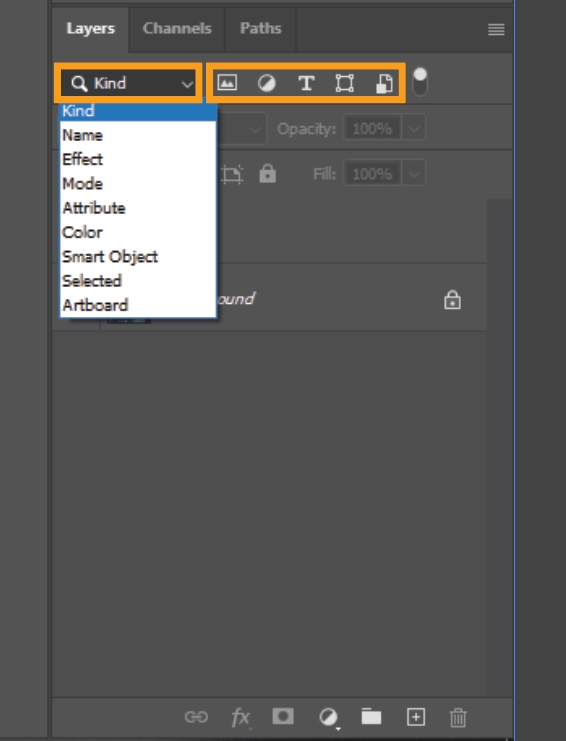
The toggle turns layer filtering on/off.
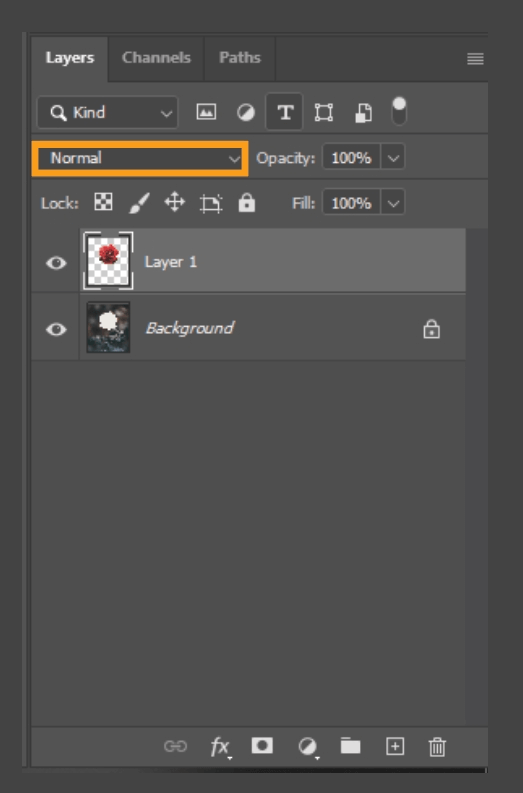
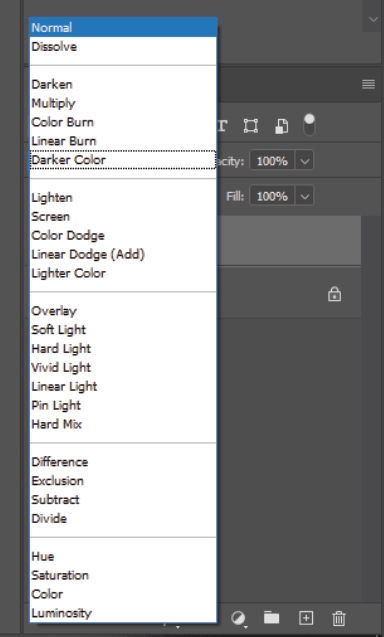
- Here, we have blending modes. Blending modes control how your layer blends with the layers underneath.
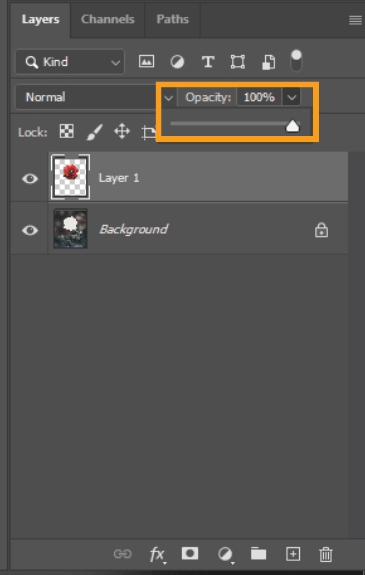
- The Opacity feature controls the opacity of the layer.
- The lock section lets you lock a layer for a specific property or all properties. From left to right, you can lock transparent pixels, image pixels, position, prevent auto-nesting out of artboards and frames, or lock everything. You can add a lock by clicking these icons and remove a lock by clicking the lock icon to the layer’s right.
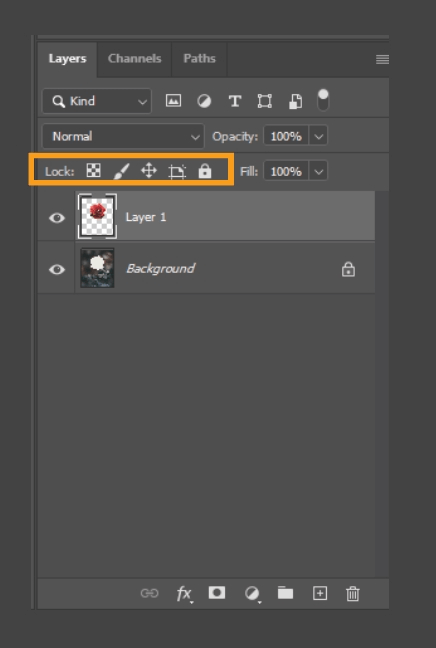
- To the right, we have the Fill option, which also controls the layer’s opacity. Is this the same as the Opacity control? No, Fill is different, and I’ll show you why.
Fill will act the same as Opacity if there are no styles applied to the layer. Fill effects the fill of the shape of the layer. Fill won’t affect the stroke of a layer. Let’s look at these text layers, for example.
Here is the text layer with no styles

Here is the layer at 50% opacity, 100% fill

Here is the layer at 50% fill, 100% opacity

The text here looks exactly the same. Now, let’s add some styles to the text. I added a red stroke. Here is the text with styles added, 100% opacity and 100% fill

Here is the layer at 50% opacity, 100% fill

Here is the layer at 100% opacity, 50% fill

As you can see, the stroke is at 100% opacity while the fill inside the stroke is reduced. Opacity will change the opacity of everything in a layer. Fill will just affect the fill of a layer.
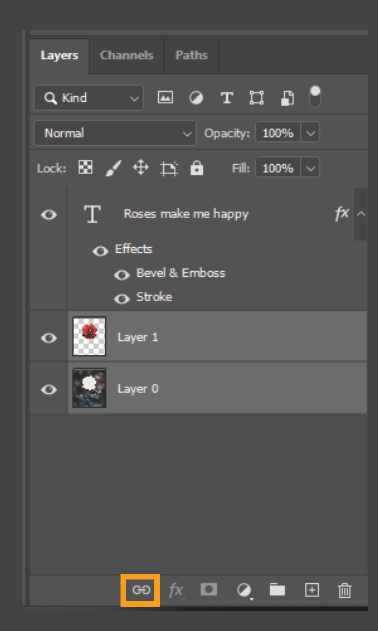
- Linking Layers: This option will link two layers together. When layers are linked, this establishes a relationship between them, even if they aren’t next to each other in the layer order.
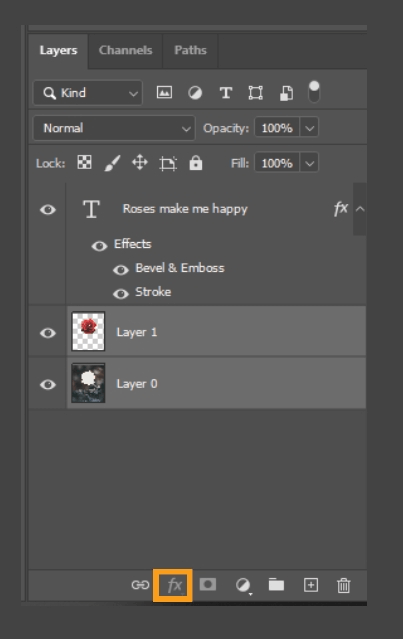
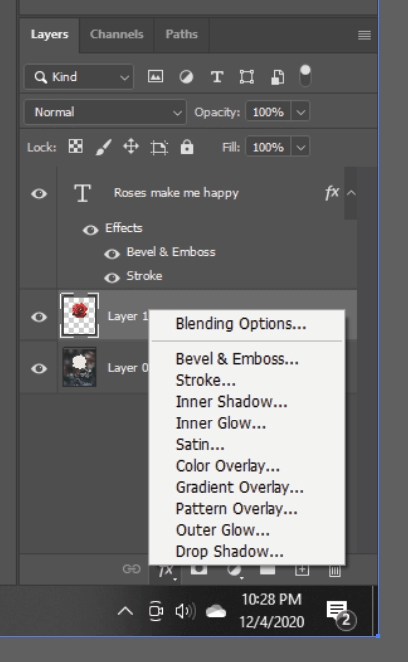
- Add a layer style: This button will add an effect to your layer.
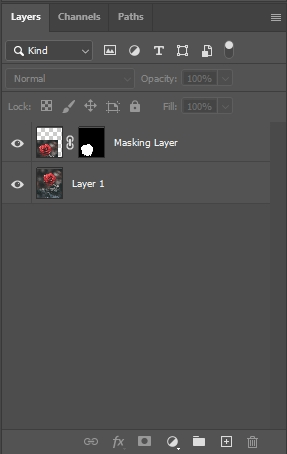
- This button will add a mask layer.
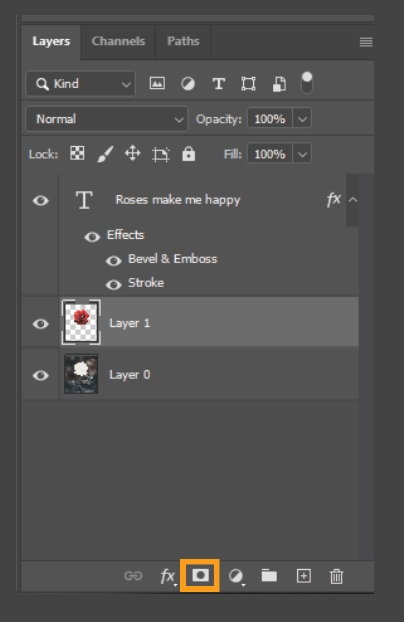
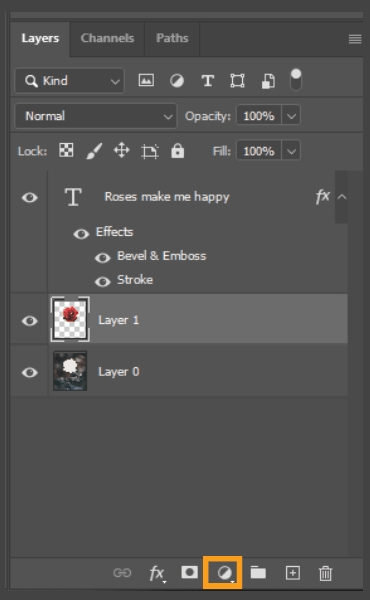
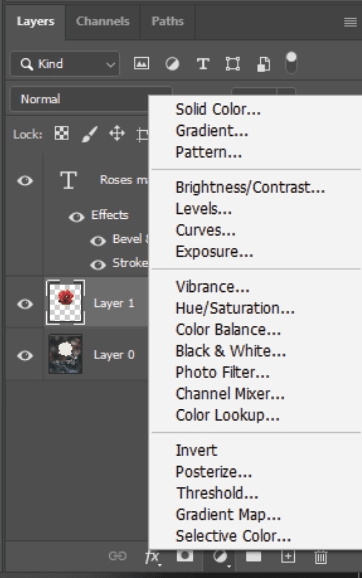
- This icon will create a new fill or adjustment layer.
- This icon will group your layers. Select multiple layers, hit the folder icon, and they will be placed into a folder. Using Groups helps to organize large projects. You can also drag other layers into the folder and reorder layers by dragging them up and down within the layer panel.
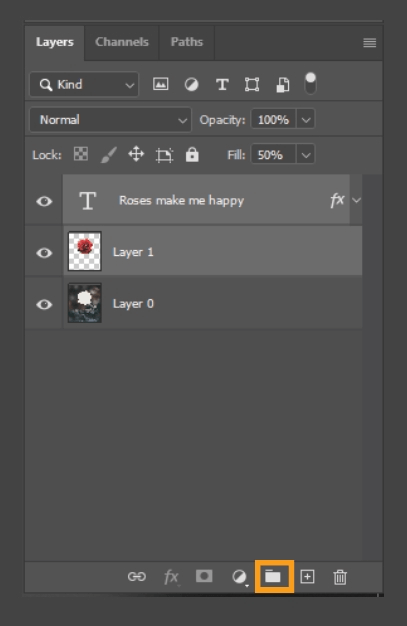
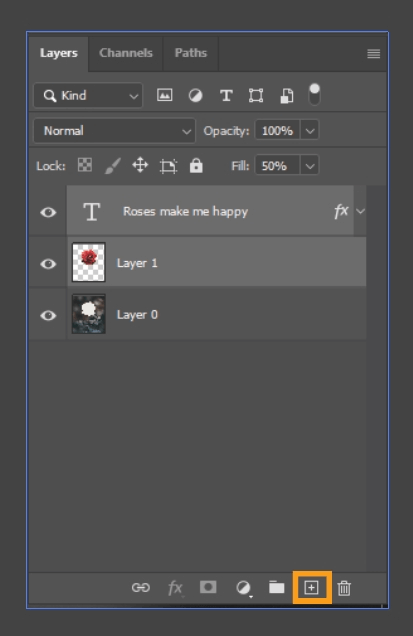
- This icon will create a new layer.
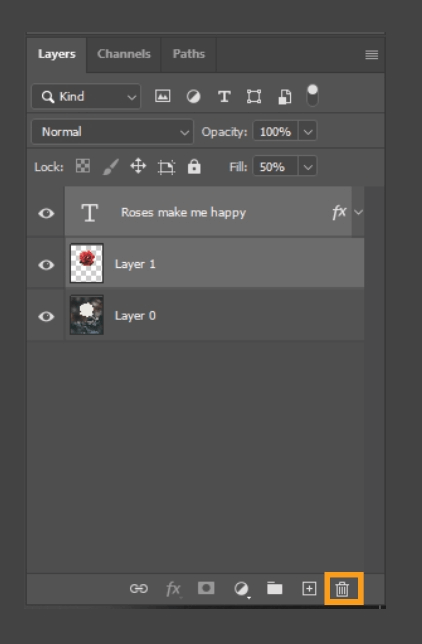
- This icon will delete a layer.
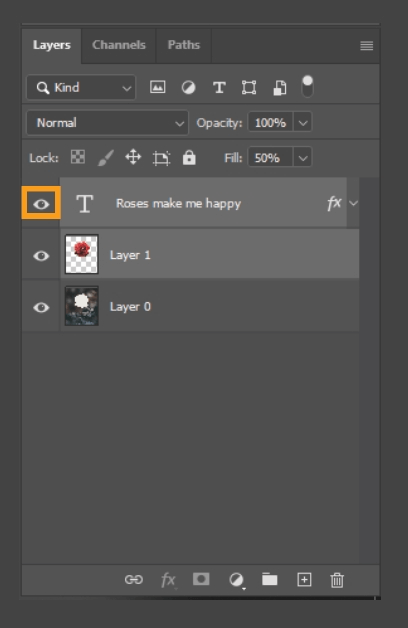
- The eye icon will hide/unhide a layer.
Using Layers
The most important concept to wrap your head around when using layers is non-destructive editing. You can completely change one layer without affecting any other layer. Examples of what you can do include:
- Create a copy of the original layer, creating different versions of the original layer all in one project.
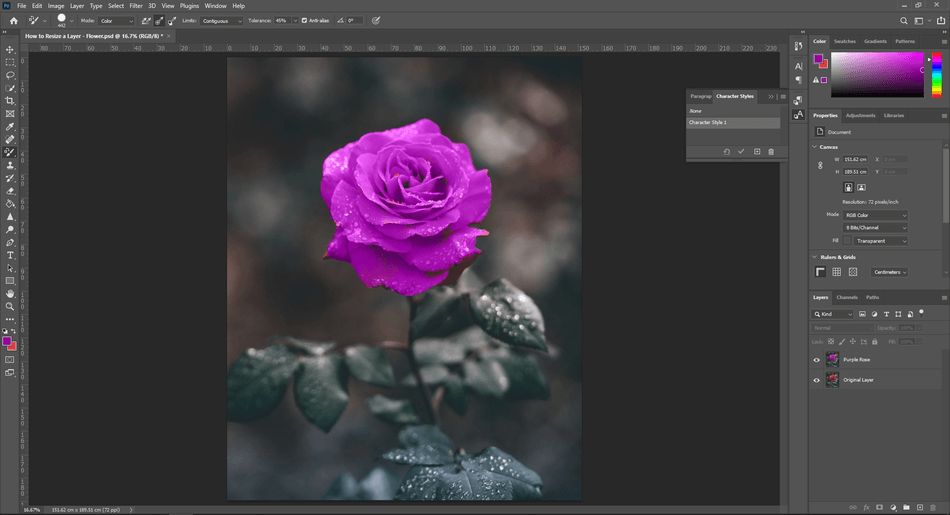
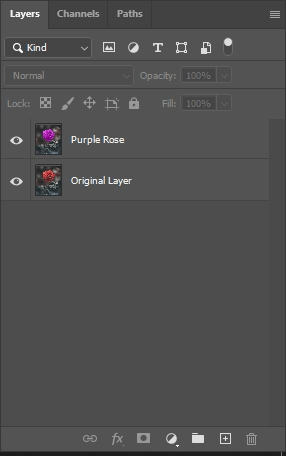
- Mask one layer on top of the other.
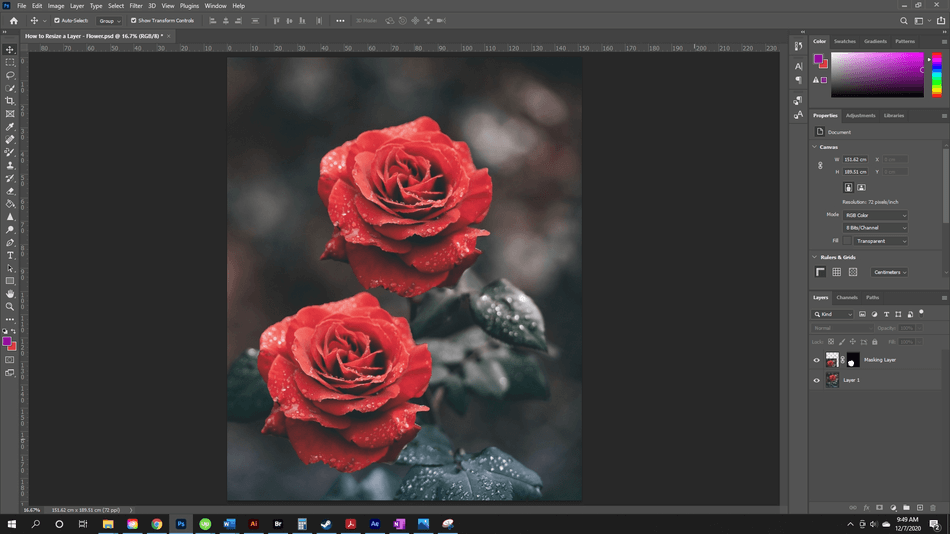
- Change the blending modes of layers.
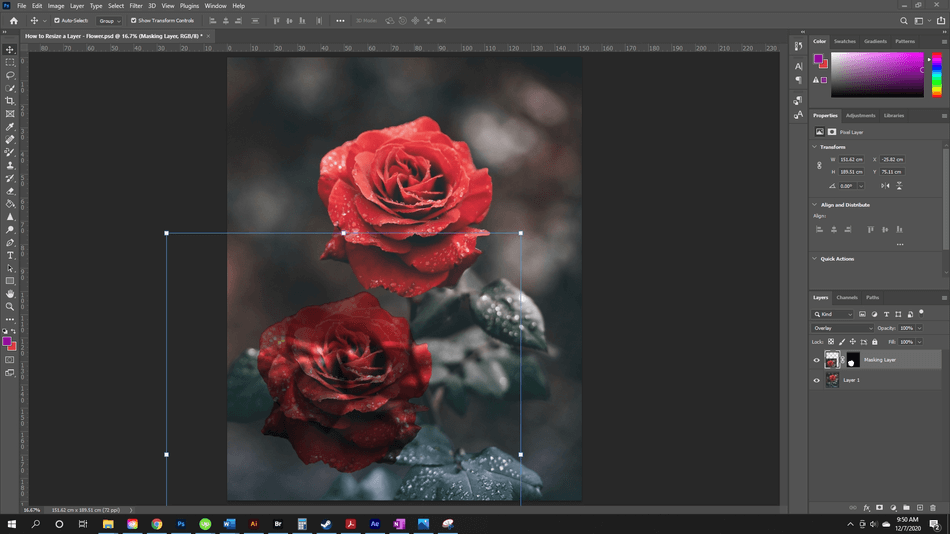
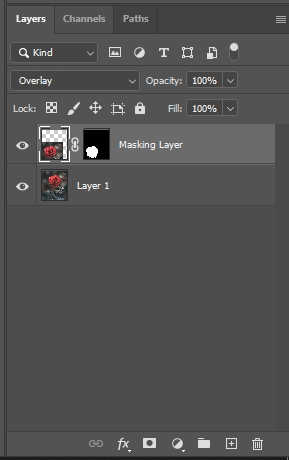
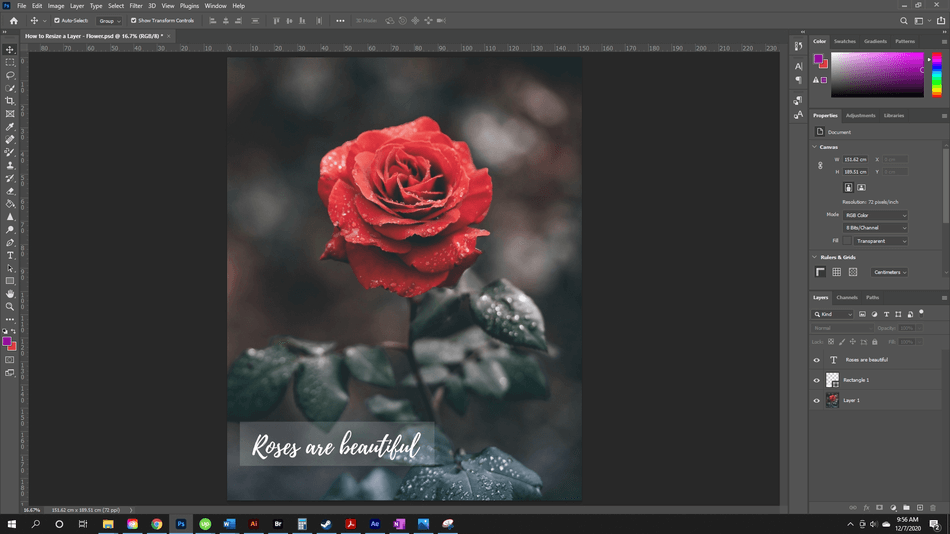
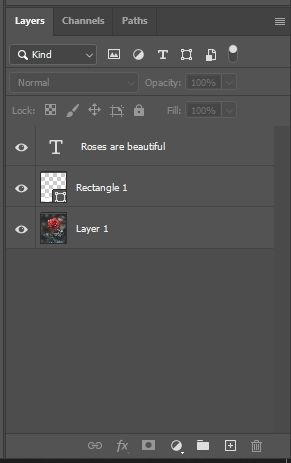
- Add text, shape layers, and more on top of your original layer.
- Add adjustment layers that you can toggle on/off.
These are just a few examples of what you can accomplish with layers. Now you know how to resize a layer in your project and what layers can do.

Anne is a filmmaker and writer with a passion to bring stories to life. She has created several short films, specializing in stop-motion animation. Anne has over eight years of filmmaking experience, and she is always ready to share her knowledge with other creators. She started her company Anne Gets Creative in 2020.
Anne is extremely familiar with many Adobe programs: Photoshop, Illustrator, InDesign, After Effects, Premiere, and Audition, to name a few. She has also worked with other programs such as Procreate, Canva, iMovie, and Final Cut Pro. She always strives to give the best software reviews, researching diligently so her readers don’t have to.
