(Last updated on November 2nd, 2022)
Want to know how to add text in Final Cut Pro? You have come to the right place!
This guide will teach you how to add text in Final Cut Pro as well as work with templates and captions. Read on to learn the ins and outs of text editing in Final Cut Pro.
How to Add Text in Final Cut Pro
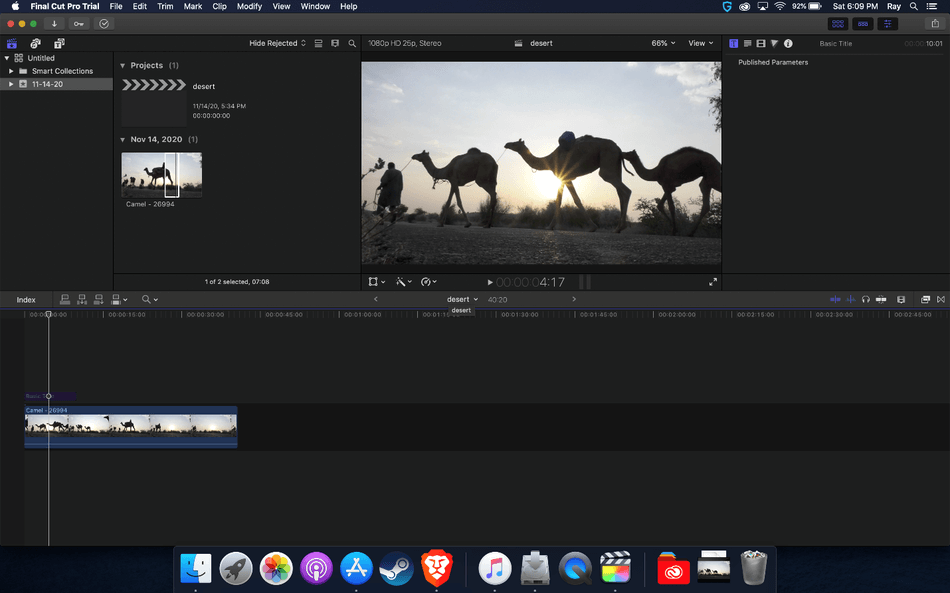
Go to Edit > Connect Title > Basic Title or Basic Lower Third.
Related: Final Cut Pro vs Premiere Pro | The Ultimate Battle (2023)
Or you can use the command “Ctrl + T” for Basic Title (Mac users only, there is no Windows version of Final Cut Pro) and “Ctrl + Shift + T” for Basic Lower Third. For this tutorial, I’m going to use the Basic Title. Now, you have a default title overlaying the video layer.
How to Customize the Text
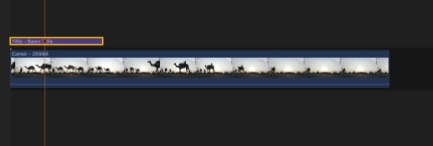
To customize the text, click on the title in the timeline to highlight it. The text clip will be highlighted with a white border. Next, click the Text Inspector icon in the upper right panel.
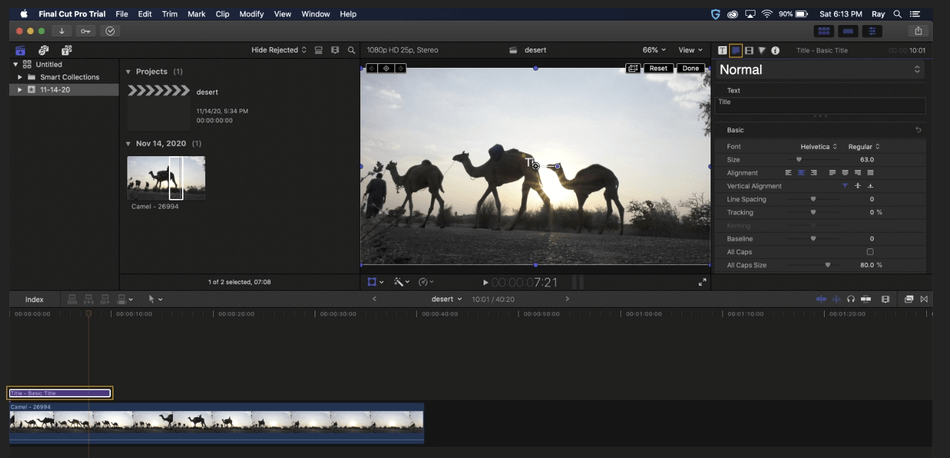
Here in the Text Inspector, there are many tools to help you customize the text.
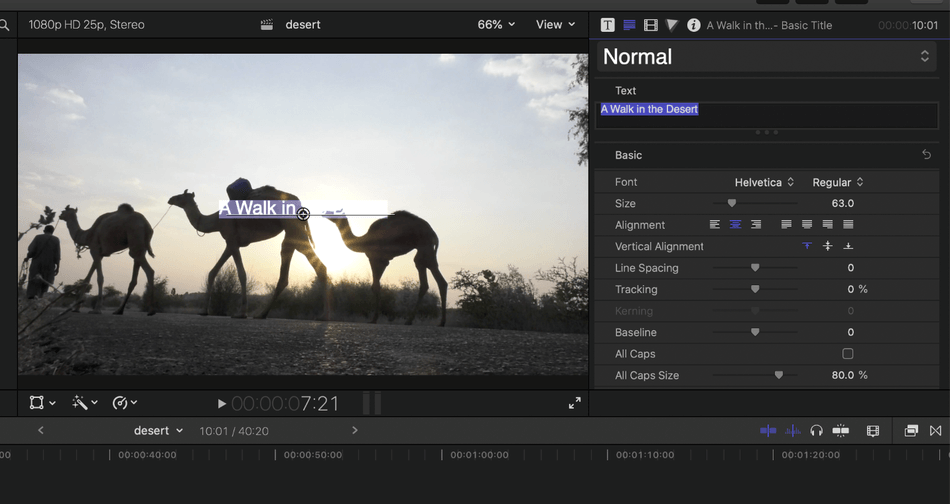
- Editing the Text: To change the text, you can double-click on the text in the video panel, or you can edit in the text box in the text panel.
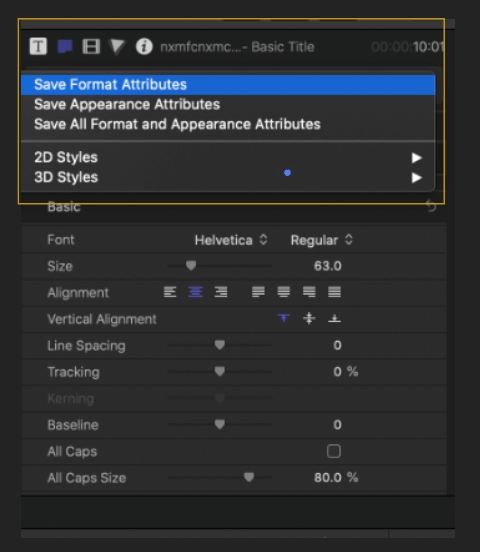
- Save Presets: You can save presets, saving Format Attributes, Appearance Attributes, or both as a preset.
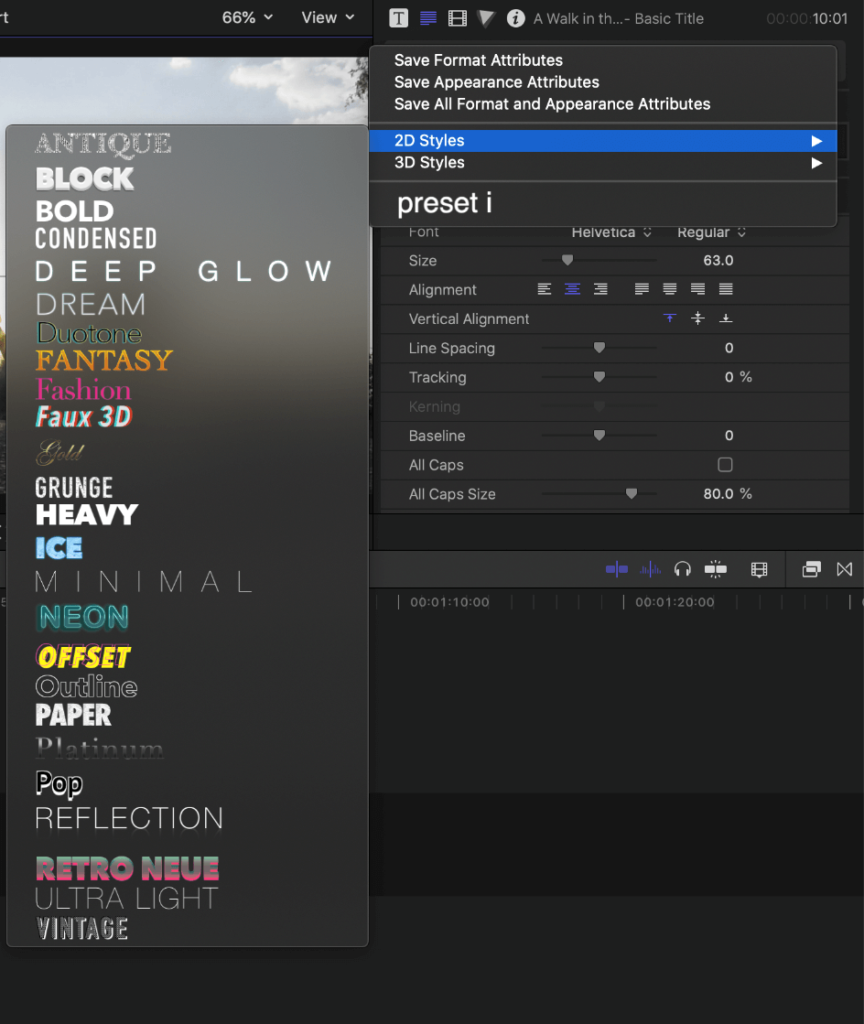
- 2D/3D Text Options: There are also default text options for 3D and 2D formats.
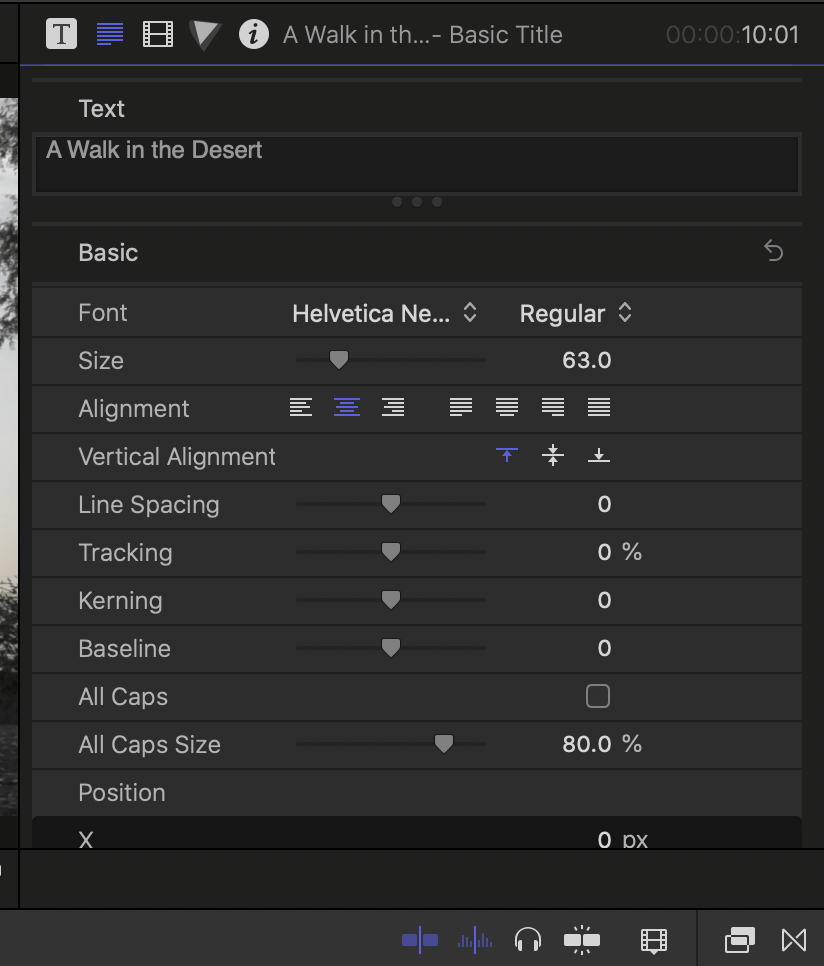
- Basic Font Editing: The Inspector contains all of the basic font editing options, including changing Font Style, font-weight, alignment, size, and more.
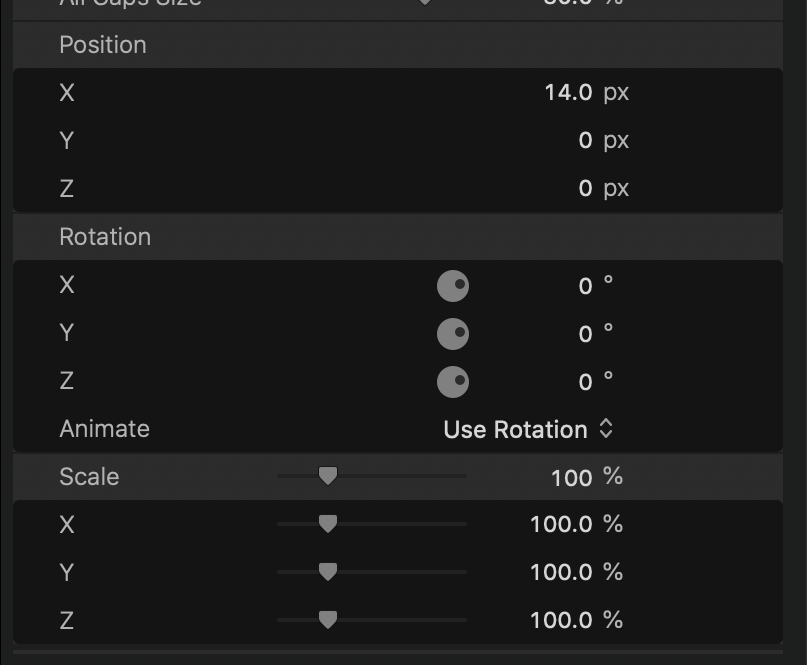
- The position, rotation, and scale can be manipulated.
- 3D Text: Final Cut Pro gives you a ton of customization for 3D text. With Lighting Style, you can choose the light source with eleven different options. You can adjust the intensity of the light, manipulate the environment, and change the text’s material.
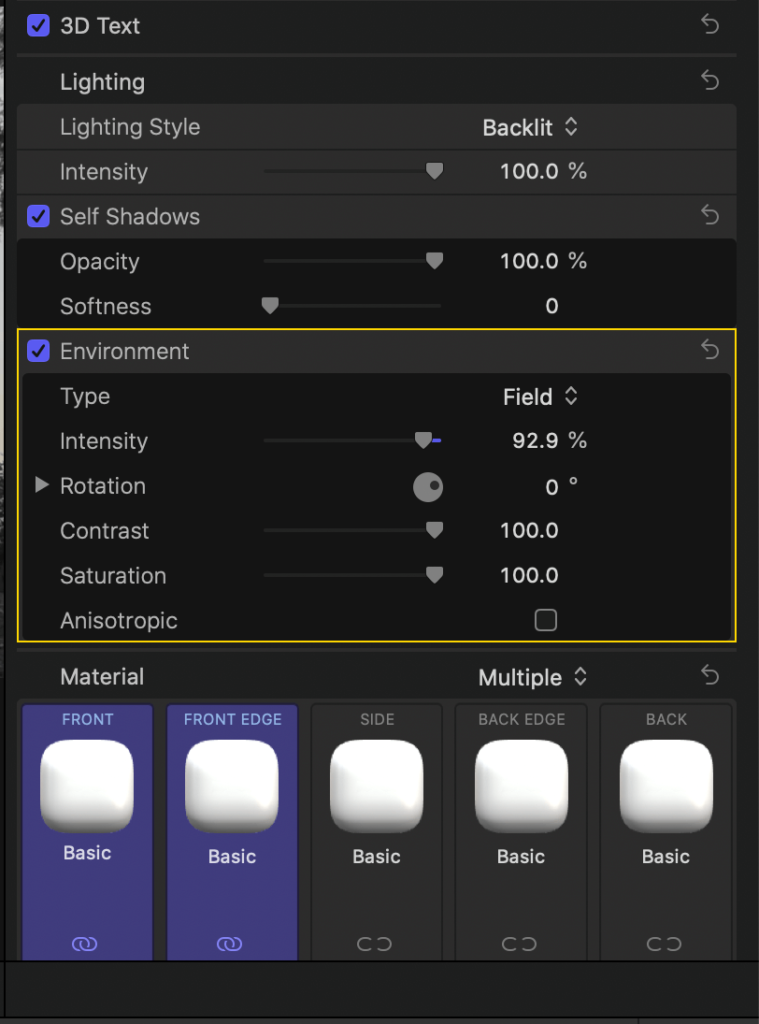
- Face: The face is the fill of the text. You can fill it with a color, gradient, or texture. You can change the color, adjust the opacity, and blur the text as well.

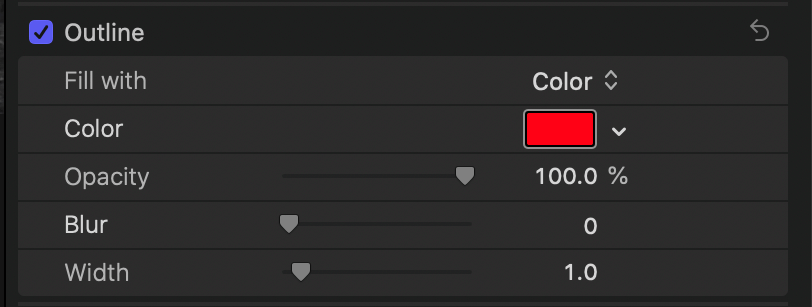
- Outline: You can add an outline to the text, customizing the fill, color, opacity, blur, and width of the outline.
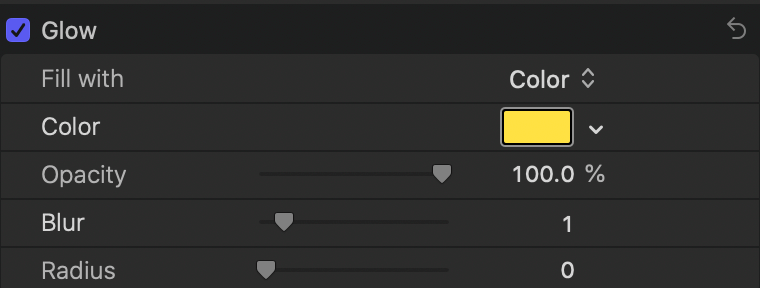
- Glow: You can also add a glow to the text, filling it with color or gradient, changing the opacity, blurring it, and adjusting the radius of the glow.
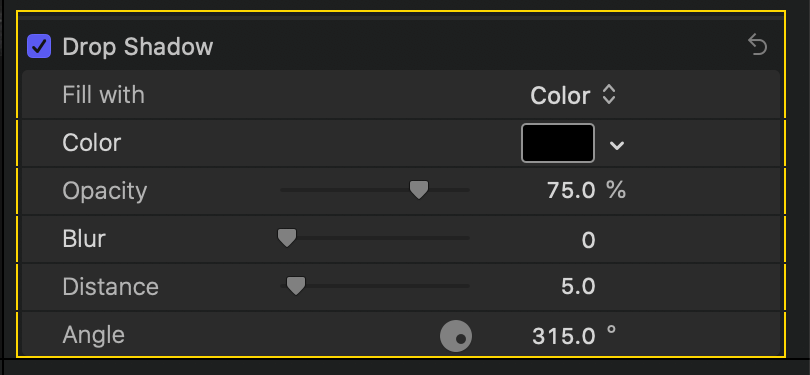
- Drop Shadow: For the drop shadow, you can fill it with either color or gradient, adjust the opacity, blur, distance, and angle of the shadow.
Title Templates
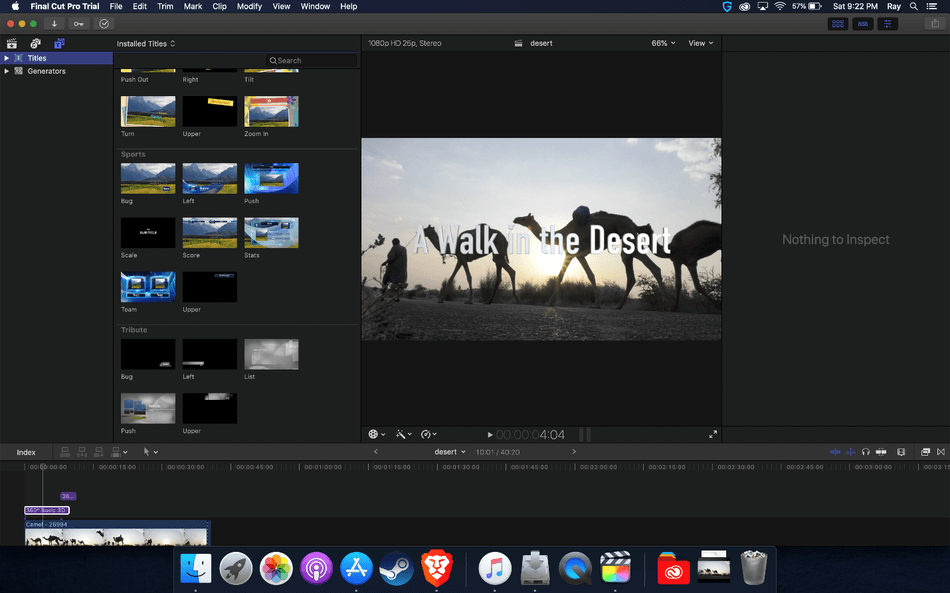
To open the templates, click on the Titles and Generators sidebar. This sidebar will pull up many templates for you to use.
To add a template to your timeline, double click it or drag it to the timeline to place. These templates range from static text to animated ones, with many options to choose from.
Additional Tips
All Clips
- To trim your clip, grab the ends, dragging to increase or decrease the duration.
- To duplicate your clip, hold “option,” select, and drag the clip. This movement will duplicate it, leaving the original in place.
- To delete a clip, select and hit delete.
- To split a clip:
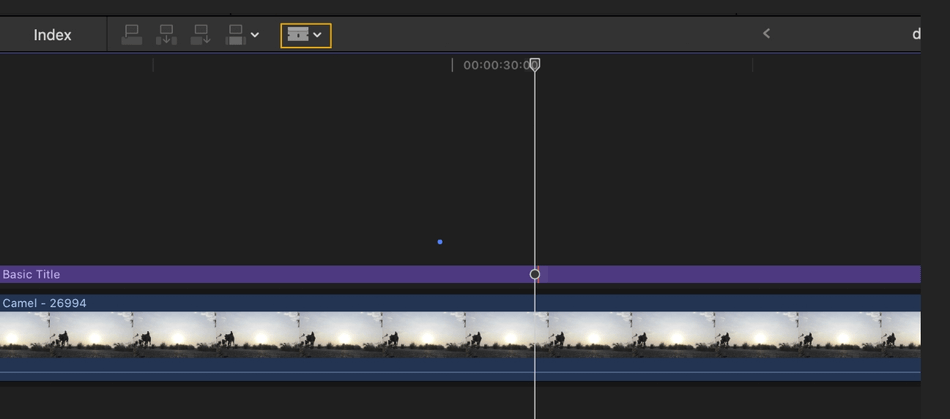
- Use the blade tool. Either select it from the drop-down menu or hit “B”. Then, hover your mouse over where you would like to split the clip.
- To make it more precise, you can nudge the playhead to the exact position, hover the blade until it changes from red to black, then cut.
- Another way to split a clip is to move your playhead to the correct position and hit “Command + B” to split OR “Command + Shift + B” to split all of the clips at that point.
Keyframes
To add animation, you need to use keyframes in Final Cut Pro. To add them:
- Select the clip in the timeline and hit “Control + V” or Clip > Show Video Animation. The Video Animation editor needs to be on in order to see the keyframes.
- The clip will then expand vertically, showing all of the parameters. Some effects have more parameters than others. You can add to a single parameter or add a keyframe to all.
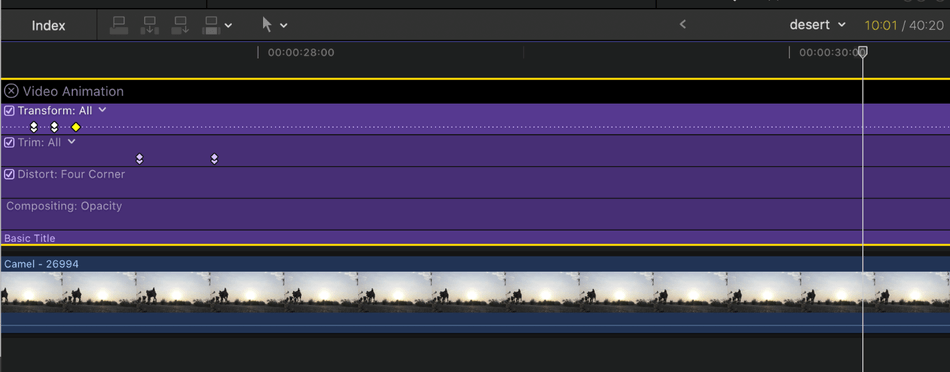
- Add keyframes in the Video Inspector or directly in the timeline. You can add a keyframe by hitting “Option + K”, adding a keyframe where your mouse is. Or, you can hit the keyframe button in the Video Inspector, and a keyframe will be added where your playhead is.
To add keyframes automatically in a selected area:
- Select a clip in the timeline and show the video animation.
- Select one of the parameters and then click the disclosure button to expand it.
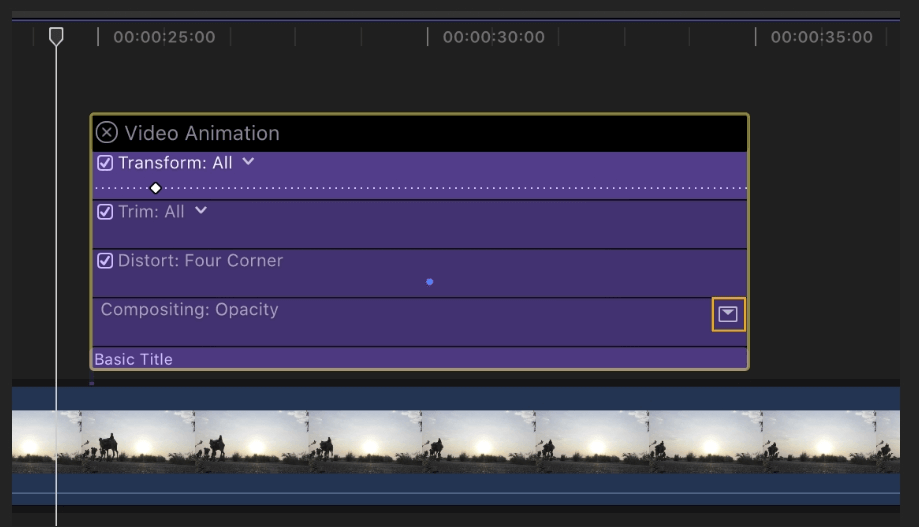
- Switch to the range tool or select tool. (Press “R” or “A”)
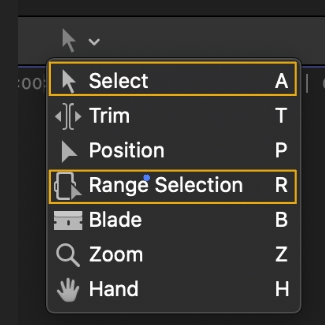
- Drag across the area you want to animate.
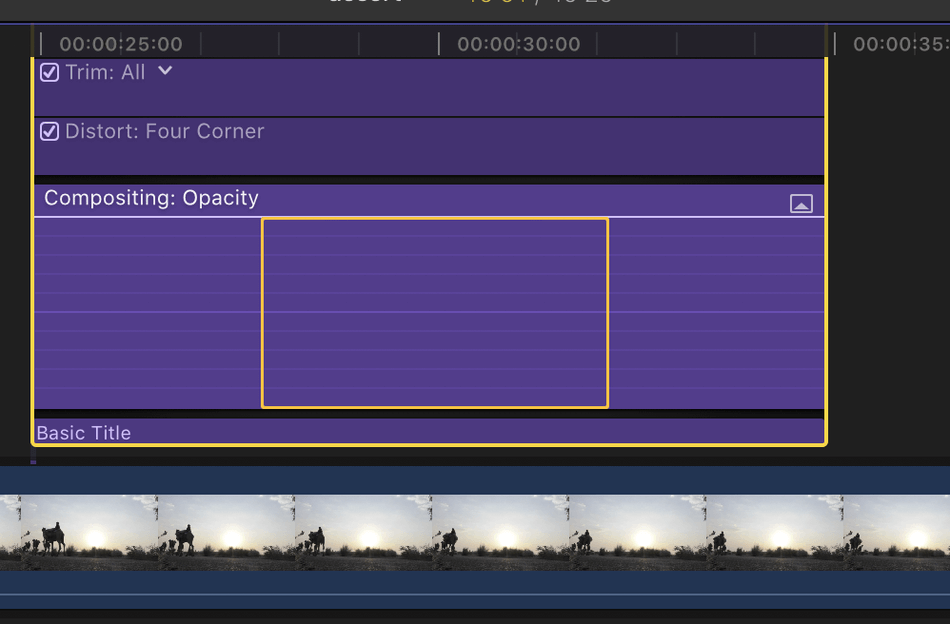
- Then, adjust the range of the effect by moving the effect up or down.
- Keyframes will be automatically generated in the area.
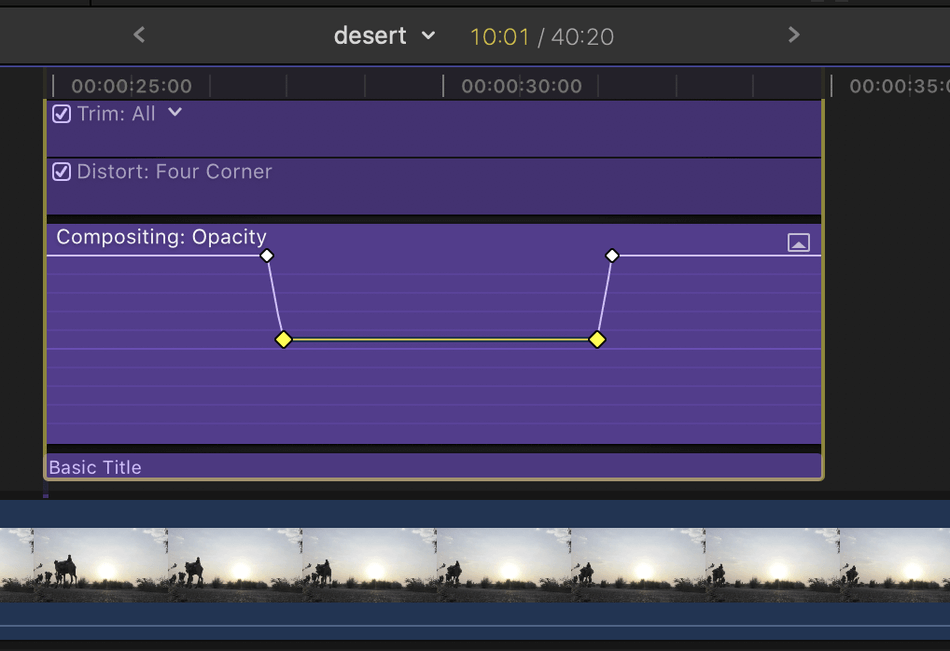
- To shift the keyframes, grab them in the timeline, moving them right and left.
- To delete keyframes, select and hit delete.
- To hide the video animator, go to Clip > Hide Video Animation or press “Control + V”.
Captions
Adding captions in Final Cut Pro is very easy. Use the shortcut “Option + C” or go to Edit > Captions > Add Captions.
- Format: You can change the caption format, your choices being iTT, CEA-608, or SRT.
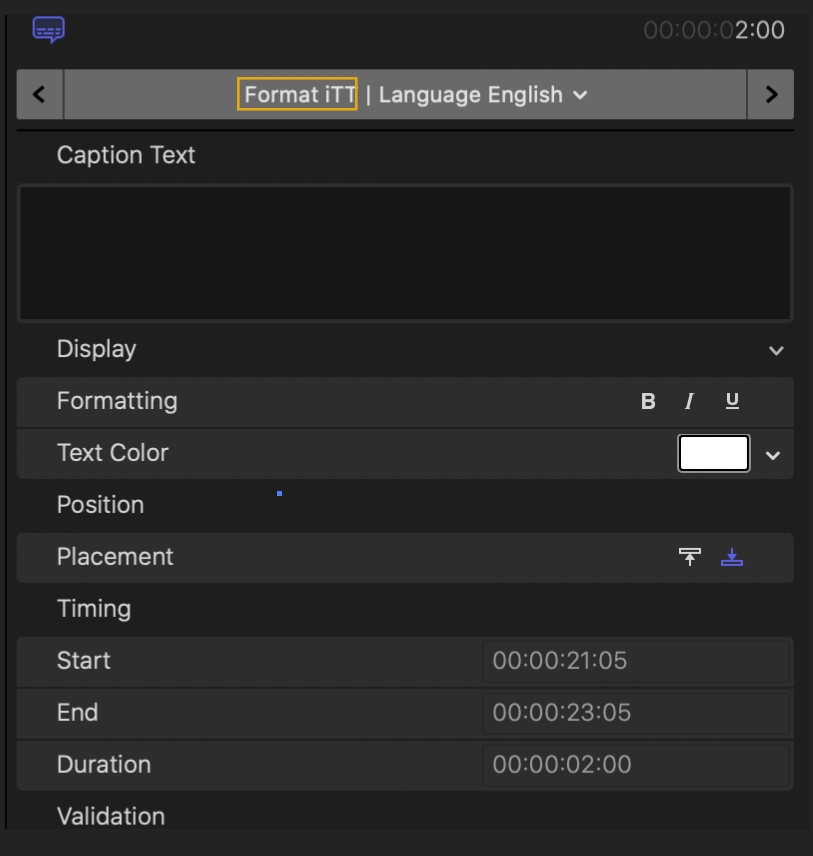
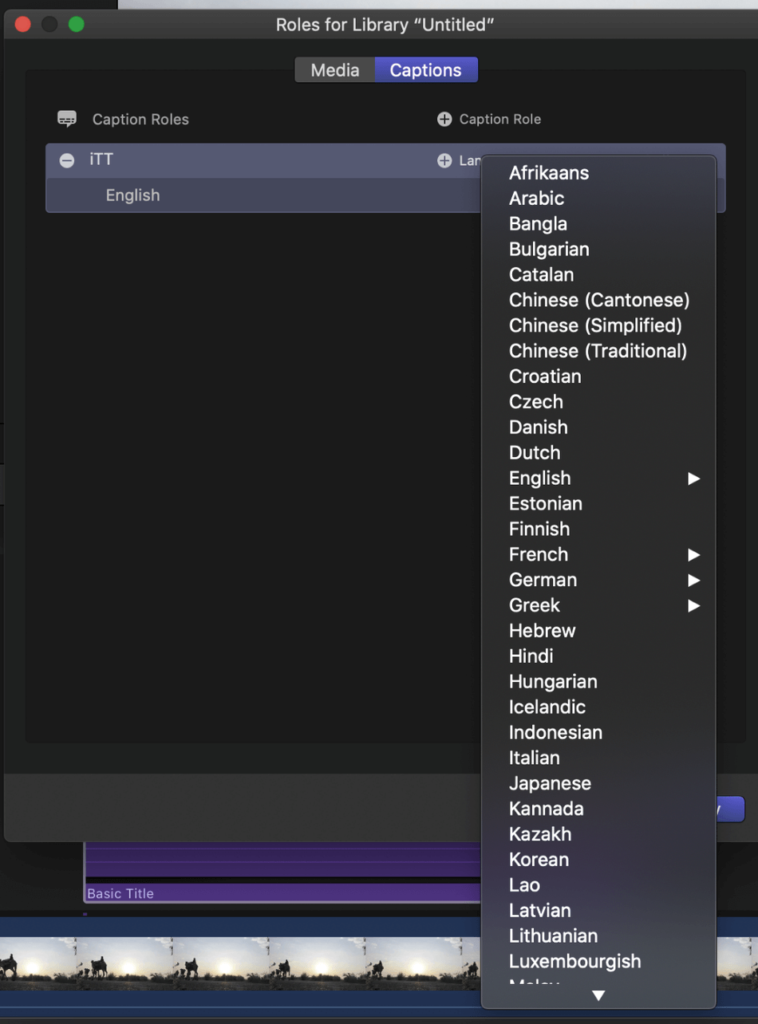
- Language: You can choose the language for the captions.
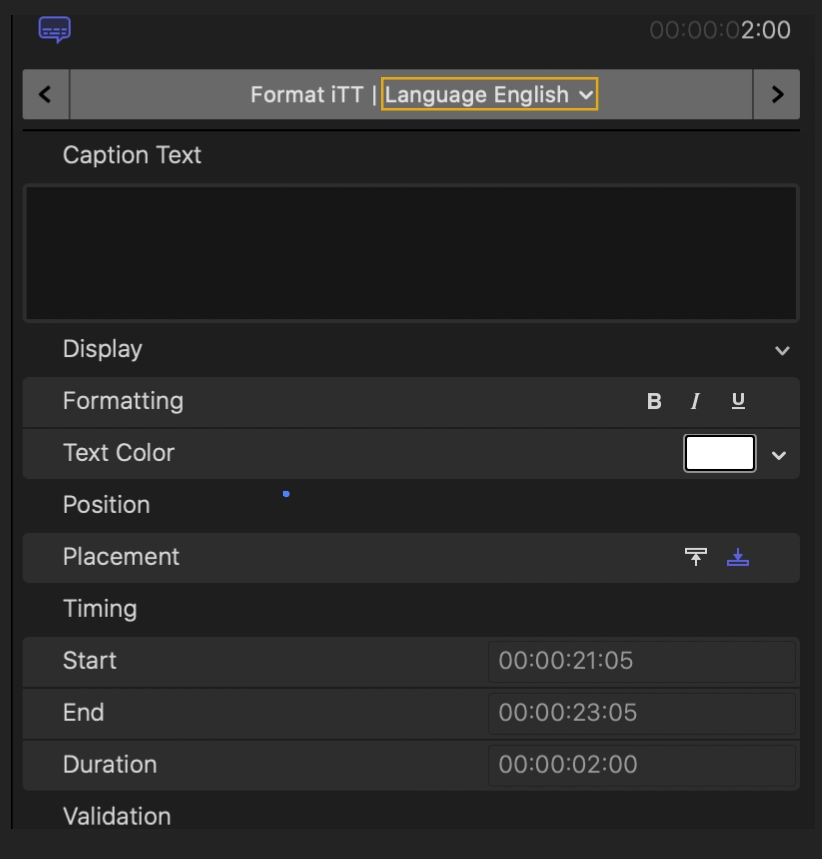
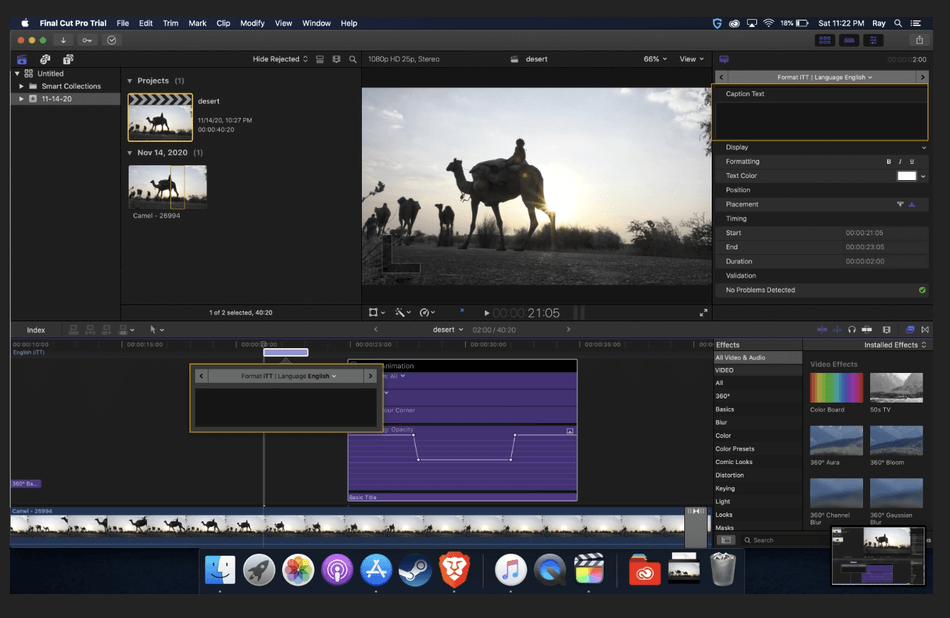
- Caption Text: You can enter the caption text right in the timeline or in the box in the Caption Inspector.
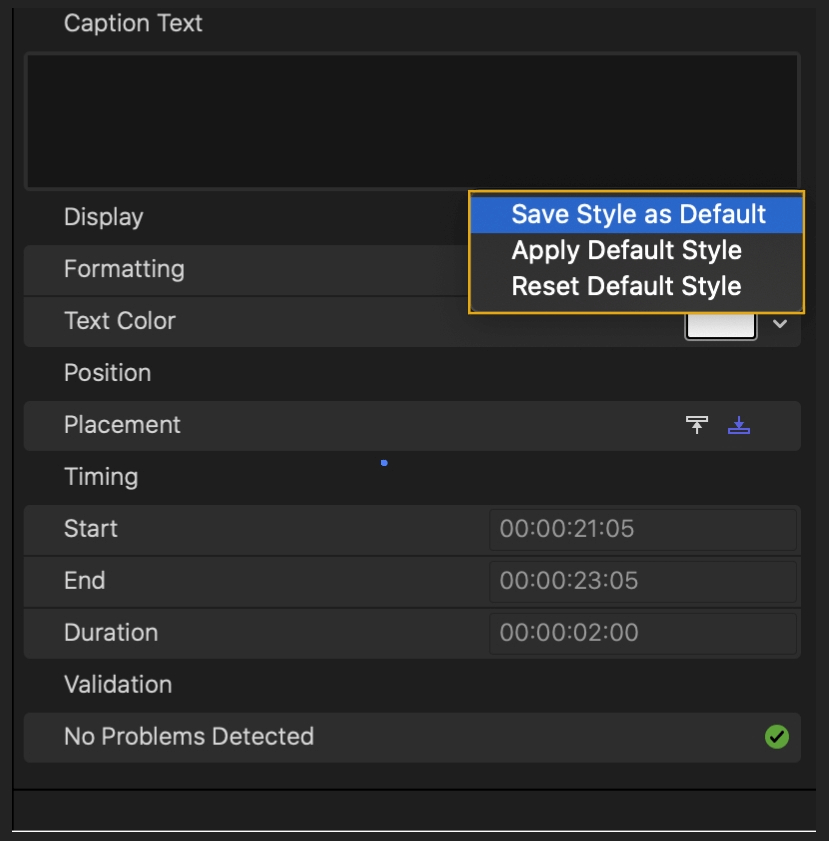
- Display: You can save caption styles as a preset, reset to default, or apply another style.
- Formatting: You can underline, italicize, or bold the captions.
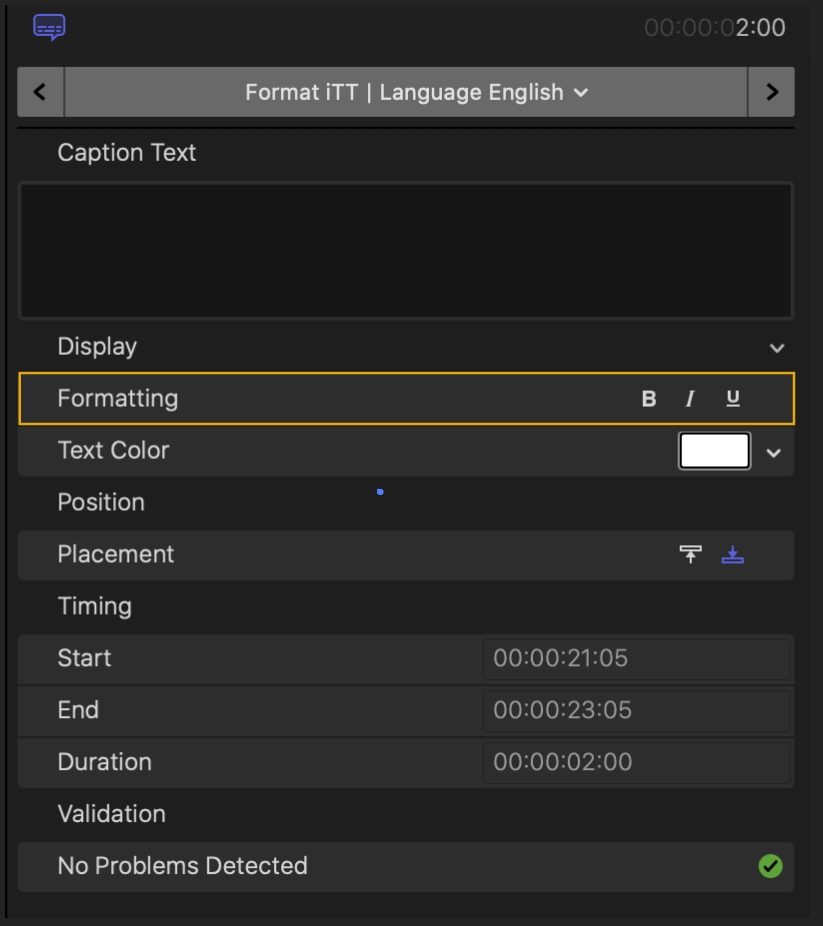
- Text Color: Change the color of the captions.
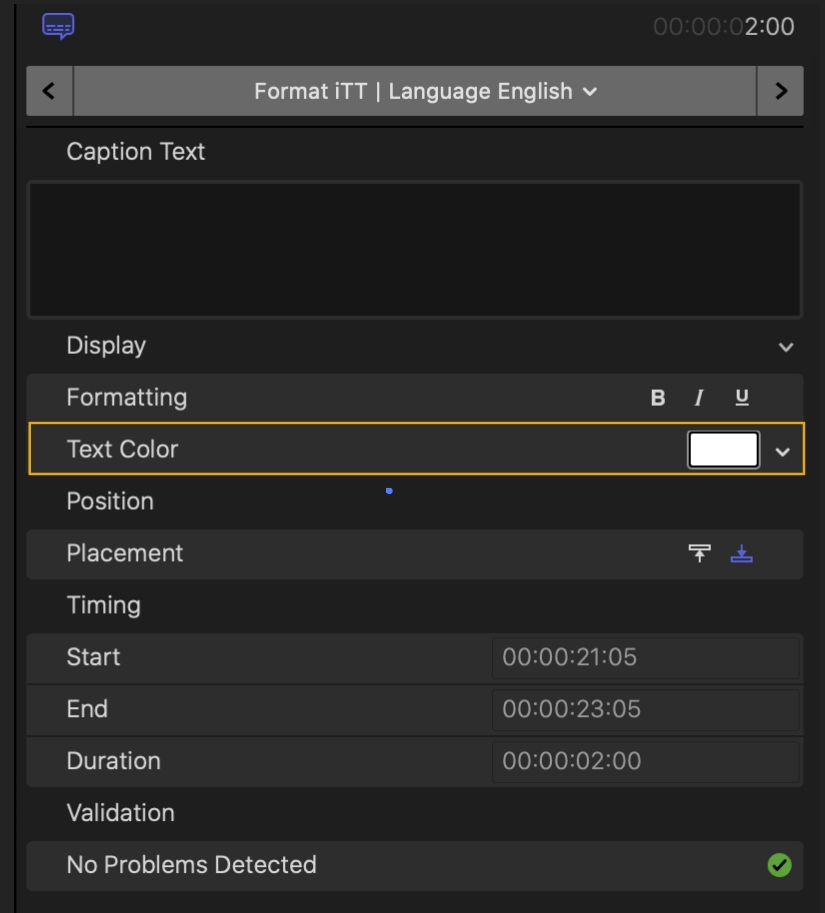
- Placement: You can choose between doing high captions or low captions.
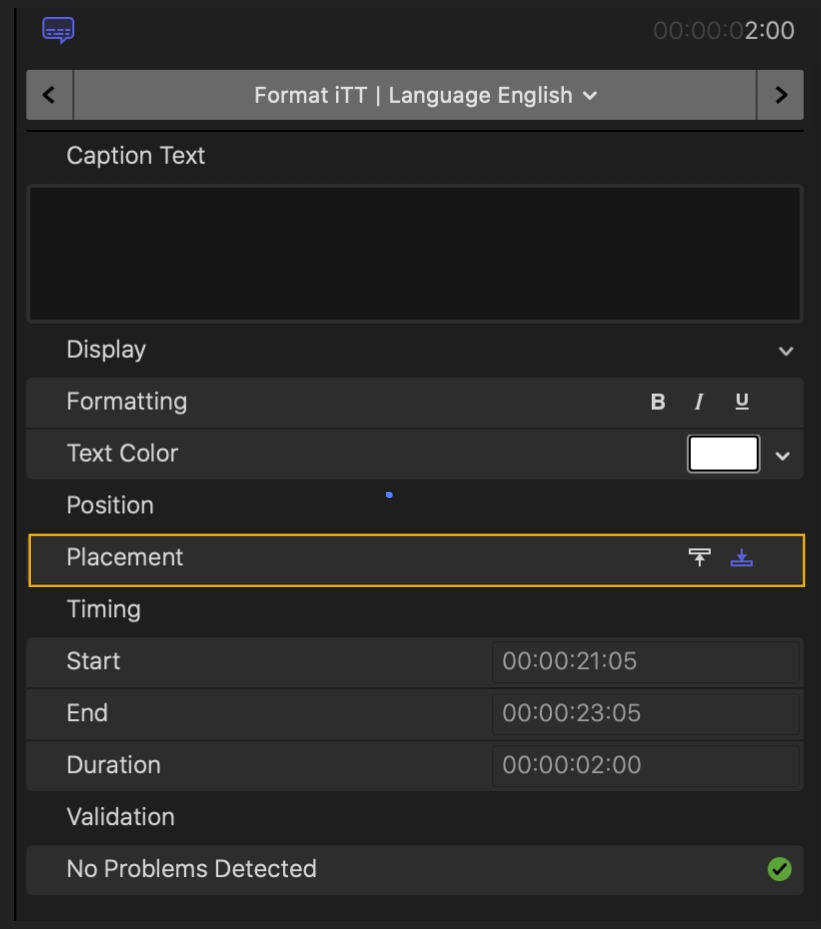
- Timing: The start, end, and duration of the caption are displayed here.
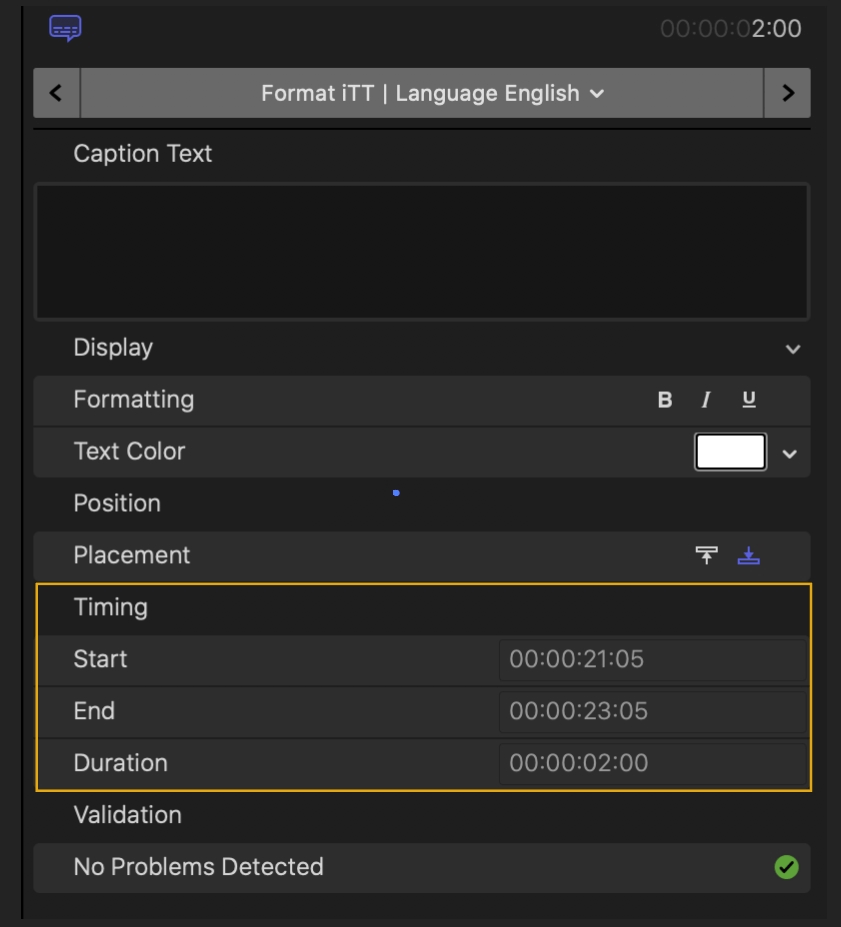
Additional tips when making captions:
- Use a transcription service to make them. Using a transcription service will save you a ton of time, leaving you to fix errors instead of writing out everything. A hack is to upload the video to Youtube as a private video and automatically make captions, generating a .srt file. Download this file and use it as a base.
- You can add multiple languages for the captions. While Final Cut Pro won’t do the translating, the software will preserve the time-codes for you.
- Instead of creating them from scratch, you can also import captions. You can also import a .srt file. To do this:
- Go to File > Import > Caption.
- Import your .srt file. Final Cut Pro will process the .srt file, laying out all of your captions.
- Captions won’t be included in a regular export. To include the captions:
- Export as usual, using “Command + E” to get the export dialogue.
- When the Master File comes up, go to the Roles tab.
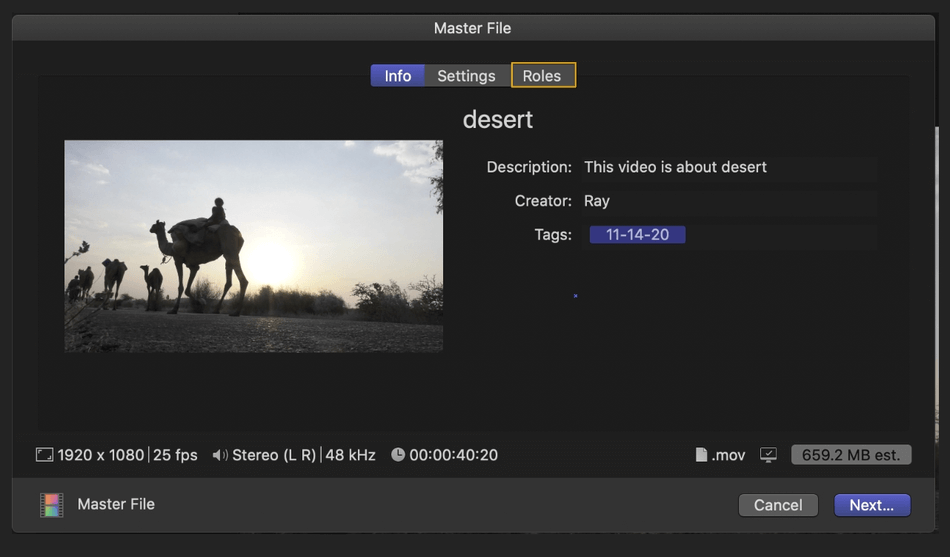
- Click Captions and select Burn in captions. Hit “OK”
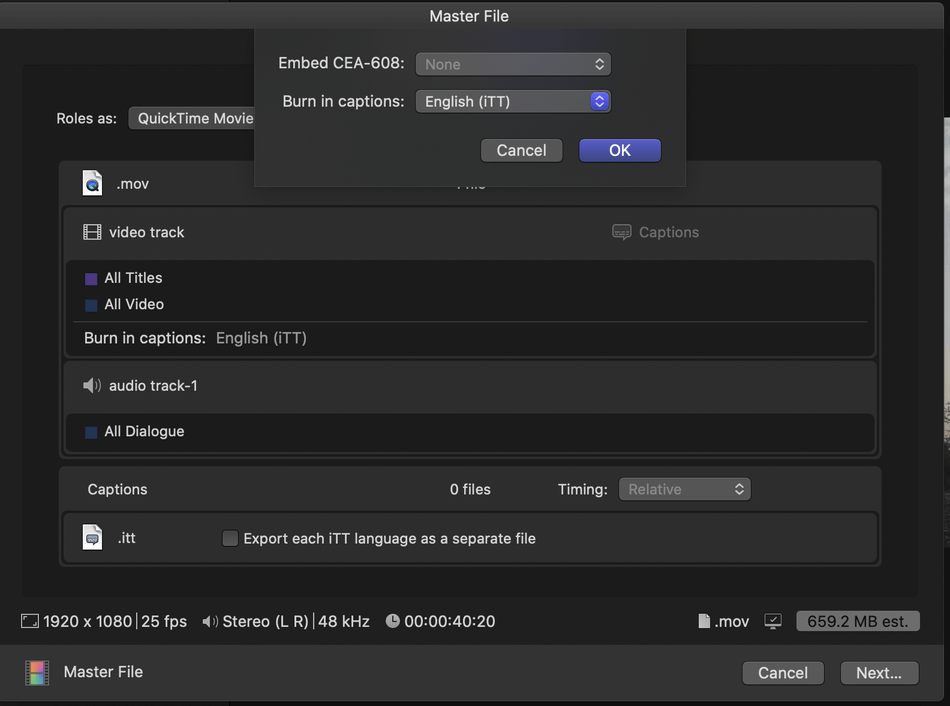
- Now, the captions will be included in the exported video.
Plugins
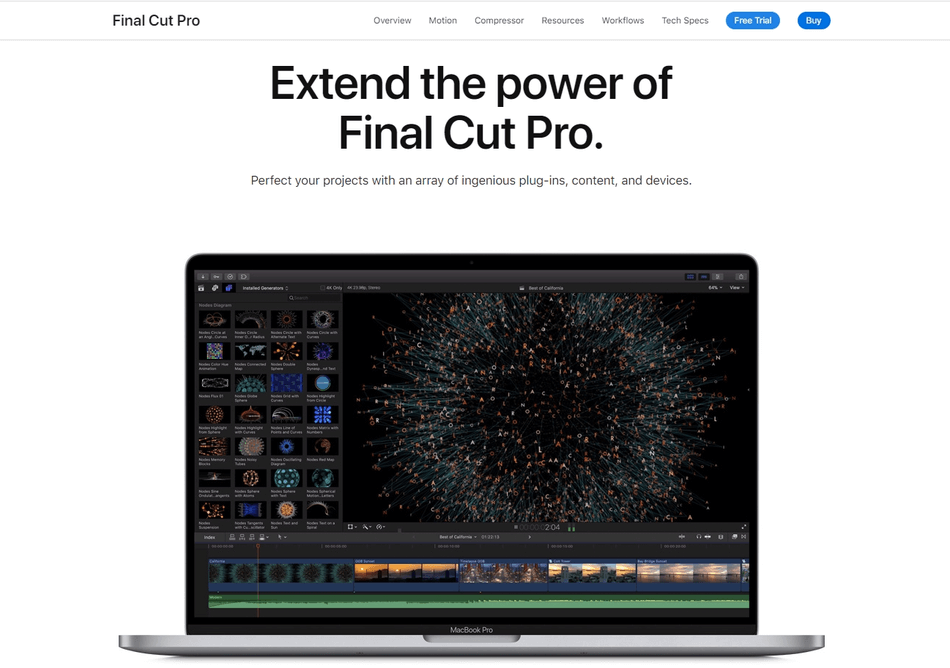
There are tons of plugins available online to download for Final Cut Pro from external sites. Apple even has a list of plugins, divided by category, that link to external resources. There are many free and paid resources out there.
We’ve now gone over the basics of adding text in Final Cut Pro. The program is very user-friendly and has a quick learning curve. Adding captions and text is easy in Final Cut Pro.

Anne is a filmmaker and writer with a passion to bring stories to life. She has created several short films, specializing in stop-motion animation. Anne has over eight years of filmmaking experience, and she is always ready to share her knowledge with other creators. She started her company Anne Gets Creative in 2020.
Anne is extremely familiar with many Adobe programs: Photoshop, Illustrator, InDesign, After Effects, Premiere, and Audition, to name a few. She has also worked with other programs such as Procreate, Canva, iMovie, and Final Cut Pro. She always strives to give the best software reviews, researching diligently so her readers don’t have to.
