(Last updated on November 2nd, 2022)
Want to know how to flip an image in Photoshop? Let’s go over how to flip an image in Adobe Photoshop
Flipping an image is a basic skill that every editor should learn. This technique is used to mirror images, create patterns, and more. Read on to learn this technique.
Related: Is Photoshop Available for One Time Purchase? (Explained)
How to Flip an Image in Photoshop?
Here are the steps to flip your image:
- Open Photoshop and select the image you want to flip.
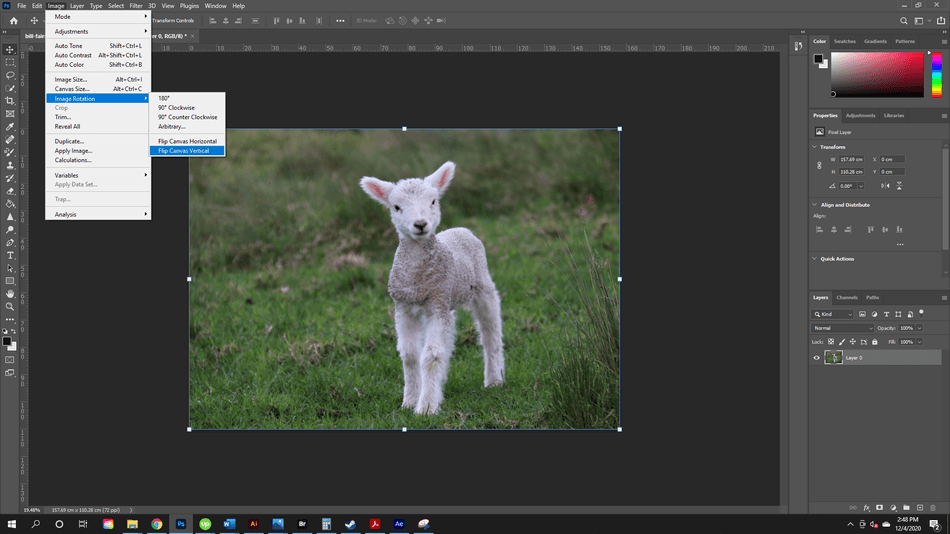
- In the main toolbar at the top, go to Image > Image Rotation > Flip Canvas Horizontal or Flip Canvas Vertical.
- Your image is flipped.
How to Flip an Image in Adobe Photoshop (In regards to layers)
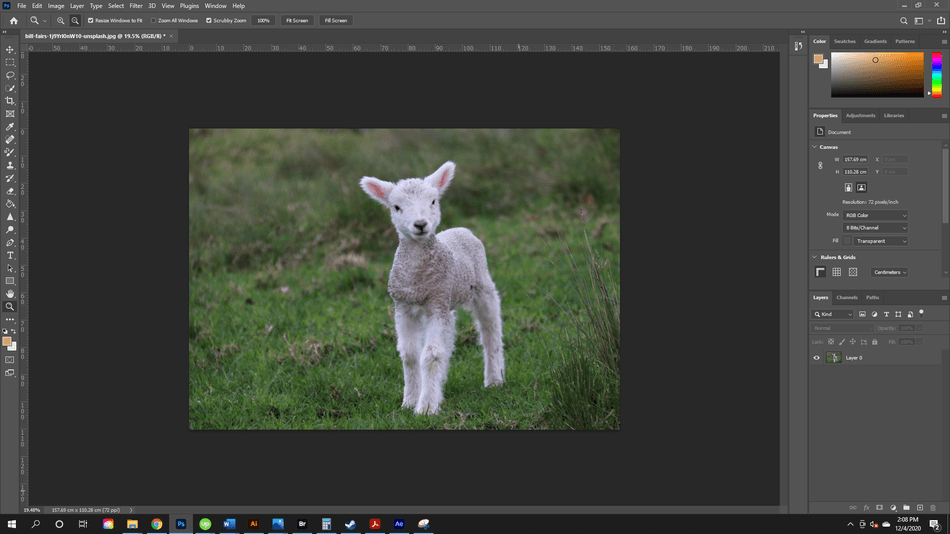
- First, open your image in Photoshop.
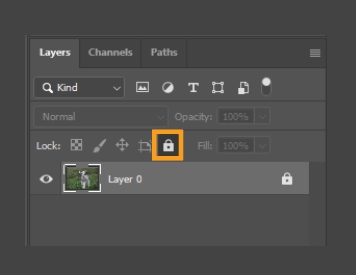
- Next, select the layer by clicking on it in the Layers Panel. Make sure the layer is unlocked. To do this, click the lock icon to turn on/off within the layer panel.
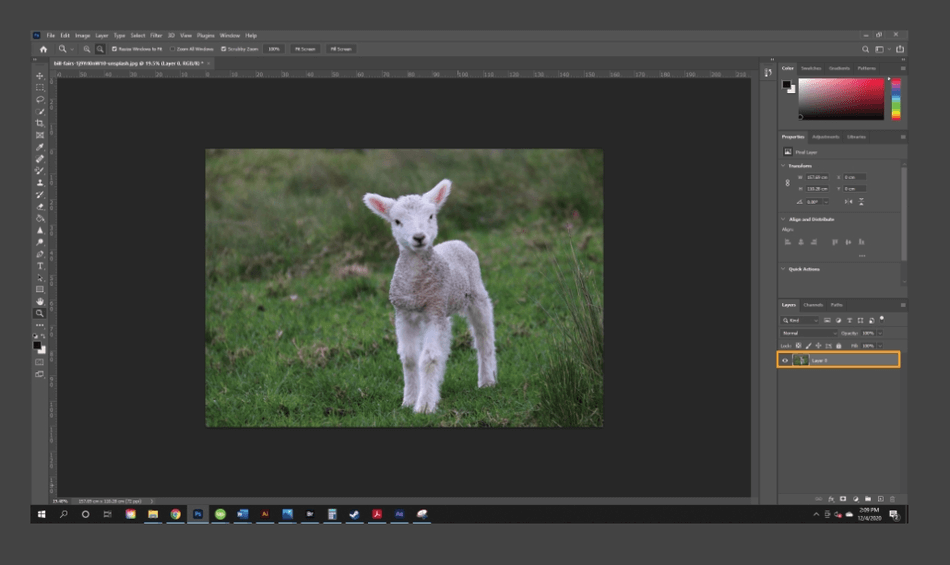
- Select All by hitting the command Control + A (Windows) or Command + A (Mac). Or, you can go to Select > All. A blue border will form around your image.
- Go to Edit > Transform > Flip Horizontal (or Flip Vertical)
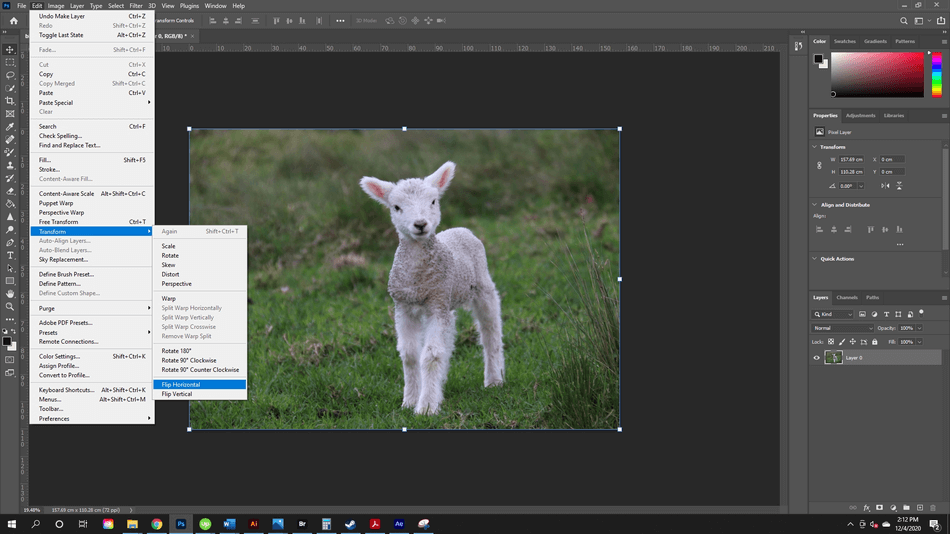
- And with the command, your image is flipped.
Flip by Rotating the Image
- Follow Steps 1-3.
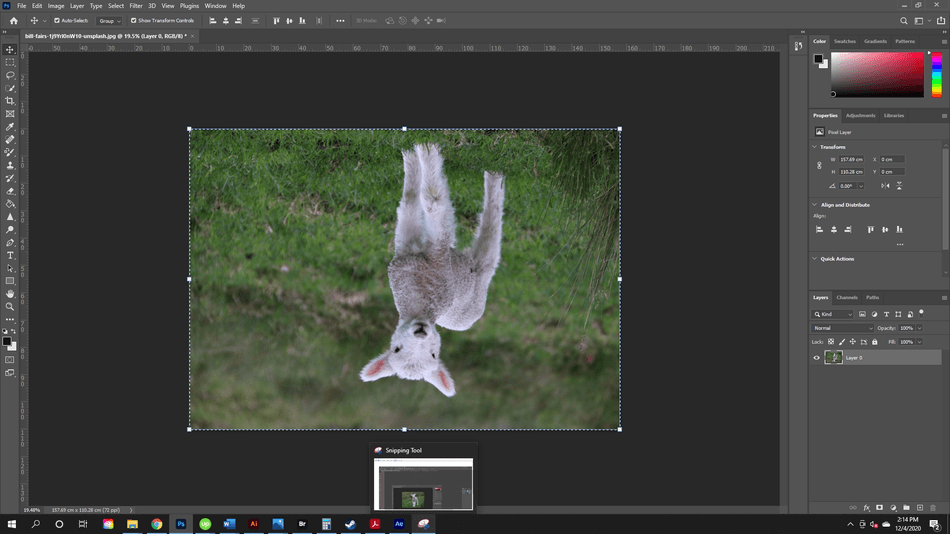
- Next, go to Edit > Transform > Rotate 180◦
Flip by Free Transform
- Follow Steps 1-3.
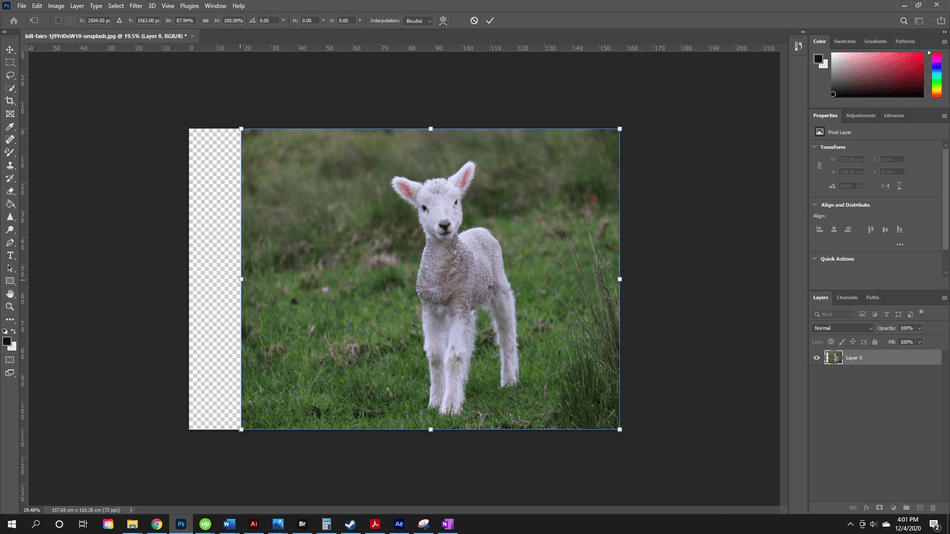
- Next, go to Edit > Free Transform or use the shortcut Control + T (Windows) or Command + T (Mac)
You can also switch to the Move Tool ( use the key V) - Drag the edges of the image to flip. Hover the arrow around the outside edge to rotate.
Tips and Tricks
- When flipping, make sure items like text are still readable and going in the right direction. Other items to look out for are distinctive logos, icons, tattoos, and beauty marks.
Using this Technique in Action: Mirroring Photos
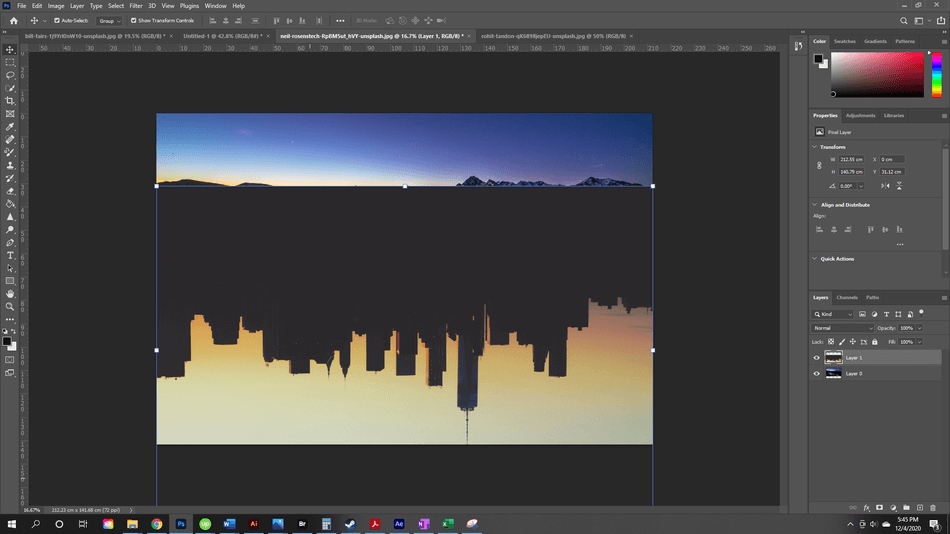
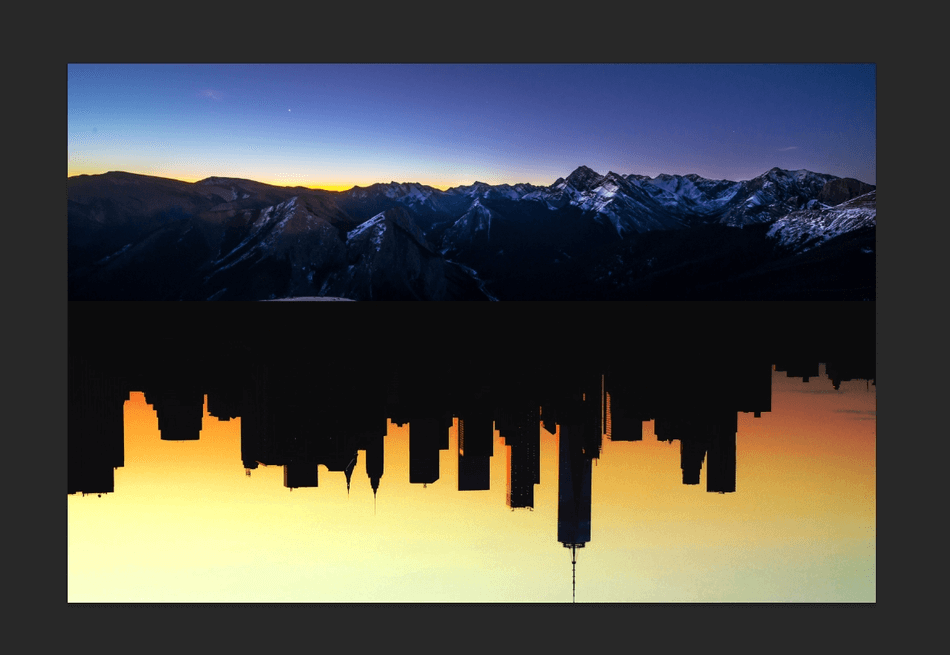
Now you’ve learned how to flip an image. Let’s use it in a project. I want to create a photo composition where the landscapes are juxtaposed, one on top of the other.
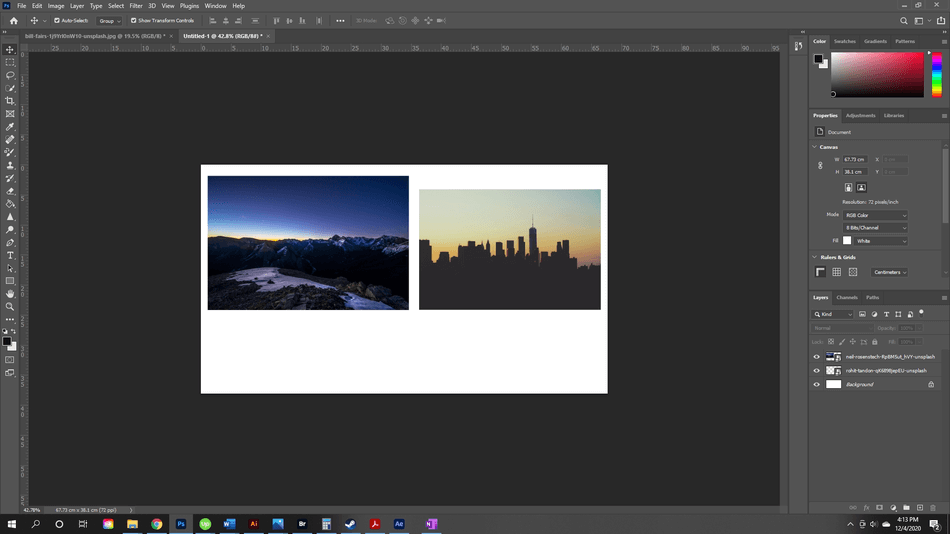
- First, I’m going to import my images, placing one image over the other.
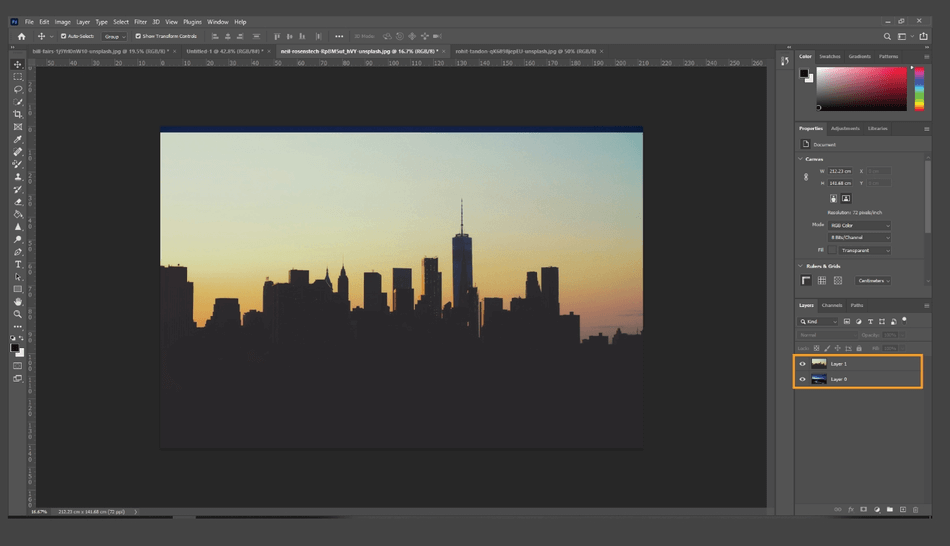
- Next, I’m going to hide the city layer to work with the mountain layer first. I do this by clicking the eye icon next to the layer. The eye icon hides/unhides the layer from view.
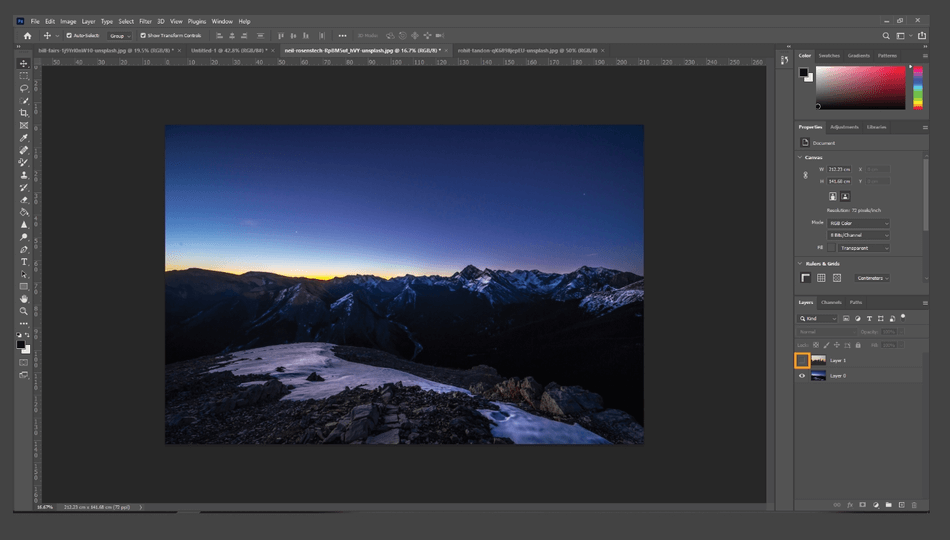
- Next, I nudged the mountain layer up. I did this by selecting the mountain layer, switching to the move key (Use the key V), and dragging it up by clicking and dragging upwards.
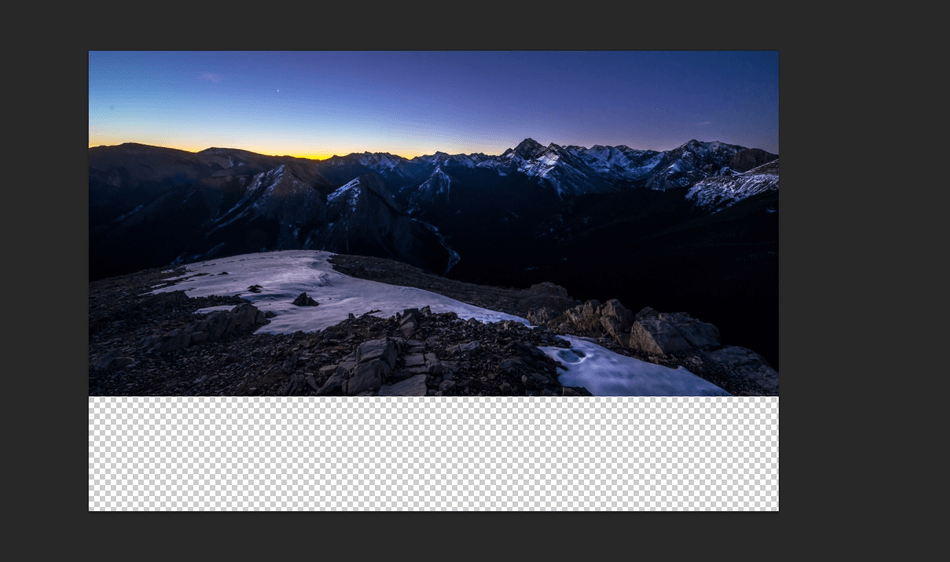
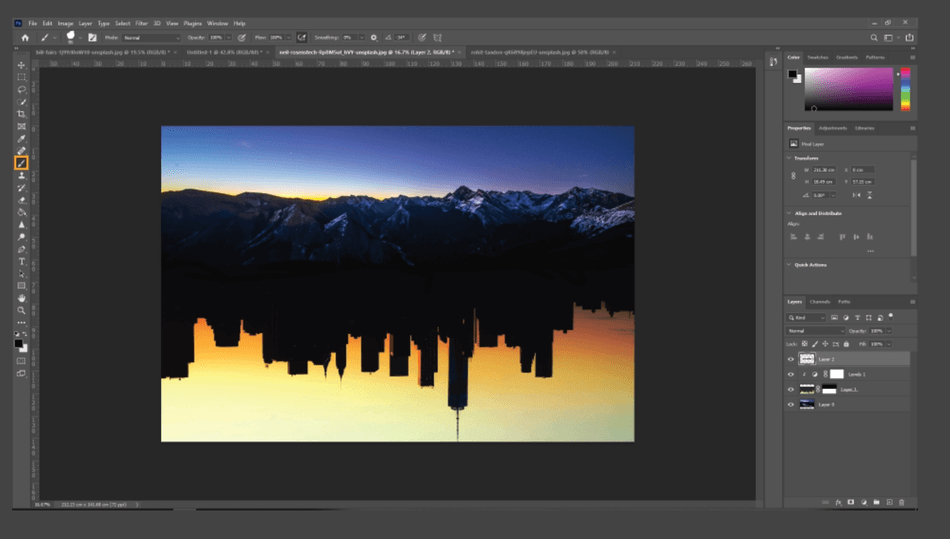
- Next, I unhid the cityscape, ready to flip it. With the layer selected, I go to Edit > Transform > Flip Vertical. Now, my layer is upside down.
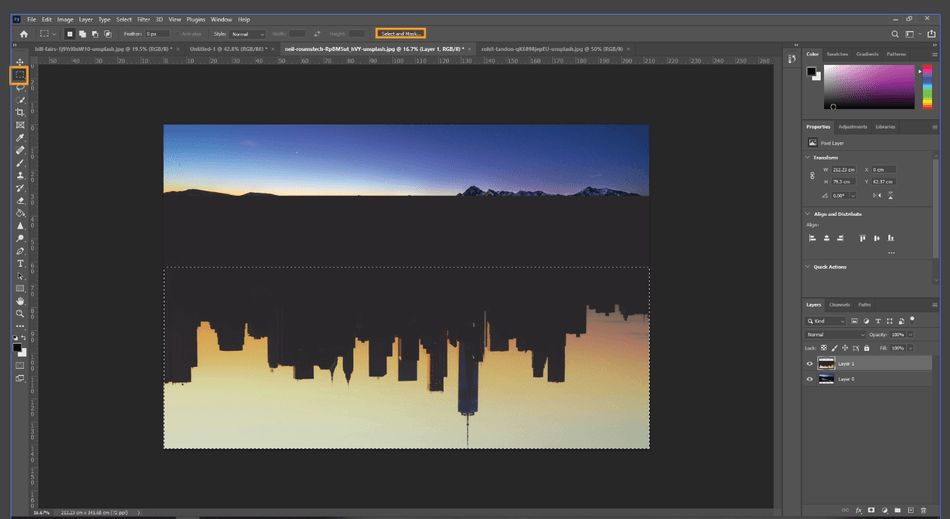
- I need to trim the city layer. So, I will mask it. I switch to the marquee tool. With the layer selected, I draw a marquee around the area I want and hit Select and Mask….
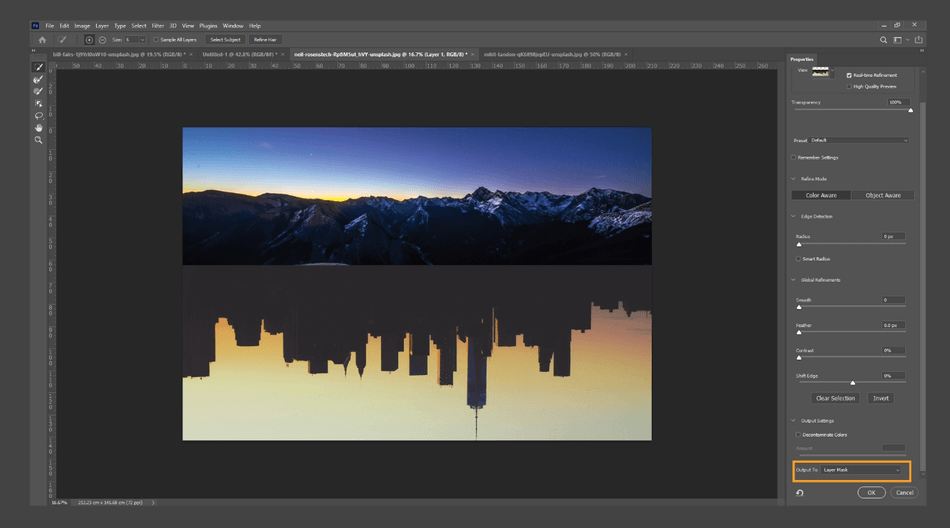
- The only option I change is changing the output to Layer Mask.
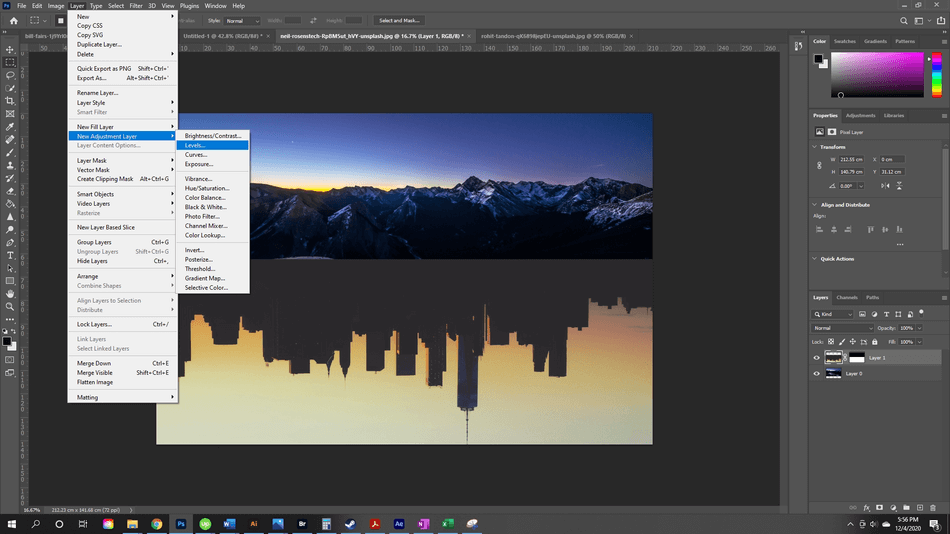
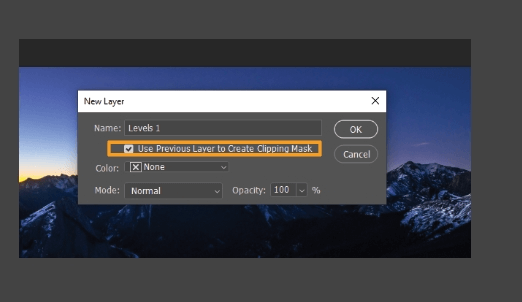
- Right now, the cityscape black isn’t matching the mountains. I’m going to add an adjustment layer to fix this. To do this, I go to Layer > New Adjustment Layer > Levels.
- A dialogue box will pop up. I will check the box “Use Previous Layer to Create Clipping Mask” and then hit OK.
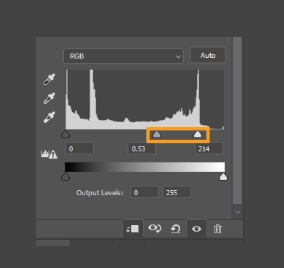
- A side panel for the Levels layer will pop up. I’m dragging the middle tone and high tone until I like the level I see in the image. Bringing up the middle level and the highest level down gives me the look I want. The mountains are now blending into the cityscape.
- A small, lighter piece of the mountain is sticking out to me, and the two pictures aren’t fully blended. To fix this, I’m going to paint across the middle of the picture. First, I’ll create a new layer that will overlay above the picture layers.
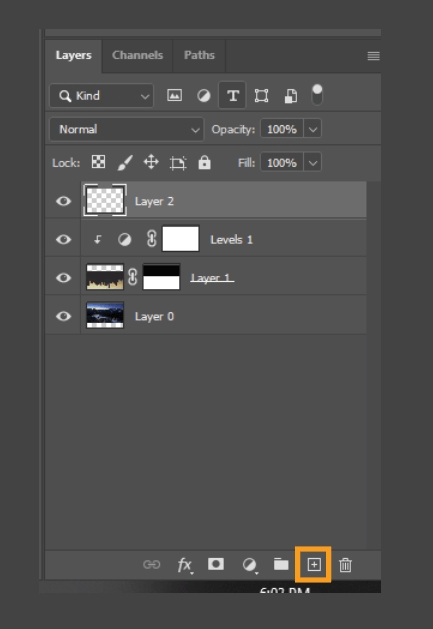
- I will then select the black color from the cityscape with the eyedropper and paint over this piece in the mountains and across the skyline. Using this technique will blend the photos.
- We are done! The pictures are blended and look seamless.
Using this Technique in Action: Create a Pattern
Let’s use the flipping technique to create a fun pattern. Here, I have a rose. I want to make a rose pattern.

- We are going to start with a square canvas. I’m going to block the canvas into four parts using guides. To do this, go to View > New Guide Layout.
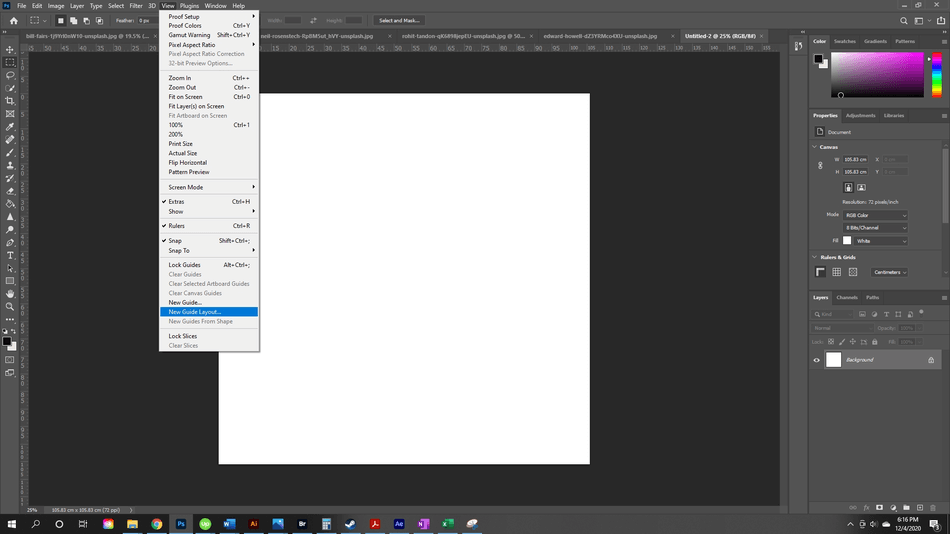
- This command will open The New Guide Layout dialogue box. Here, you can set the properties of the guide.
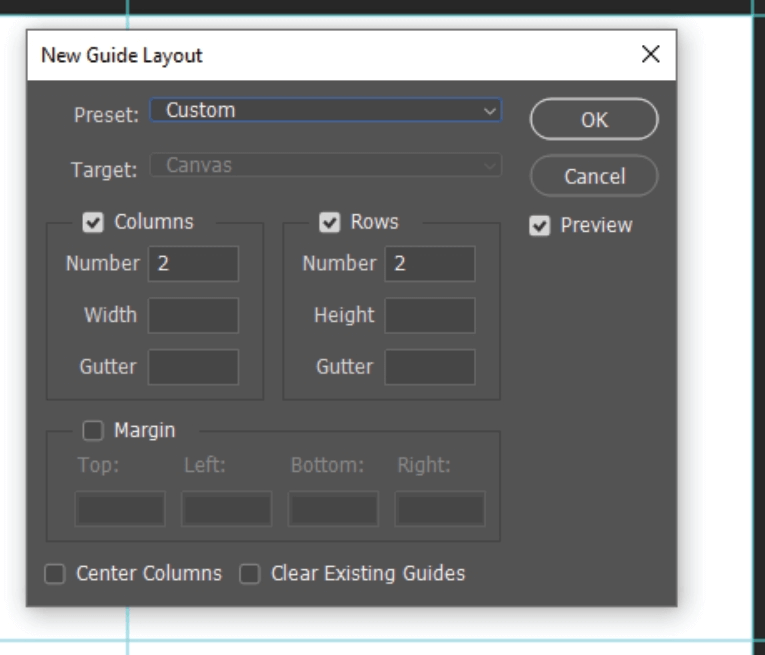
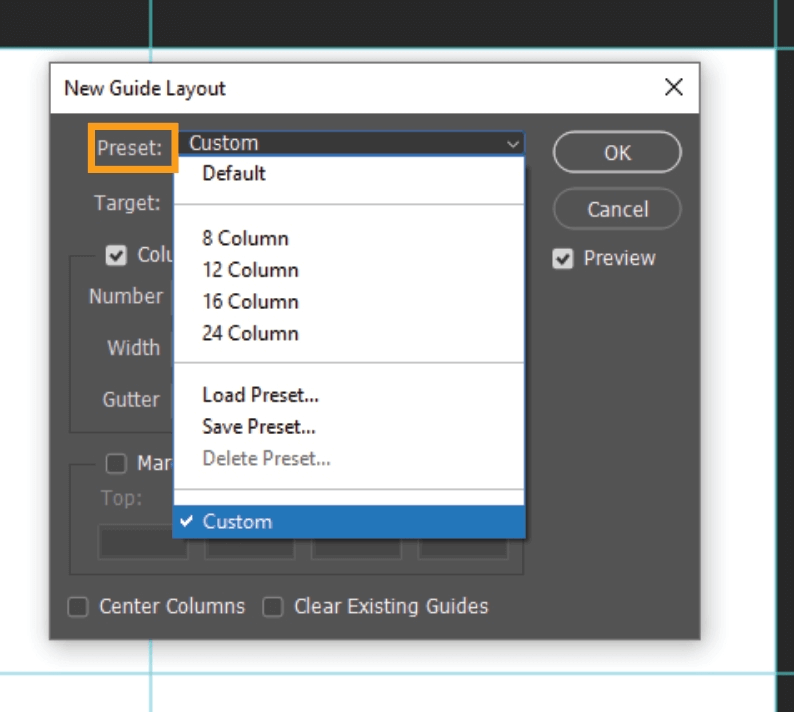
You can set a preset, saving custom presets that you make, and load them into Photoshop.
You can set the Target for the grid.
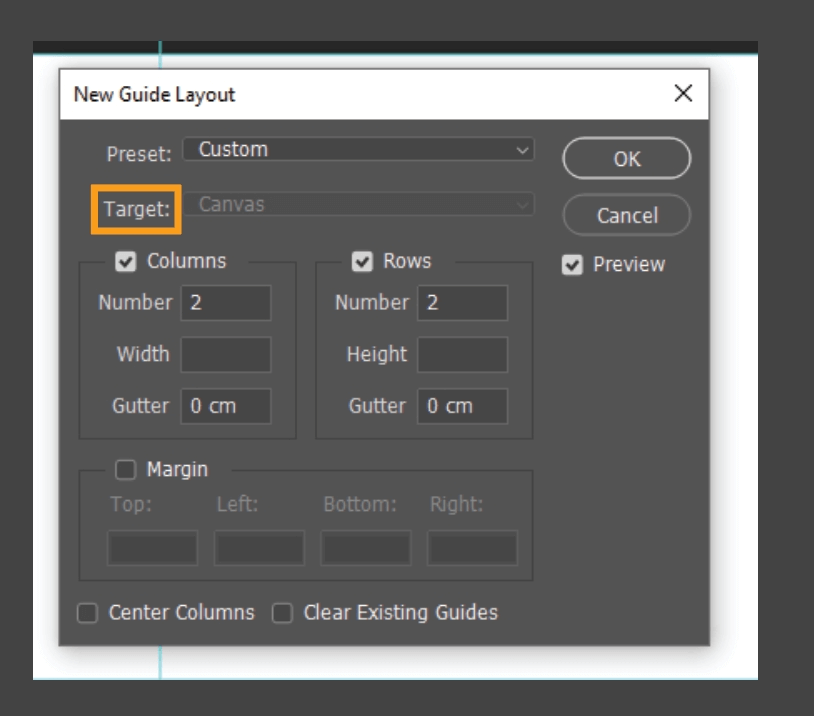
In the next section, you can manually set the number of rows and columns, entering a gutter amount if you want to include space between your lines. You can also enter the width/height of how wide the columns and rows will be.
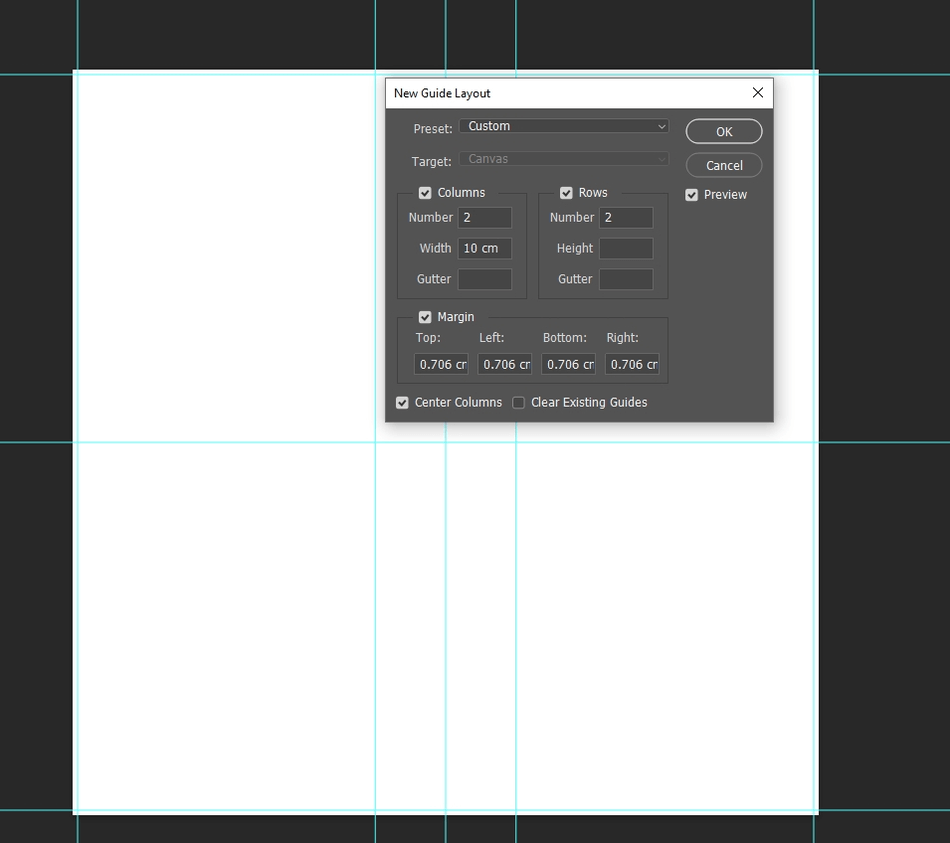
Margin lets you set the margin guides, setting aside space from the edge of the canvas.
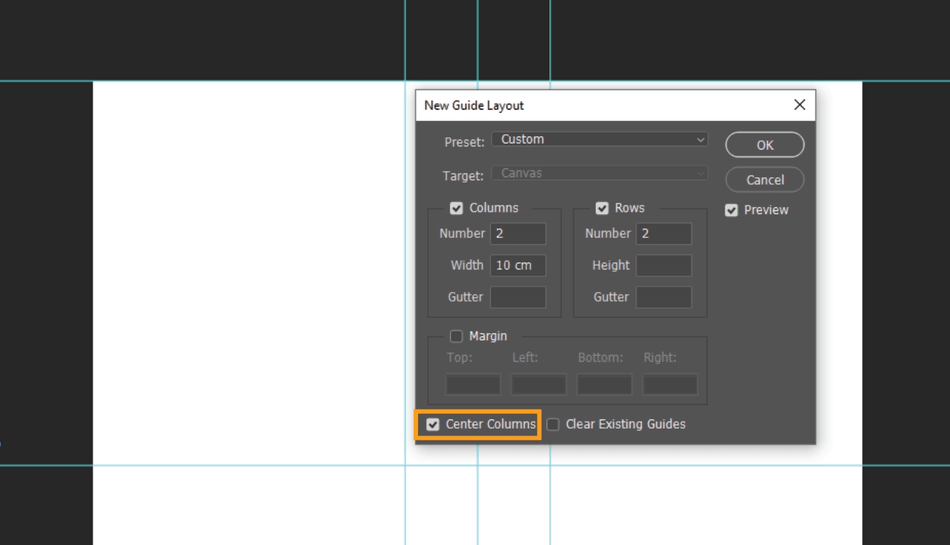
Center Columns will center the column guides on the canvas.
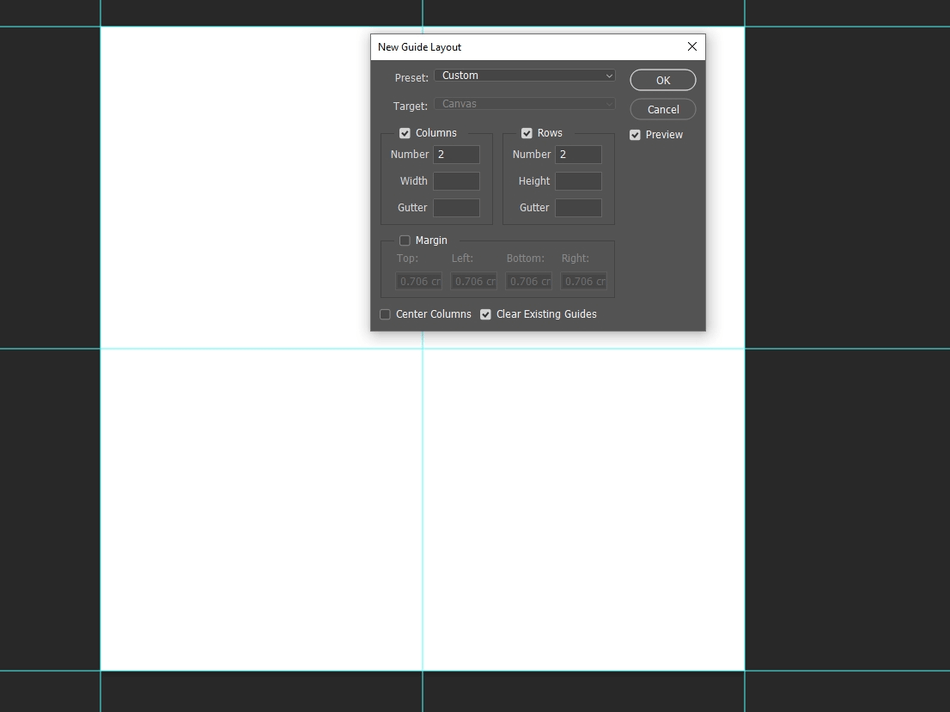
Clear Existing Guides will clear all guides from the screen.
For this box, I will set the number of columns and rows to be two and keep everything else unchecked and empty. I press OK.
- Now, bring your photo into the canvas. You can do this by dragging the photo from your files into Photoshop.
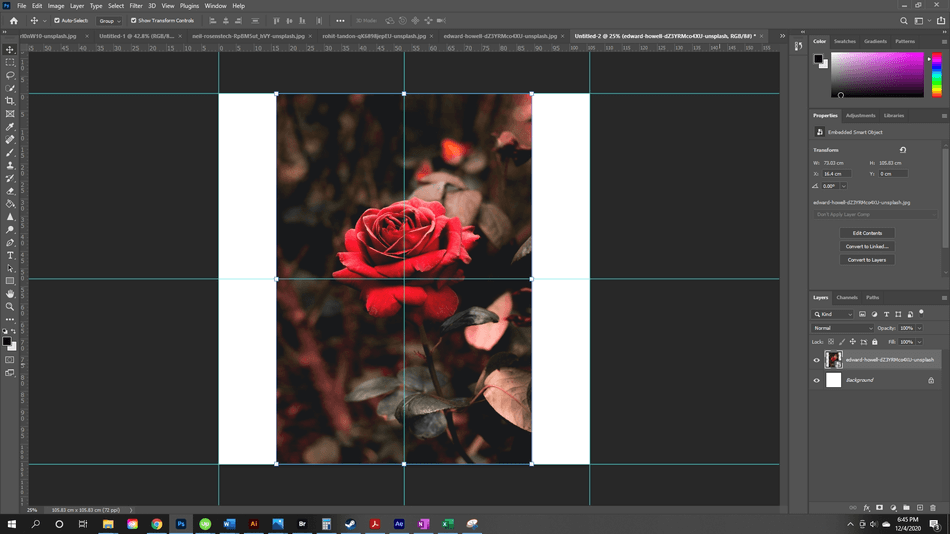
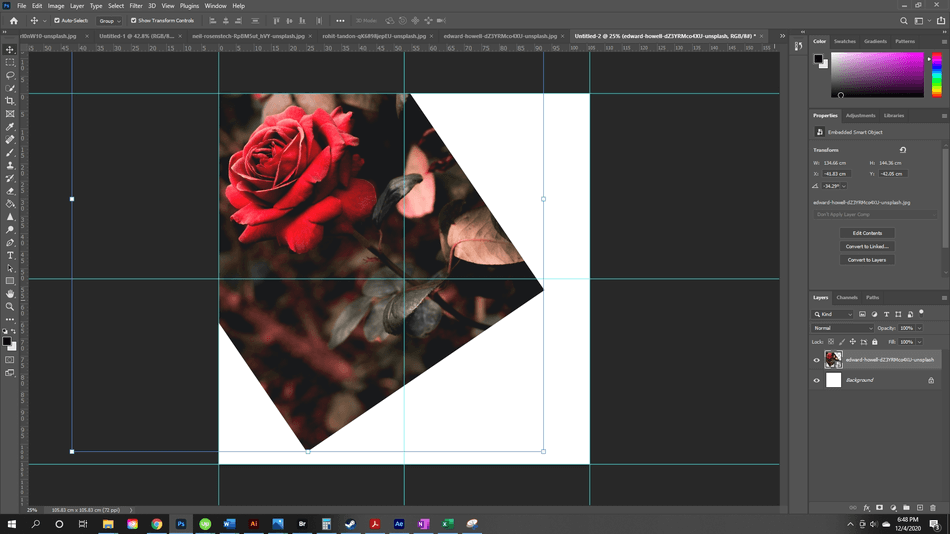
- Next, using the Move tool (use the key V), I move the flower picture into the upper left quadrant. I’m dragging the outside points to resize the image. (Pro-tip, hold down shift as you resize to keep the original proportions of the image.) By placing the mouse just outside of the image border, I can also rotate the image. I do this until I like the placement of the image.
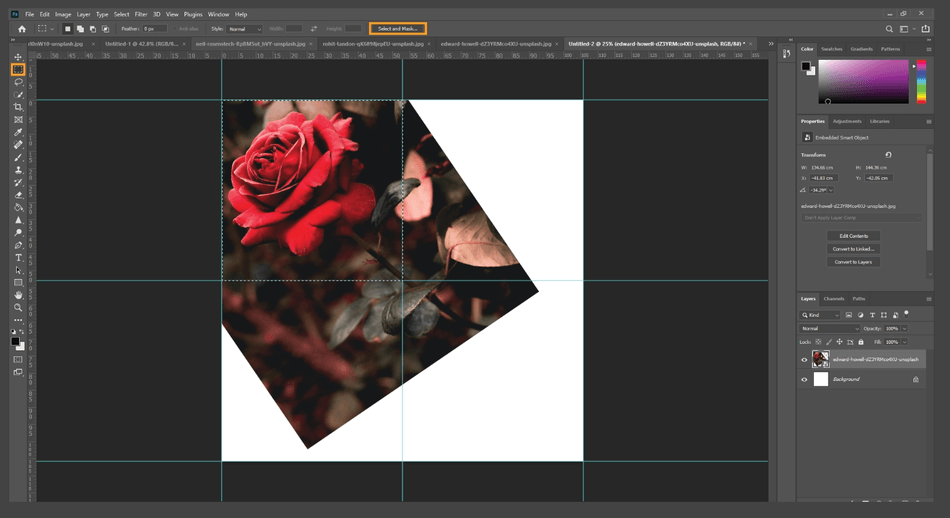
- Next, I’m going to mask the layer. With the marquee tool, I make my selection of the image, cropping it against the guides. Then, I hit the command Select and Mask….
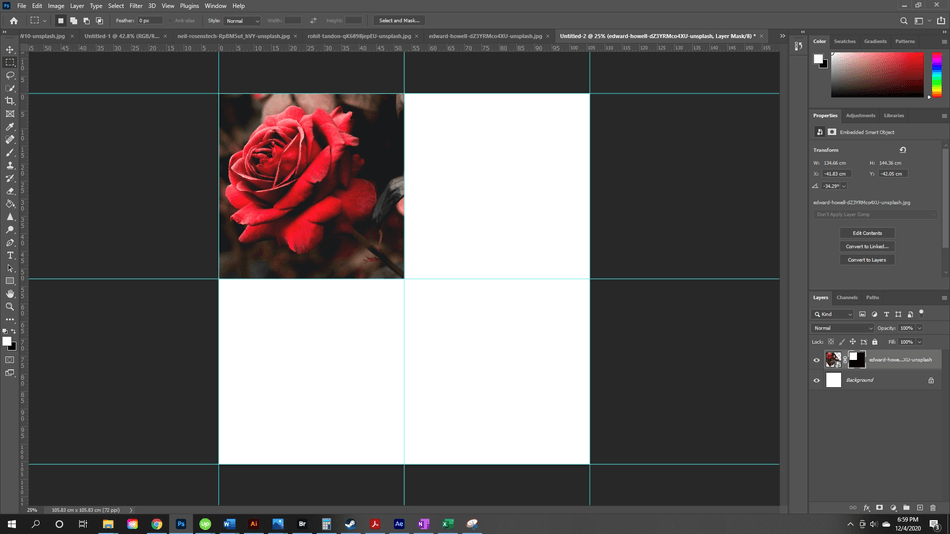
- From here, I change nothing except the output to Layer Mask and hit OK. Now, my image is masked.
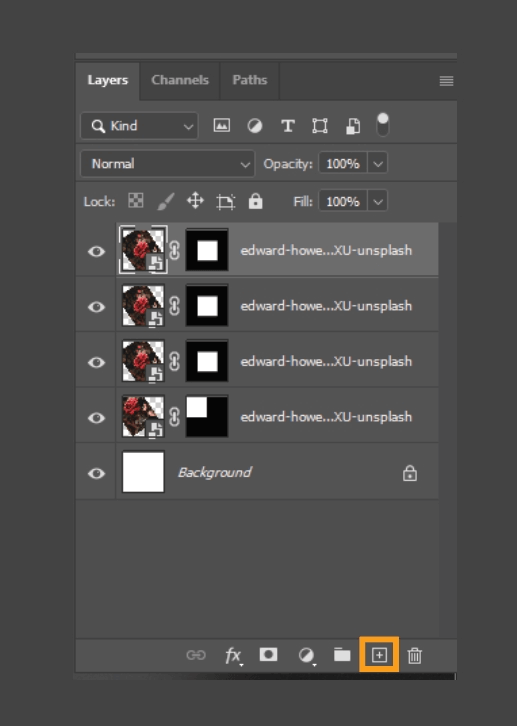
- Now, I’m going to copy the image three times. I can do this by selecting the layer, pressing Control + C (Windows) or Command + C (Mac), and then Control + V (Windows) or Command + V (Mac). You can also drag the layer down to the new layer icon, copying the layer as well.
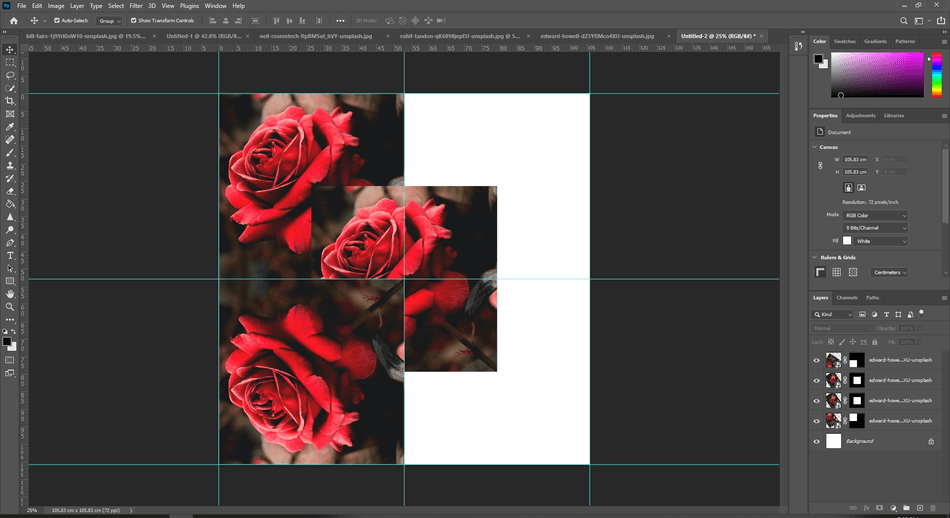
- Now, for the flipping. One by one, I select the layers and flip them to create an X pattern of roses all fanning out.
I select the first layer, flipping it vertically by going to Edit > Transform > Flip Vertical. I then move it with the move tool, dragging the picture to the bottom left corner.
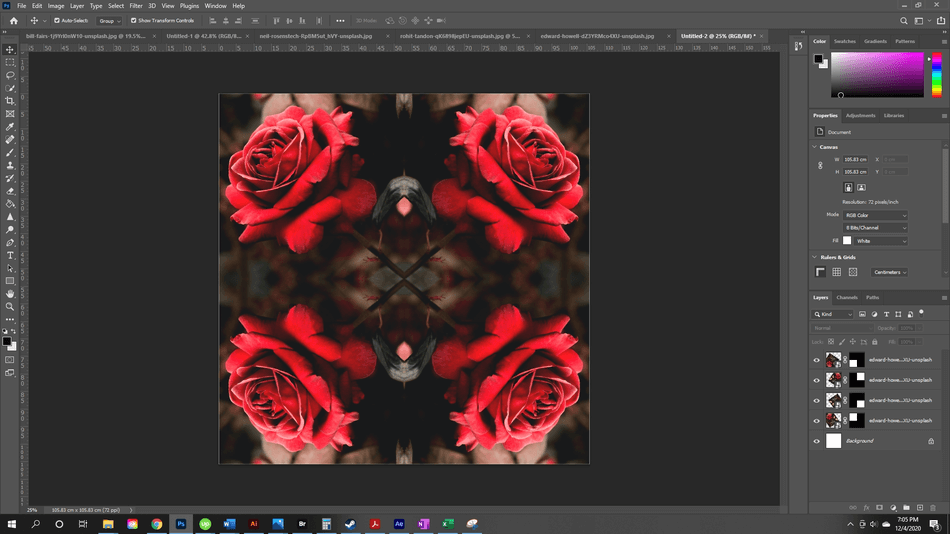
I repeat the process for the other two roses, flipping one horizontally and the last one horizontally and vertically, moving them into place.
- Clear the guides to view your handiwork by going to View > Clear Guides. You are finished!
Now you know how to flip photos in Adobe Photoshop. Flipping a photo is an easy skill and one that can be useful when creating fun projects.

Anne is a filmmaker and writer with a passion to bring stories to life. She has created several short films, specializing in stop-motion animation. Anne has over eight years of filmmaking experience, and she is always ready to share her knowledge with other creators. She started her company Anne Gets Creative in 2020.
Anne is extremely familiar with many Adobe programs: Photoshop, Illustrator, InDesign, After Effects, Premiere, and Audition, to name a few. She has also worked with other programs such as Procreate, Canva, iMovie, and Final Cut Pro. She always strives to give the best software reviews, researching diligently so her readers don’t have to.