(Last updated on November 2nd, 2022)
Wondering how to add fonts to Photoshop? You have come to the right place!
This tutorial will go over how to add and import fonts into Adobe Photoshop. I will walk you through the motions, step-by-step.
First, I will go over the quick way to import a font into Photoshop. After, I will go in-depth about the extensive library of fonts that Adobe offers and its tools to help you find the perfect font for your project.
Related: Affinity Photo vs Photoshop: Head-to-Head Comparison (2023)
If you want to see how Photoshop stacks up against GIMP, see our in-depth Photoshop vs. GIMP comparison.
Adding Fonts to Photoshop
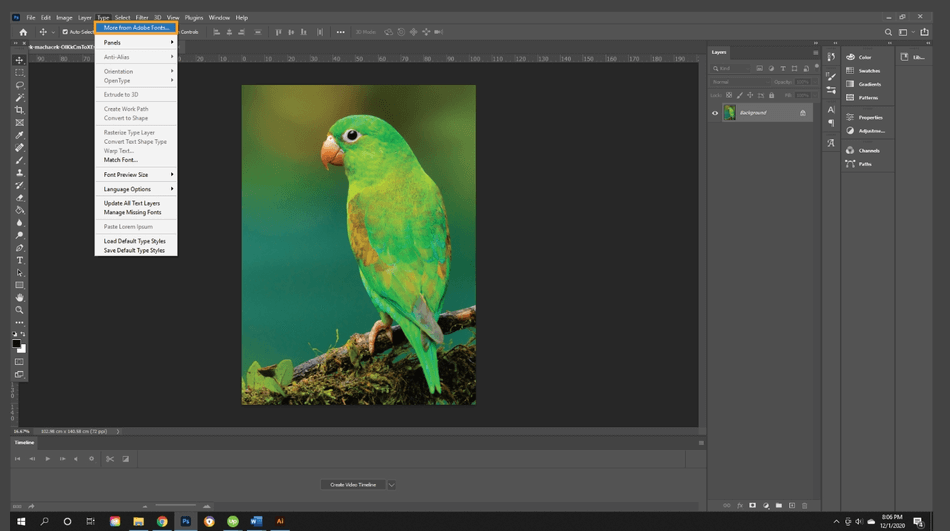
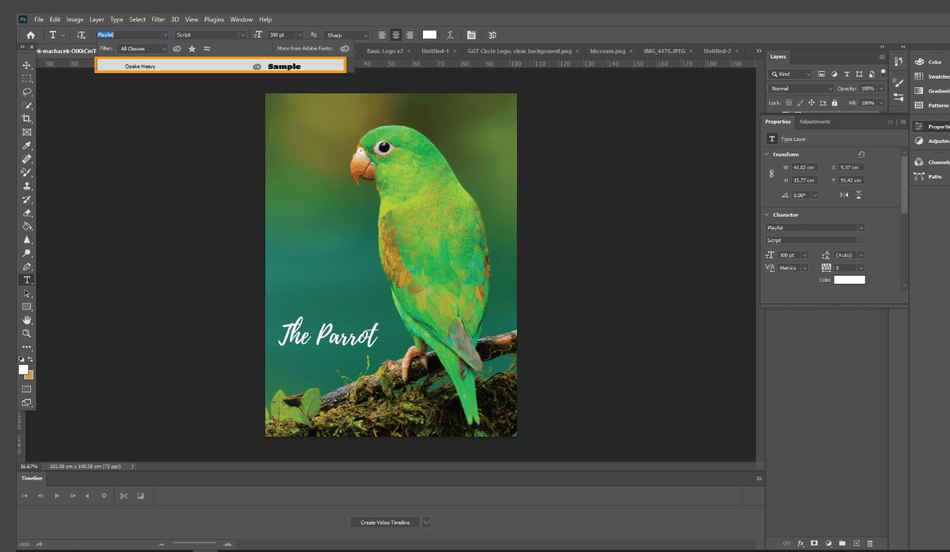
- There are two ways to reach Adobe’s extensive library of fonts. In Photoshop, you can go to Type > More From Adobe Fonts… or go directly to https://fonts.adobe.com/.
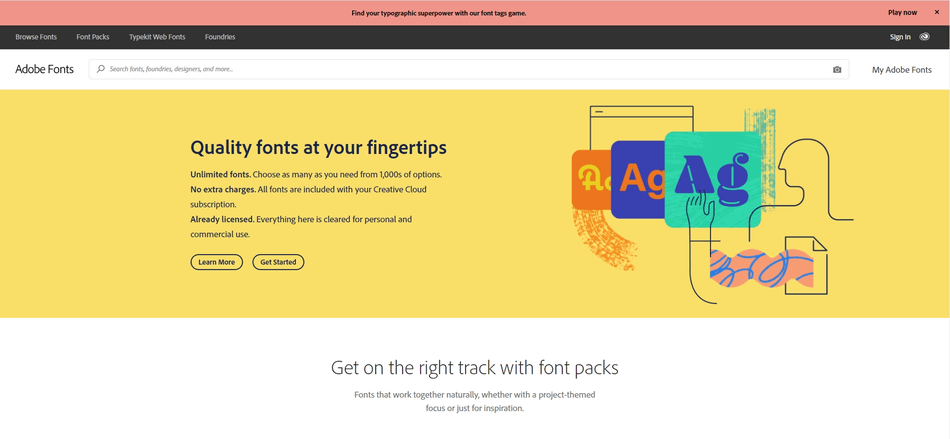
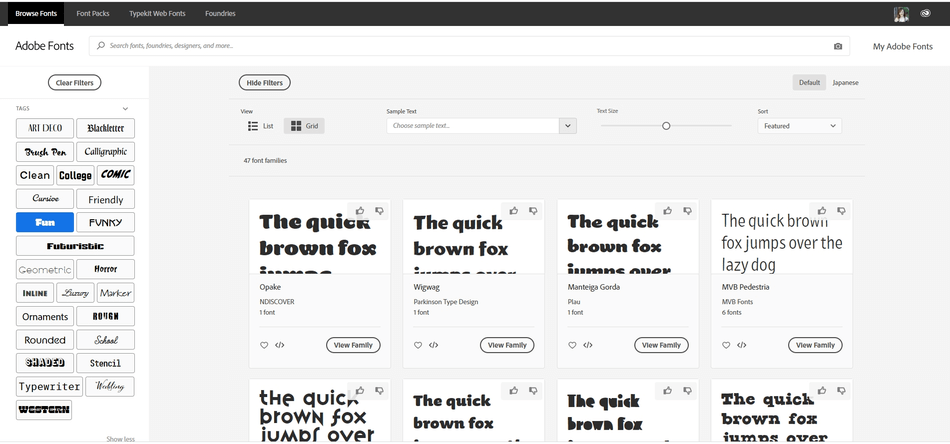
- From here, search or browse the fonts. In this tutorial, let’s click Browse Fonts. This button pulls up the Browsing fonts window. From here, filter and sort the fonts and find a selection. Click into the selection.
- Importing the font is as easy as toggling the Activate button in the upper right corner. To deactivate, hit the toggle again.
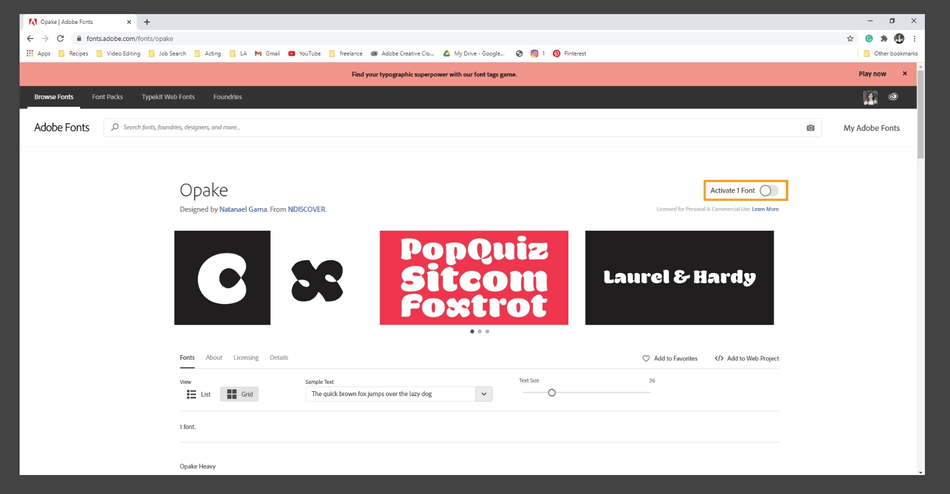
- From here, your font will automatically download into your Adobe programs, no other steps needed.
Adobe Fonts
The Adobe Fonts Library is extensive. Let’s go over this tool in-depth. You can Browse Fonts, look at Font Packs, Typekit Webfonts, and Foundries. Let’s start with the Browse Fonts Tab.
Browse Fonts
The Browse Fonts tab is an extensive browsing window that lets you search through Adobe’s extensive library of fonts. In the search bar, you can search for Font names, designers, foundries, and even search by a photo of text to find a similar style. If you want to learn how to do this, scroll down to read about “Visual Search” in the next section.
You can also look through fonts using tags and filters. These filters are great when you are trying to find a specific look.
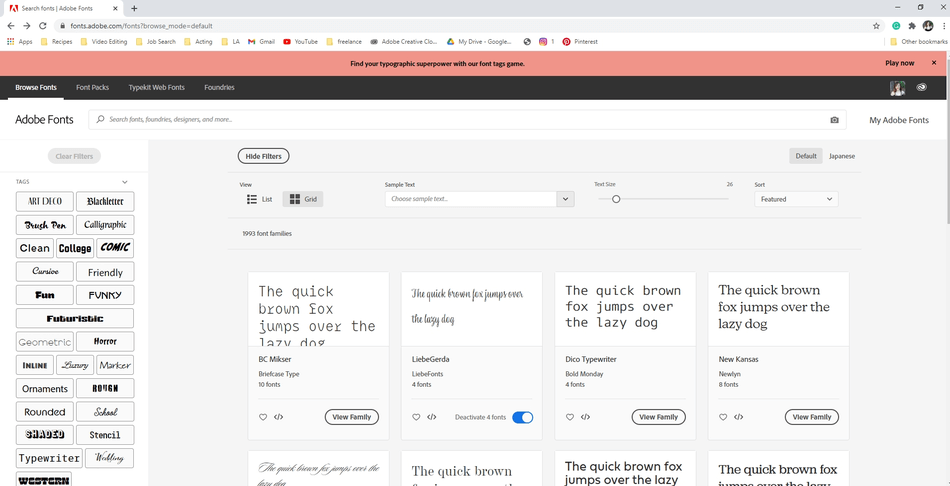
Here, you have various tags to choose from, ranging from Art Deco and Western to Geometric and Funky.
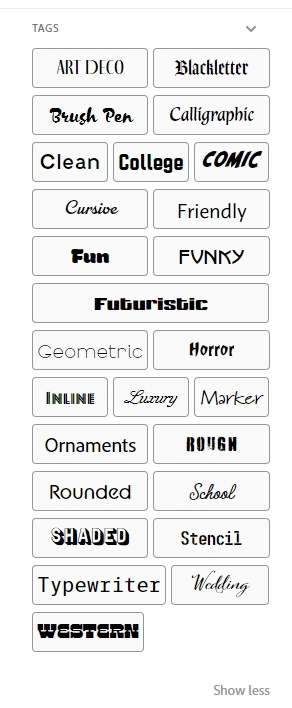
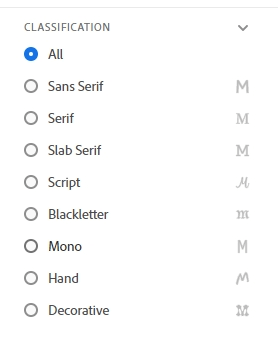
You can also filter by classification.
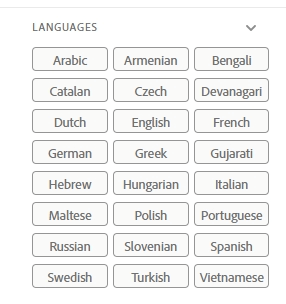
You can even filter the fonts by language, showing you what fonts are available for your language choice.
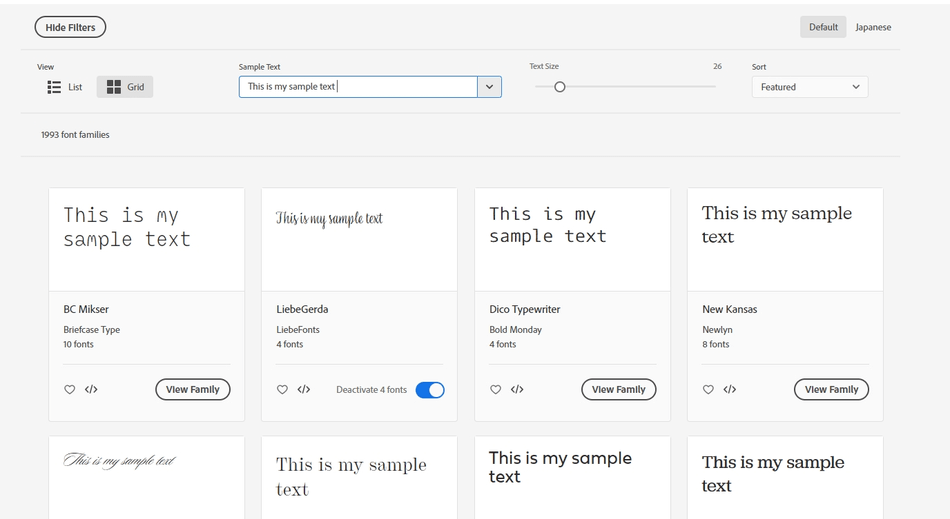
Moving over to the main view and looking from left to right, you can toggle filters to hide/show them. Next, you can view the fonts in either list format or Grid format. One of the best features is the Sample Text.

Here in this box, you can type any text, resizing the text to be any size. The Sample Text feature is great if you are looking for a specific line of text for a project. Lastly, you can sort the font by Featured, Name, or Newest.
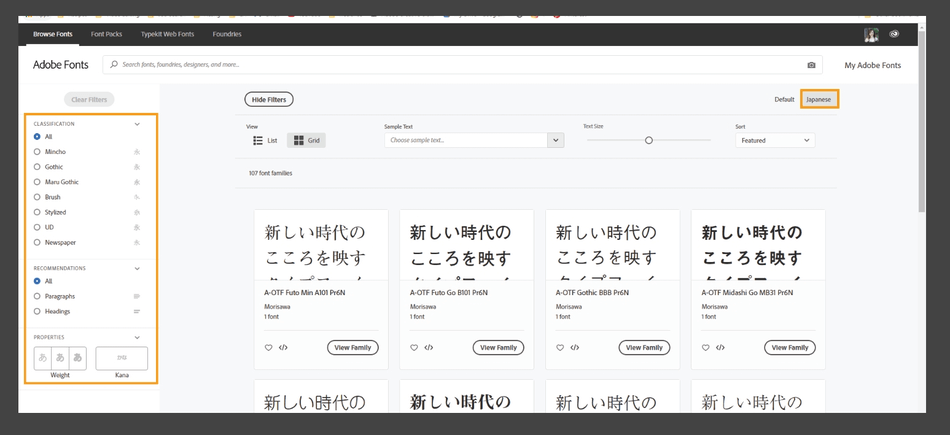
You can also switch the Font display to Japanese view. The filters will change to match Japanese text characteristics.
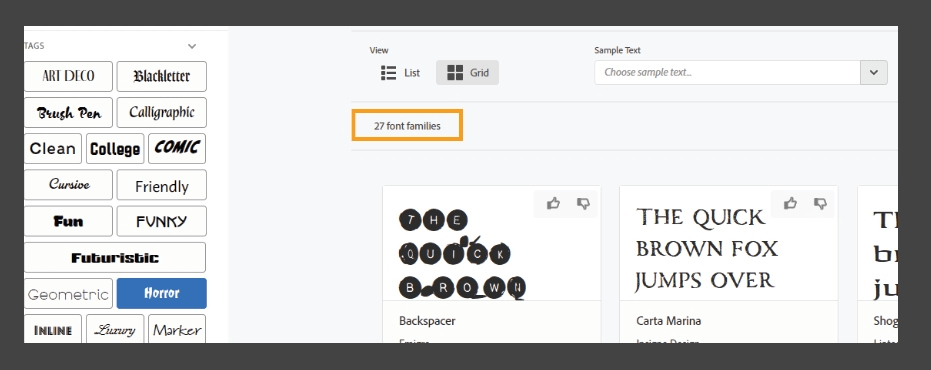
As you select filters, the results will narrow, and the total number of options will be displayed.
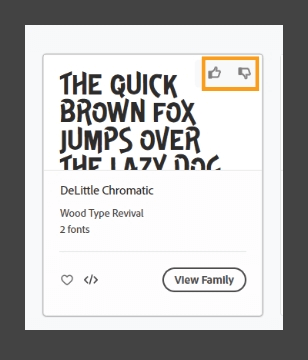
The font tile gives you a ton of information about the font. First, you see the sample text displayed in the chosen font.
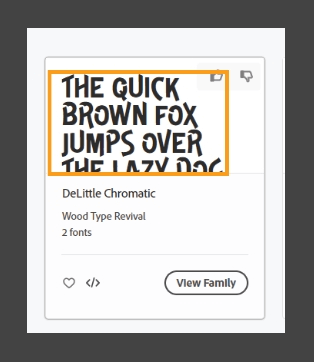
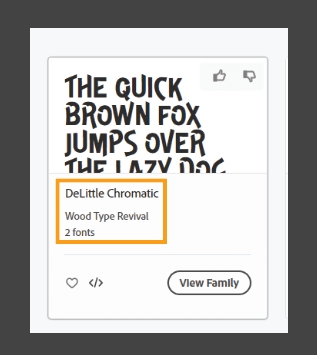
Next, you will see the Font name followed by the Foundry that the font belongs to and finally the number of fonts that are part of the font family.
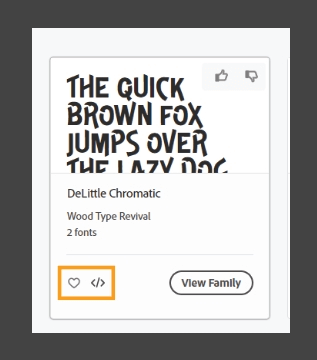
Next, you can favorite the font or add it to a web project.
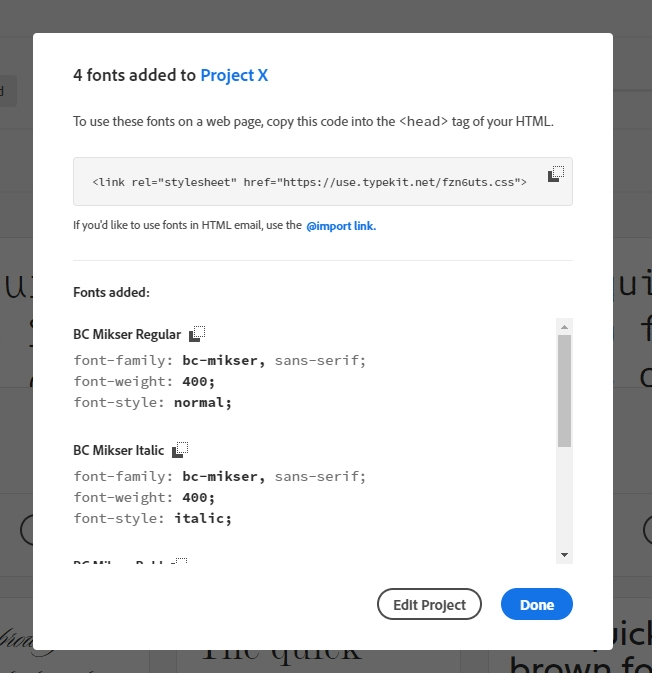
If you add it to a web project, the HTML for the font will pop up and code information specifically about the font attributes. You can go to your project directly from here or continue to browse.
The thumps up/thumbs down icons help Adobe determine if the font belongs with the chosen tag.
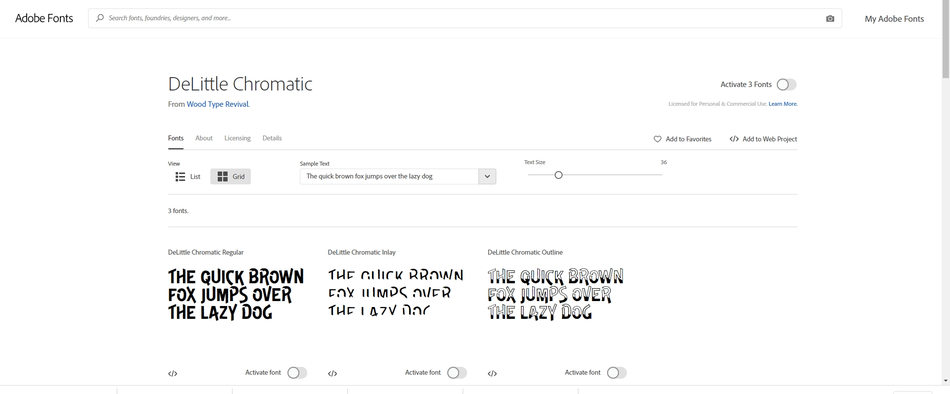
Now, if you click View Family, this will bring you to a separate page. Here, the font family will be displayed. View Family will show all of the variations of the chosen font. You can either activate the entire family or activate individuals.
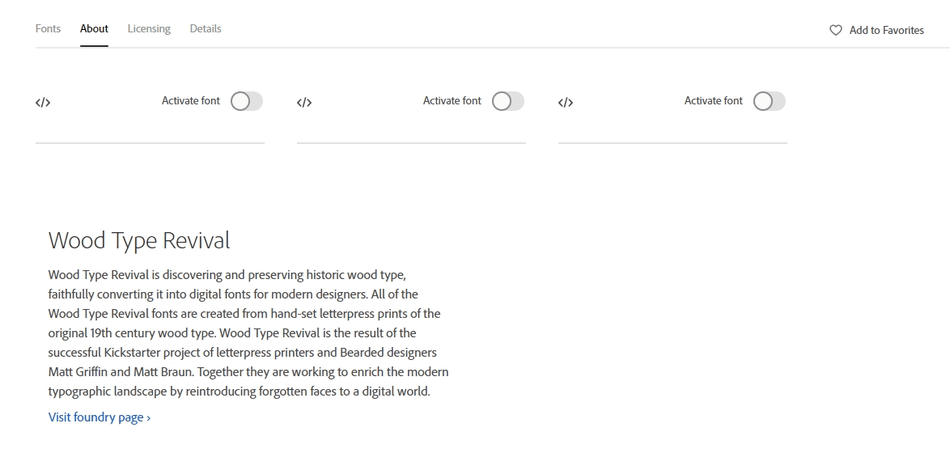
This page goes into detail about the font family. You can read about the font.
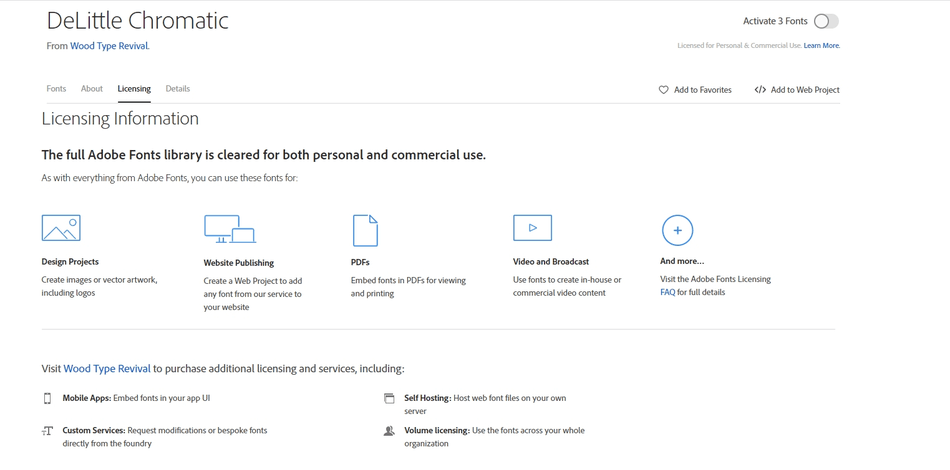
You can also read licensing information about the font.
Lastly, the details tab will give your further detailed instruction on the font, letting you know how to use it in the application and what languages the font supports.
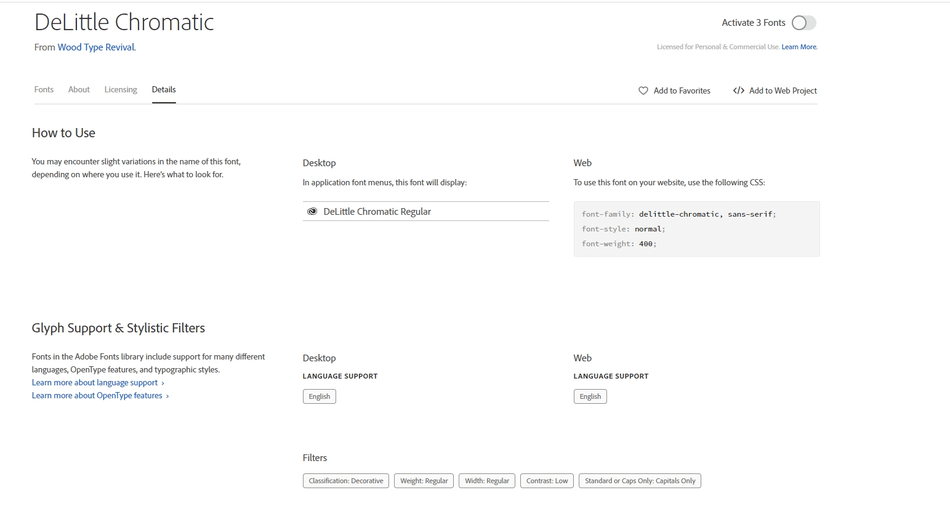
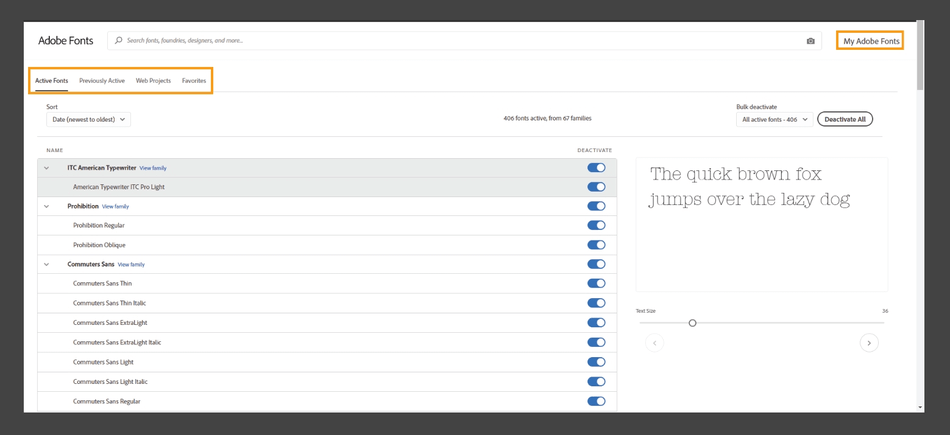
If you click into the upper right corner, you can select My Fonts. My Fonts will take you to a list of all of the fonts you have used with Adobe. You can toggle between Active Fonts, Previously Active, Web Projects, and Favorite fonts.
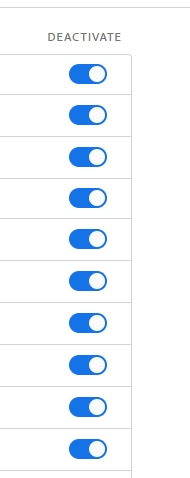
You can deactivate a font by toggling the blue switch.
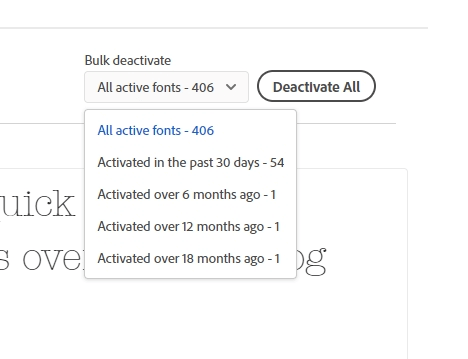
In the right section, you can also do bulk deactivation, great if you want to free up space fast on your computer.
Visual Search
Sometimes, you will come across a font that you love but don’t know the name of. That is where a visual search comes in handy. Here, Adobe will match the font to the fonts in its database, either giving you the exact font or a close match.
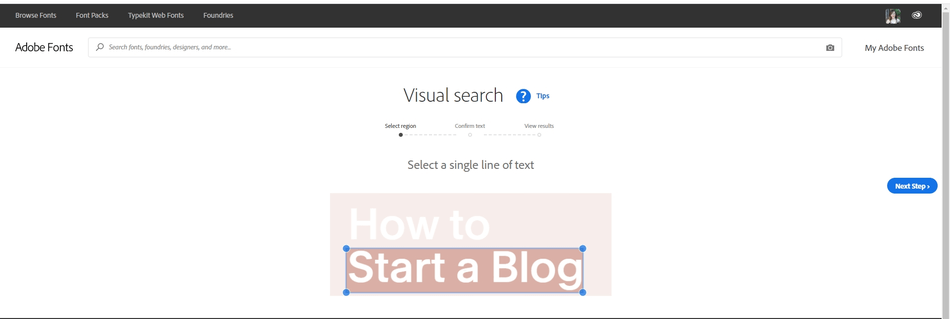
If you click the camera icon in the search bar, you will be prompted to upload a photo of text. Once the photo is uploaded, you will be redirected to the Visual Search page. Here, you will help the AI locate the sentence of the text that you want to find the font style for.
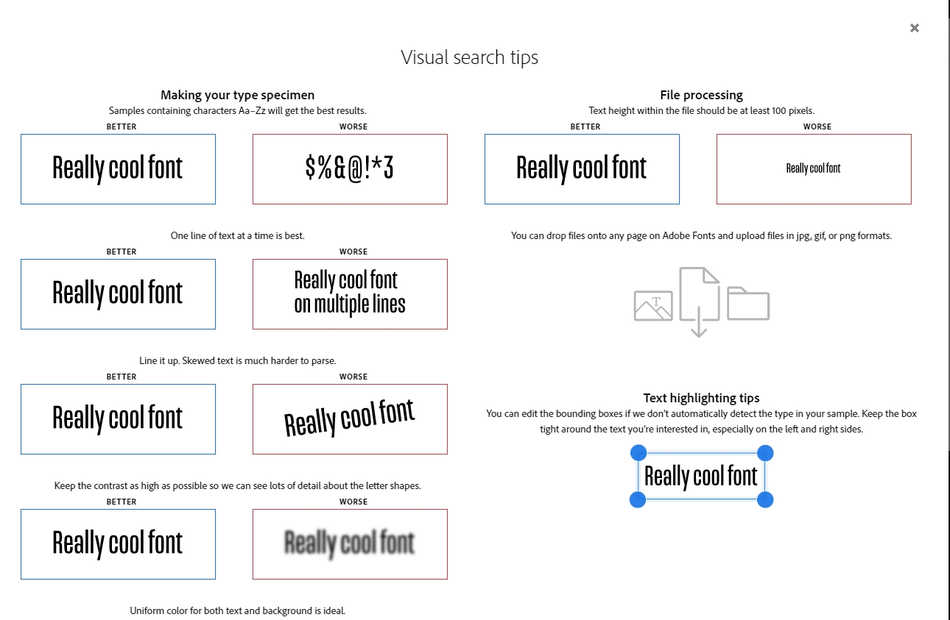
Adobe provides tips to help you figure out the picture you need to locate your text. Click the Tips icon to bring up this window.
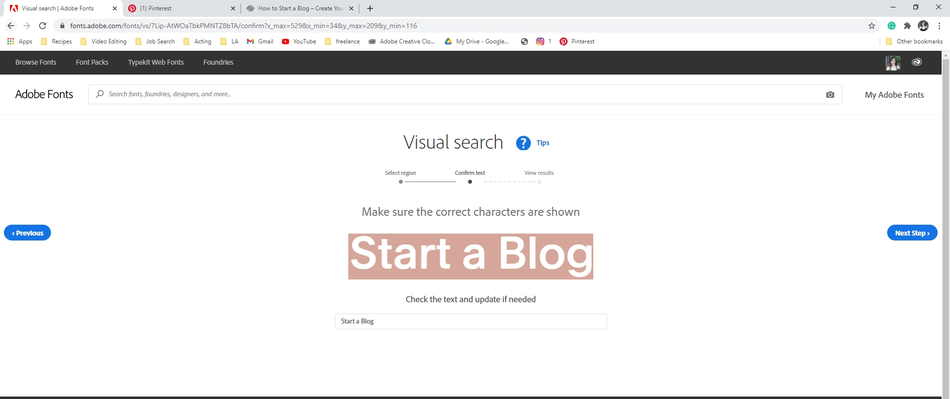
Next, you will make sure that the AI reads the text correctly and confirms the words in the text.
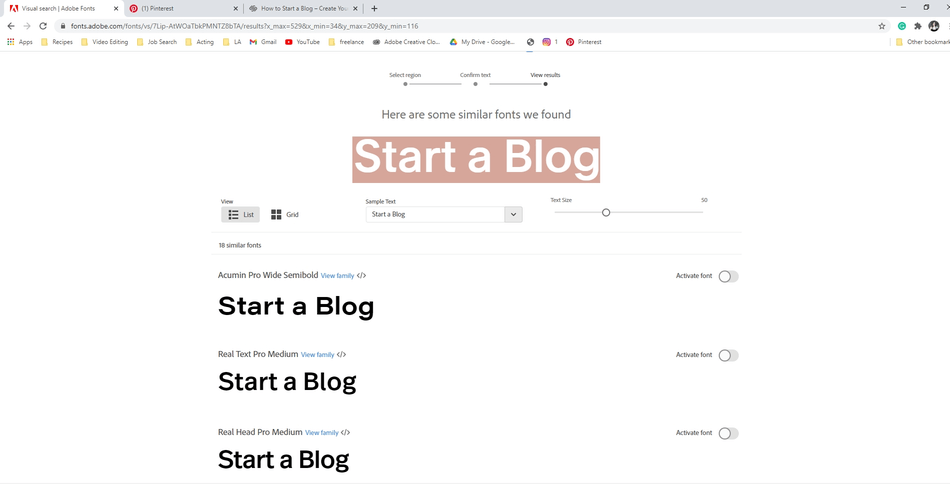
The last page will show you a list of similar fonts or the exact one.
Looking for an exact font from an image your client sent you? I have a tip for you. If you can’t find it in Adobe, use a font identifier like Font Squirrel, found at https://www.fontsquirrel.com/matcherator. It’s free and will help you find your font and where to get it.
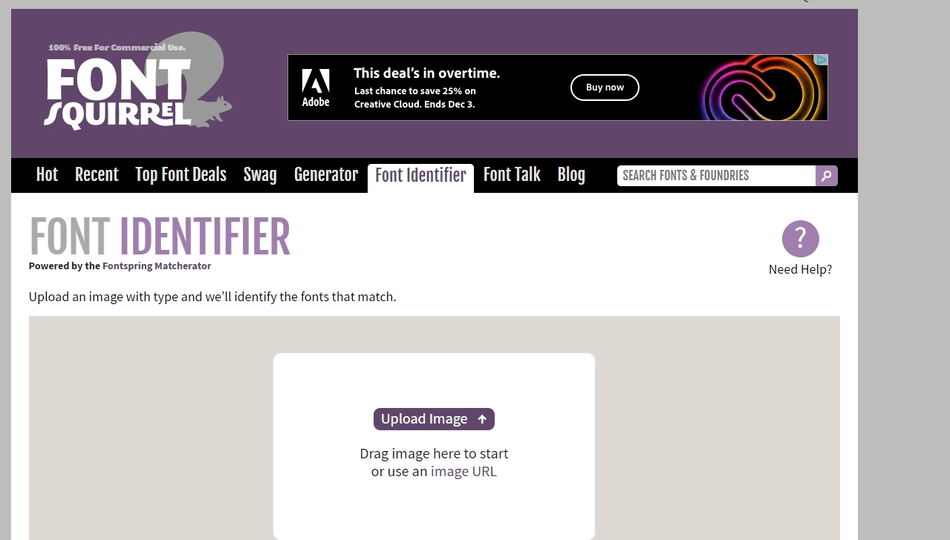
Like Adobe, upload the picture of your font. Next, you will be asked to highlight the text that you want to match.
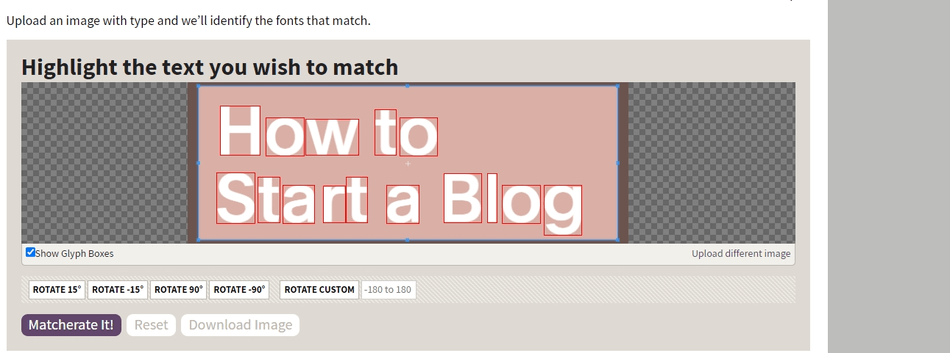
From here, click Matcherate It! Font Squirrel will then show you a list of similar fonts and the exact font at hand. Font Squirrel will even show you where you can get the font. You can also use Font searchers like What the Font from My Fonts and Font Spring.
Next, let’s move on to the Font Packs Tab.
Font Packs
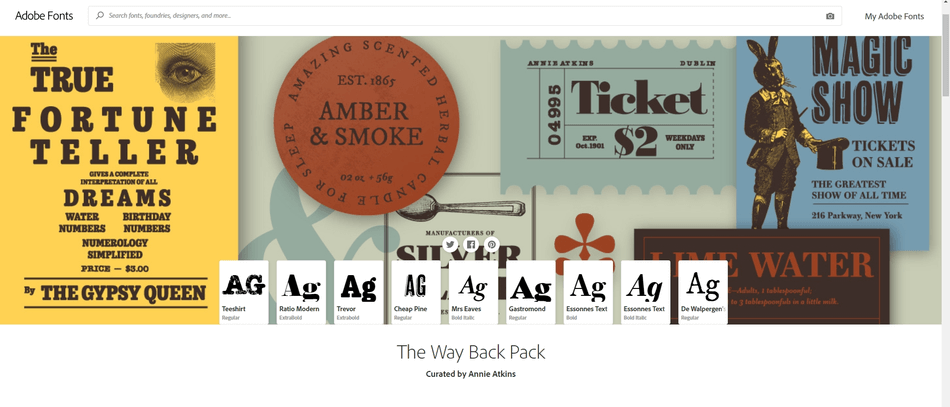
Font Packs are curated font bundles by Adobe, giving you a set of fonts that match the same purpose or look. The packs can vary from basics like Branding fonts, and Infographic looks to fun choices like personality-packed fonts or calligraphy packs.
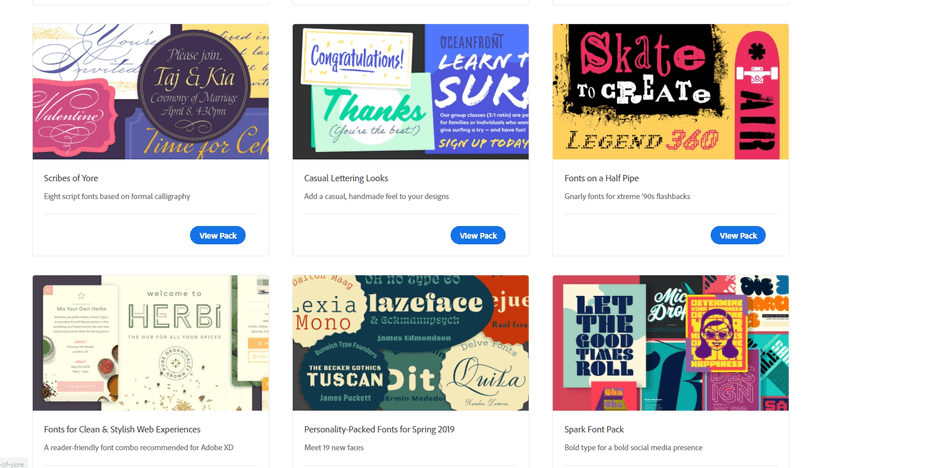
Font packs are a great way to explore new fonts and change up your look.
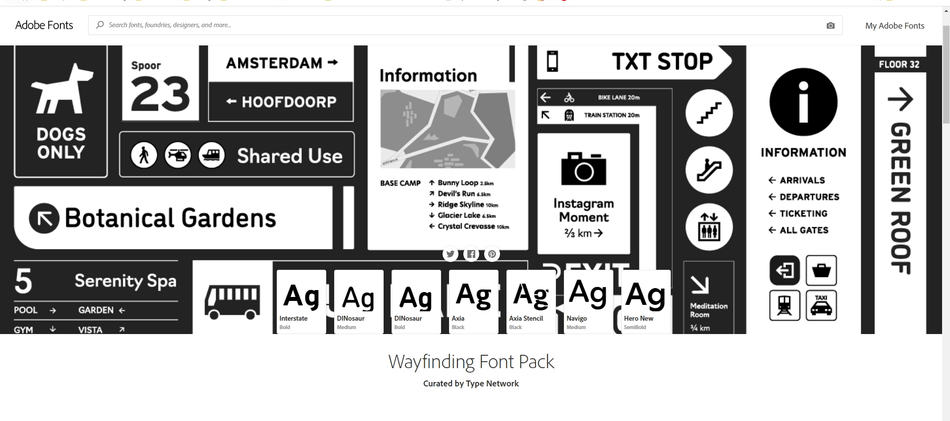
Typekit Web Fonts
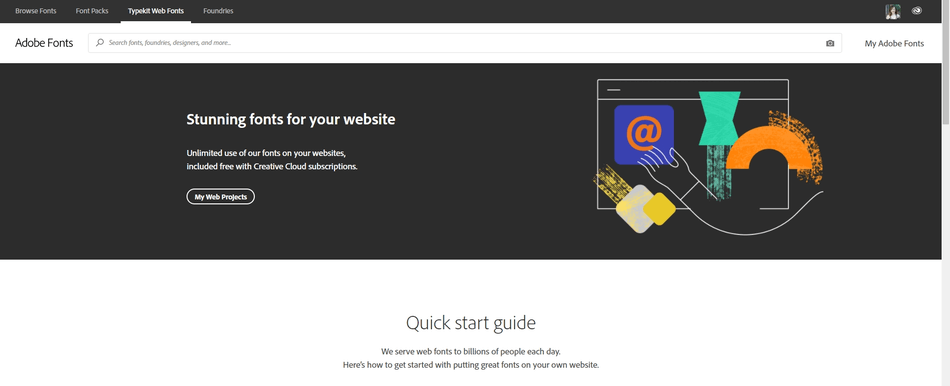
Next is the tab for web fonts. This tab will open to a page giving you the Quickstart rundown of working with web fonts. You can visit your Web Projects from here.
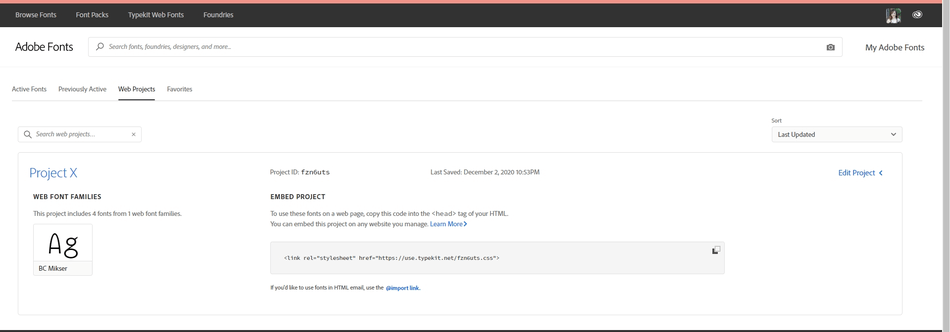
If you view your Web Projects, this will open a new page, showing you information about your web project, the fonts installed, and the code to embed the fonts into a webpage. You can use this font on any website you manage.
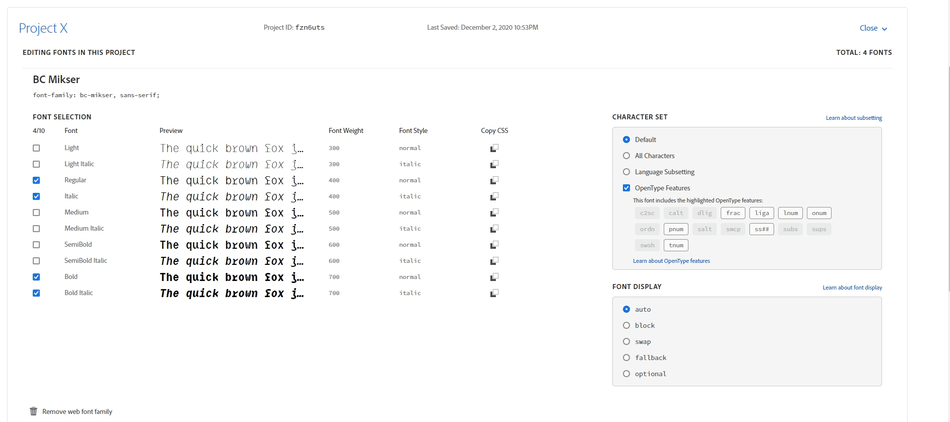
You can edit the font’s nuances, select the font family you want to use, and decide the character set and font display. You can also remove the font family from the project entirely.
Foundries
The last tab is Foundries. Here, you can browse through studios and artists foundry pages.
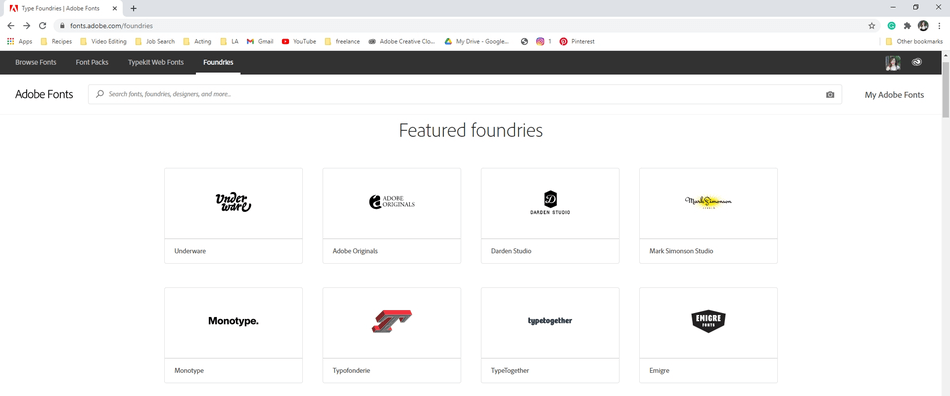
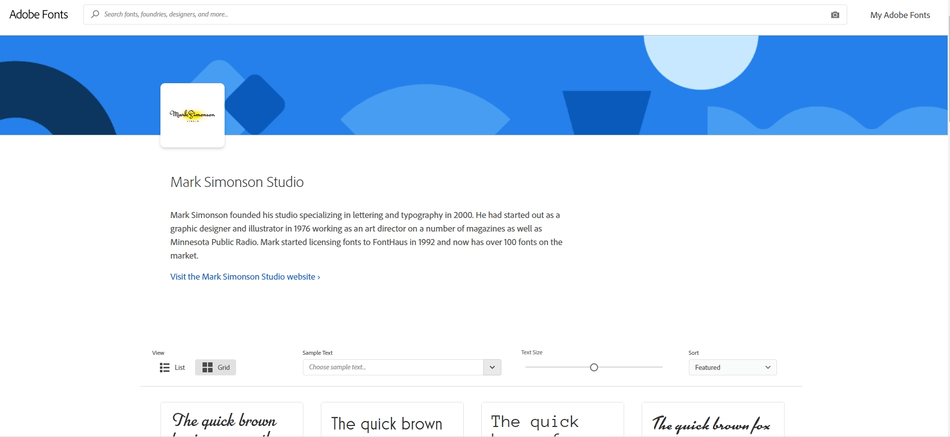
When you click on a foundry, there will be a biography about the Foundry and when it was created. The fonts from that Foundry will be displayed below. If you love a new font, and want to find more by the same creators, look into the Foundry to find more inspiration.
Now you know how to import/add fonts to Photoshop or any Adobe program. You can find the perfect font for any future project.

Anne is a filmmaker and writer with a passion to bring stories to life. She has created several short films, specializing in stop-motion animation. Anne has over eight years of filmmaking experience, and she is always ready to share her knowledge with other creators. She started her company Anne Gets Creative in 2020.
Anne is extremely familiar with many Adobe programs: Photoshop, Illustrator, InDesign, After Effects, Premiere, and Audition, to name a few. She has also worked with other programs such as Procreate, Canva, iMovie, and Final Cut Pro. She always strives to give the best software reviews, researching diligently so her readers don’t have to.
