(Last updated on November 2nd, 2022)
Wondering how to combine and merge objects in Illustrator? You have come to the right place!
In this tutorial, I will be going over these concepts, teaching you different ways of merging. I will also show you the application of these techniques in a mini-tutorial at the end.
Related: Adobe Illustrator Cost: How Much is Illustrator? (up to 60% off)
How to Combine Objects in Illustrator?
To combine or merge objects in Illustrator, follow these simple steps:
- Open up the interface and switch to the Selection Tool.
- Select your objects. (Hold down the Shift key to select multiple objects.)
- Now select the Shape Builder Tool (or use the shortcut Shift + M).
- Drag your mouse between the objects you want to merge.
- Release the mouse to merge the objects.
More details are explained below.
Combine/Merge Objects using the Shape Builder Tool
- Switch to the Selection Tool, or use the key command V.

- Select your objects, holding down the Shift key to select the multiple objects you want to merge.
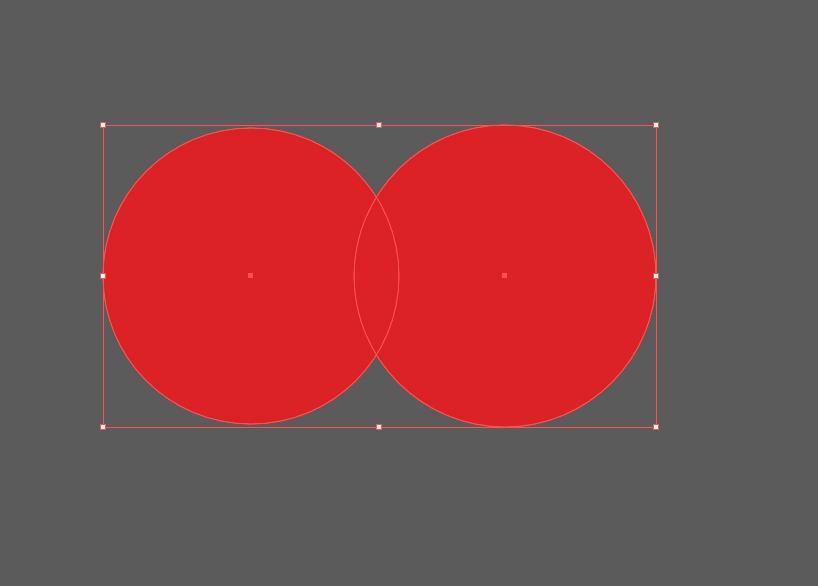
- Switch to the Shape Builder Tool or use the command Shift + M.

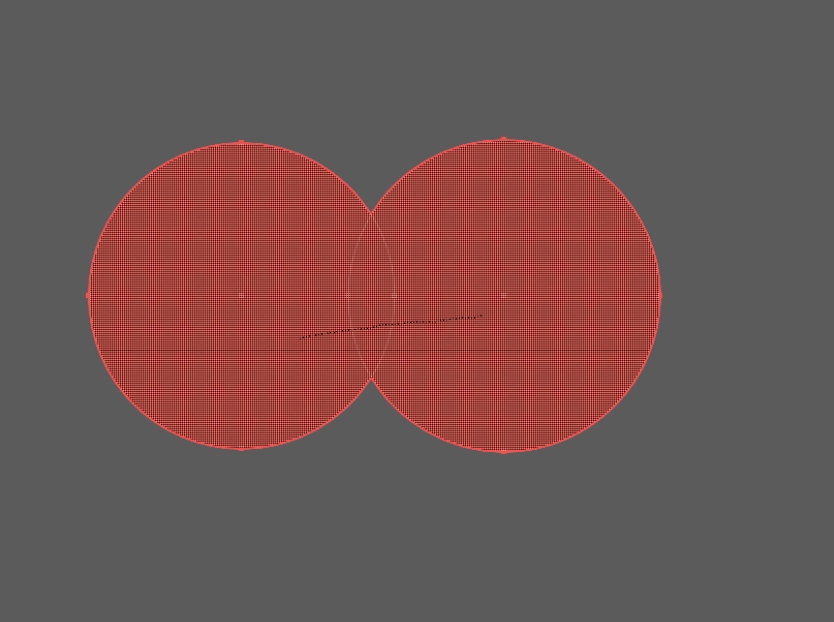
- With the Shape Builder Tool selected, click and drag your mouse between the objects you want to merge. As you drag, a dotted line will form, signifying the shapes being combined. The shapes will light up too. As soon as you release the mouse, the shapes will be formed. Then, you are done.
Additional Tips with the Shape Builder
- If you hold the command key Alt/Option (Windows/Mac), you will delete the shape in that section.
- If you use the command Shift + Click + Drag with the Shape Builder Tool, you will create a rectangular marquee around your shapes, merging all shapes inside the marquee path.

Combine Objects Using the Pathfinder Effects
- Open the Pathfinder Panel. Go to Window > Pathfinder to open up the panel. You can also use the command Shift + Control/Command + F9 (Windows/Mac).
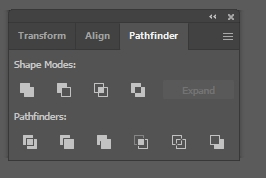
- Select the objects that you want to merge using the Selection Tool or using the key command V.
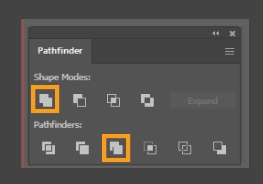
- To merge, either use the Shape mode, Unite or the Pathfinder mode, Merge. Using the command Alt/Option + Click (Windows/Mac) with the Unite mode will create a compound shape. And you are done!
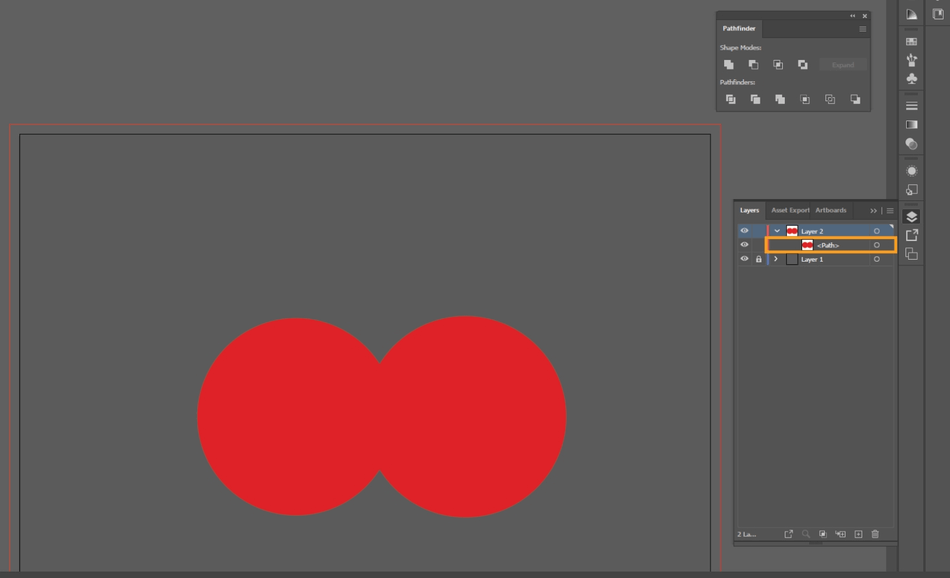
Pathfinder Panel in Detail
Let’s go over this panel top-to-bottom, left-to-right. Note that compound shapes are different than just merging two shapes. Compound shapes retain the original shapes, allowing you to edit them later. When you click into the compound shape, you can move the shapes and change their interaction mode.
Under Shape Modes
- Unite: Unites the two objects together. Using the command Alt/Option + Click (Windows/Mac) will create a compound shape.
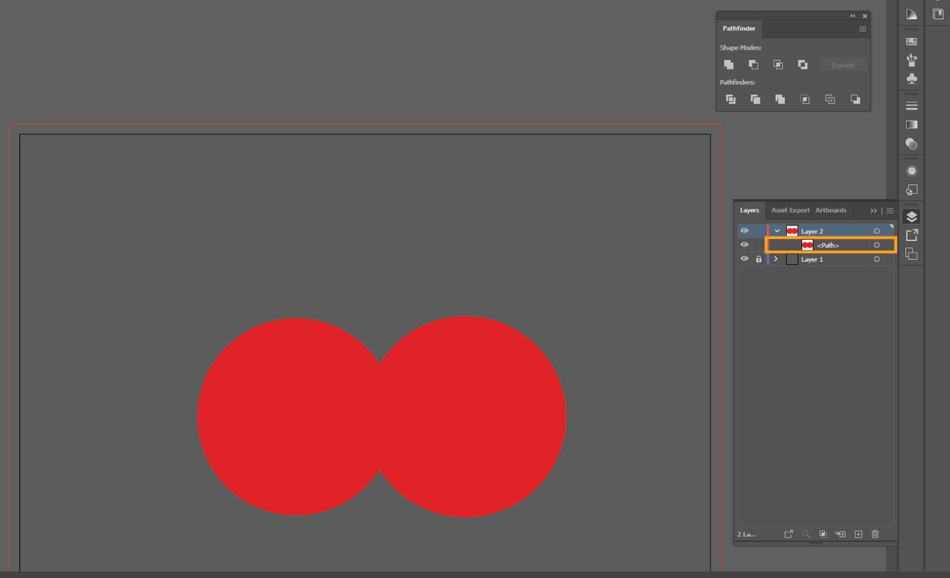
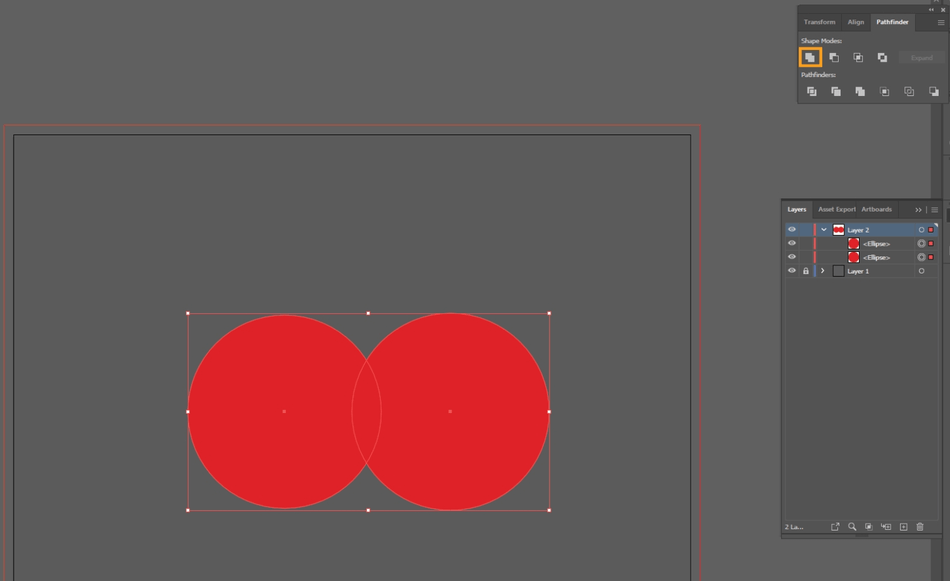
- Minus Front: Will subtract the front shape from the other. Whichever layer is higher in the layer panel will be subtracted. Using the command Alt/Option + Click (Windows/Mac) will create a compound shape with the front shape subtracting from the layer below.
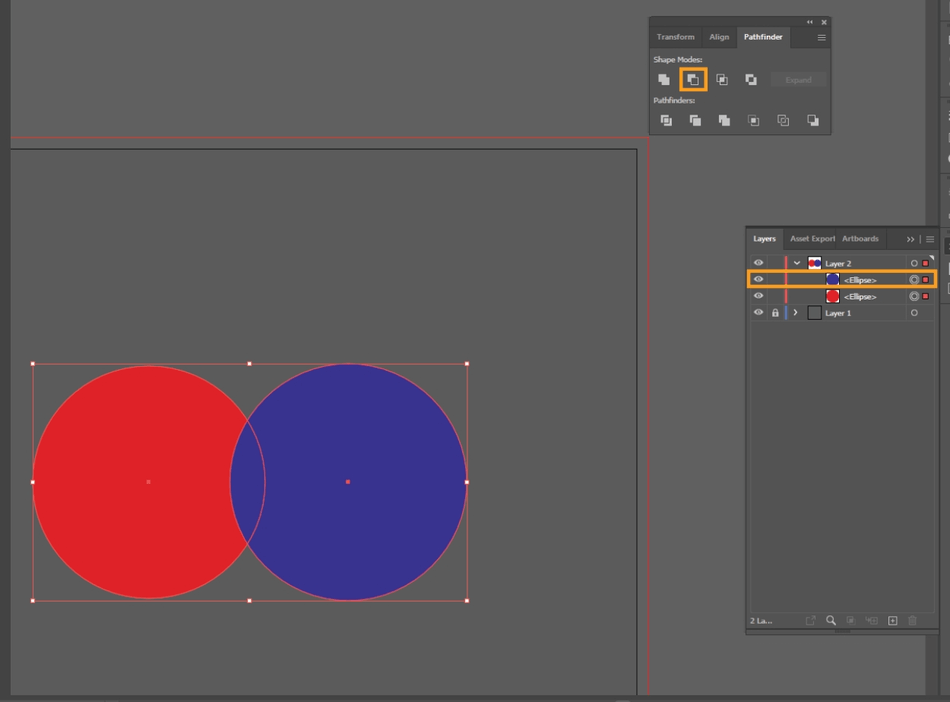
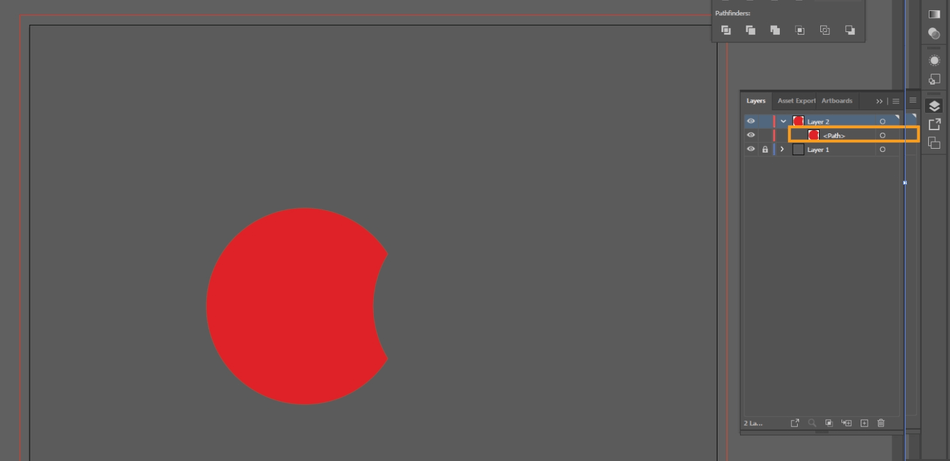
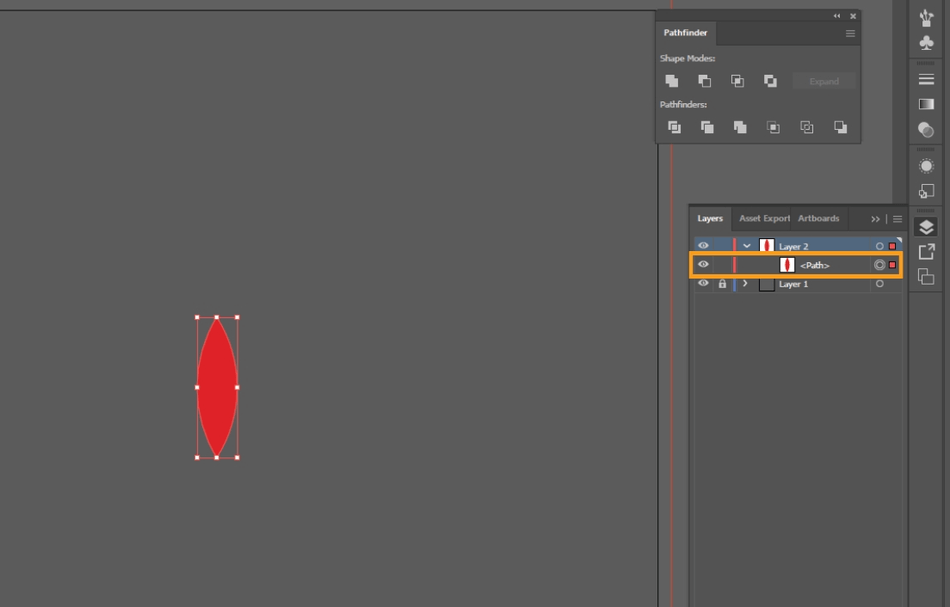
- Intersect: Creates a shape from where the intersected objects overlap. Using the command Alt/Option + Click (Windows/Mac) will create a compound shape with the intersection.
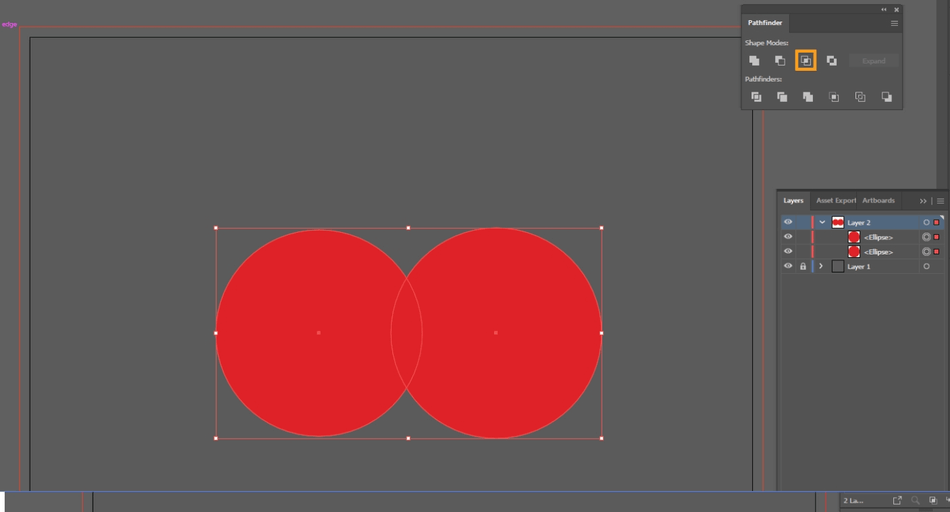
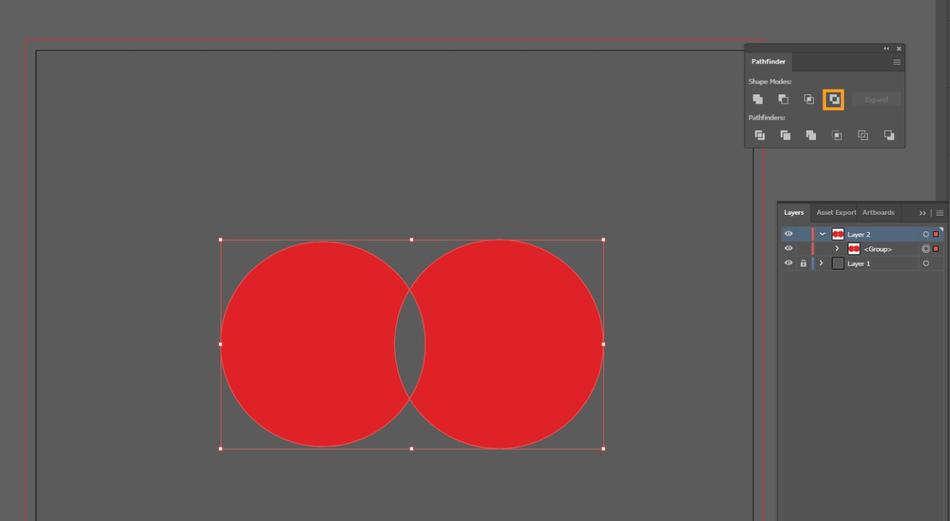
- Exclude: Creates a shape, excluding the overlapping portion of the shapes. Using the command Alt/Option + Click (Windows/Mac) will create a compound shape with the exclusion.
Under Pathfinders
- Divide: Separates the objects into the component-filled faces, areas undivided by a line segment.
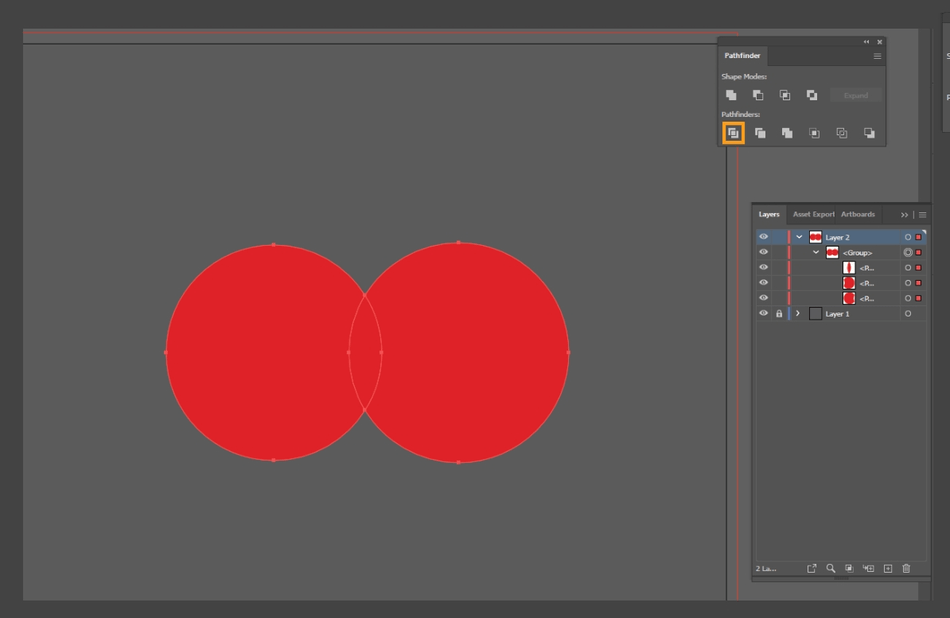
- Trim: Trim removes the part of a filled object that is hidden, strokes, and won’t merge same-color objects.
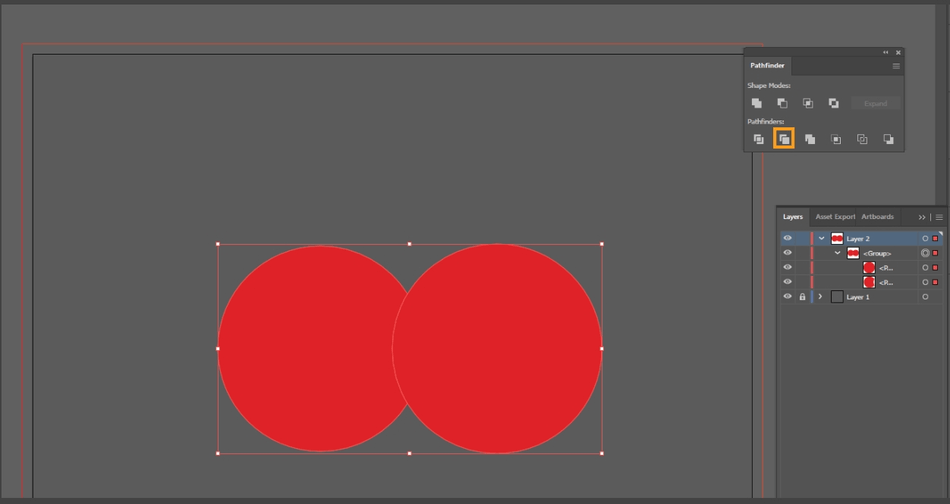
- Merge: Merge removes the part of a filled object that is hidden, merging overlapping objects of the same color and removing strokes.
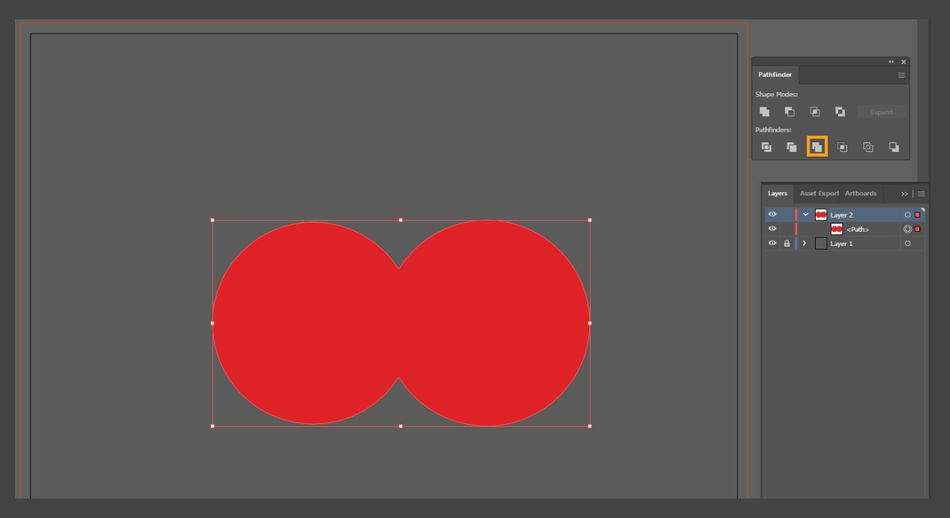
- Crop: Divides the objects into component-filled faces, deleting everything that falls outside the front object’s boundary and deleting strokes.
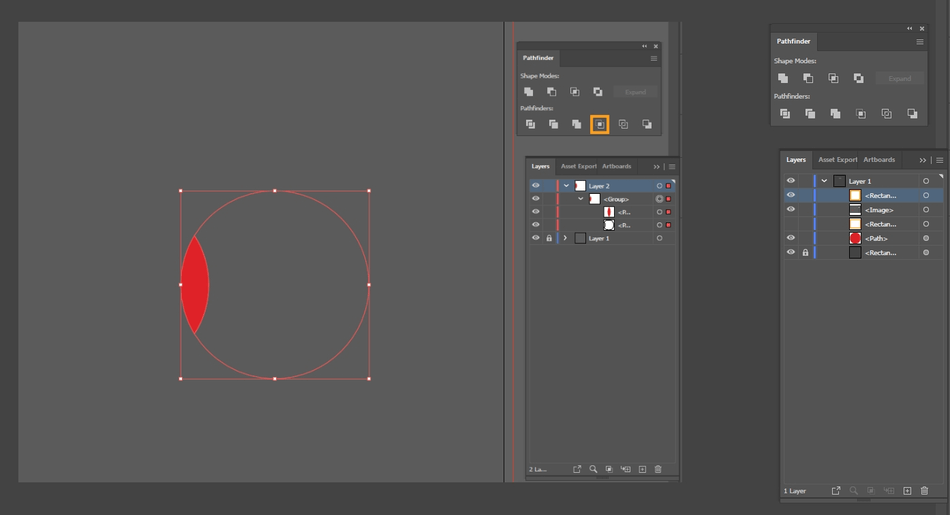
- Outline: Turns an object into lines.
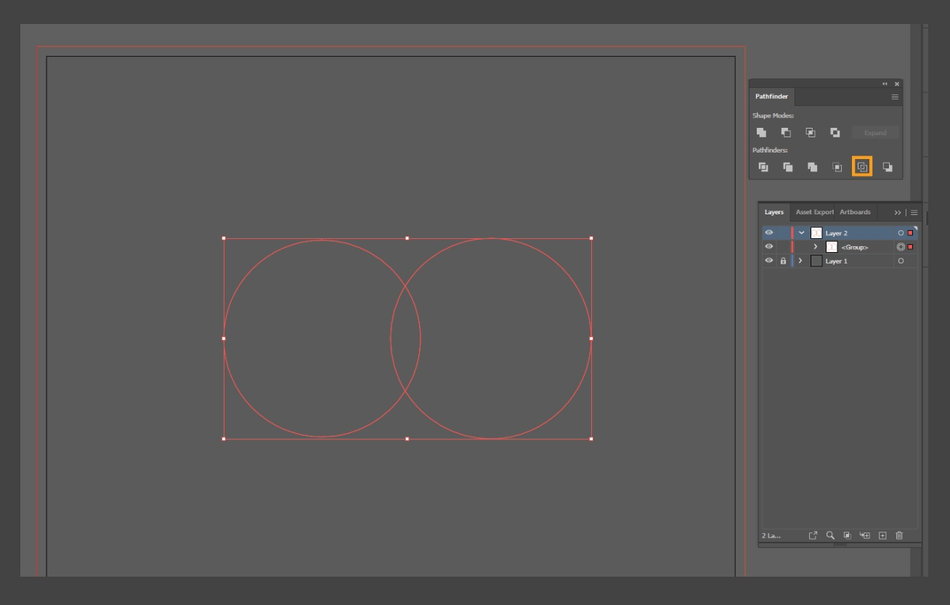
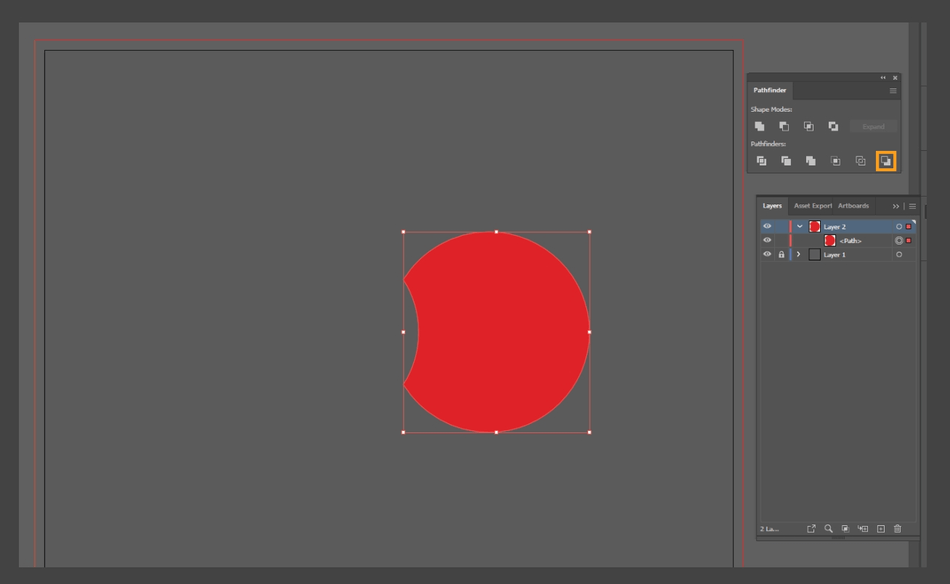
- Minus Back: Minus back will subtract the objects in the back from the front object.
Combining Shapes using the Blob Brush Tool
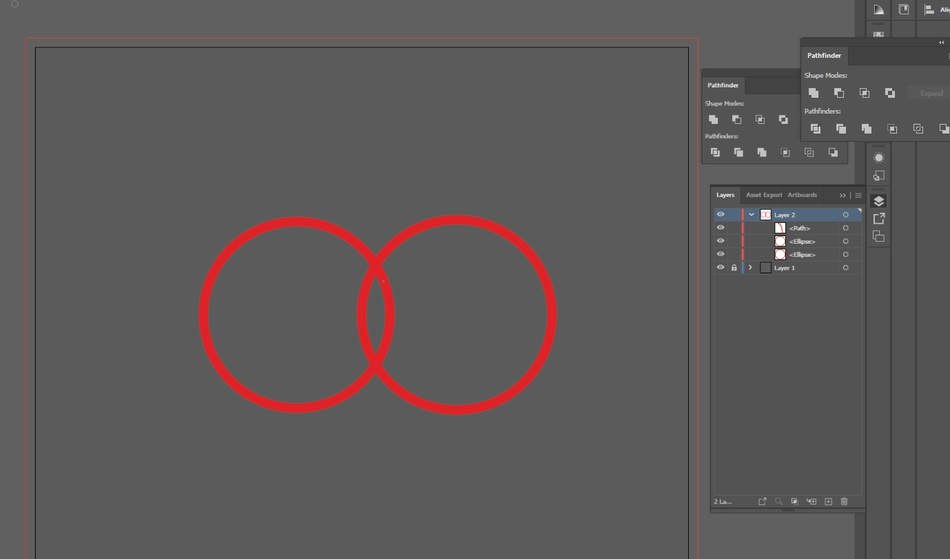
The Blob Brush tool will intersect and merge shapes of the same color. Keep in mind that the paths must be in stacking order to merge, and the final output will be filled without a stroke.
- Switch to the Selection Tool by clicking it or using the command V.
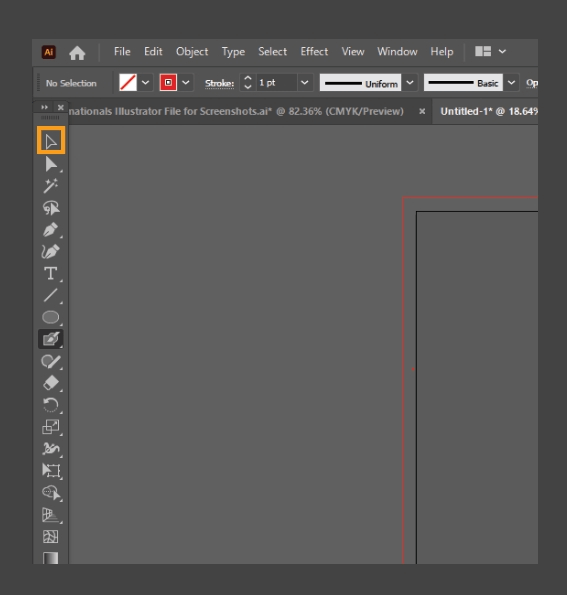
- Select the objects you want to merge.
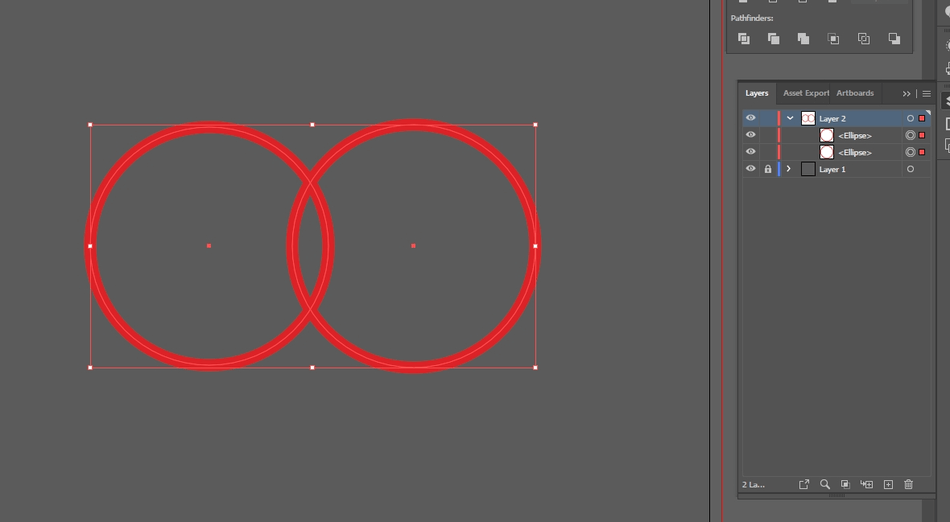
- Switch to the Blob Brush Tool by clicking it or using the command Shift + B.
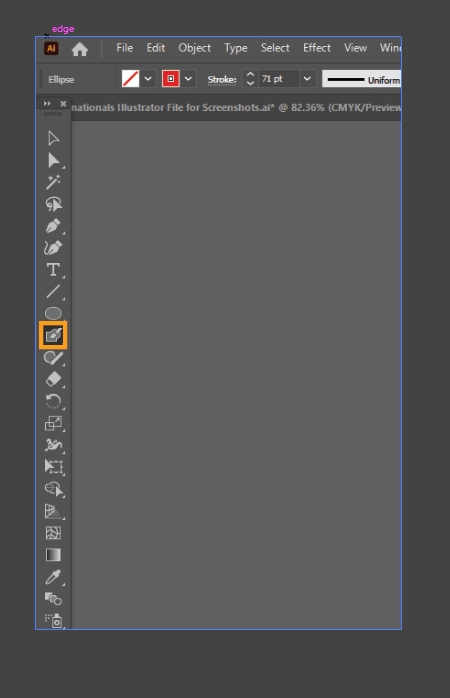
- Drag the brush over the shapes you want to combine. Then, you are done.
Using These Techniques in Action
Now, I’m going to create some illustrations using the techniques we just learned. Let’s start with a simple smiley face.
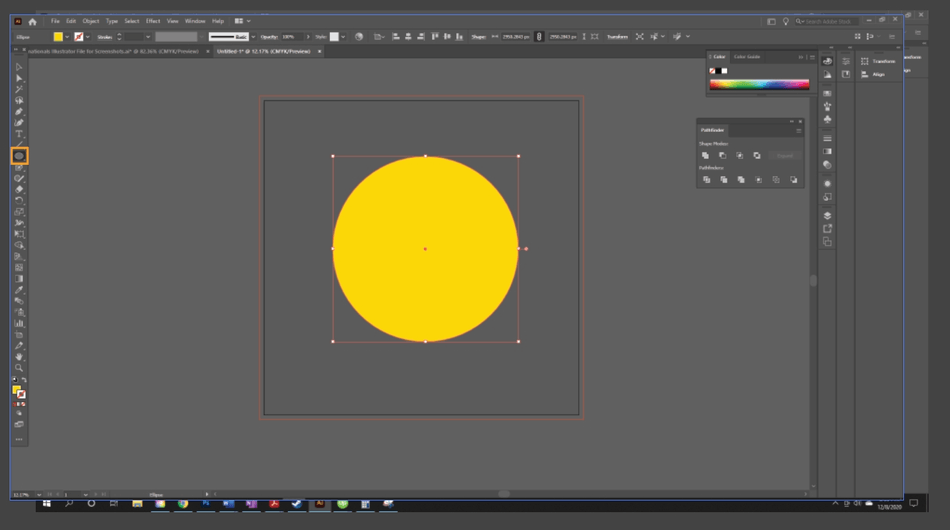
- First, I drew a yellow circle using the Ellipse Tool (Command key L). I held down Shift to make it a perfect circle.
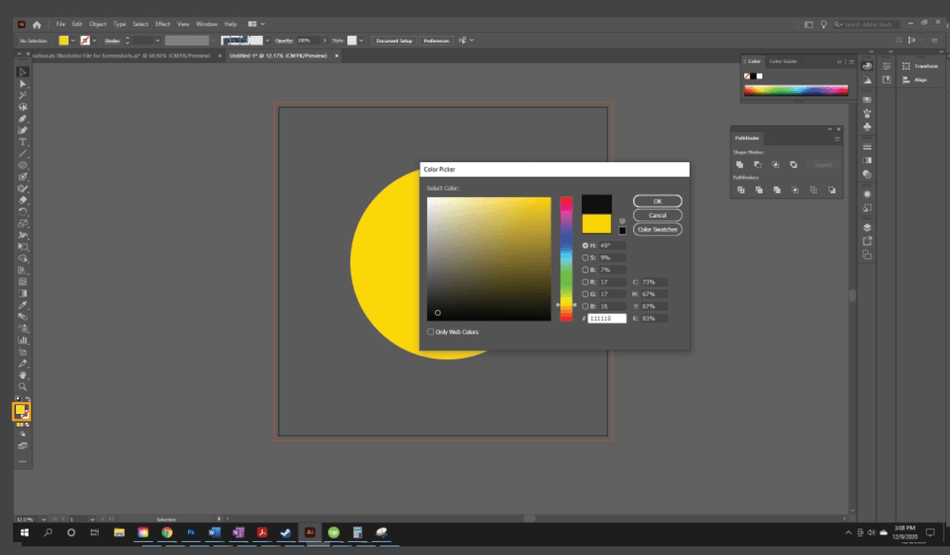
- Next, I’m going to draw the eyes. First, I want to change the color to black. I switch to the Selection Tool ( Use command key V. ). I deselect all shapes by clicking in the area outside of the artboard or using the command Shift + Control/Command + A (Windows/Mac).
- Then, I switch the color, clicking into the yellow fill at the bottom of the toolbar, selecting black from the Color Picker panel.
- Switching back to the Ellipse Tool again (Command Key L), I draw the eye of the smiley face.
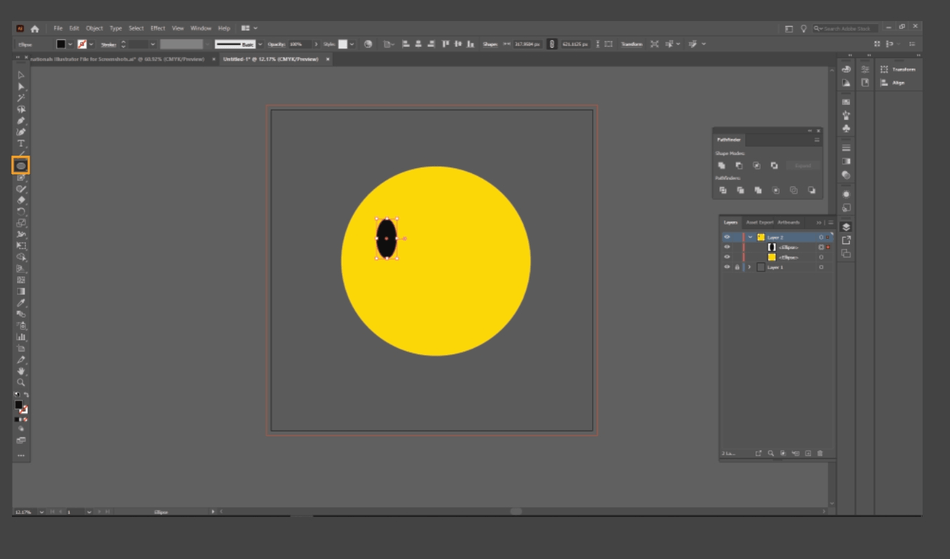
- I switch back to the Selection Tool, clicking and dragging the new eye, holding down Alt/Option (Windows/Mac) to copy the shape as I drag.
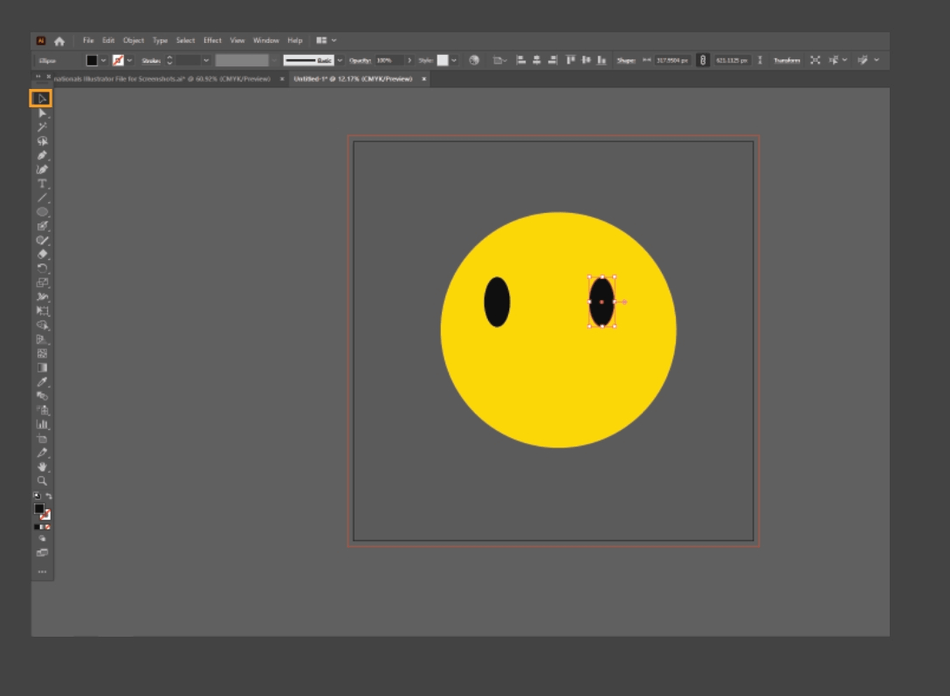
- The eyes aren’t quite aligned. I turn on the rulers going to View > Rules > Show Rulers or you can use command Control + R / Command + Option + R (Windows/Mac). Clicking the top ruler and dragging, I can make a guide to align the eyes properly.
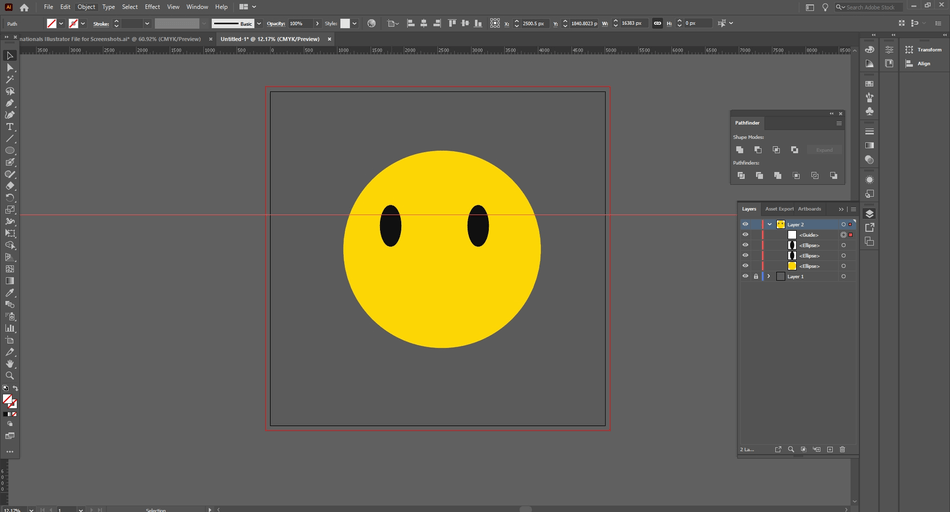
- Using the Selection tool ( Command V), I click on the eyes, dragging them to align at the top. Once I like the alignment, I clear the guides, going to View > Guides > Clear Guides.
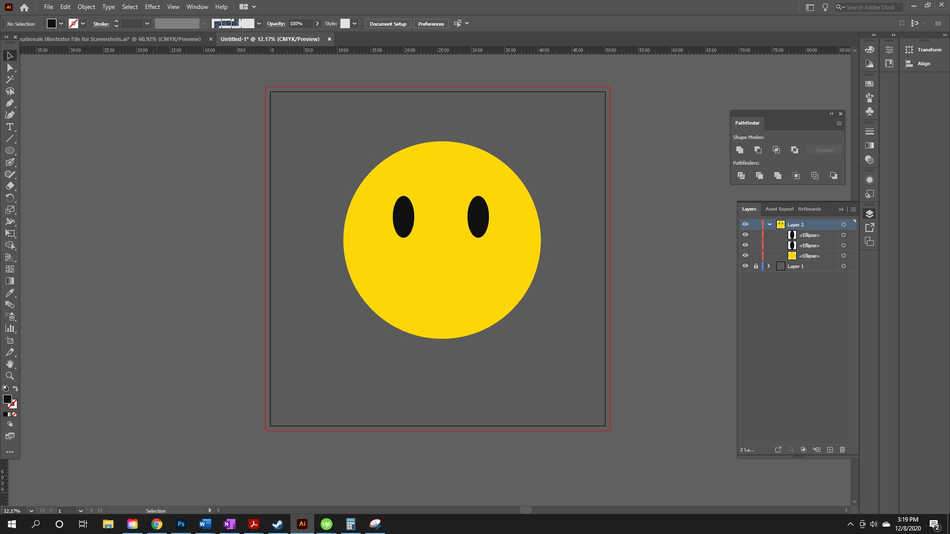
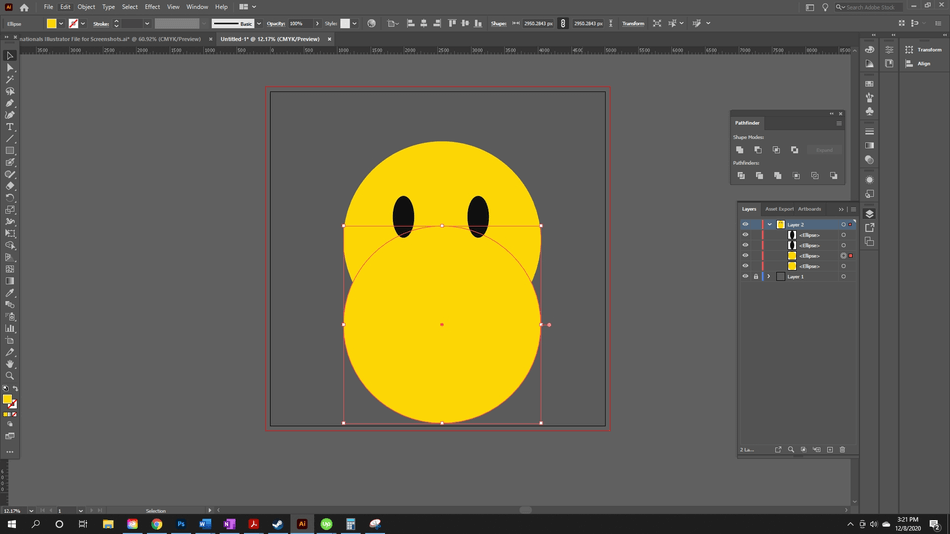
- Using the main circle of the face, I want to create a mouth. Holding down alt, I click and drag the main yellow face, copying it.
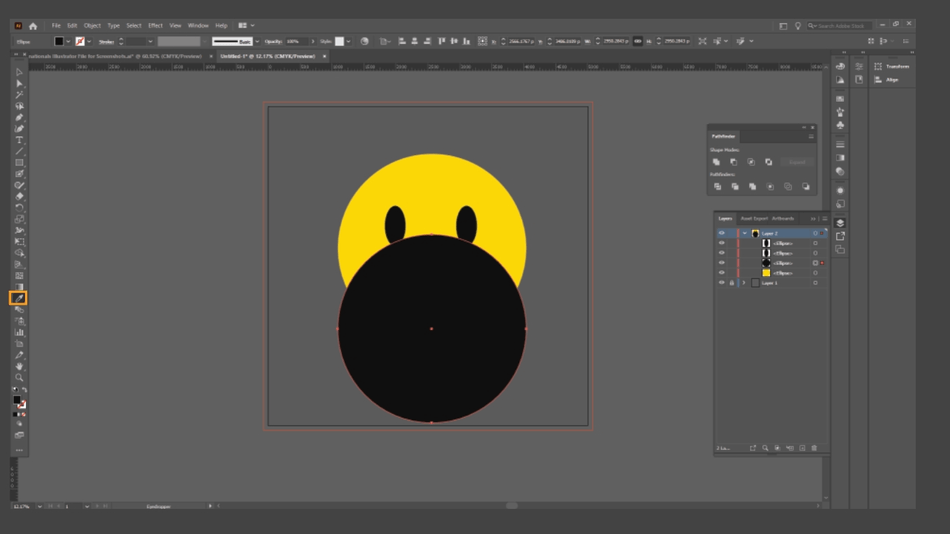
- Next, using the eyedropper tool, I change the color to black. I switch to the eyedropper, clicking one of the eyes to transfer the color to the selected object.
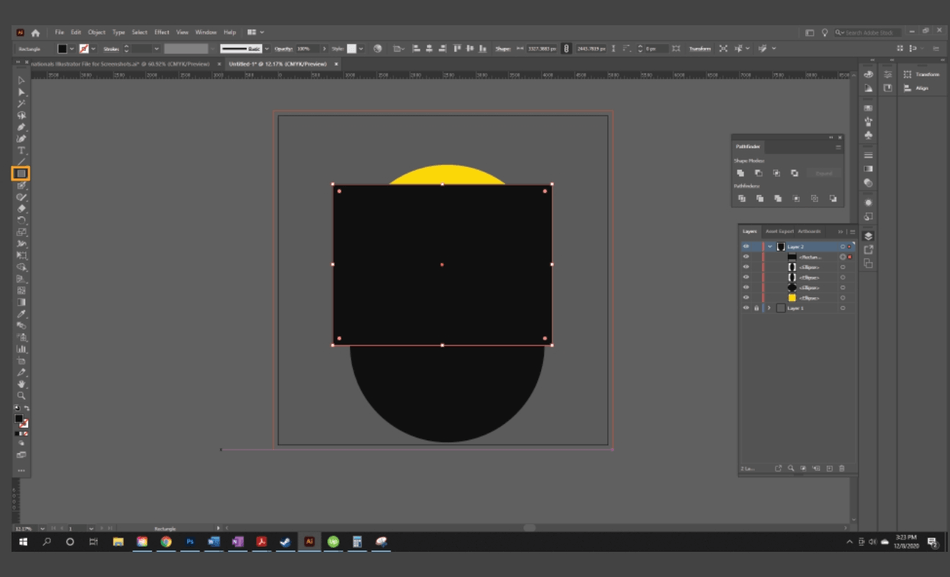
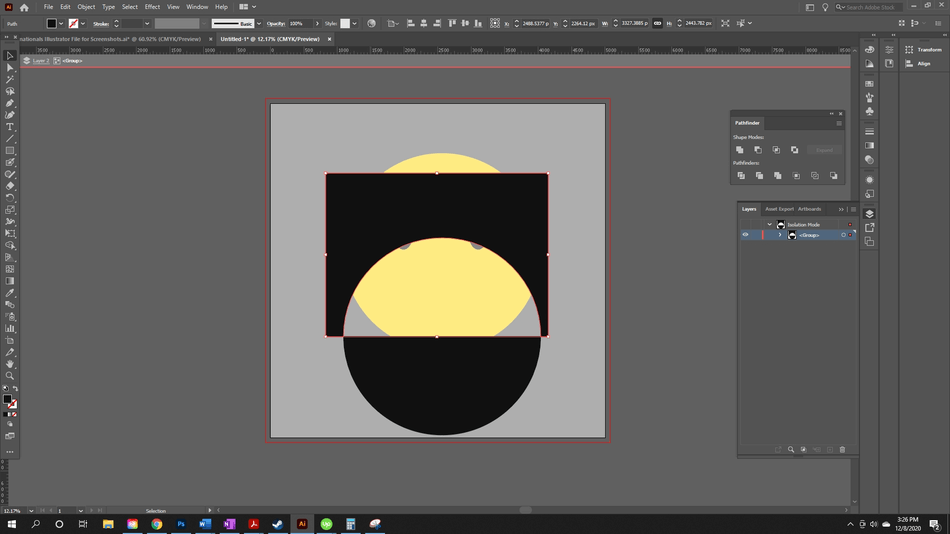
- Next, I select the Rectangle Tool (Command key M), aligning the edge of the bottom to line up with the middle diameter of the circle.
- Using the Selection Tool (Command Key V), I select both the circle shape and the rectangle shape.
- Next, I go to the Pathfinder Panel, choosing the Exclude mode.
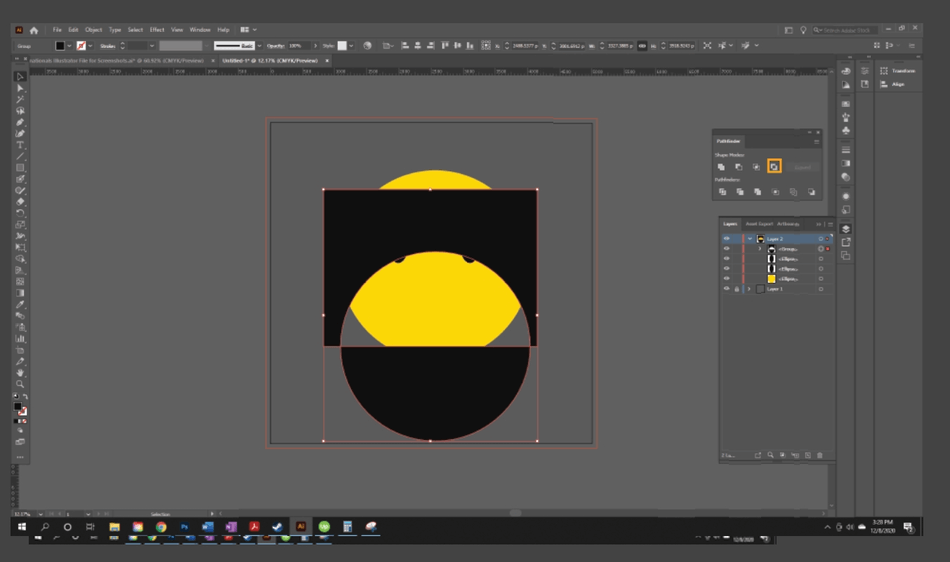
- I double click into my shape, triggering Isolation Mode, deleting the remains of the rectangle shape. I double click again to get out of Isolation Mode.
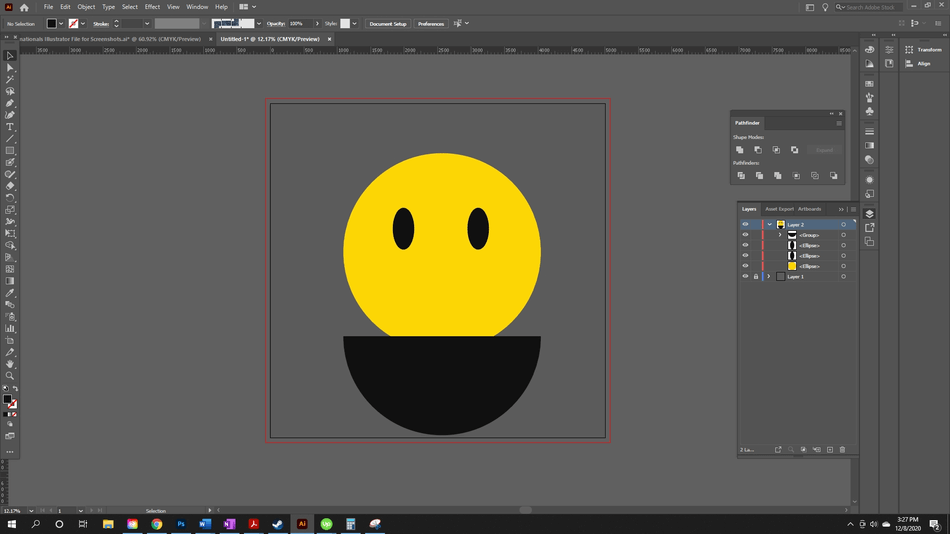
- I resize and position the mouth on the face.
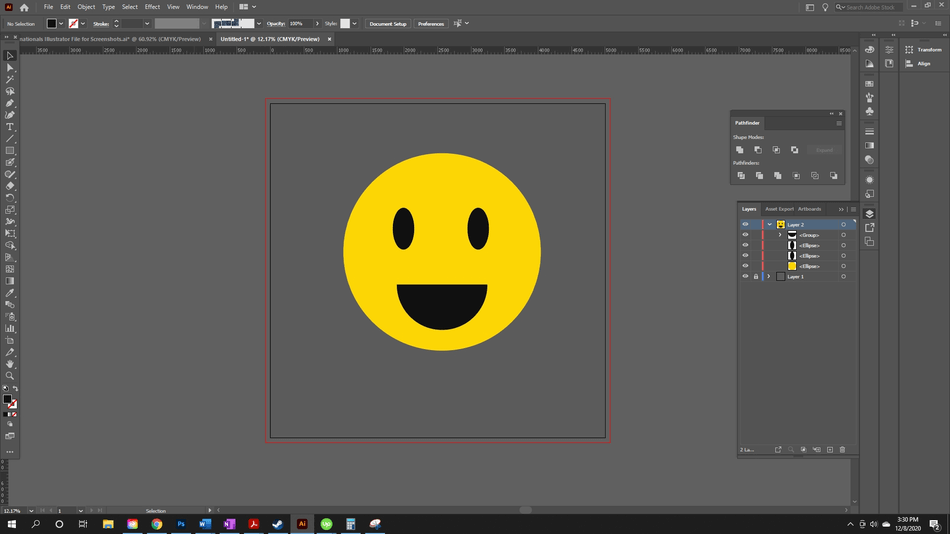
- I’ve decided that I want the eyes and the mouth cut out of the shape. Using the Selection tool (Command Key V), I select all shapes. I drag a marquee rectangle over everything to do this quickly. You can also use Control/Command + A (Windows/Mac) to do the same thing.
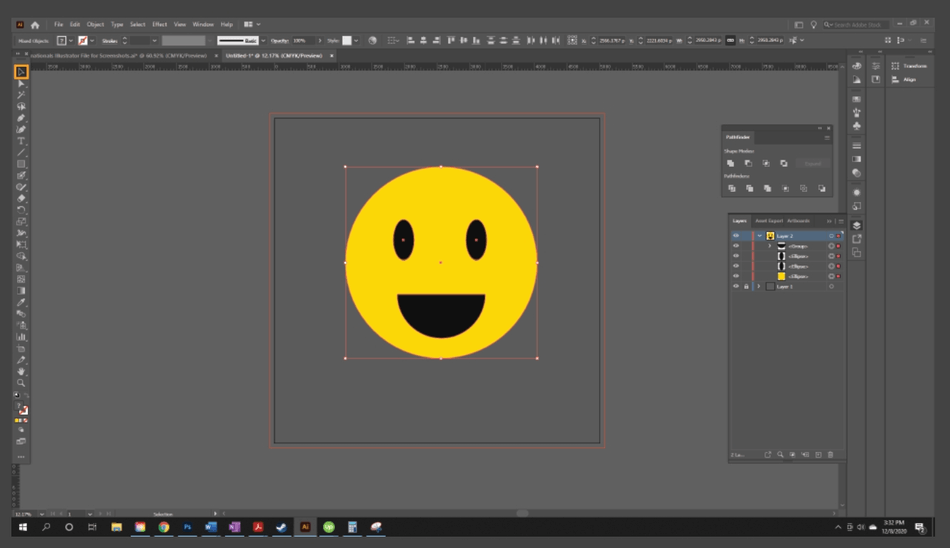
- Next, I switch to the Shape Builder tool using Shift + M. Holding down the Alt key, I click the areas of the shape that I want to erase, the eyes and mouth.
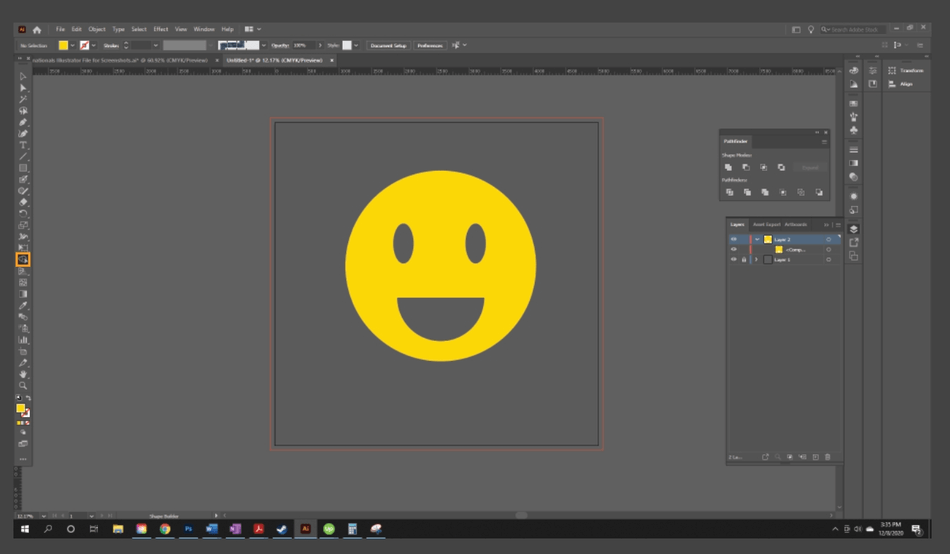
Now you know how to combine and negate shapes in Adobe Illustrator. You have multiple ways of merging, using the Shape Builder Tool, Pathfinder Panel, or the Blob brush. Use these techniques in your projects to create beautiful graphics and designs.

Anne is a filmmaker and writer with a passion to bring stories to life. She has created several short films, specializing in stop-motion animation. Anne has over eight years of filmmaking experience, and she is always ready to share her knowledge with other creators. She started her company Anne Gets Creative in 2020.
Anne is extremely familiar with many Adobe programs: Photoshop, Illustrator, InDesign, After Effects, Premiere, and Audition, to name a few. She has also worked with other programs such as Procreate, Canva, iMovie, and Final Cut Pro. She always strives to give the best software reviews, researching diligently so her readers don’t have to.
