(Last updated on November 2nd, 2022)
Wondering how to curve text in Illustrator? You have come to the right place!
In this lesson, I will teach you how to curve text in Illustrator. There are several ways to accomplish the same thing. I will show you how to use the Warp Tool, the Mesh Tool, and the Type on a Path Tool. Also, I will include helpful tips as well as a mini-tutorial using curved text.
Related: Adobe Illustrator Cost: How Much is Illustrator? (up to 60% off)
Curve Text in Illustrator
To curve text in illustrator, follow these simple steps:
- Select your text.
- Go to Effects > Warp to choose a syle.
- Click OK and you are done.
Read on for more details.
Curve Text in Illustrator using Warp
- Switch to the Selection Tool, the top icon on the toolbar, or use the key command V. Select your text.
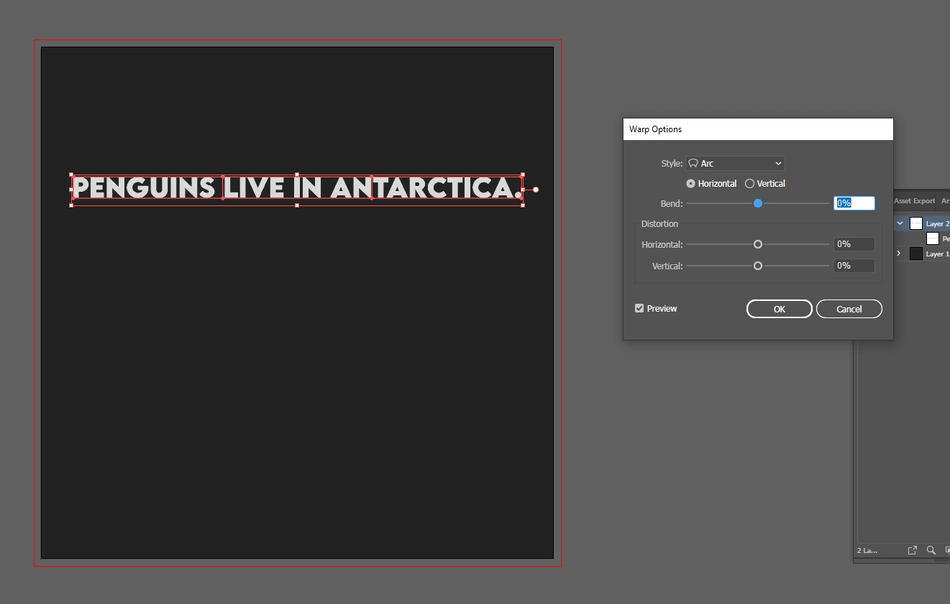
- Next, select the Make Envelope icon on the top toolbar. You can also go to Effects > Warp > {Choose your Warp Style}. Either direction will pull up the Warp Options panel.

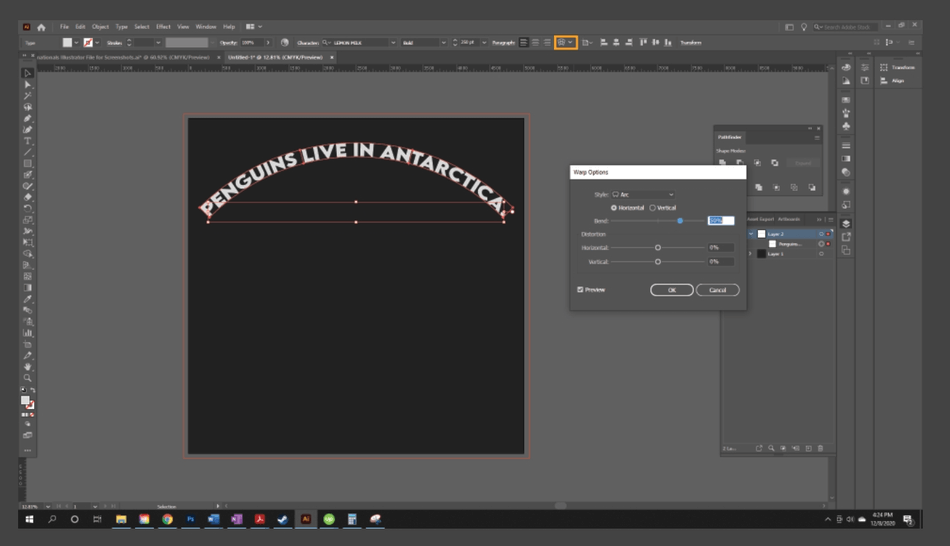
Here in Warp Options, you can make different adjustments. I will go into detail on this panel later in the tutorial. For now, I will select OK.
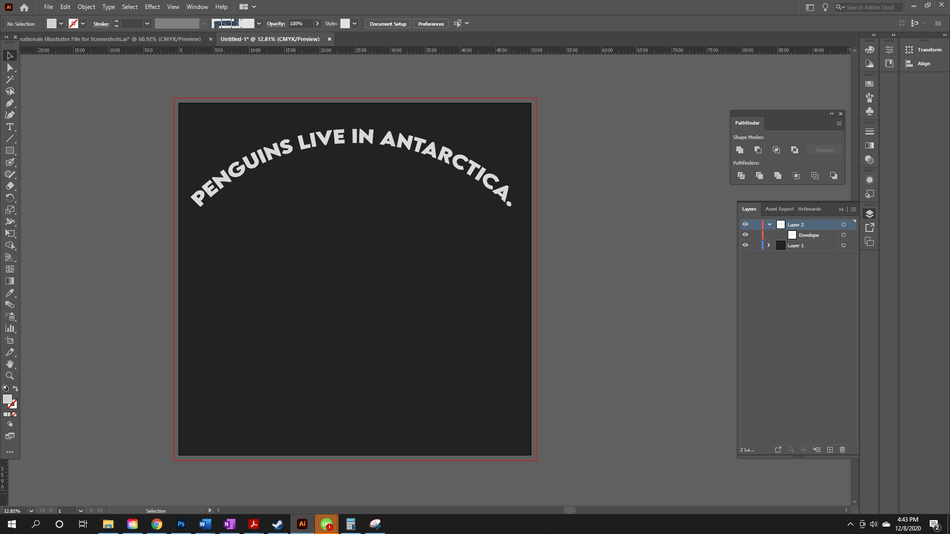
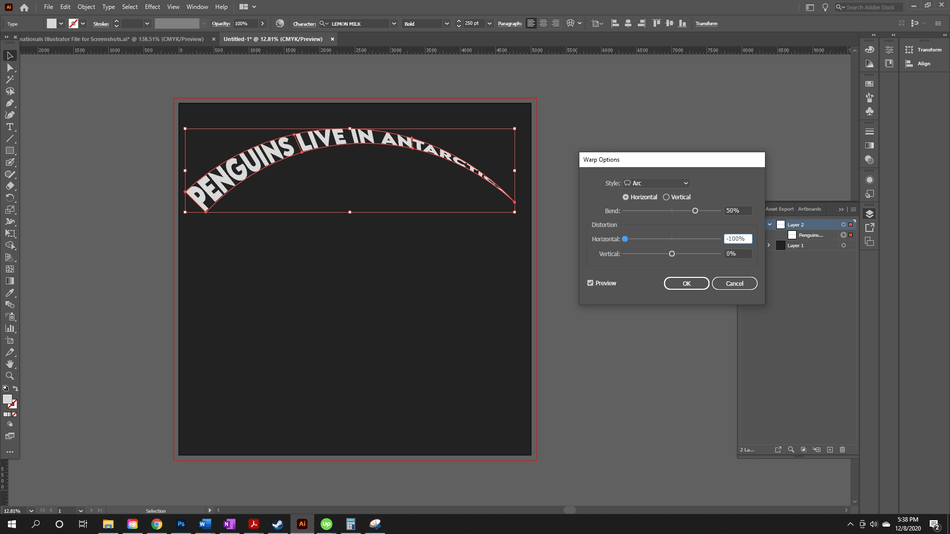
- You are finished. You now have perfect curved text in your project.
Wrap Options in Detail
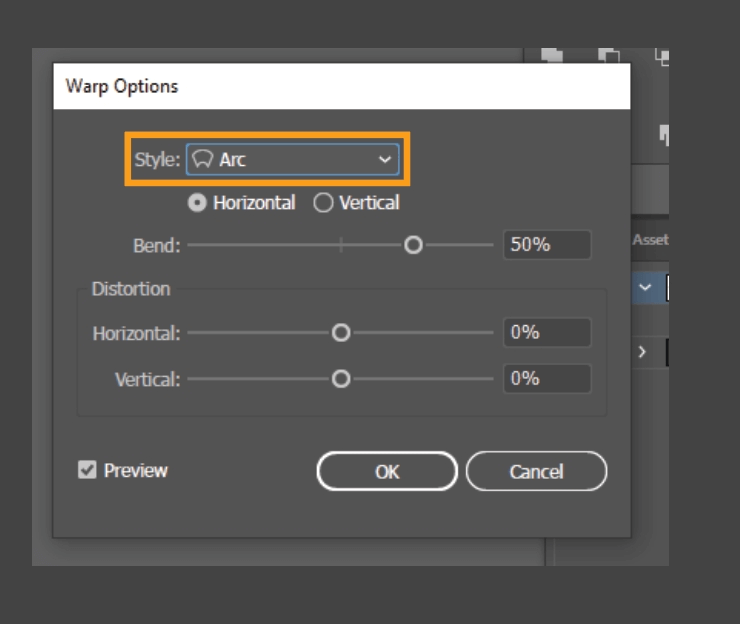
Now, let’s go over the Warp Options panel in detail.
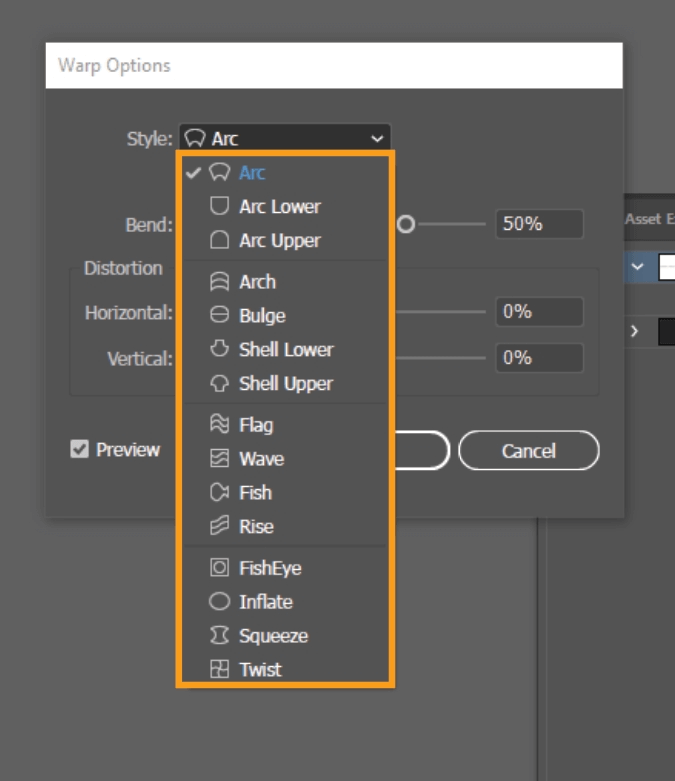
- Style: Here, you can select the warp style. You have many options to choose from. Arch Lower, Arch Upper, Arch Bulge, and more.
- You can change the bend to move horizontally or vertically.
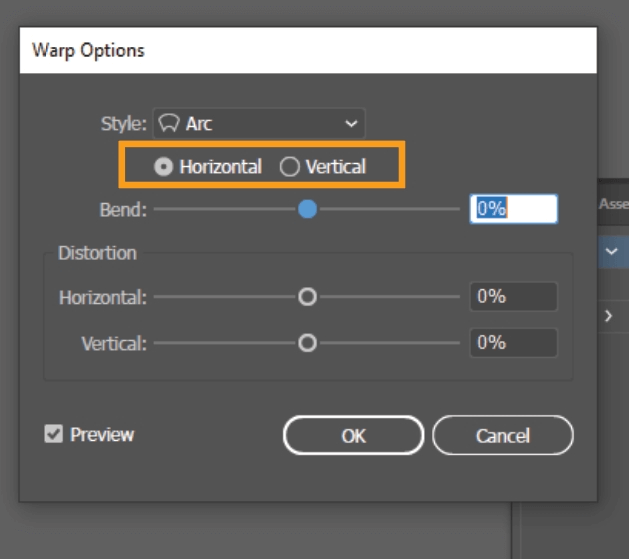
- From here, you can change the bend of the text. 0% will render the text straight, a positive value will bend it up, and a negative one will bend it down.
- Distortion will widen the text and narrow it on the other side. A negative value for horizontal will widen the text on the left, narrowing it on the right-side. A positive value will do the opposite. A negative value for the vertical value will widen the top, narrow the bottom, and vice versa.
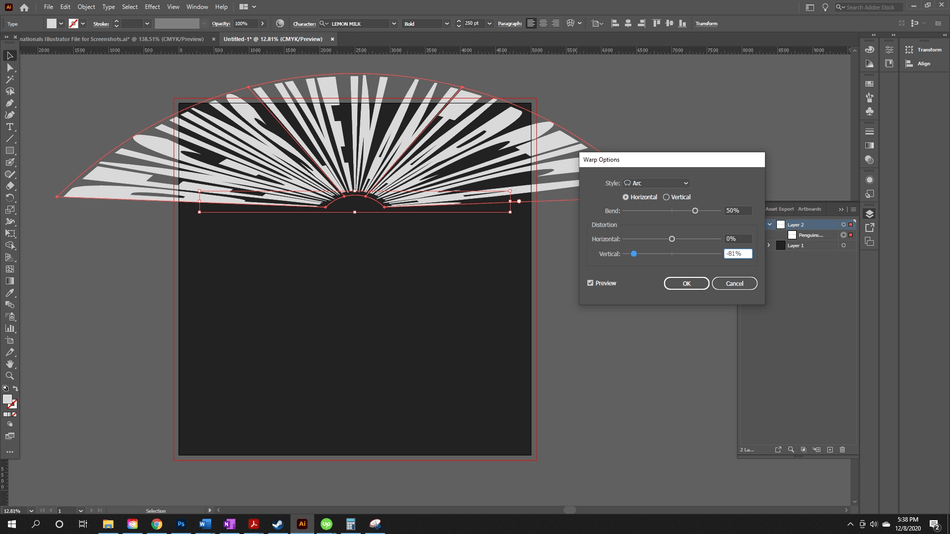
- You can also check/uncheck Preview. I recommend leaving it checked so you can see your adjustments.
Curve Text in Illustrator using Mesh
Mesh envelopes are objects that reshape and distort an object. Using a grid with points, you can push and pull points on the grid to create your warped shape.
- Switch to the Selection Tool. (Use the command key V)

- Select your text.
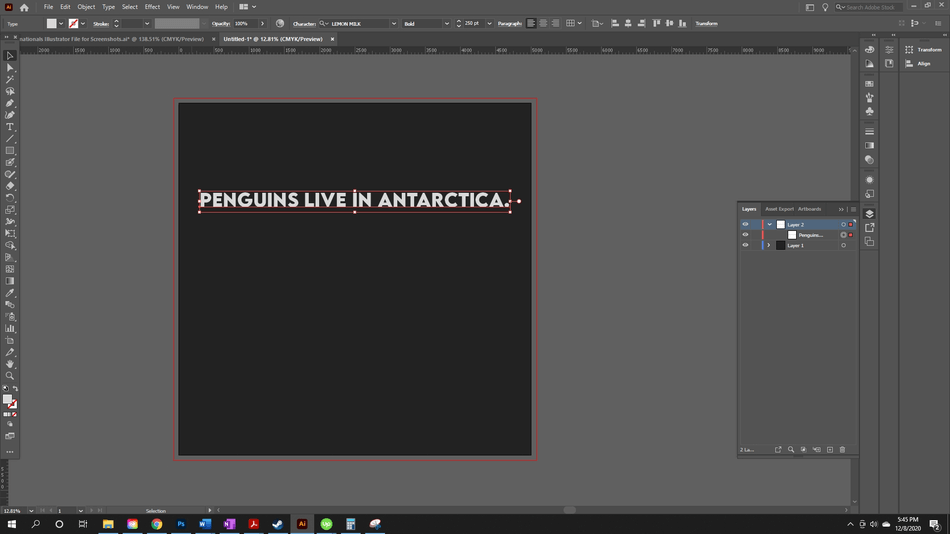
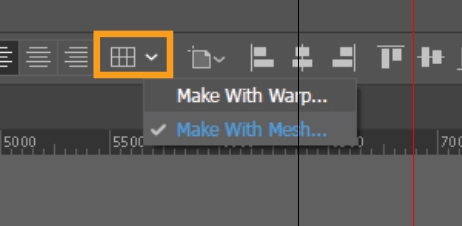
- Select the Mesh Tool in the top toolbar. (It’s the same area where the Warp Tool is. The Mesh Tool will be in the dropdown.
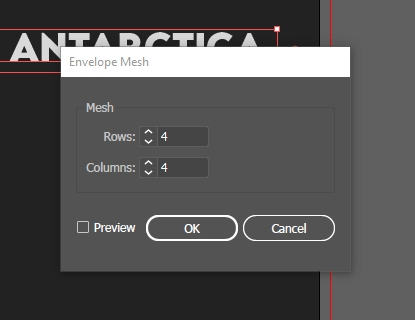
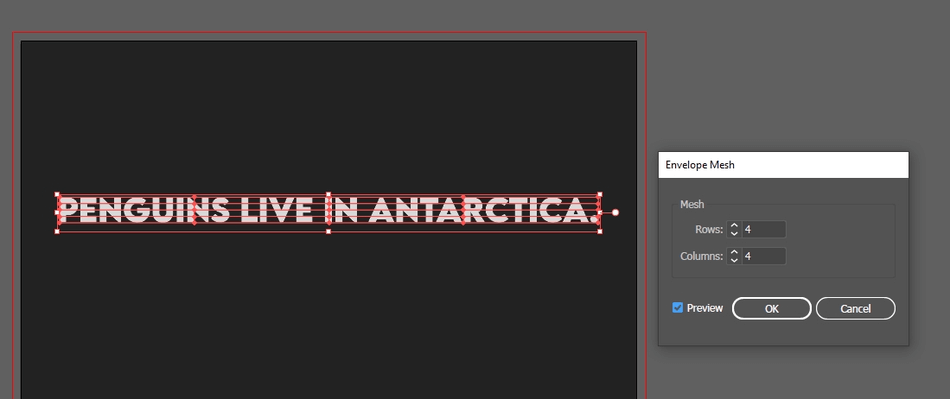
- Once selected, the Envelope Mesh panel will pop up. Here, you can select the number of rows and columns, previewing the mesh before you apply if you check Preview.
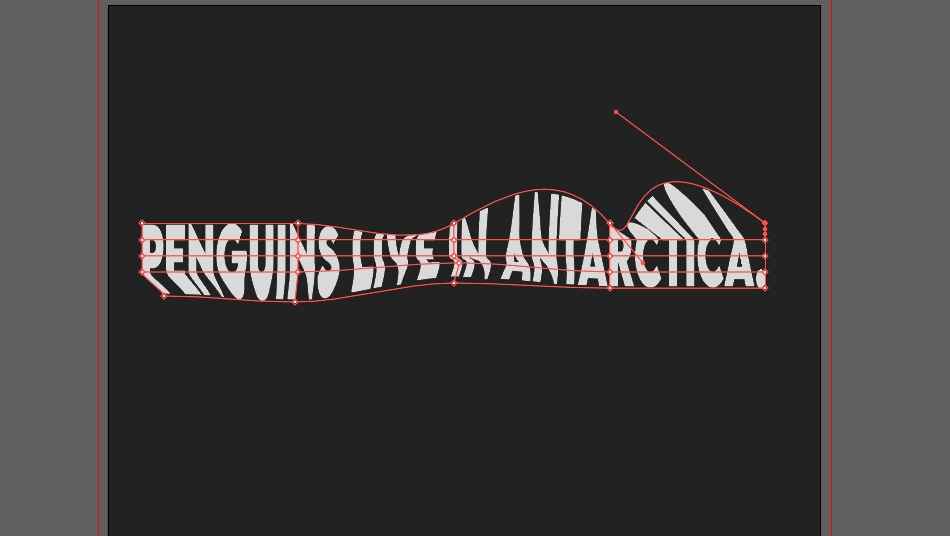
- Once you hit OK, you are left with this mesh holding your text. Switch to the Direct Selection Tool. You can use the command key A.

- From here, you can drag the adjustment points, curving, and shaping your text. You can click on points, dragging on bevel curves to create new shapes, drag edges, or drag points to alter your text. Meshes give you the most control over how your text curves.
Creating Curved Text using the Type on a Path Tool
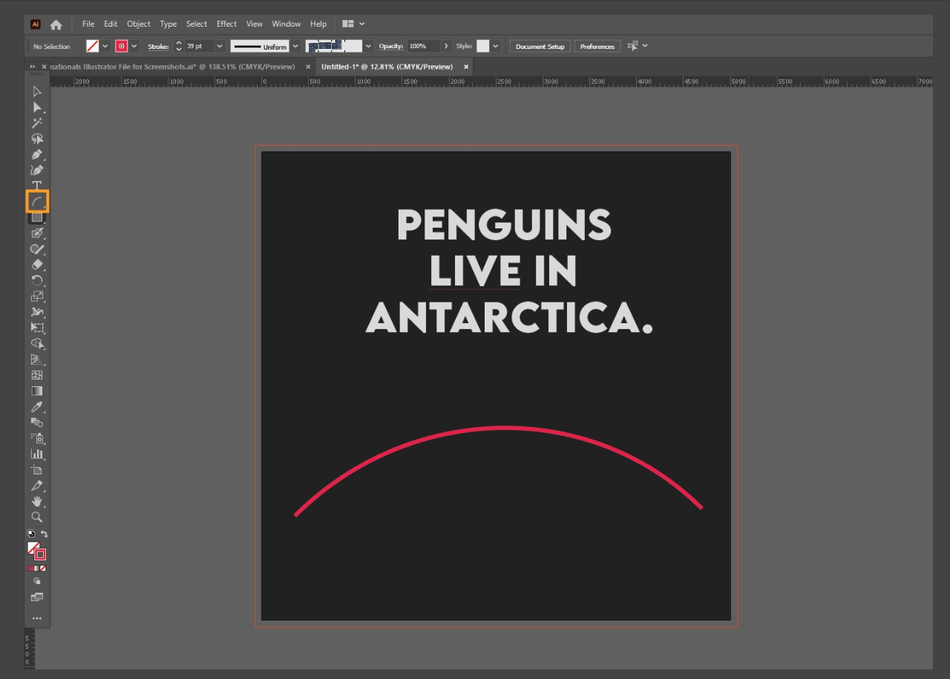
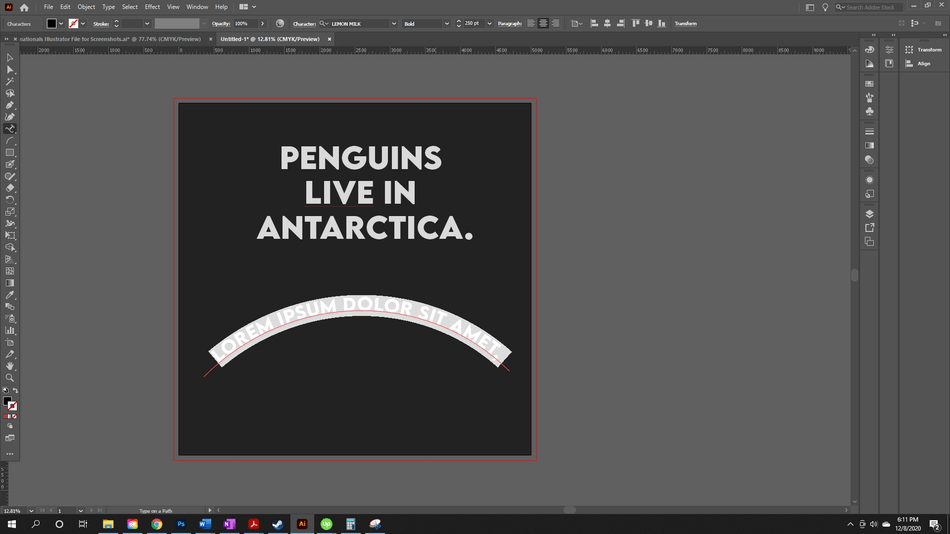
- Create your curved line. You can do this using the Arc Tool, the Pen Tool, the Curvature Tool, the Ellipse Tool, etc. I used the Arc Tool.
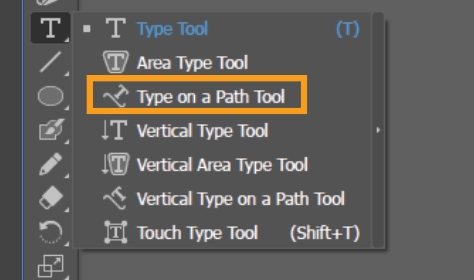
- Switch to the Type on a Path Tool. Hold down the Type Tool and switch to the Type on a Path Tool.
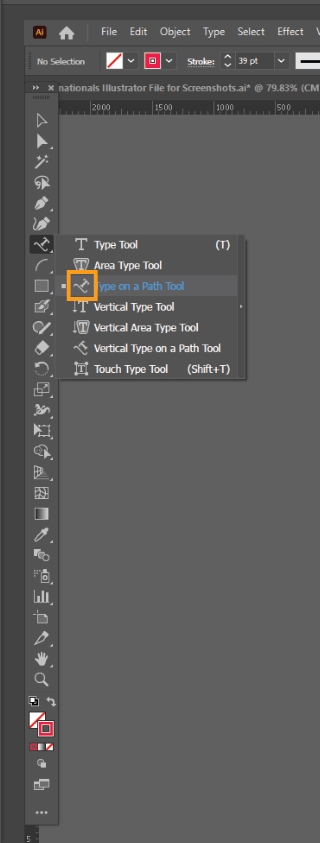
- Now, with the tool selected, click on the curved path. You will now be able to type on this path in a curved line.
Additional Tips
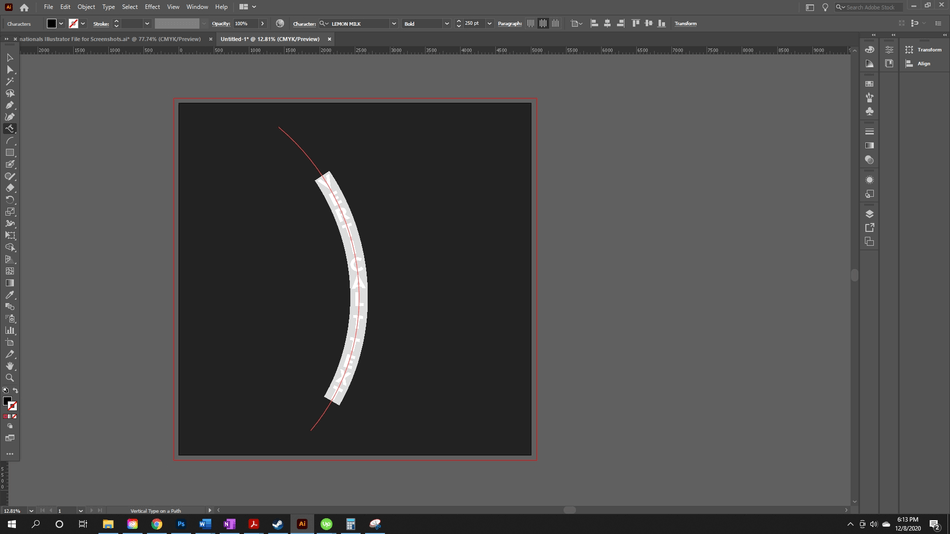
- If you want to make curved text vertical, choose Vertical Type on a Path Tool.
- You can adjust where the text starts and ends on a path by dragging the white diamonds on either end.
- If you adjust the path, the text will follow the adjustment. The text will follow a position change, rotation, etc.
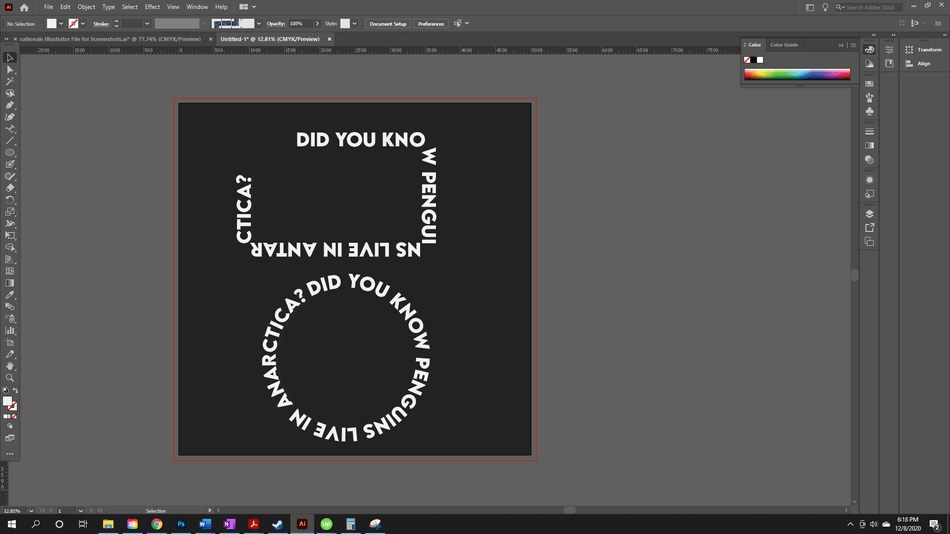
- If you hold alt before typing on a shape or path, you type inside the path. Typing inside a path is helpful if you want to create text shaped inside of circles or rectangles.
- If you want the text to be written on the other side of the path, drag the vertical lines to the other side of the path to switch it. Or, you can go to Type > Type on a Path > Type on a Path Options > Flip, hit OK, and your text will flip.
- You can also type on a path using shapes. Here, I typed on a rectangle and circle.
Curving Text in Practice
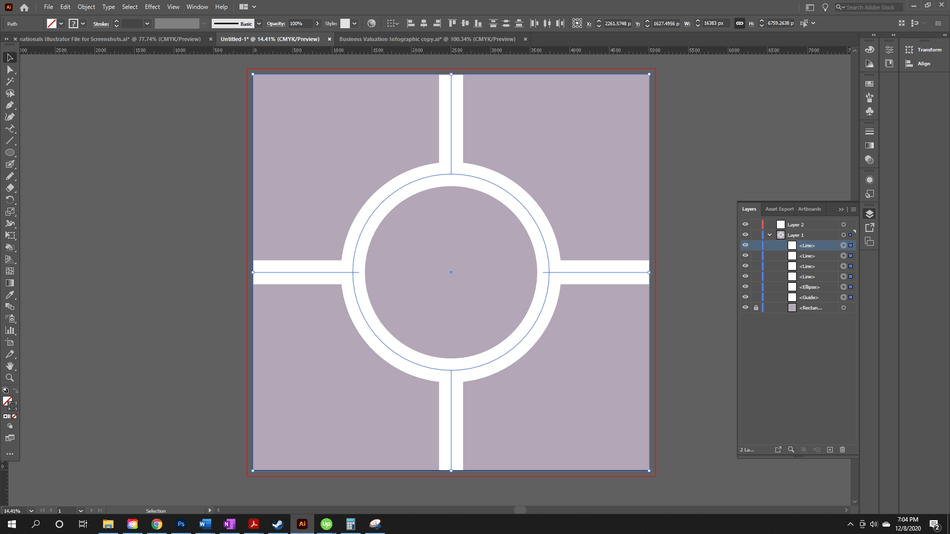
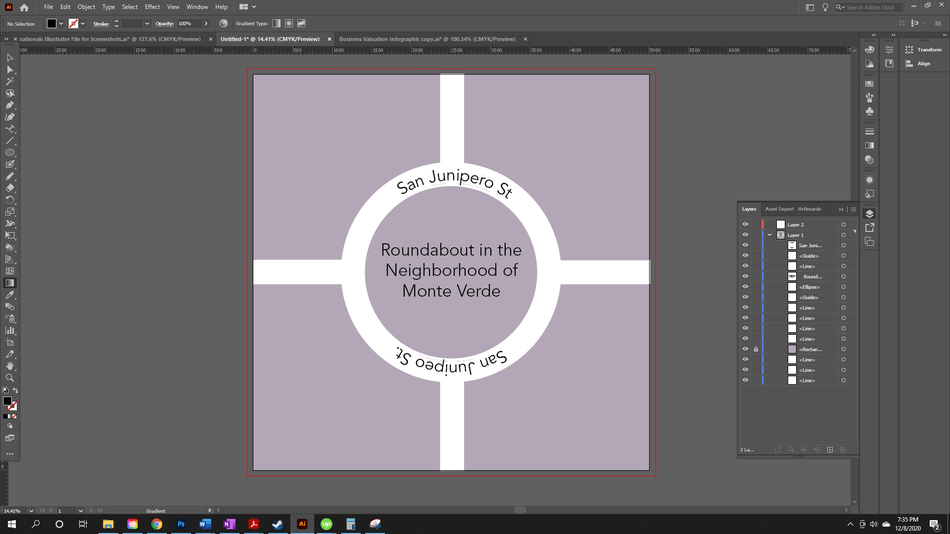
I’m going to walk you through a project where I need to add curved text. I’m working on a map with a roundabout. I need to add the name of the streets and add a title to the project.
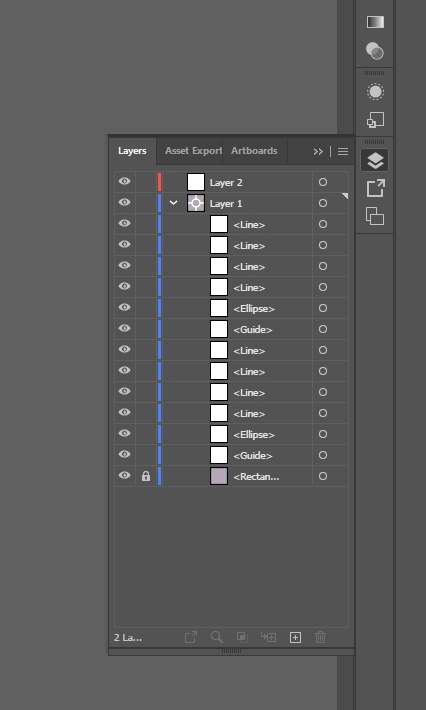
- Here, we have a central roundabout with four streets branching off. I need to name the circular street first. If I type directly on the path, the stroke of the street will be replaced with text. I want to write over the street. So, I’m going to copy the street layers first.
In my layer panel, I will select the street layers(My Selection Tool selected), holding shift to select all the street layers. The circle will be highlighted next to the layer when it is selected. Then, I will hit copy, paste, Control/Command + C, then Control/Command + V (Windows/Mac).
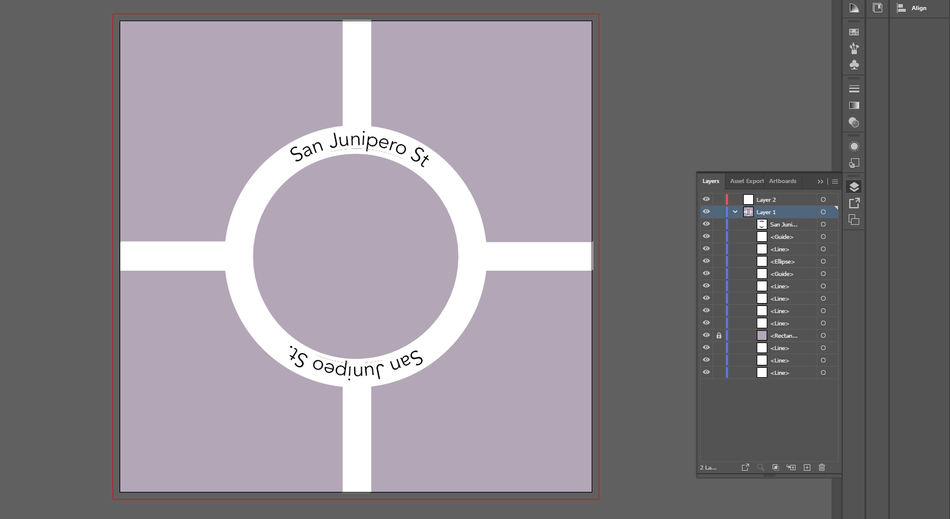
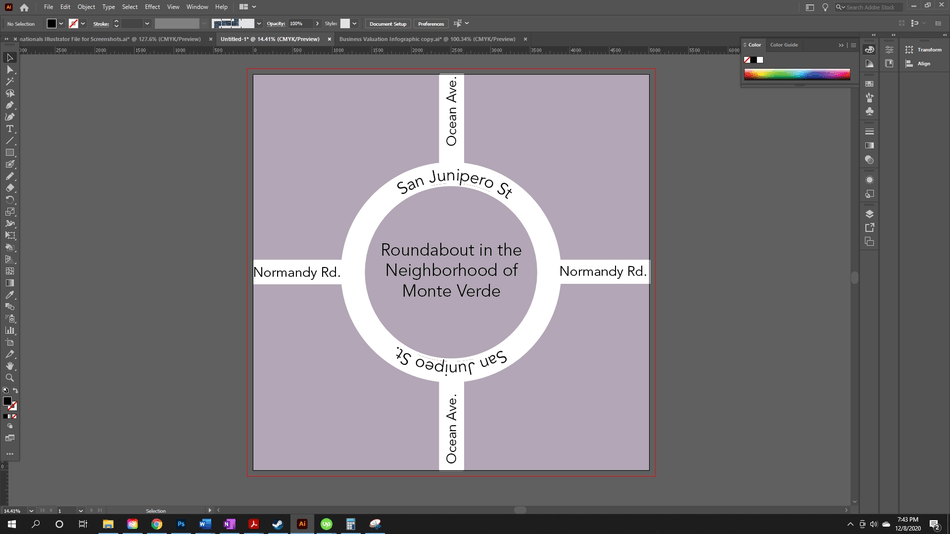
- Next, I’m going to start typing on the ellipse in the middle of the map. I’m going to select the Type on a Path Tool under the Text tool options.
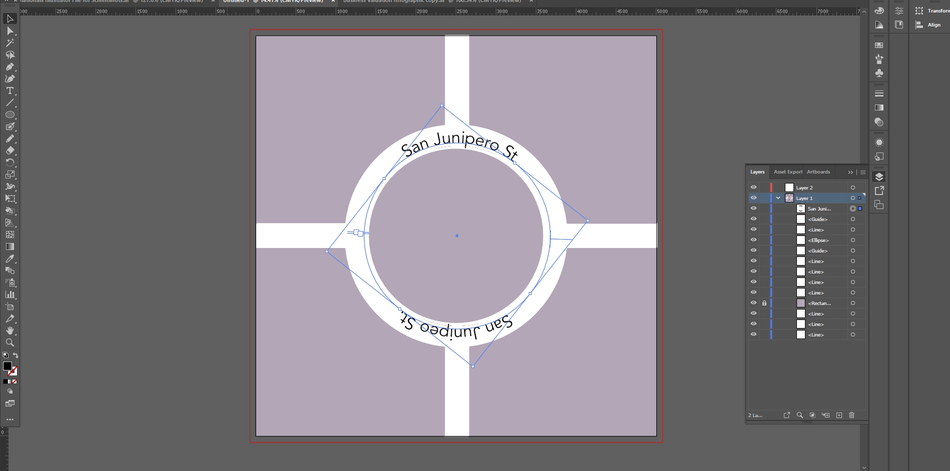
- Then, I will type on the ellipse, changing font, and font size. I will also resize the path, switching to the Selection Tool, grabbing it, and resizing.
- I want to type inside the circle to create a title for my place. I copy the ellipse layer. Then, I will switch to the Type on a Path Tool again, holding down alt to type inside the circle. Once I click on the circle, I can type inside the shape.
- Still using the Type on a Path Tool, I will click into my other paths, naming the streets.
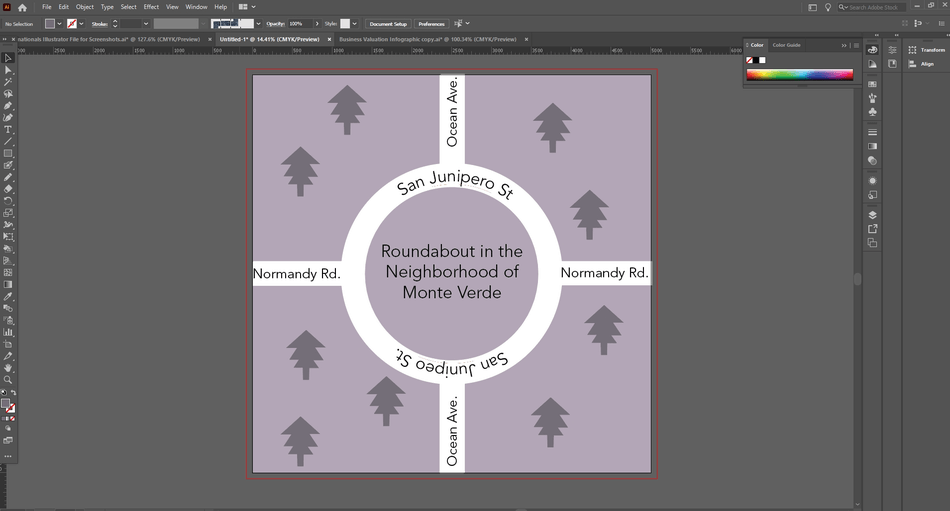
- Next, I’m going to decorate the canvas. Using the pen tool, I made a tree design, changing the color and size to fit the canvas. I then copied the trees all over the canvas.
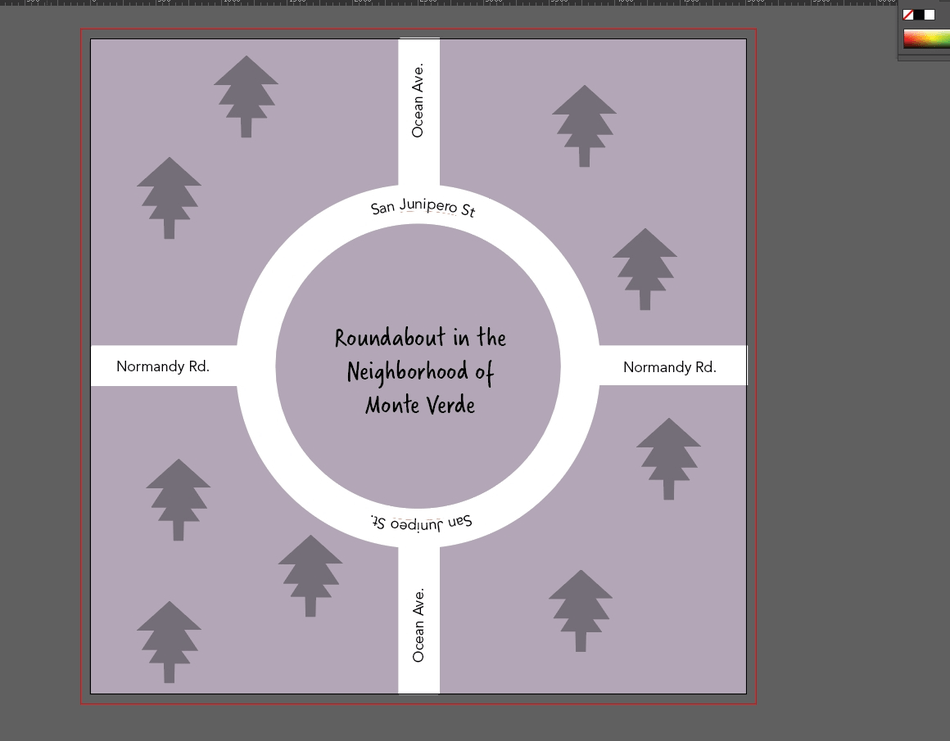
- Lastly, I went back in, readjusting font sizes and font families. The best thing about Adobe Illustrator is that everything is a vector, meaning objects can be resized without losing quality. If you normally work in Photoshop, you will notice objects losing quality as they become resized. Objects will become pixelated because Photoshop is raster-based.
Now, we are done!
Bonus Tip: Font Families
If you need fonts for your curved text, Adobe Fonts is an incredible resource that everyone should take advantage of. If you need a new font, go to www.fonts.adobe.com. Here, you can browse thousands of fonts for your projects. Activating a font is as easy as toggling it on.
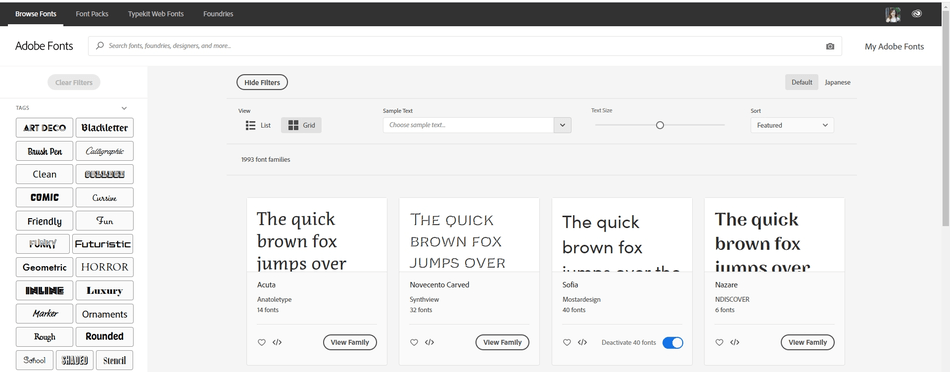
You can even put in Sample Text to see what your words will look like in the font. The Sample Text feature is helpful when doing Typography heavy projects like posters or newsletters.
Now you know how to write text on curves. You have several methods in your toolbox, ready to create beautiful typography for your projects.
Anne is a filmmaker and writer with a passion to bring stories to life. She has created several short films, specializing in stop-motion animation. Anne has over eight years of filmmaking experience, and she is always ready to share her knowledge with other creators. She started her company Anne Gets Creative in 2020.
Anne is extremely familiar with many Adobe programs: Photoshop, Illustrator, InDesign, After Effects, Premiere, and Audition, to name a few. She has also worked with other programs such as Procreate, Canva, iMovie, and Final Cut Pro. She always strives to give the best software reviews, researching diligently so her readers don’t have to.