(Last updated on November 2nd, 2022)
How do you cut a clip in Adobe Premiere Pro? In this tutorial, I will be going over this technique and additional editing maneuvers to make your project run smoothly.
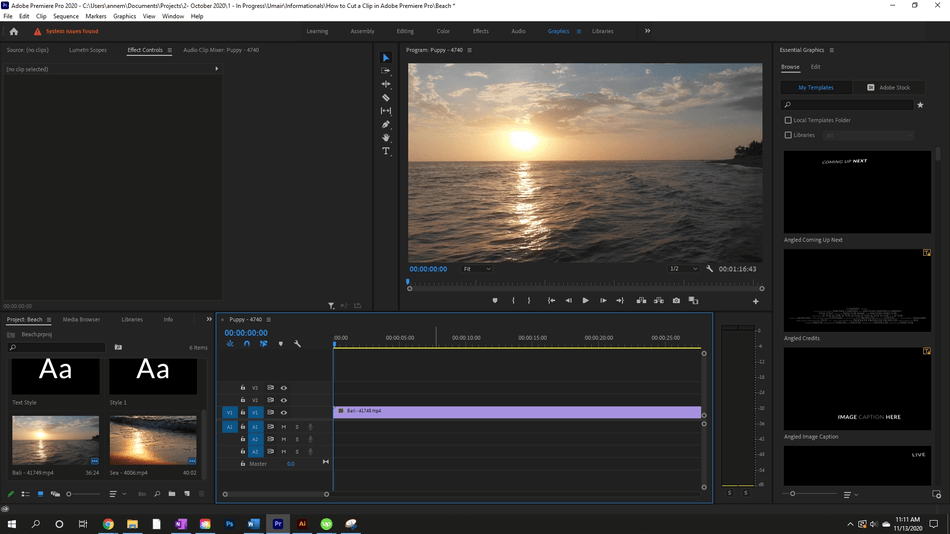
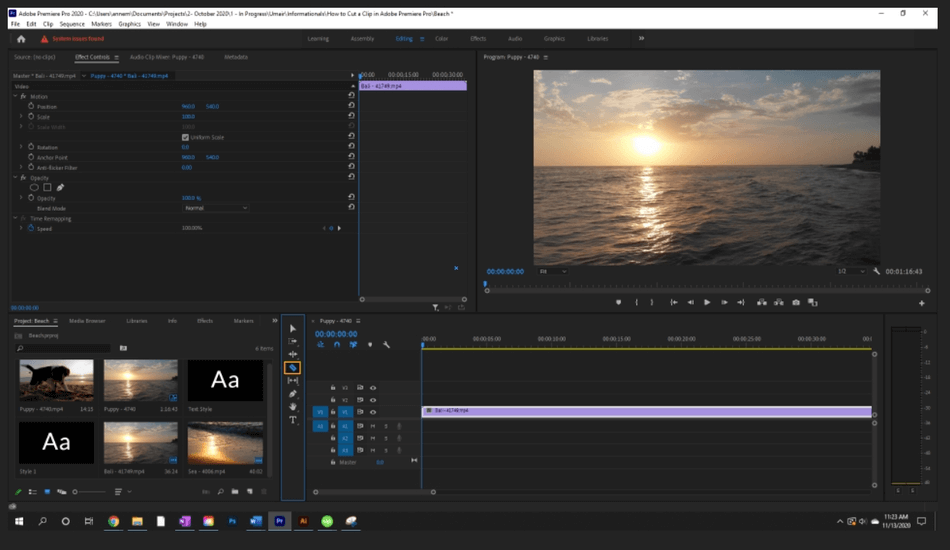
To follow along with me exactly, set up your Workspace for Editing mode. To do this, go to Window > Workspaces > and select Editing.
Related: Adobe Premiere Pro vs Premiere Elements (2023 Comparison)
Cutting a Clip in Premiere Pro
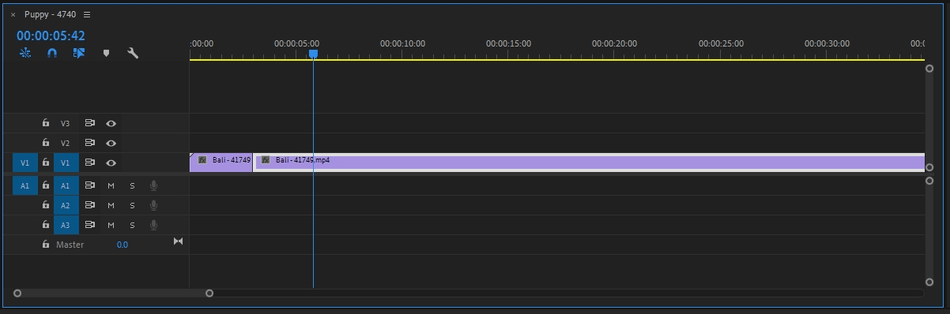
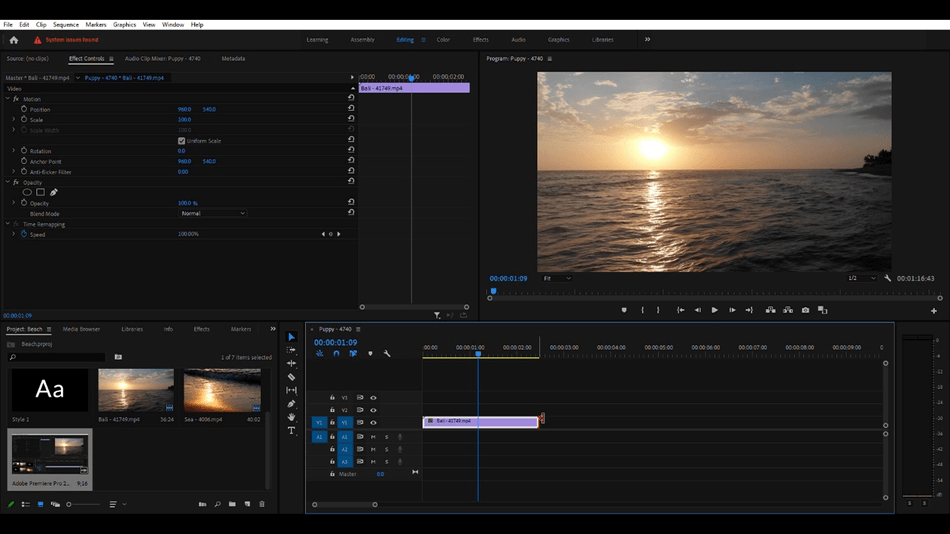
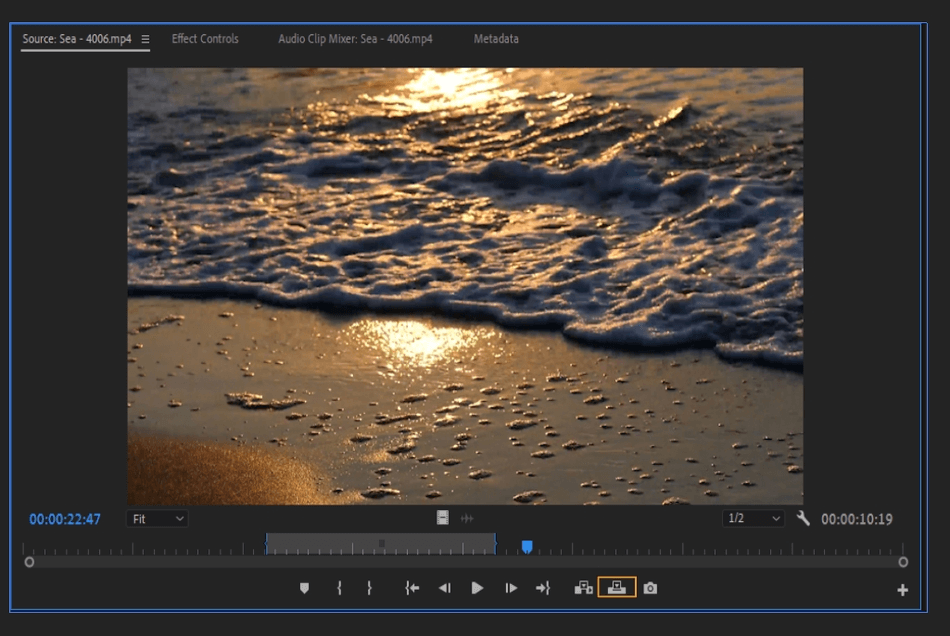
For this tutorial, I am making a promotional video to showcase the beautiful island of Bali. Here, I have a great sunset shot with the light bouncing off the waves. However, the clip is way too long. To cut the clip:
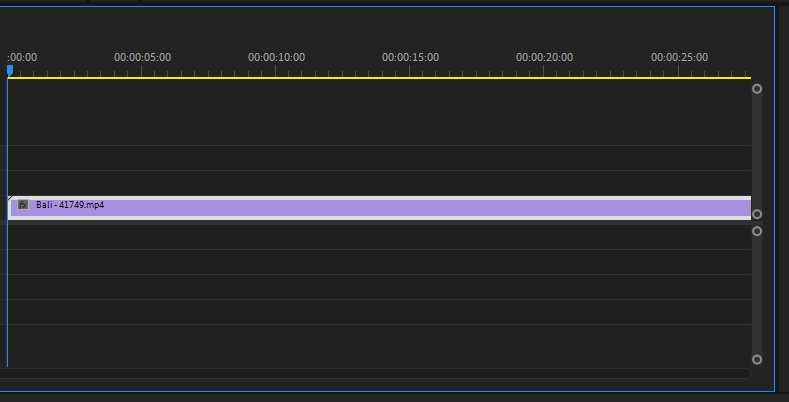
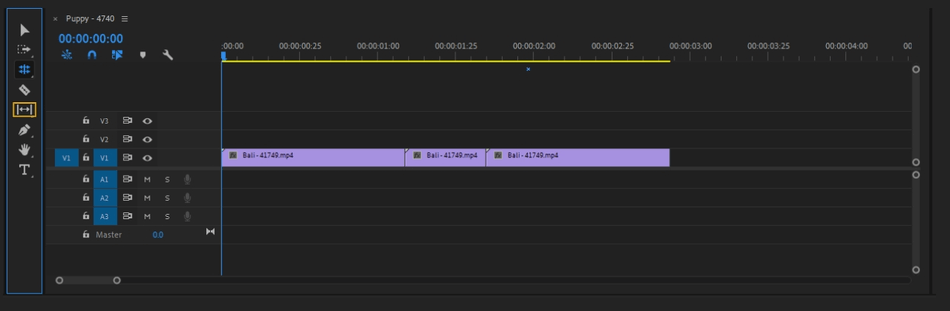
- Select the clip from your timeline. When selected, the clip will have a white border around it to signify its selection.
- Select the Razor tool or press “C” on your keyboard.
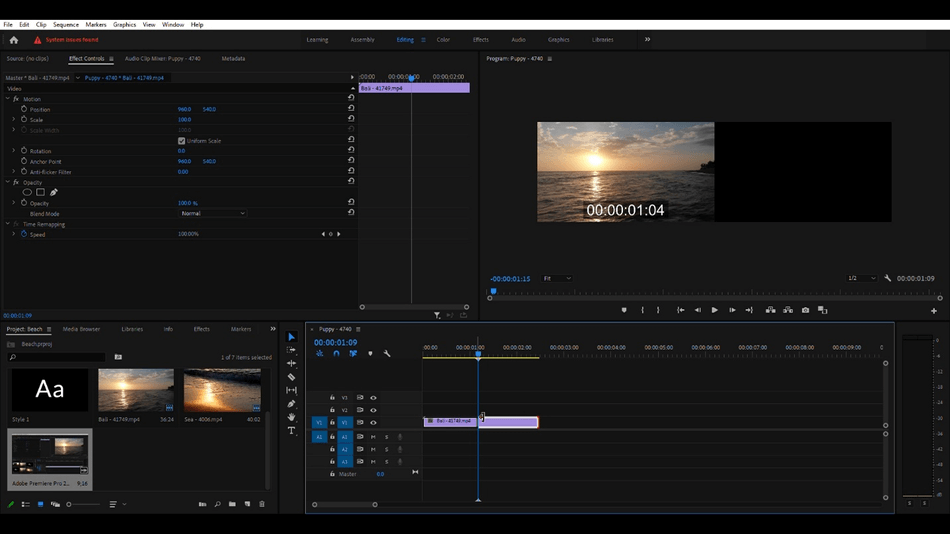
- To cut the clip, you can hover the razor and split the clip anywhere, making multiple cuts, wherever you want. If you want a more accurate cut, move the playhead to where you want the end of the clip, then hover the razor over to make your cut.
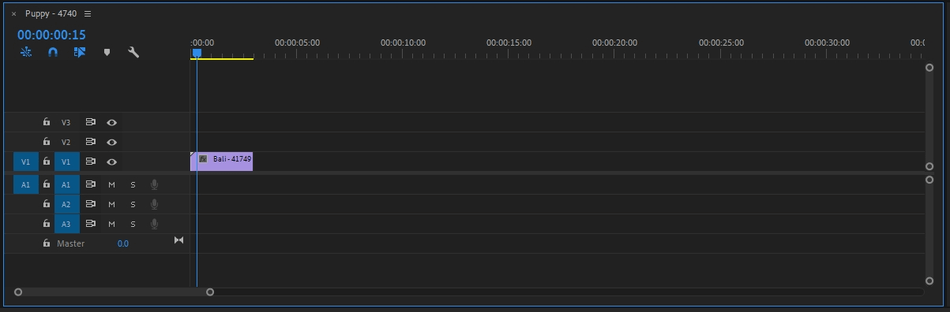
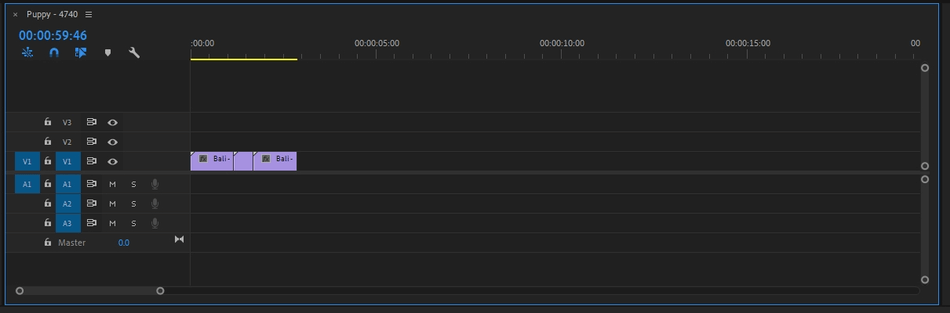
I want this next clip to end right at 00:00:03:00. I typed this number into the Playhead Position, then hover the razor until the playhead is highlighted, clicking to make my cut.

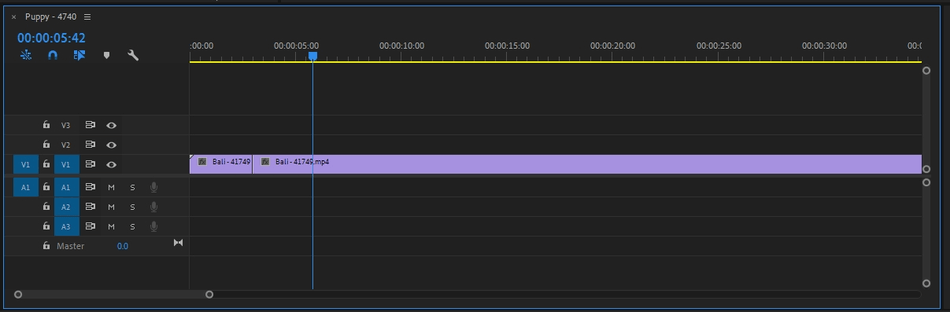
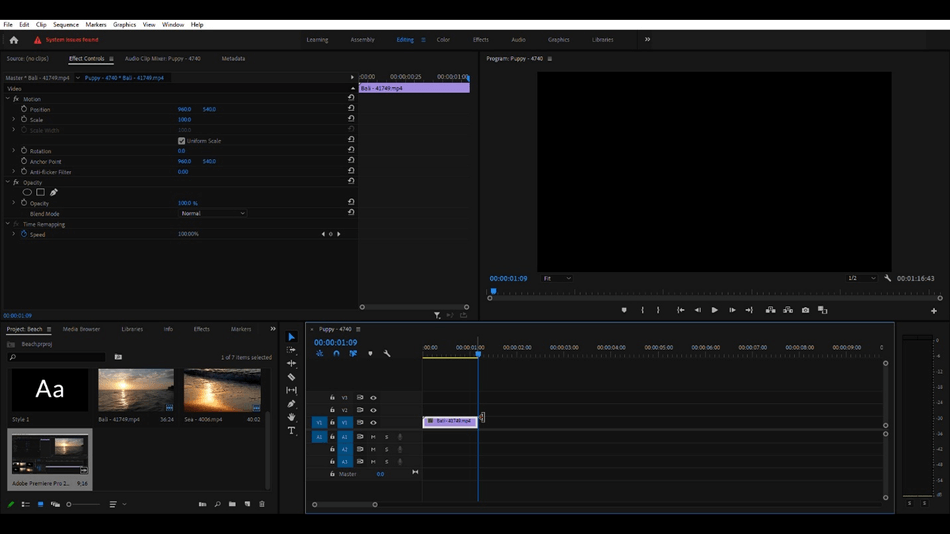
- Now the clip is split. From here, you can delete the other section by selecting the clip and deleting it by pressing delete (Windows) or Forward Delete (Mac).
Now, you are done and you have a clean, cropped clip.
Alternate Versions
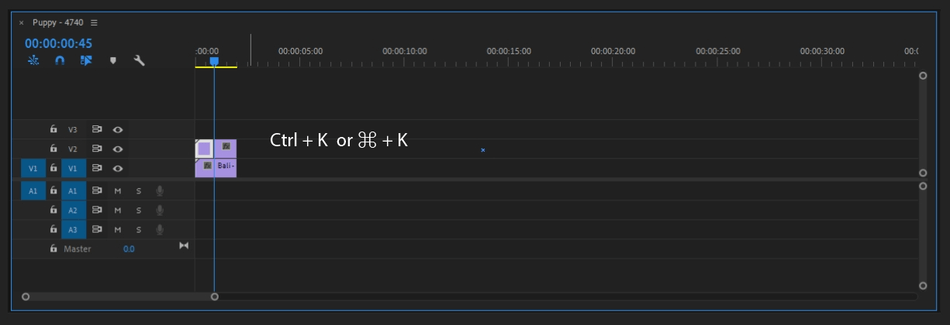
Ctrl + K Shortcut
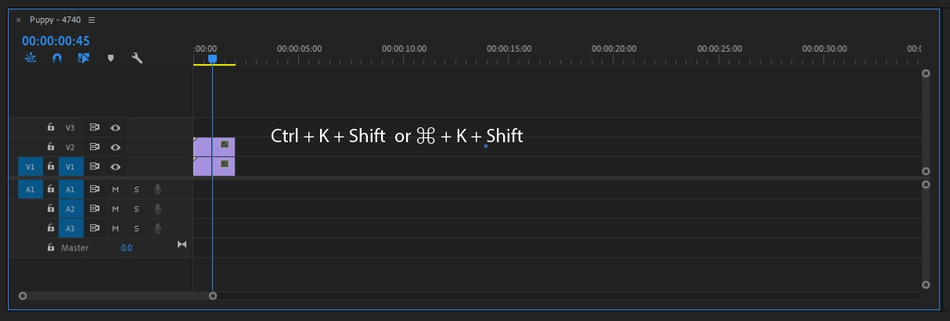
Another way of cutting the clip is by using Ctrl + K (Windows) or ⌘ + K (Apple) shortcut. When holding this command, you will automatically cut the selected clip at the playhead. If you add shift plus this command, you will cut all of the clips in the sequence.
Dragging the Ends
You can also trim a clip by dragging the ends in.
- Hover your mouse over the clip. As soon as a bracket arrow icon appears, drag the end of the clip to whatever length you like.
Viola! A finished, cropped clip.
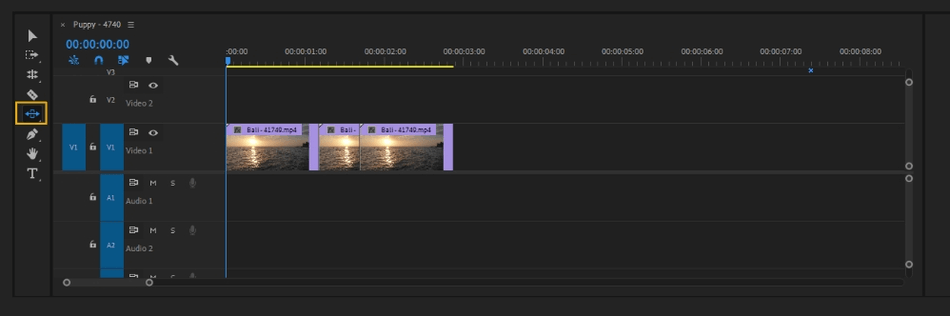
The Ripple Edit Tool
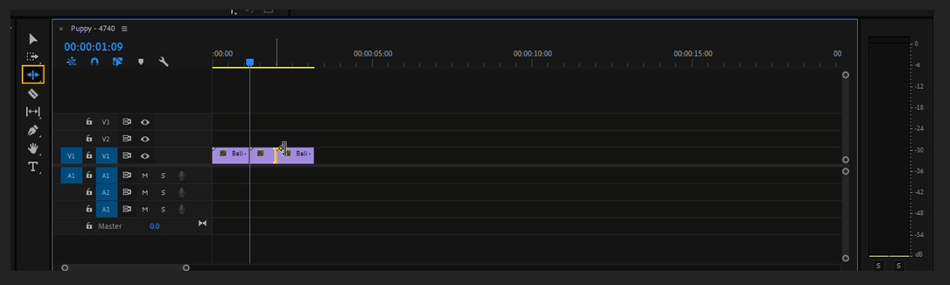
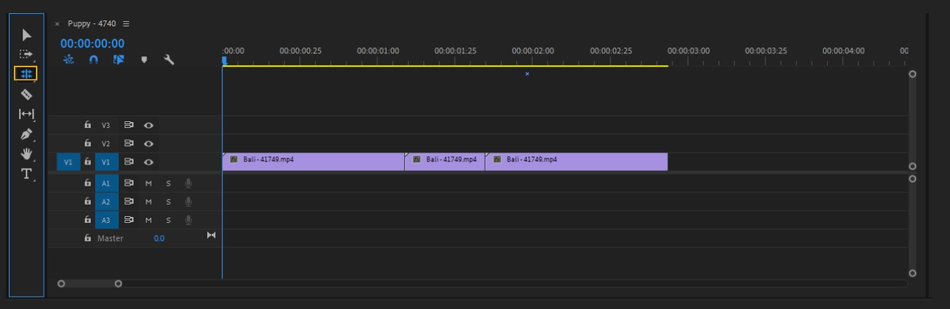
The Ripple Edit tool is another powerful tool for trimming a clip. When you use this tool, dragging the ends of a clip in, the following clip snaps to the end of the trimmed clip, leaving no gap between clips. The Ripple Edit tool is helpful for big projects with long timelines.
Here, I am trimming the clip using the Ripple Edit tool. Once I move the clip inward, the third clip snaps to, leaving no gap behind.
The Q and W Method
Press Q to trim the clip from the front and W for the back, dragging the playhead to the cutoff points. Q does a Ripple Trim for the current clip behind the playhead while W does a Ripple Trim for the current clip after the playhead.
Rolling Edit Tool
This tool will trim the end and beginning of a clip while keeping the total duration of the two clips unchanged. To use, click between the two clips you want to change and drag to adjust the video. To select the Rolling Edit tool, either press “N” or click the Rolling Edit icon indicated below.
Set In and Out Points in the Source Monitor
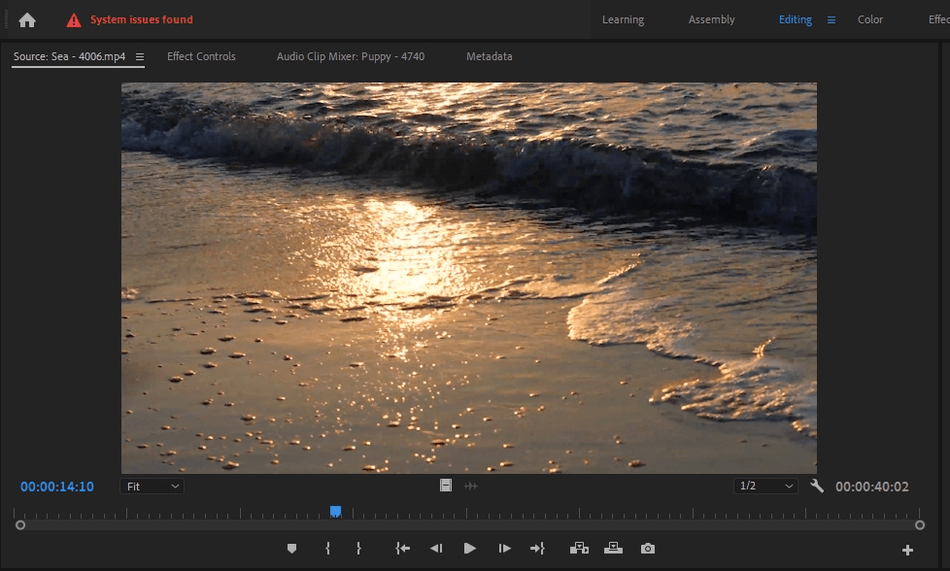
- Open the source footage. To do this, select the clip within the Project panel by double-clicking it. The selected clip will have a white box surrounding it.

- The clip will show up now in the Source Monitor. If this panel is showing, go to Window > Source Monitor > and select the clip you want to see.
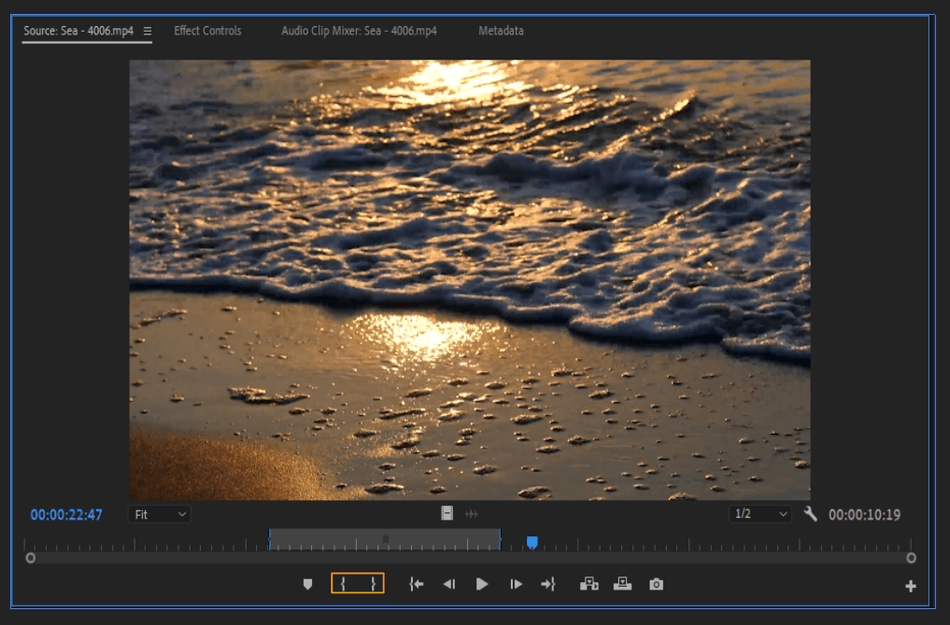
- Play the clip. As it rolls or with the video paused, select an In point, either clicking the left bracket or pressing the “I” key. Select an out point using the “O” key. You can always adjust these points by re-doing the In/Out points or dragging the bracket ends where you want the clip to begin and end.
- To insert the clip, you can either:
- Overwrite the existing timeline using the overwrite icon. Or use “.” Key to overwrite.
- Insert the clip into the existing timeline using the insert icon. Or use the “,” key to insert.
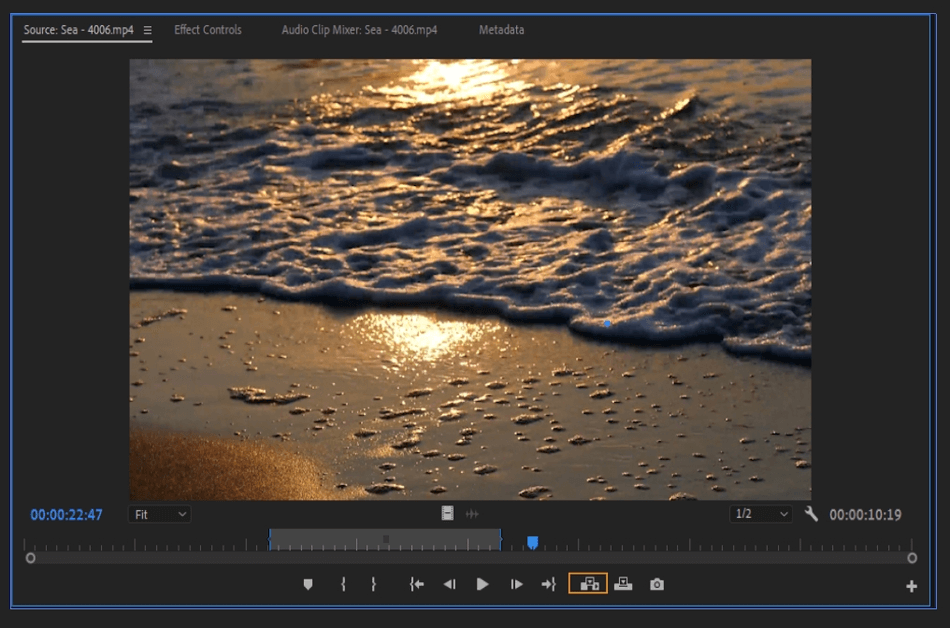
And with that, your cropped clip is in your timeline, finished and ready to go.
Using this method is best when you use the following keyboard shortcuts
- I – In Point
- O – Out Point
- , — Insert
- . – Overwrite
- Spacebar – Play/Pause
- M – adds a marker
- Shift + I – Go to In
- Shift + O – Go to Out
Using shortcuts can be difficult to learn at first, but it makes your editing process go so much faster. Professionals will even customize shortcuts to work better for them.
When you create long films with tons of footage like a documentary, learning a few shortcuts can make the process much more pleasant.
Make a Slip Edit
Drag with the slip tool to edit a singular clip without affecting the other clips around it. You keep the same duration while sliding the in and out points earlier or later from the source clip. To use the slip tool, press “Y” or press the icon indicated below.
Make a Slide Edit
A slide edit, not to be confused with the slip edit, will shift a clip while cropping and lengthening adjacent clips. In the process, the three clips’ total duration remains the same, and the middle clip remains unchanged. The outer clips are shortened and lengthened.
In the example below, the middle clip was moved over left, shortening the left clip and lengthening the right clip while keeping the middle clip the same.

To use the slide tool, press the “U” shortcut or use the icon indicated below.
Nudging clips
Nudging is when you move a clip’s location forward or backward in the timeline by a single frame or five frames at a time. To use this feature, use the following shortcuts:
- Nudge a clip left 5 frames: Alt + Shift + Left (Windows), Command + Shift + Left (Mac)
- Nudge a clip left 1 frame: Alt + Left (Windows), Command + Left (Mac)
- Nudge a clip right 5 frames: Alt + Shift + Right (Windows), Command + Shift + Right (Mac)
- Nudge a clip right 1 frame: Alt + Right (Windows), Command + Right (Mac)
Additional Tips
Select Multiple Edit Points
You can select multiple tracks by holding down the shift key. You can also select by dragging a marquee around a group of video and audio clips.
To Disconnect Audio from Video
To disconnect your audio, right-click the video footage and hit Unlink. Unlink will separate audio from video, letting you manipulate the clips separately.
Final Notes
This article covers everything you need to know to cut and trim a clip in Adobe Premiere Pro. The number of options may seem overwhelming to a new user. As you grow to learn the program, you will appreciate the many tools that Adobe gives you to make the task at hand even easier.

Anne is a filmmaker and writer with a passion to bring stories to life. She has created several short films, specializing in stop-motion animation. Anne has over eight years of filmmaking experience, and she is always ready to share her knowledge with other creators. She started her company Anne Gets Creative in 2020.
Anne is extremely familiar with many Adobe programs: Photoshop, Illustrator, InDesign, After Effects, Premiere, and Audition, to name a few. She has also worked with other programs such as Procreate, Canva, iMovie, and Final Cut Pro. She always strives to give the best software reviews, researching diligently so her readers don’t have to.