(Last updated on November 2nd, 2022)
This guide will show you how to render and export a file in Adobe After Effects. We will go over the details of exporting to render queue right in Adobe After Effects, sending it to Adobe Premiere Pro, and exporting to Adobe Media Encoder.
How to Render & Export using Add to Render Queue
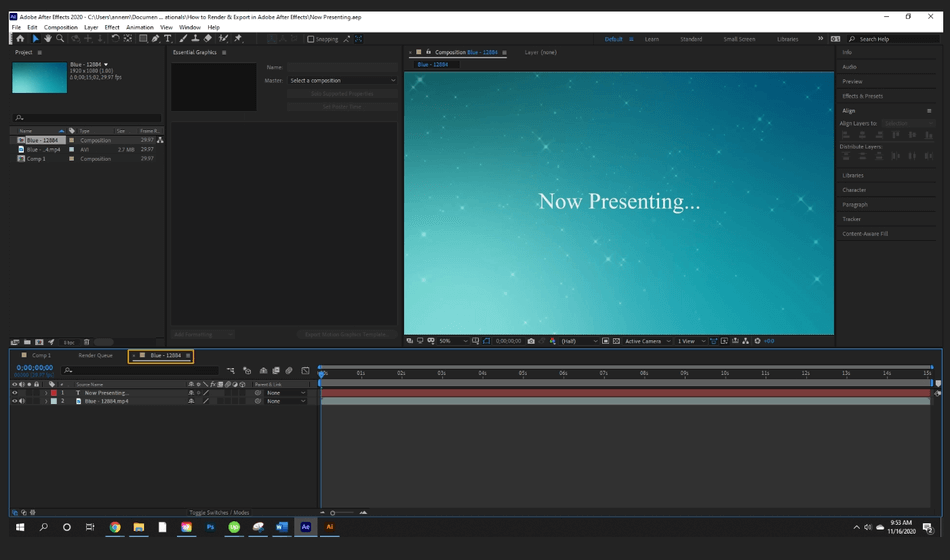
- Select your composition from the project panel.

Related: Adobe Illustrator vs Procreate | In-depth Comparison (2023)
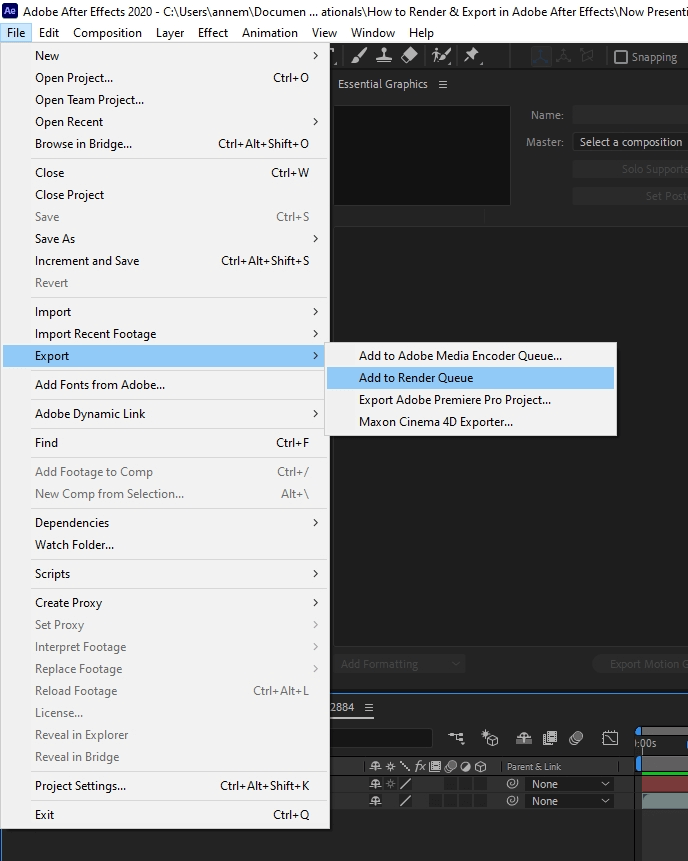
- Go to File > Export > Add to Render Queue
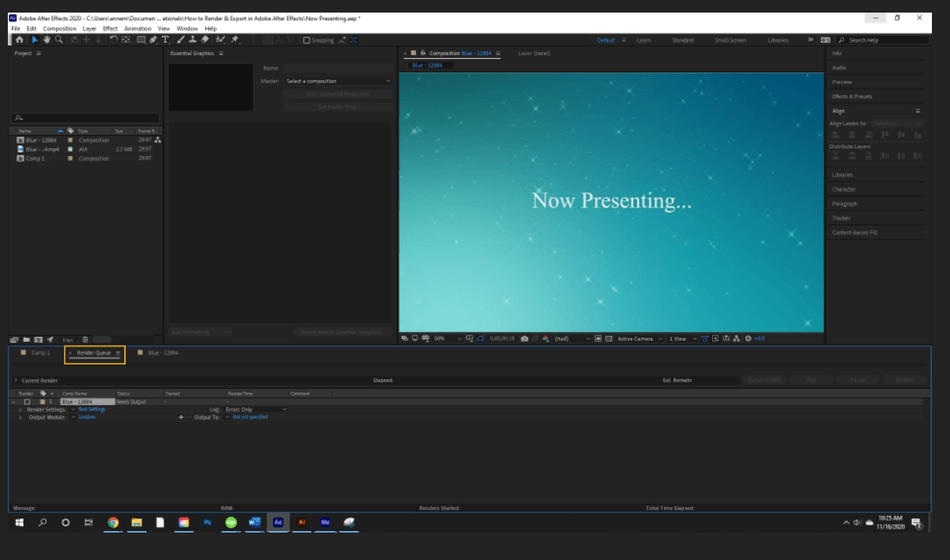
- The Render Queue will pop up in the bottom panel.
- From here, you can stick with the default settings, or you can customize the settings. Let’s start with Render settings.
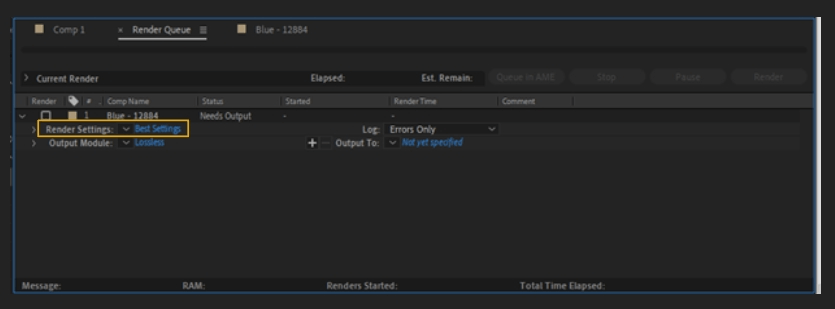
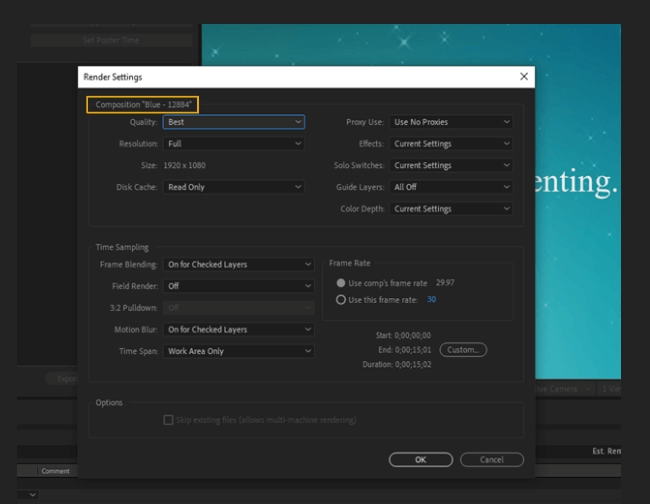
- Once you click on the blue text Best Settings, the Render Settings panel will pop up.
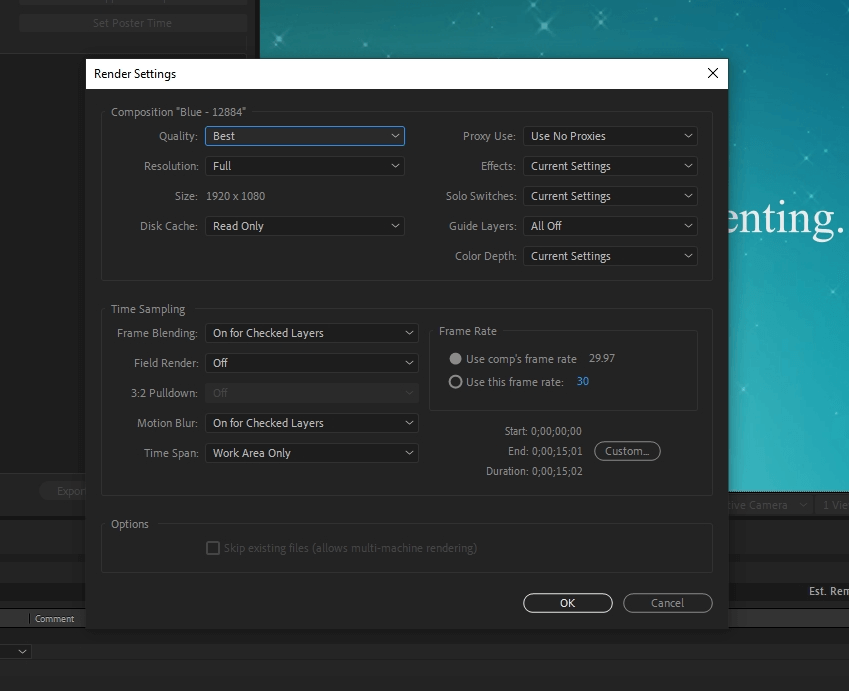
- Composition Name: The top line will have the name of your composition.
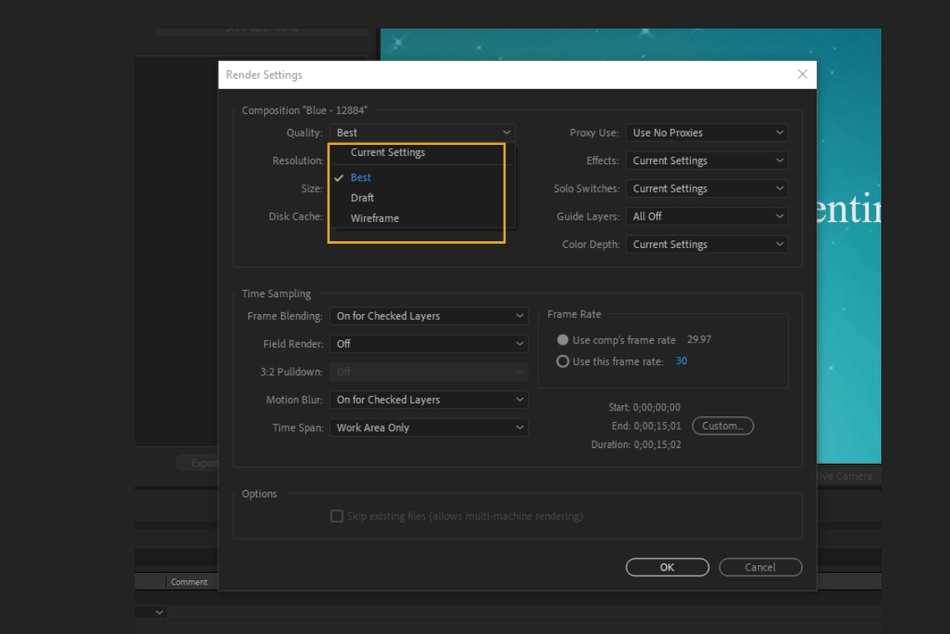
- Quality: You can choose the final video quality, choosing between Best, Draft, and Wireframe.
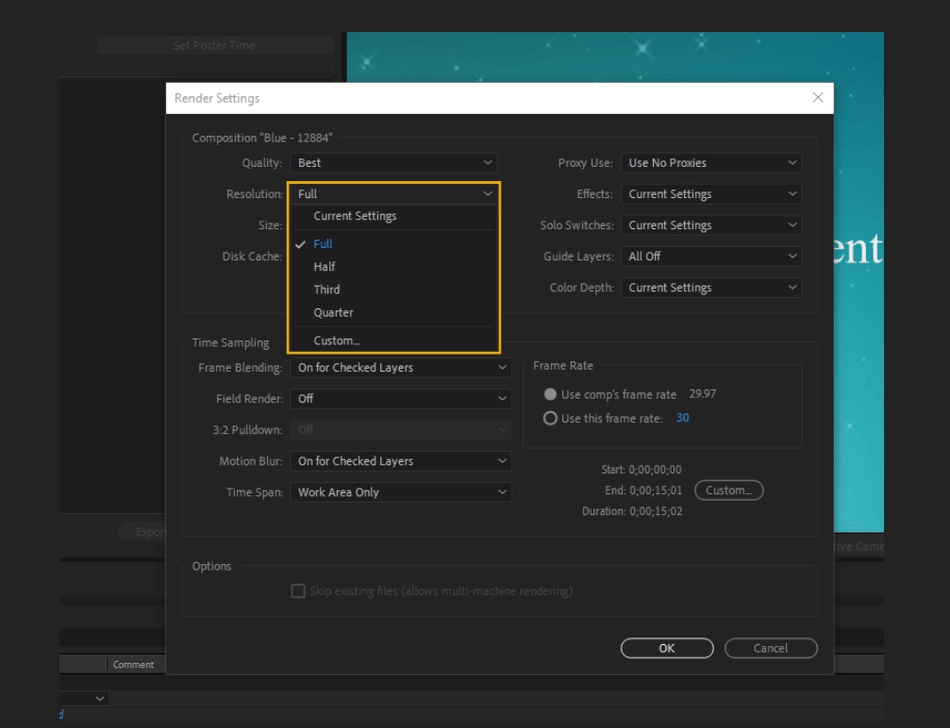
- Resolution: Choose the resolution setting of the final project.
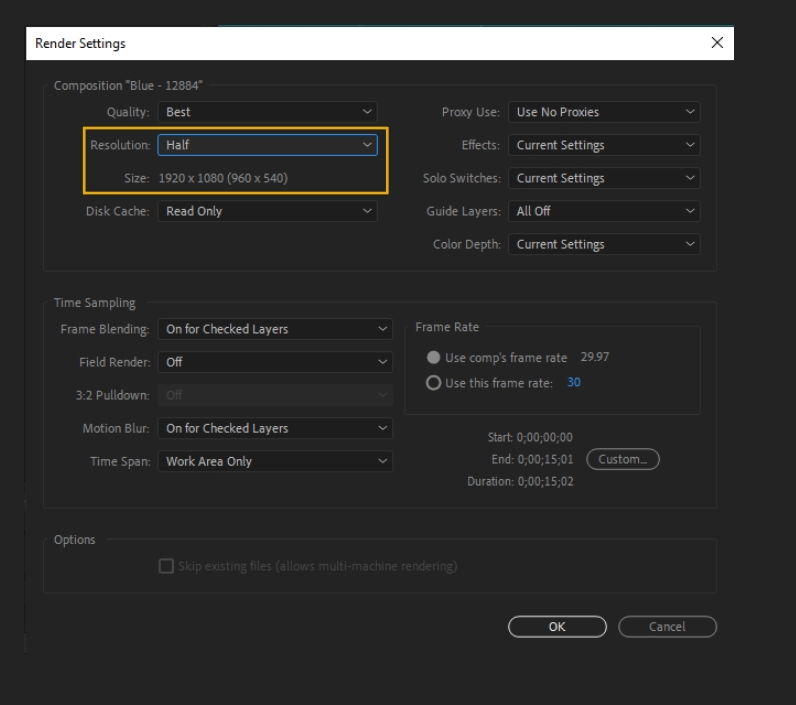
- Size: Displays the size that the project will be rendered to. In this case, the resolution was changed to half. The original size is shown as 1920 x 1080, with the new size of 960 x 540 shown in parentheses.
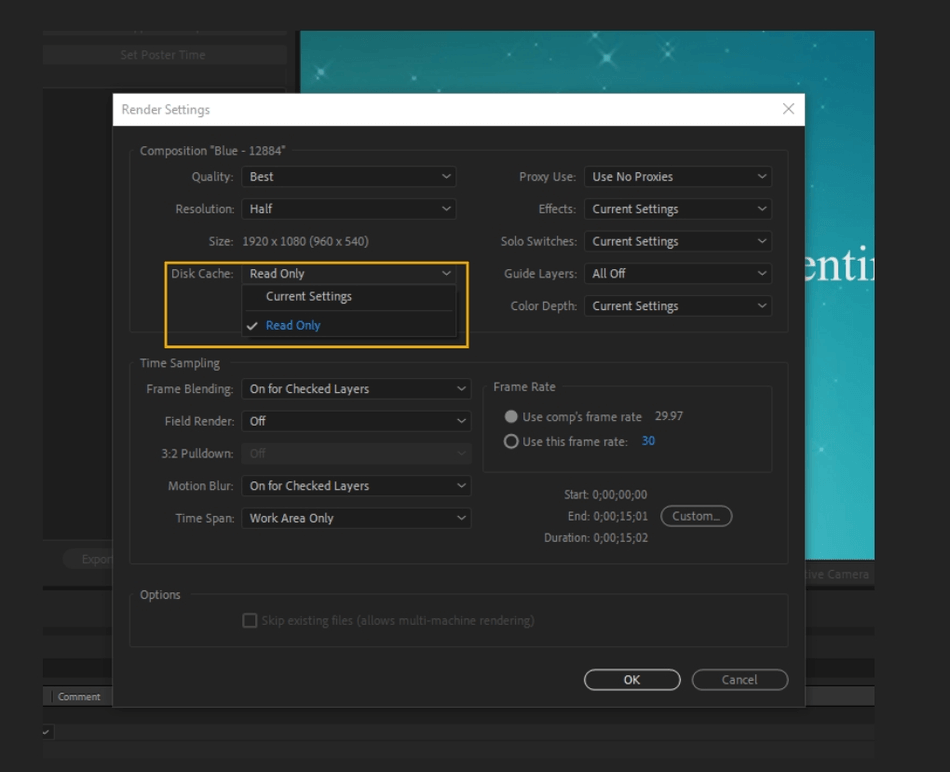
- Disk Cache: Select the disk cache settings. Disk cache is when software holds data that has recently been read and stored. When a disk cache is created, data can be read more quickly. If the disk cache is set to read-only, then no new frames will be written to the disk cache.
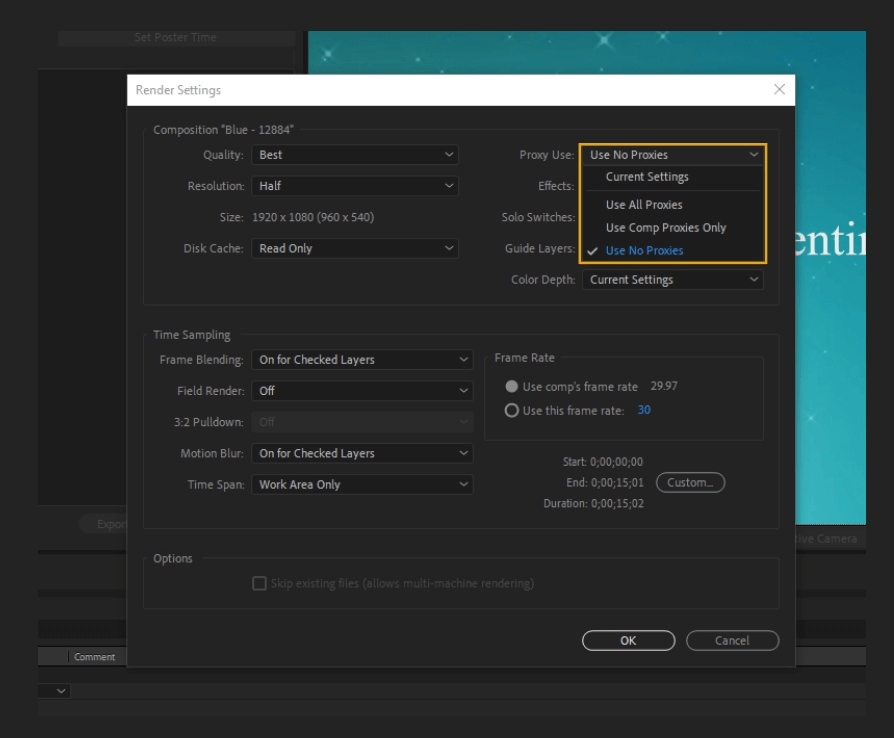
- Proxy Use: Sets the render settings to render from proxies or the source files. Proxy files are helpful when dealing with large source files.
For example, 4K files are much bigger than the standard definition. Proxies will be used to make the editing process faster, with the originals swapped in when rendering to get the highest resolution for the final project.
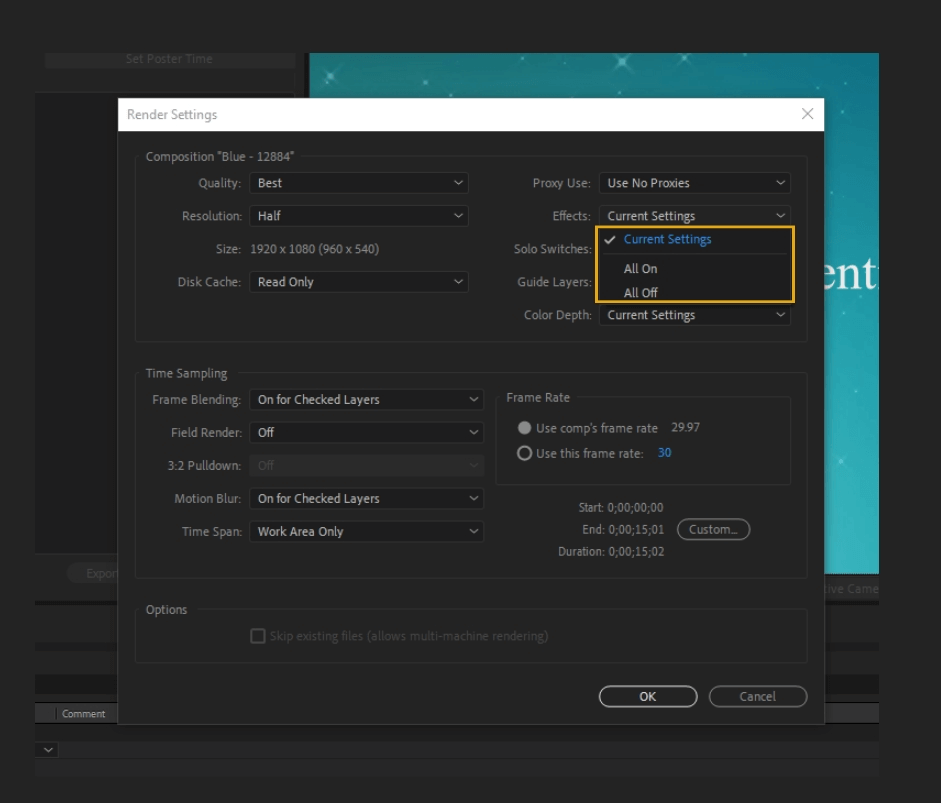
- Effects: Turn on will render the effects in the composition while turn off will exclude them.
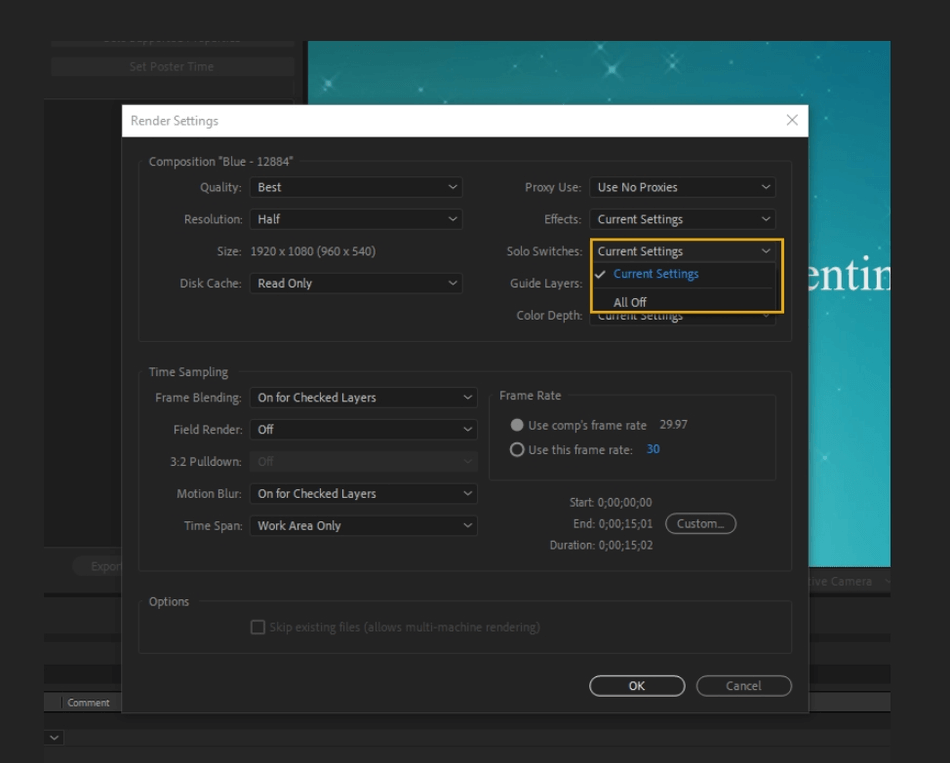
- Solo Switches: Renders the current preview or turns off the solo feature. Soloing is when you isolate one or more layers from previewing, animating, or rendering into a final project. When you solo a layer, you hide the other layers of that type.
For example, if you soloed an audio layer, the video layer would not be affected, and the other audio layers would be hidden.
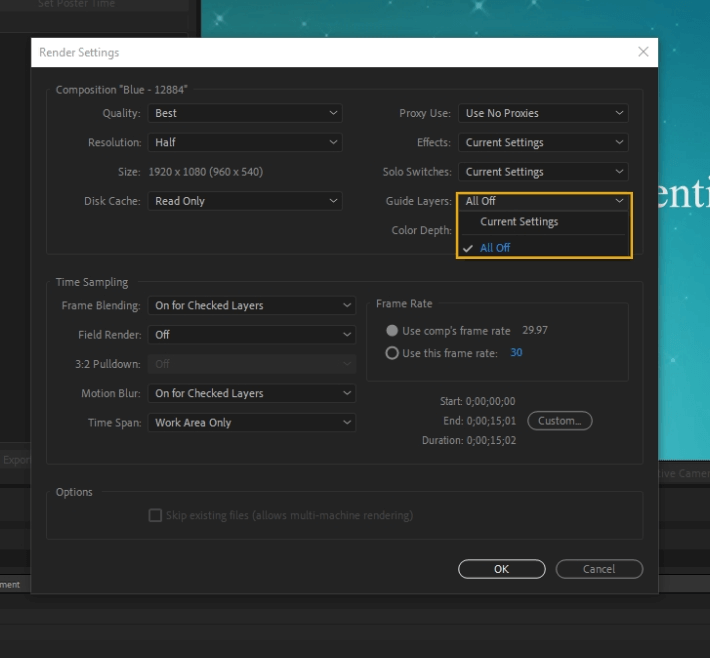
- Guide Layers: Guide layers are used to help you edit and position elements in the frame. The default rendering setting turns guides off. You can turn them on to show them in the final project if you want.
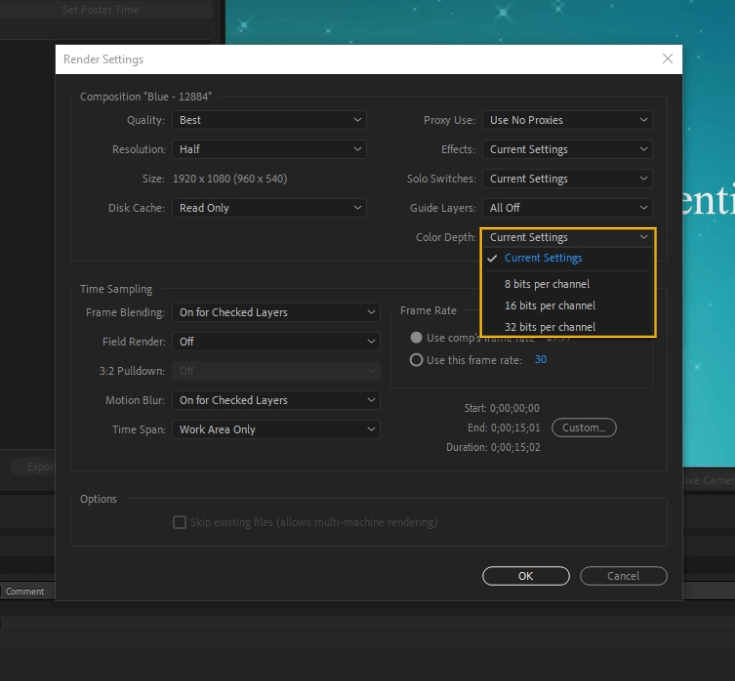
- Color Depth: Color depth is the number of bits per channel used to represent the color of a pixel. The default settings will use the current color depth of the project.
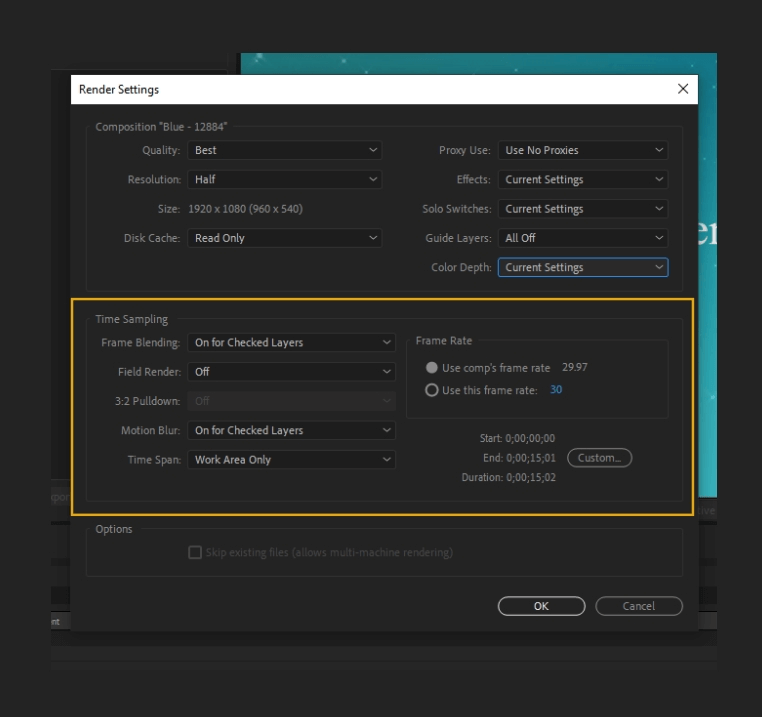
- Time Sampling: This panel defines all of the time sampling options.
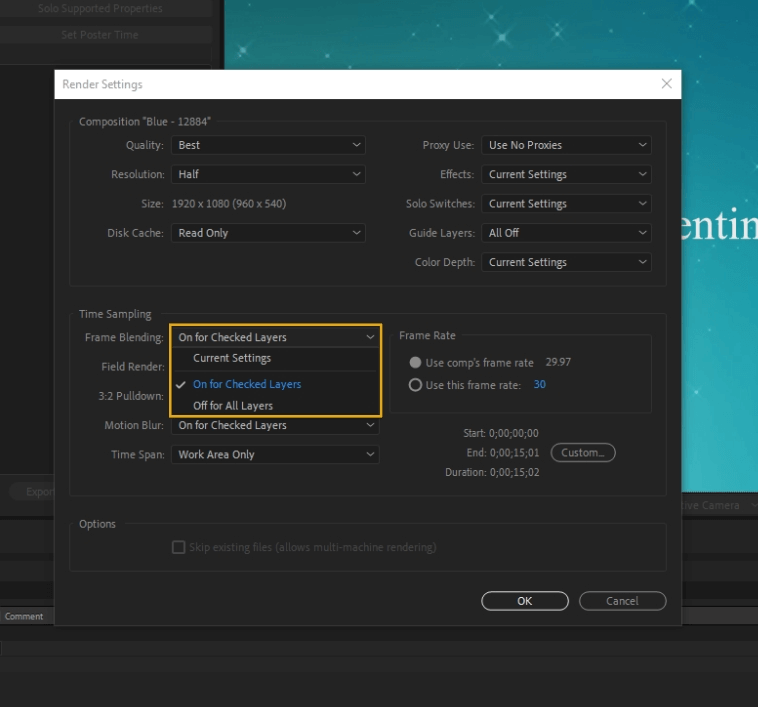
- Frame Blending: Frame blending allows you to create smoother motion when you slow down or speed up a layer. With this checked on in the render settings panel, all layers that have frame blending turned on will be rendered with this feature.
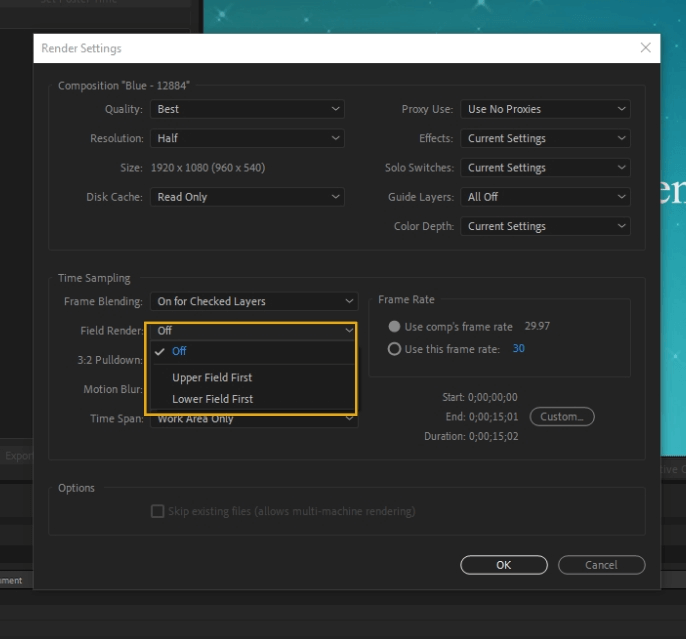
- Field Render: This determines the field render technique for the final render. Every interlaced video contains two fields, upper and lower. Interlacing is the technique created for transmitting TV signals using limited bandwidth.
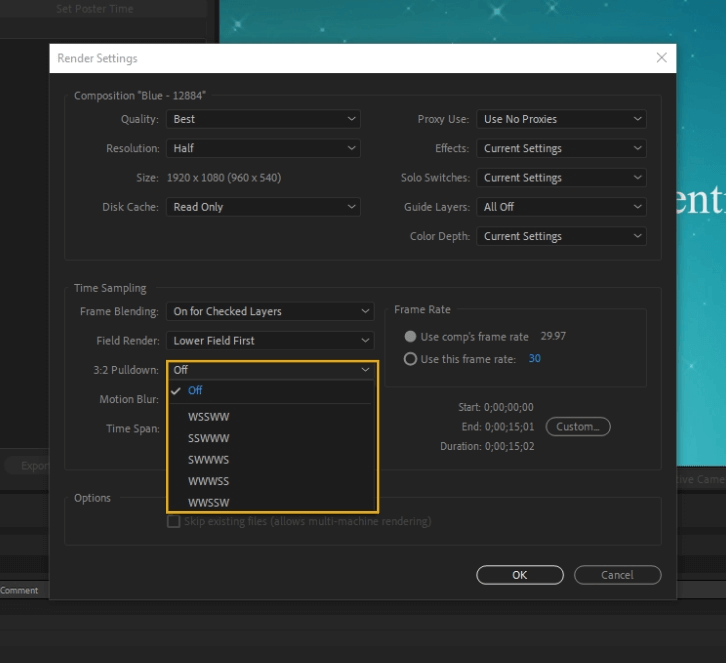
- 3:2 Pulldown: If you made a selection other than off for Field Render, then the 3:2 Pulldown will be available to edit and not greyed out.
If you want to simulate a film, look for your animation, or create a project that has been transferred from film to video, use the 3:2 Pulldown. The 3:2 Pulldown matches the film rate to the video rate, stretching 24 frames of film onto 30 frames for video.
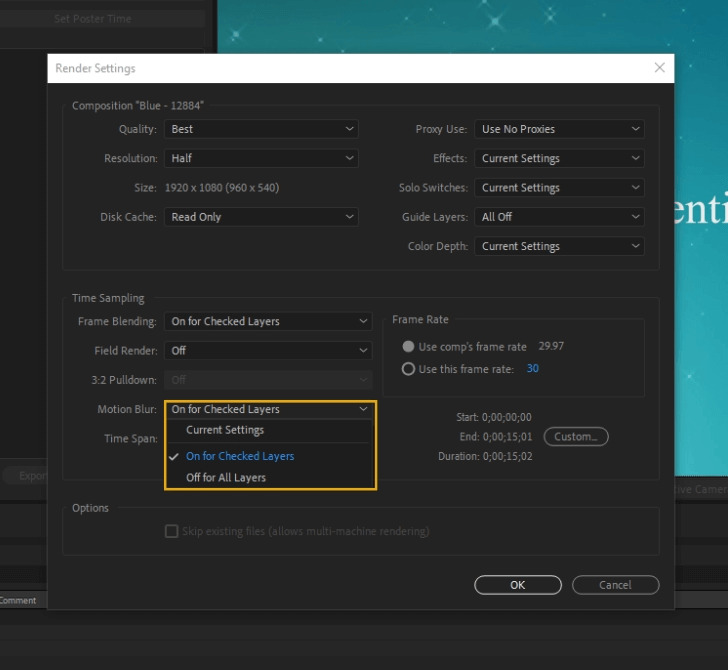
- Motion Blur: Motion blur is a feature you can turn on for a layer that blurs the motion for digital animation, making the movement appear more smooth and natural. The default here will render all layers with motion blur switched on with motion blur.
Turning Motion Blur off for all layers will turn this feature off for the final output, regardless if it was switched on in the composition.
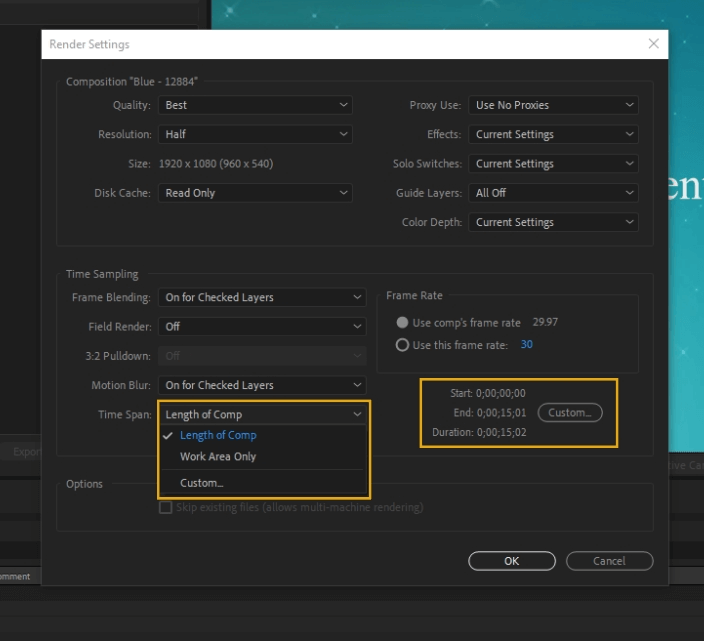
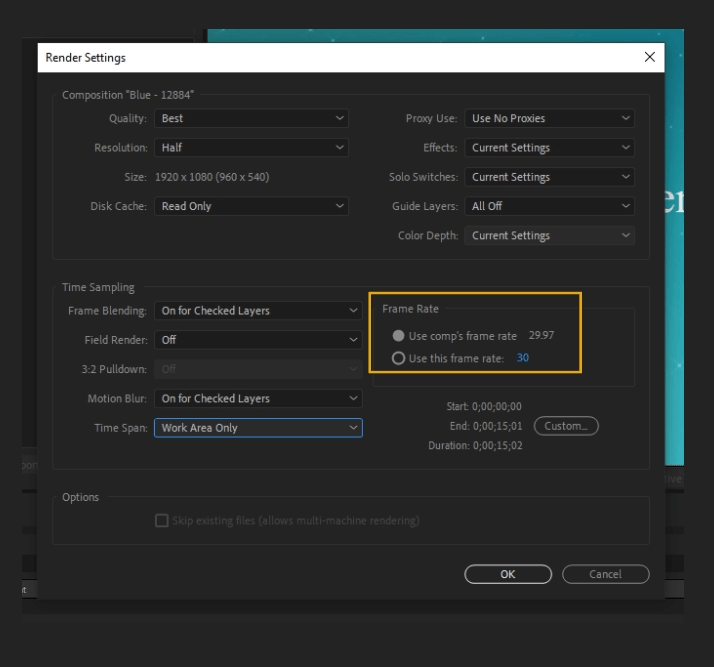
- Time Span: This option will determine how much of the composition you want to render. You can choose a custom time span, the work area only, or the composition’s full length.
- Frame Rate: The frame rate is the number of frames displayed per second for a video. You can use the frame rate currently used in the composition or select a different frame rate. (This doesn’t change the actual frame rate of the composition.)
- Skip Existing Files: Checking this box lets you rerender part of a sequence of files without wasting your time on previously rendered frames, rendering only missing files of the sequence.
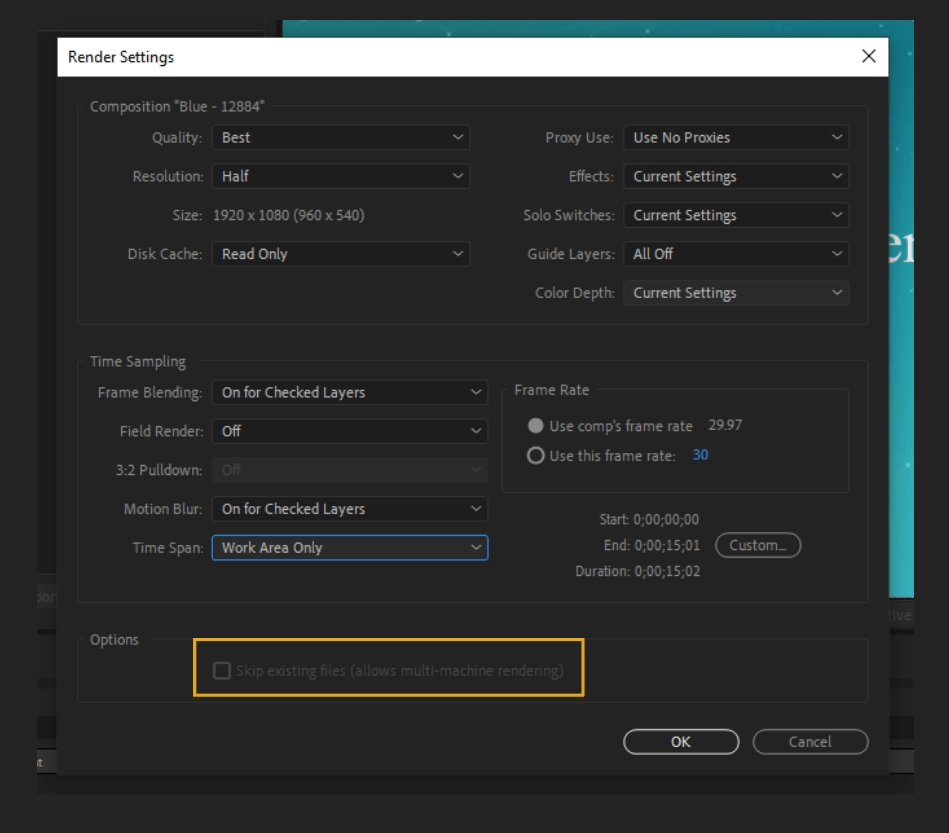
- Once you are done with Render Settings, hit OK to save the customizations.
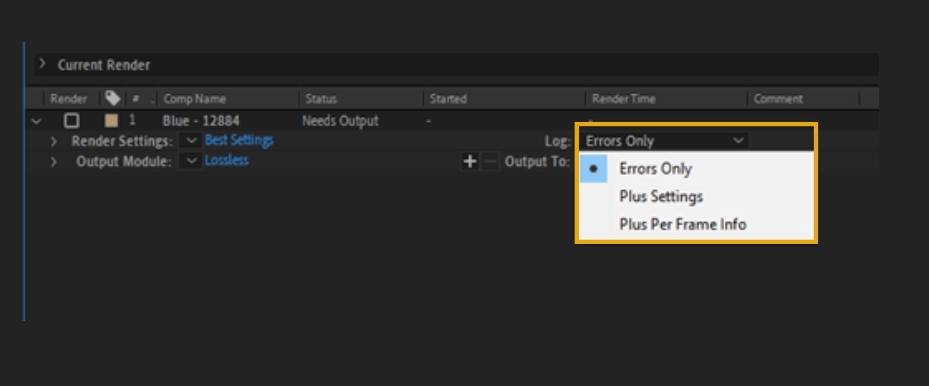
- Next, you can edit the Log. After Effects writes information to log file detailing information about the render. You can find the destination path of the log file under the render settings heading and log menu. You can choose:
- Errors Only: The log file will only log errors encountered during rendering.
- Plus Settings: The log file will include current render settings.
- Plus Per Frame Info: The log file will list the current render settings and information about each frame’s rendering.
- Next, let’s edit the Output Module, clicking into the blue text Lossless.
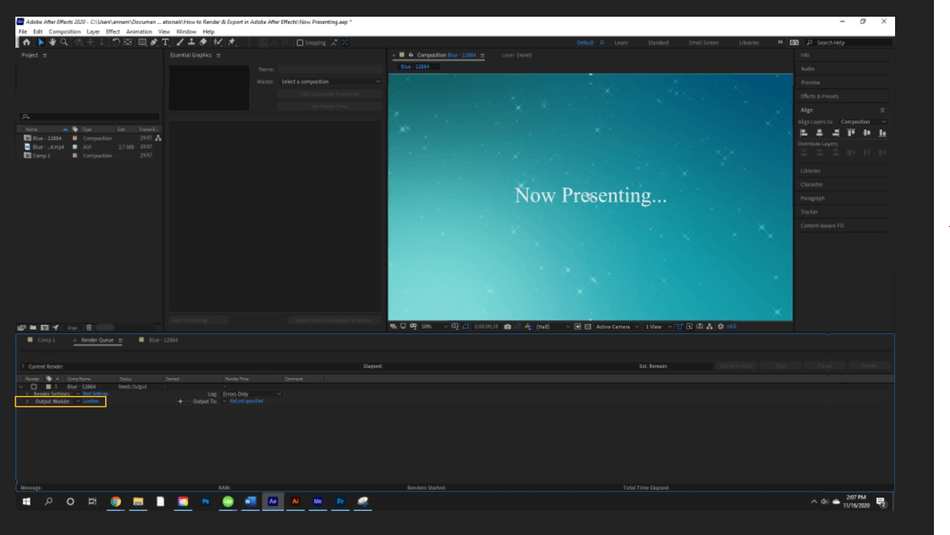
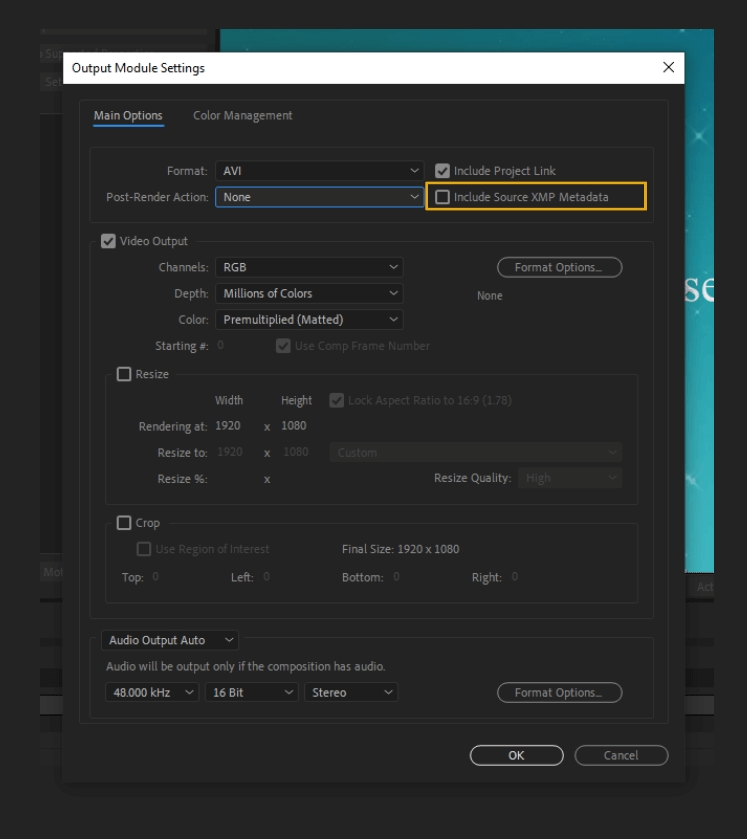
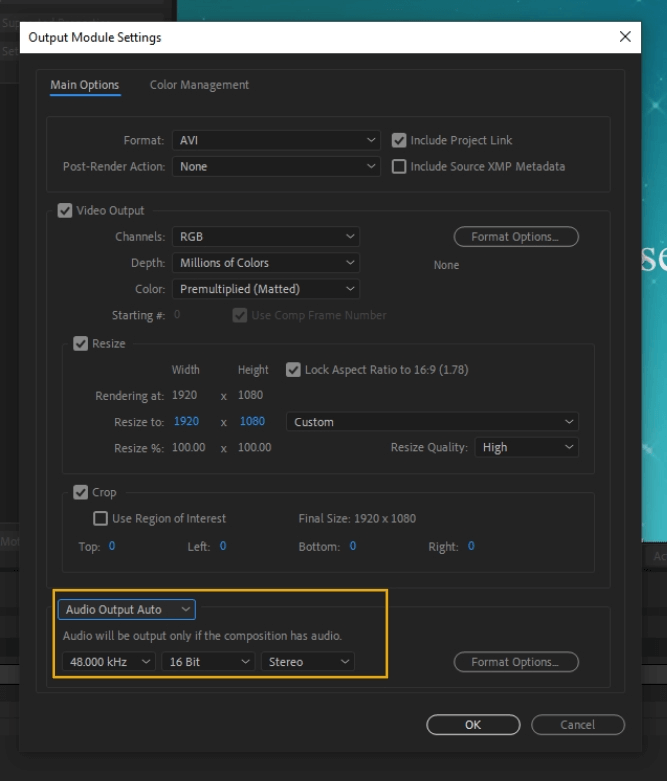
- Once you click into the Output Module, the Output Module Settings panel will come up. There are two tabs, Main Options, and Color Management. Let’s start with the Main Options.
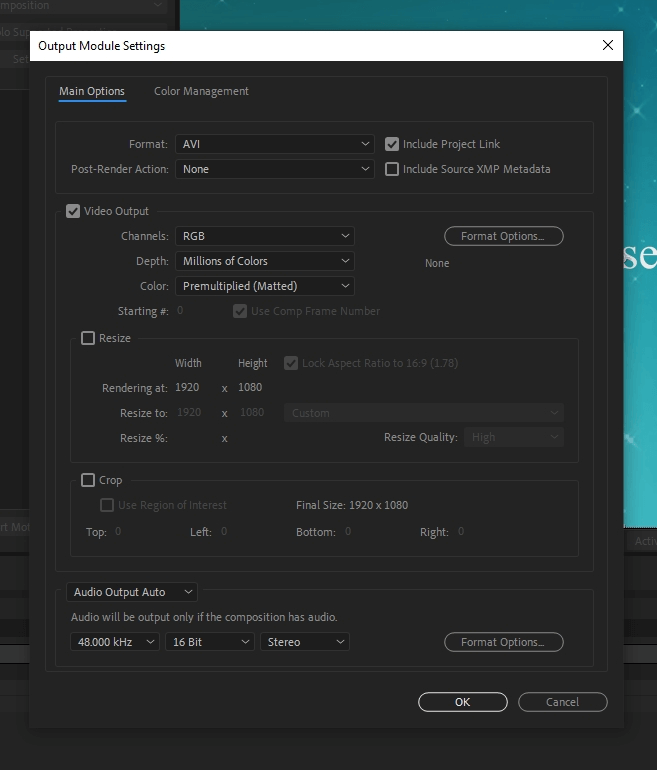
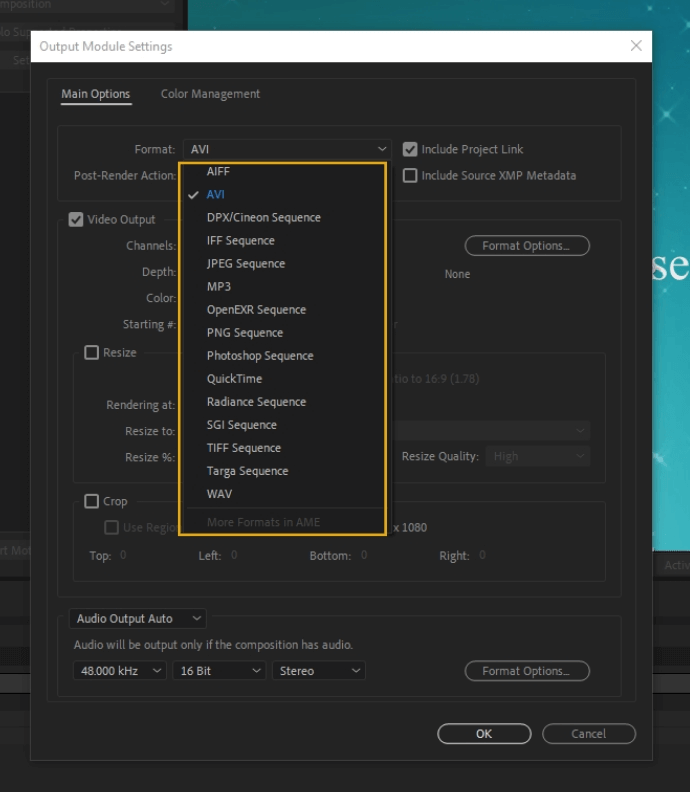
- Format: Lets you choose the format of the rendered file.
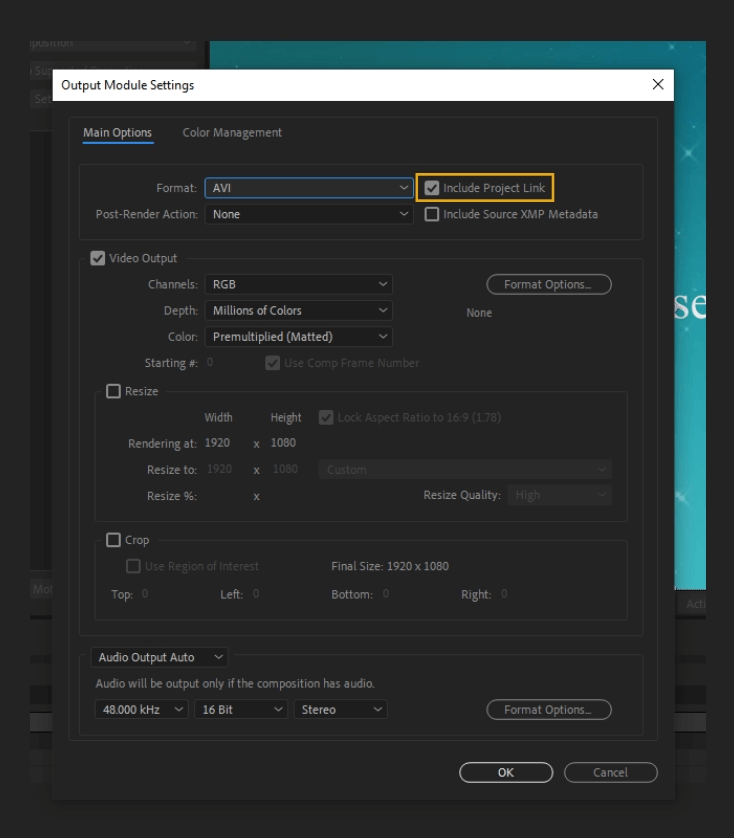
- Include Project Link: Checking this box includes information that links the source After Effects file to the output file. For example, if you open this video in Premiere Pro, this will let you use the edit original command to edit the source project in After Effects.
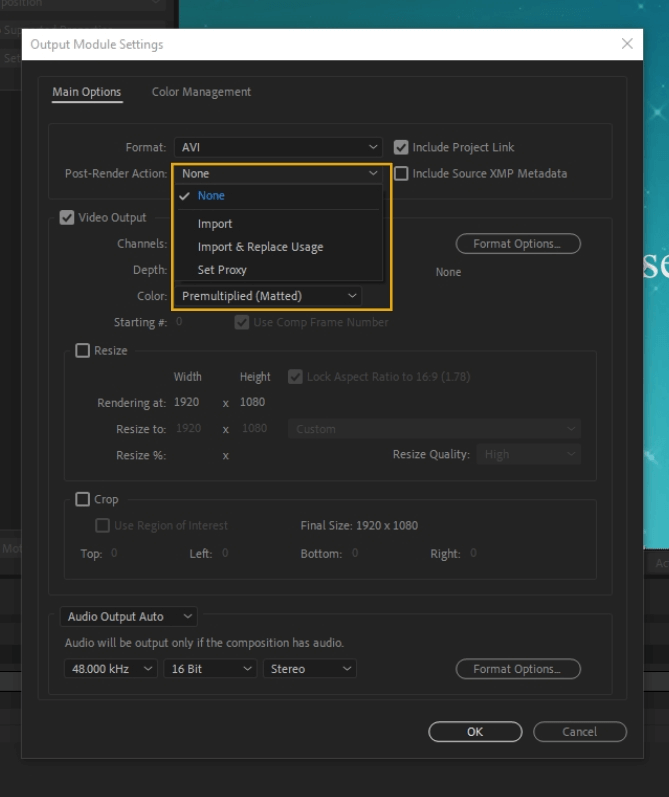
- Post Render Action: This will specify the action after the project is finished rendering.
- Include Source XMP Metadata: By default, this metadata is excluded from renders. If you check this box, you will include the XMP metadata in the output file
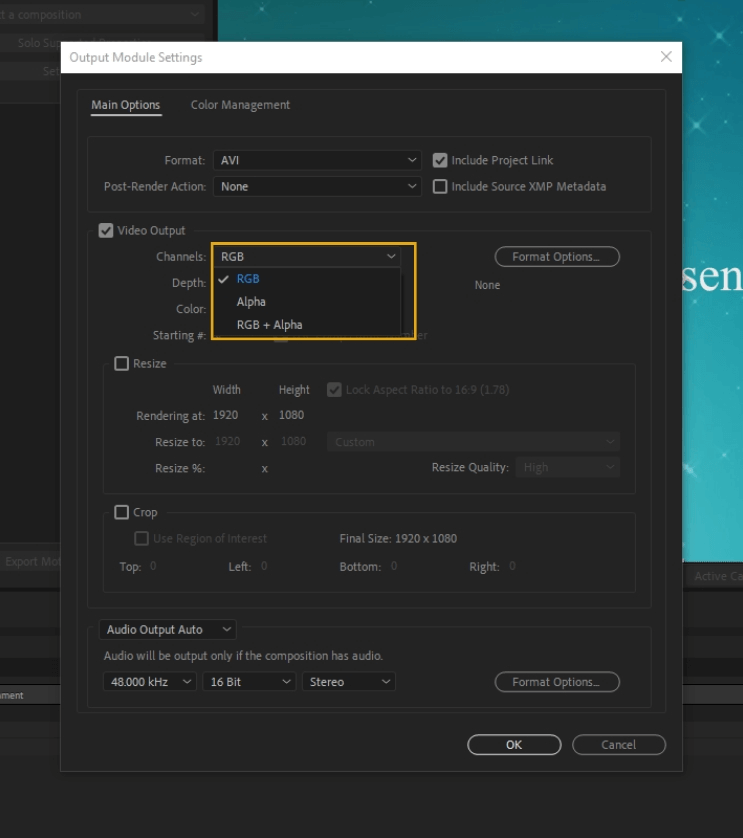
- Channels: This edits the output channels of the project. You can choose between RGB, Alpha, and RGB + Alpha.
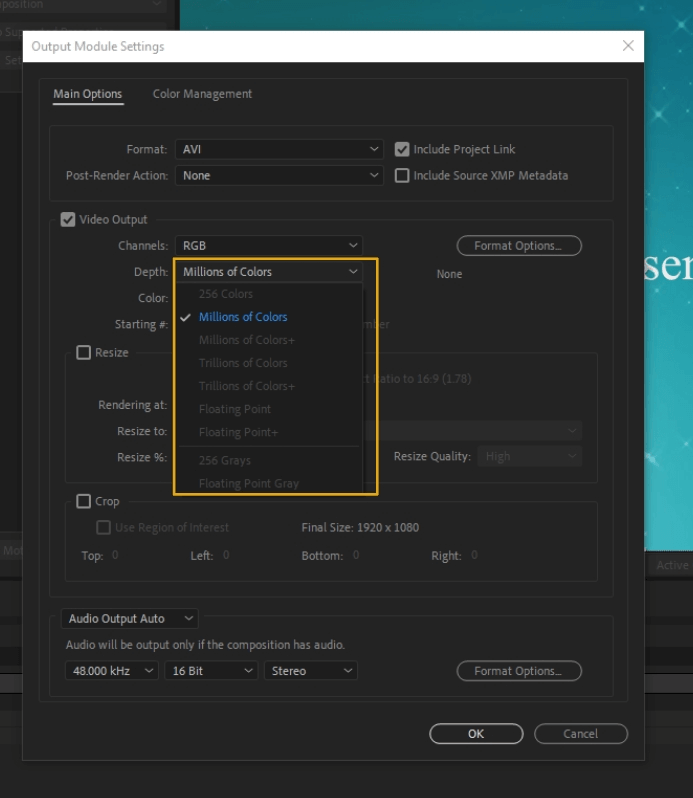
- Depth: Color depth indicates how many colors are available for each pixel, measured in bits. Here, you can specify the color depth.
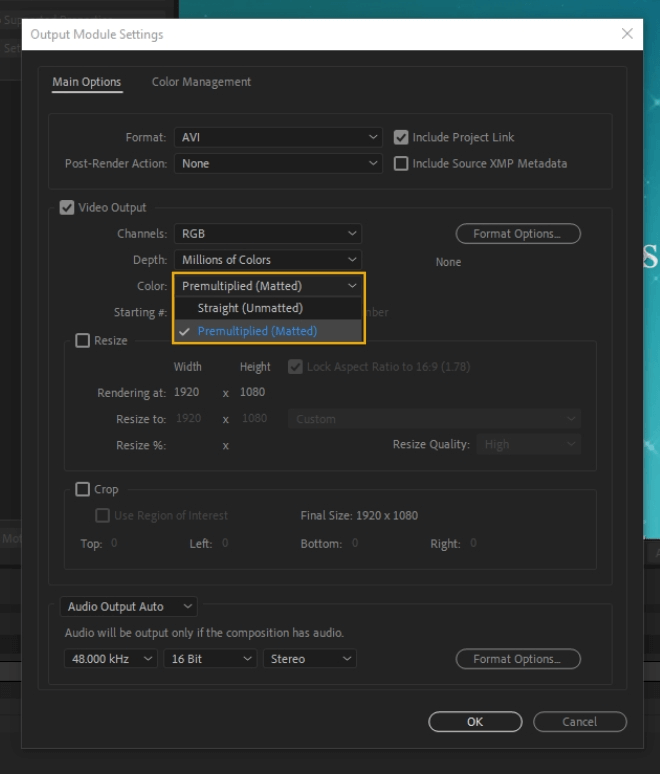
- Color: Specifies how colors will be created in the alpha channel. Your options are premultiplied and straight.
- Starting #: Here, you can choose the starting number for the first frame of a sequence.

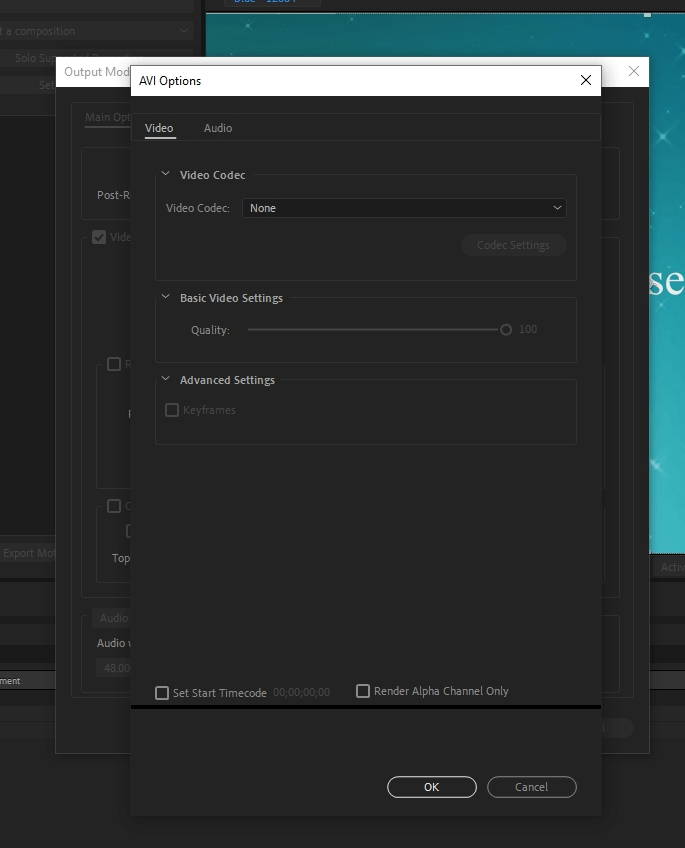
- Format Options: Clicking into Format Options opens up a dialogue box, with tabs for Video and Audio:
- Video: Let’s you choose the Video Codec, the Video Quality, and edit Keyframes.
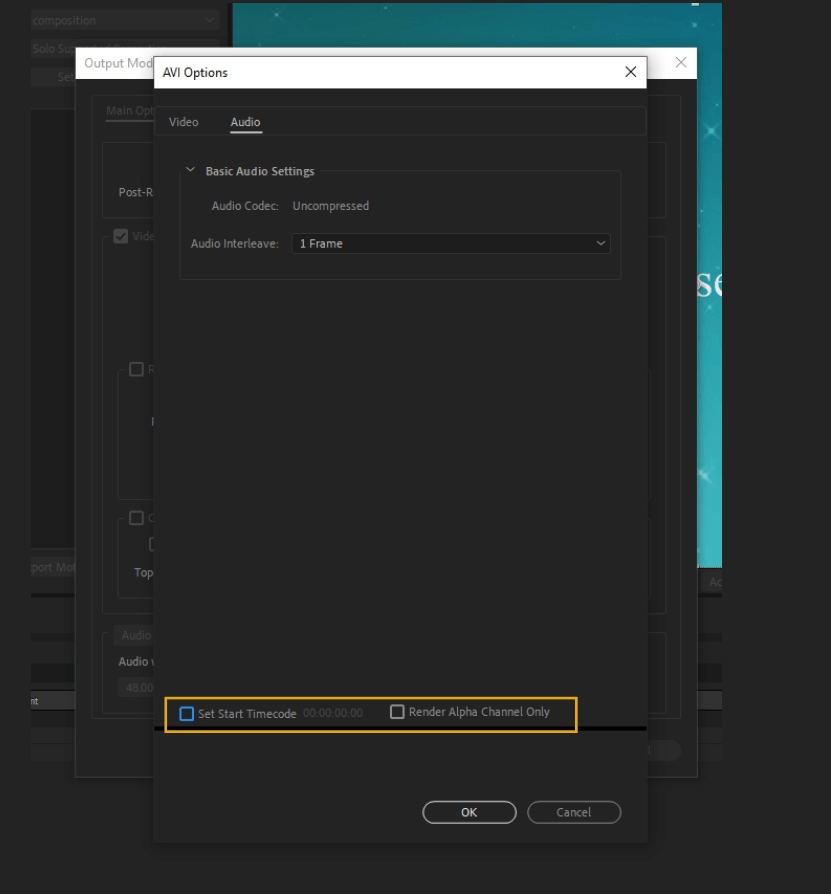
Audio: You can edit the Audio Interleave, and the panel will display the audio codec.
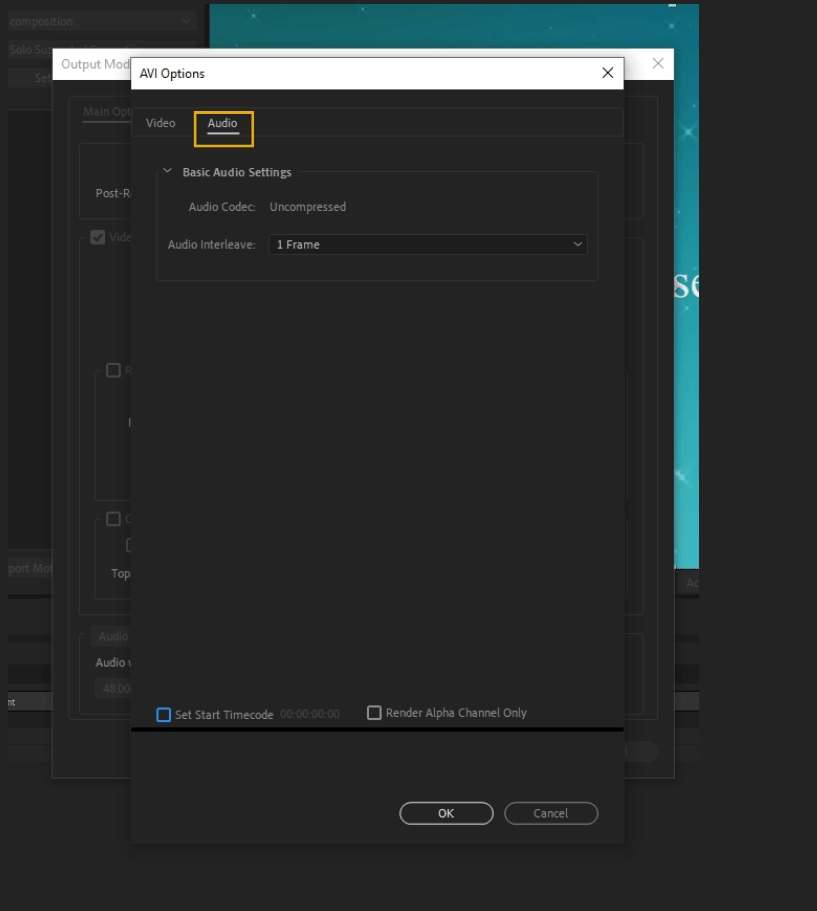
- In this box, you can also set the starting timecode and render just the alpha channel.
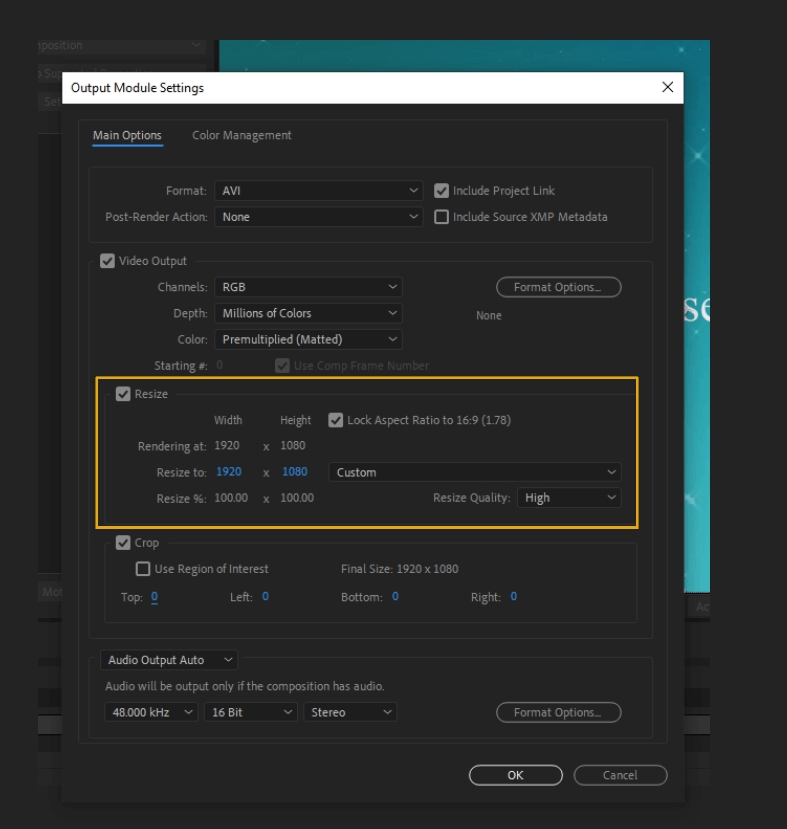
- Resize: In this panel, you can resize the output, locking (or unlocking) the aspect ratio. You can also set the quality of the resize. A helpful way to use the resize feature is to create low-quality tests and high-quality runs for your final piece.
- Crop: Crop the margins in your frame by pixels. The final size is displayed here.

- Audio Output: Lets you customize the sample depth from 8 Bits or 16 Bits, sample rate, and playback format of Mono or Stereo. You use different bit sizes depending on the playback. (16 Bits for CD, 8 Bit for compter)
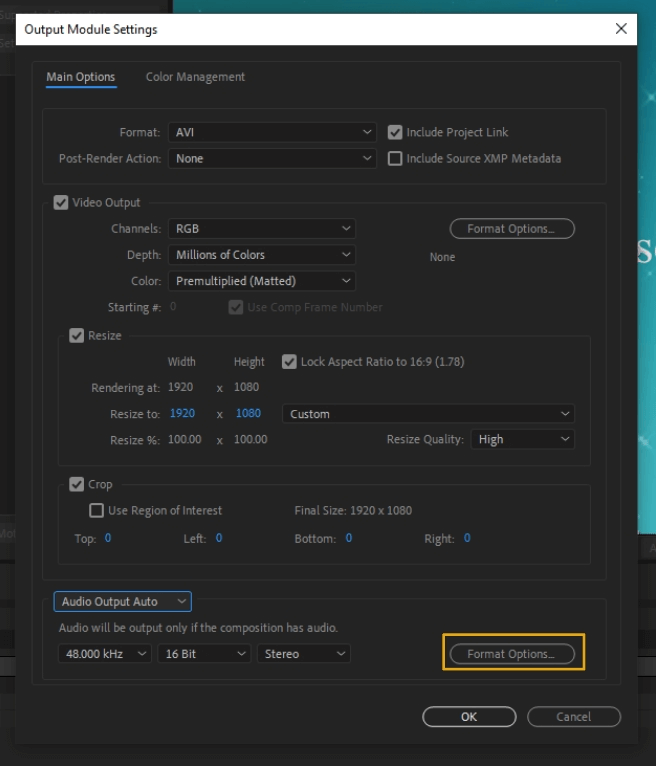
- Format Options: This is the same as the format options button above, leading you to the audio tab directly.
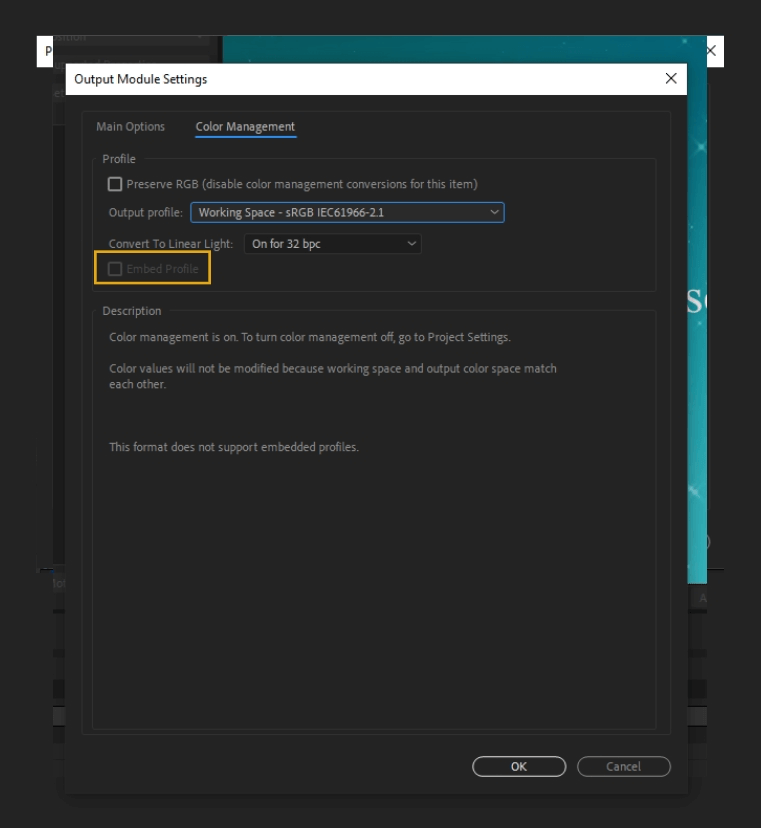
- And that is it for Main Options. Let’s now go to Color Management. This panel customizes the color conversion from a rendered composition to the final output.
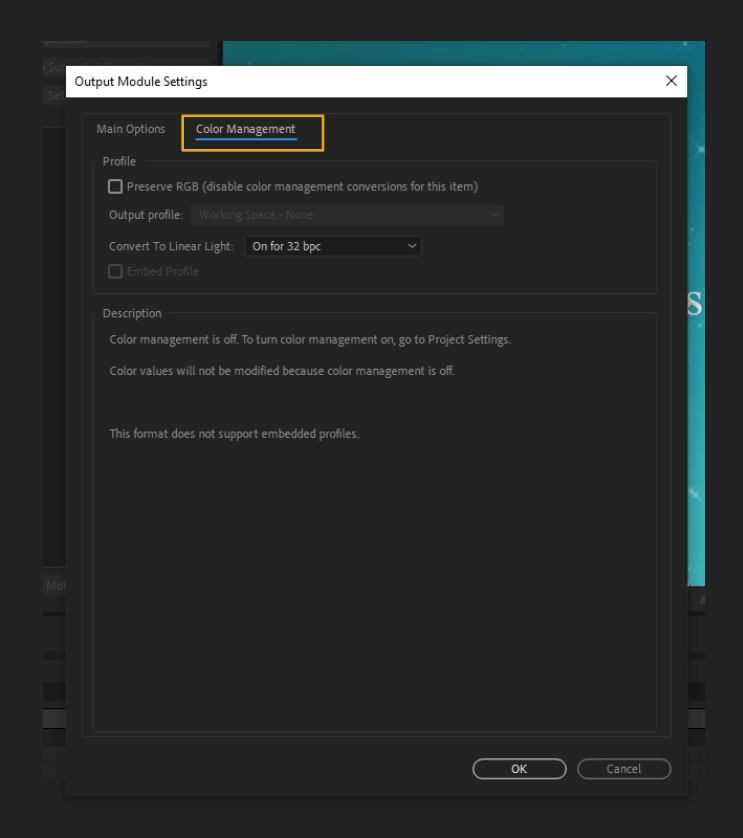
- Preserve RGB: Select this if you don’t want to convert your colors from the rendered composition to the final output.

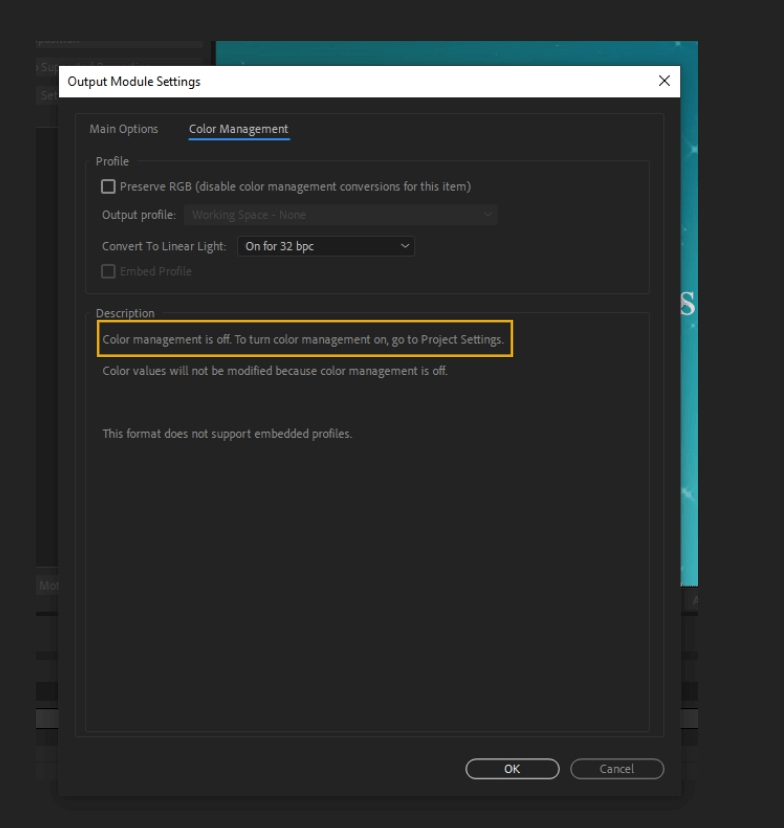
- If most of your settings are greyed out, you need to turn on color management in Project Settings.
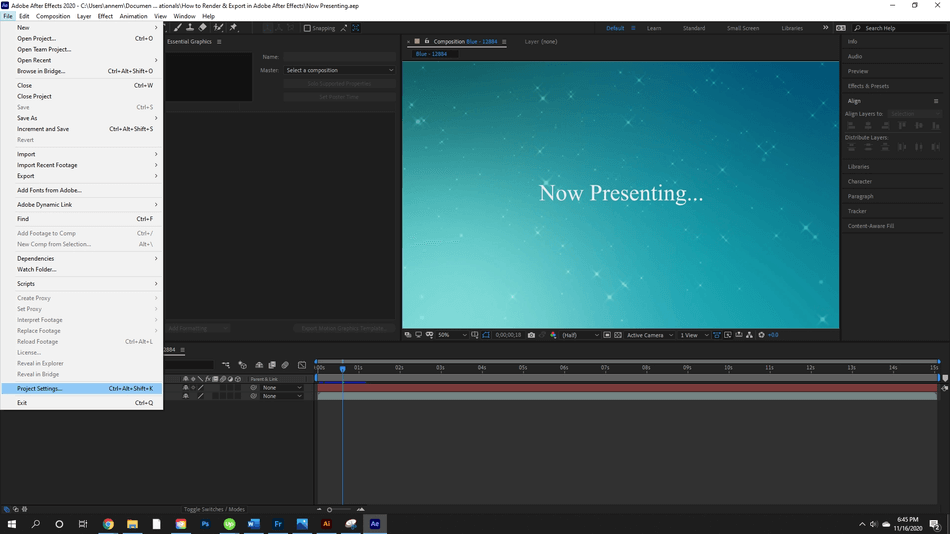
- To turn the color settings on, go to File > Project Settings
- The Project Settings panel will open. Switch to the color tab.
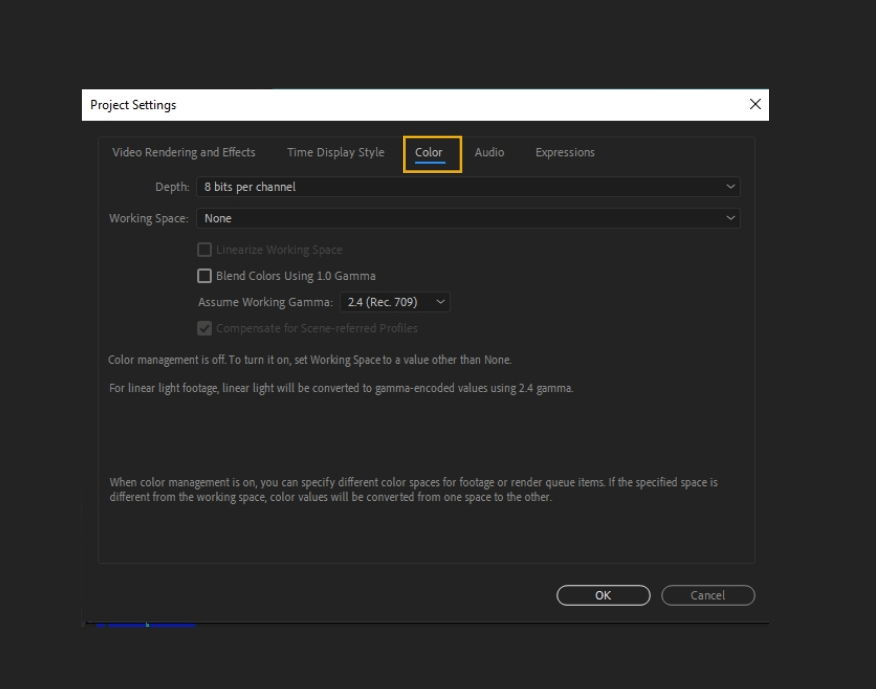
- To turn on the color management, you must select a working space:

- Select one and press OK to apply to the project.
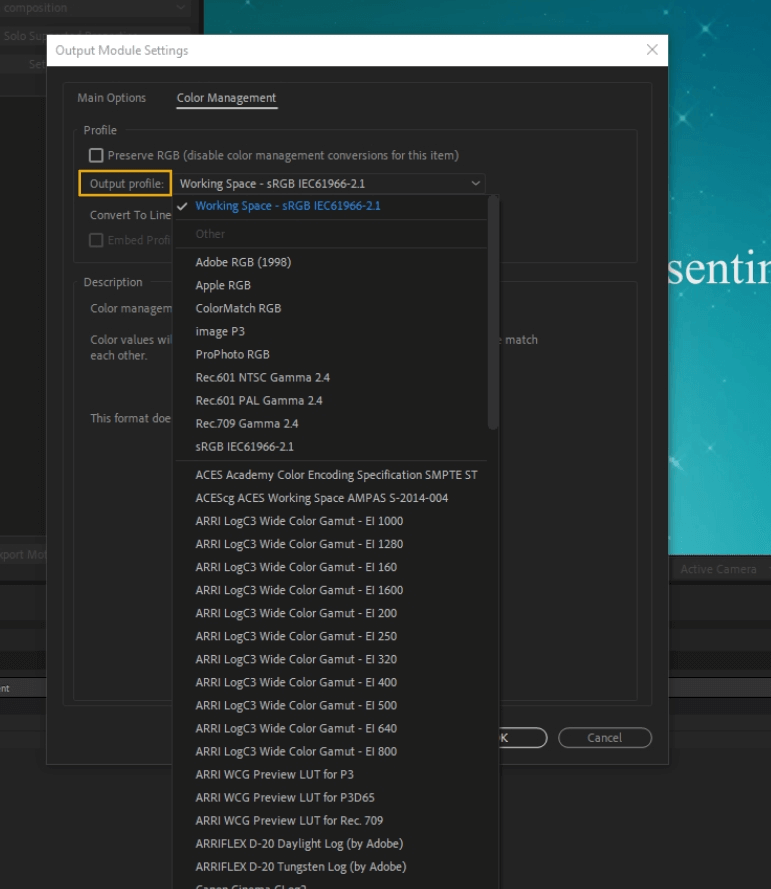
- Going back to the Color Management tab, the text should be accessible now.

- In the Output profile, you can change the working space.
- Convert to Linear Light: Here, you can change whether colors are output to a linear color profile, the default being 32 BPC.
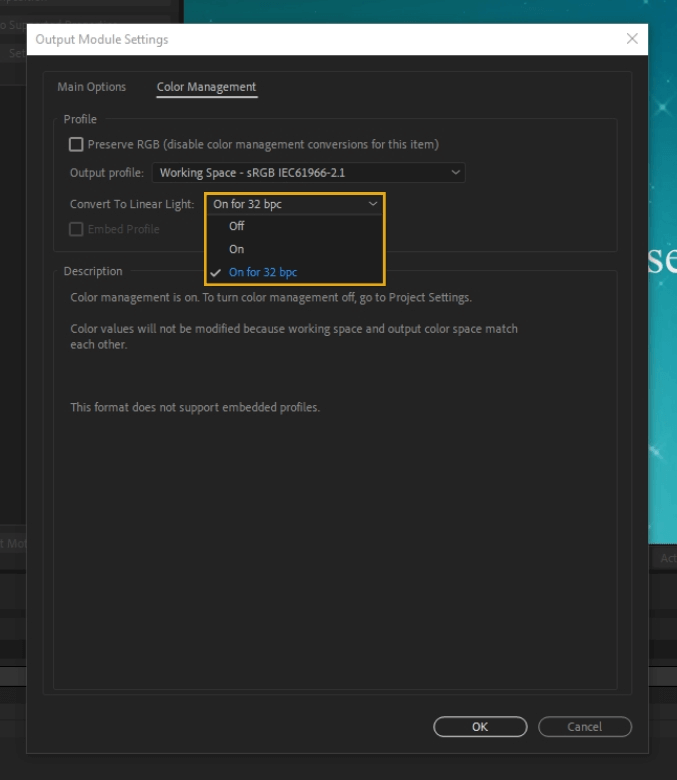
- Embed Profile: By checking this box, you can embed color profiles in your project. The format of the output must be in JPEG.
- Click OK, and you are done setting Output Module Settings.
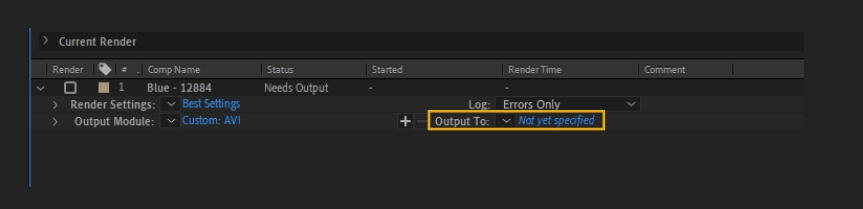
- Lastly, Output To directs you on where you want to save the file to your computer.
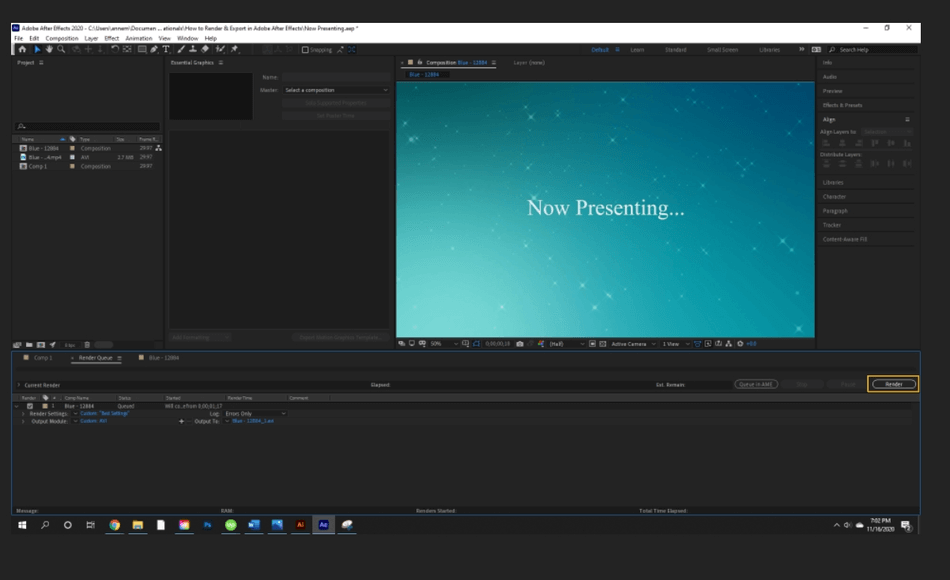
- Hit Render to start rendering the video. You can pause and stop if needed. The file will then save to your output destination, and with that, you are done!
Render & Export using the Adobe Media Encoder
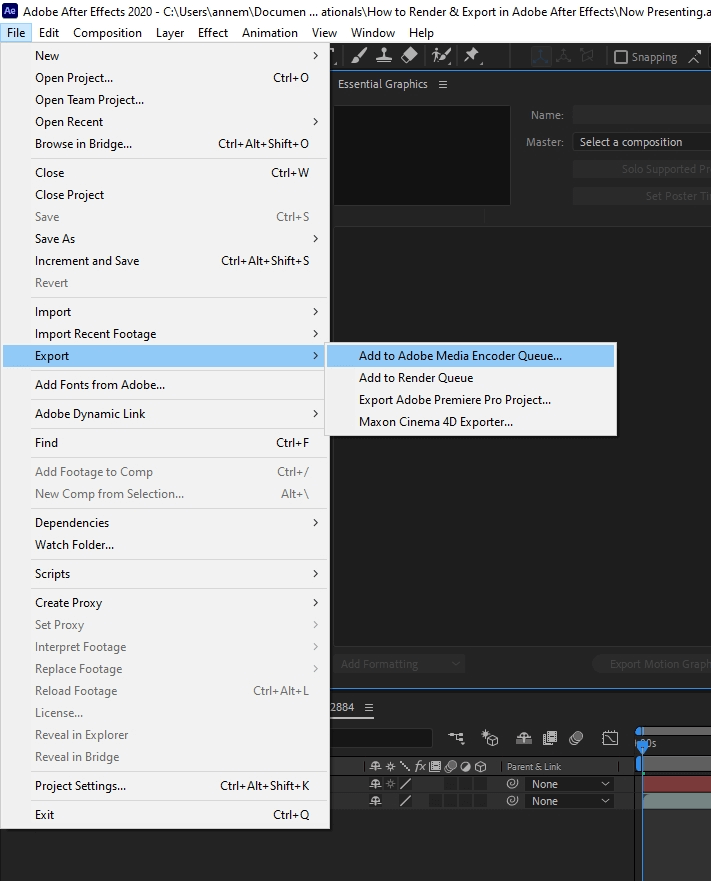
- Select your composition.
- Go to File > Export > Add to Media Encoder Queue
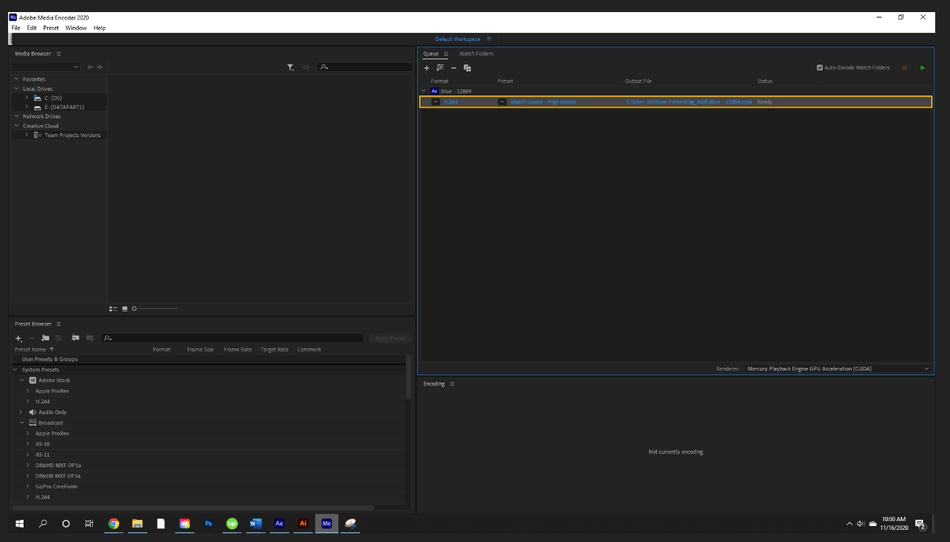
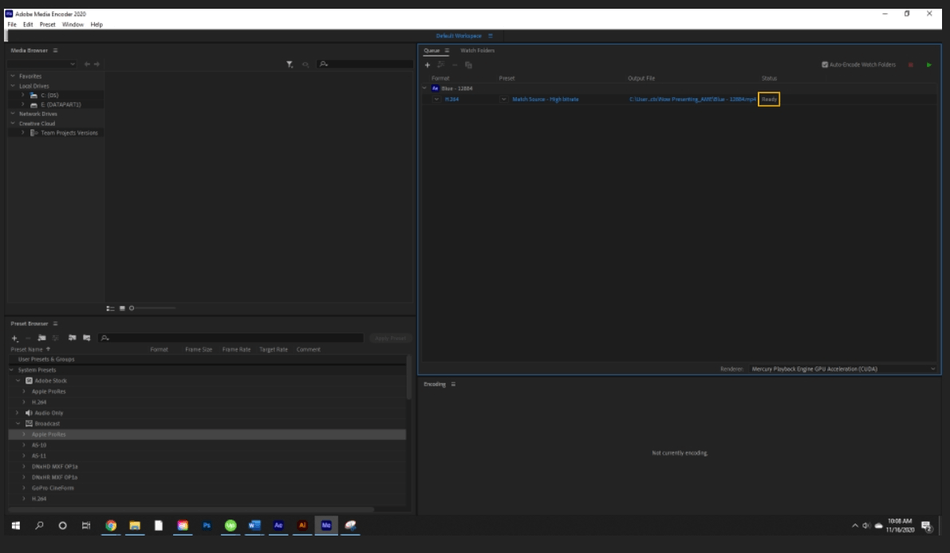
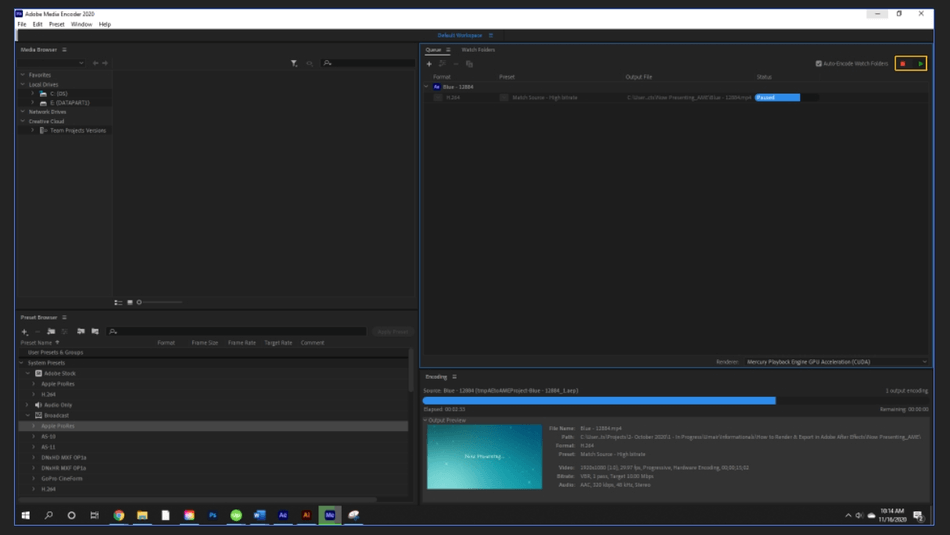
- Now, you will move to the separate app, Adobe Media Encoder. Sometimes, this takes a few seconds to load up. Your project will appear in the Queue.
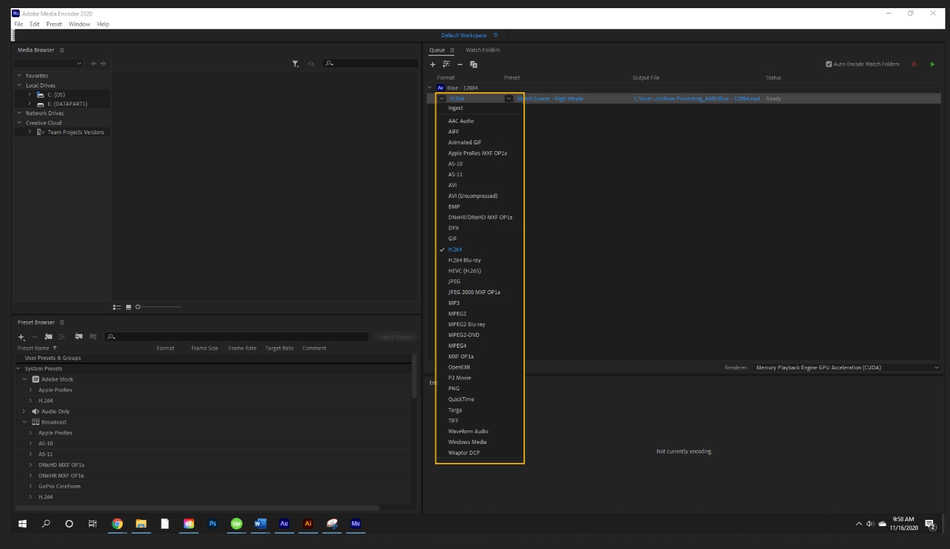
- From here, you can select the format of the final project.
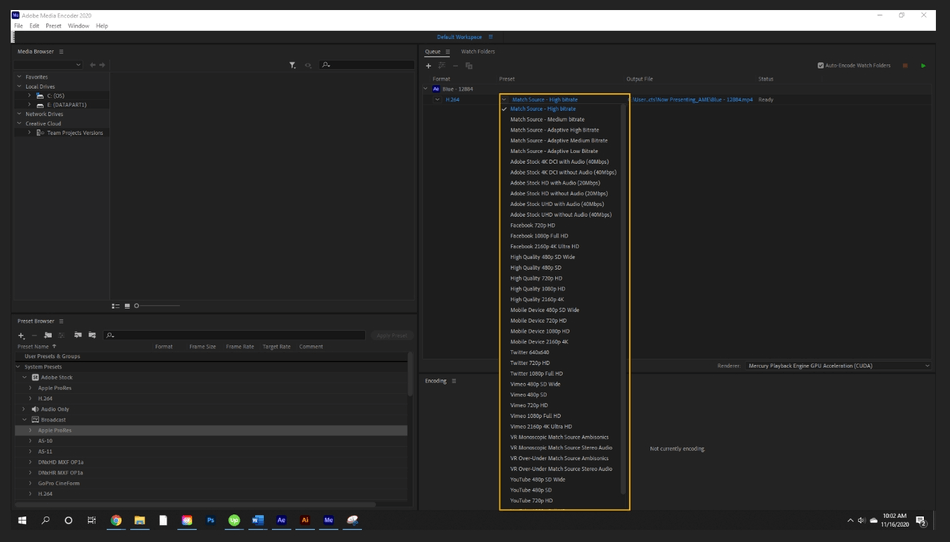
- Next, you can set a Preset for your video. For example, H.264 has many presets, several configured for specific social media platforms like Twitter or Facebook. You can also create custom presets.
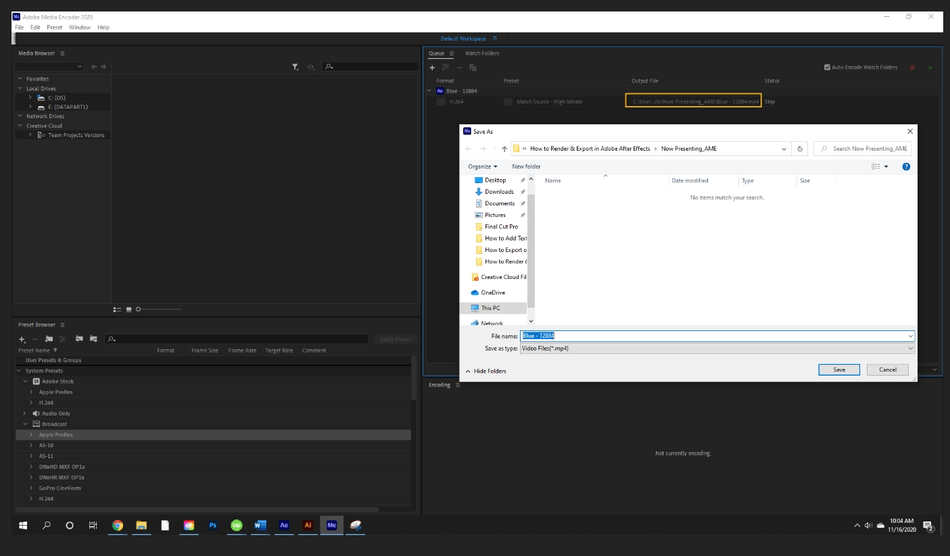
- Here, you set your saving destination for the final output.
- The Status column will show the project’s status, whether it’s ready for processing, currently being processed, paused, or stopped altogether.
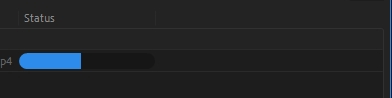
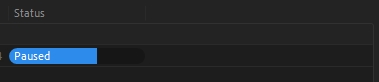
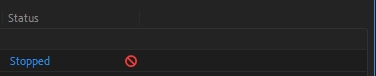
- To start, pause and stop a project processing, use the stop and play buttons. Stop will fully stop processing the project altogether. Pause will let you come back to rendering later.
- After the project is finished rendering, a green checkmark will appear next to the project. Your finished piece will be waiting for you at the destination you selected.

How to Export to Adobe Premiere Pro
- Go to File > Export > Export Adobe Premiere Pro Project…
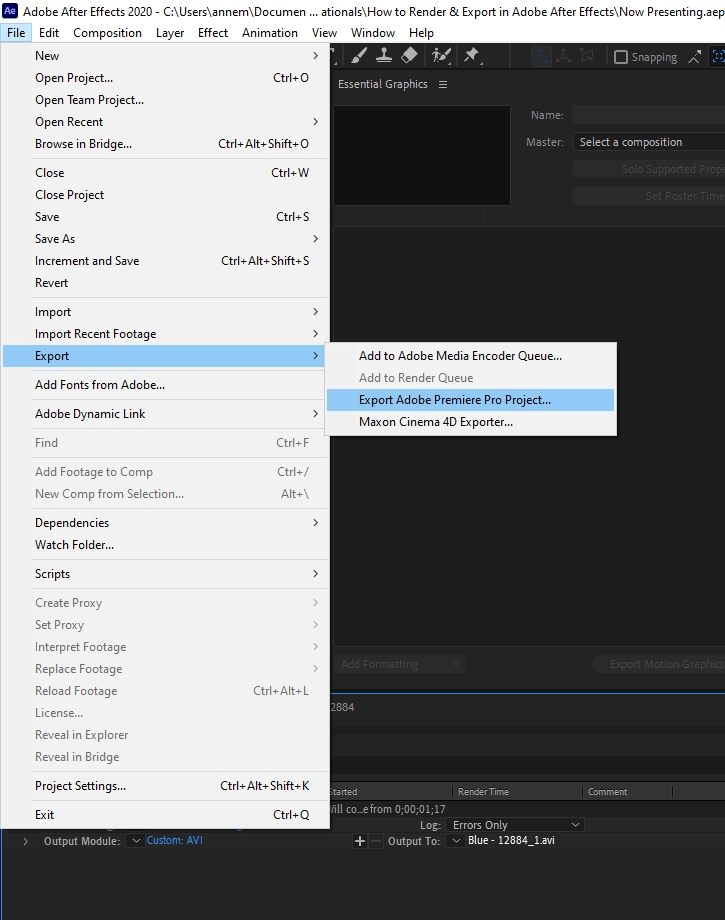
- From here, you will go to a save dialogue where you can save your Adobe Premiere project. From here, open in Premiere to begin working.
In this tutorial, we left out exporting for Maxon Cinema 4D Explorer. This exporting type is for 3D files.
These were all the basics of exporting in Adobe After Effects. Now, you can customize a project for how you see fit.

Anne is a filmmaker and writer with a passion to bring stories to life. She has created several short films, specializing in stop-motion animation. Anne has over eight years of filmmaking experience, and she is always ready to share her knowledge with other creators. She started her company Anne Gets Creative in 2020.
Anne is extremely familiar with many Adobe programs: Photoshop, Illustrator, InDesign, After Effects, Premiere, and Audition, to name a few. She has also worked with other programs such as Procreate, Canva, iMovie, and Final Cut Pro. She always strives to give the best software reviews, researching diligently so her readers don’t have to.