(Last updated on November 2nd, 2022)
Want to know how to add fonts to GIMP? You have come to the right place!
In this lesson, I will teach you how to add new fonts to your GIMP workflow. Also, I will show you where to find free and premium fonts and the basics of font editing in GIMP.
If you want to see how GIMP stacks up against Adobe Photoshop, see our in-depth GIMP vs. Photoshop comparison.
Adding a New Font to GIMP
Installing new fonts is as easy as downloading an OpenType font file to your computer. GIMP accepts all OpenType fonts. I will show you the process from beginning to end.
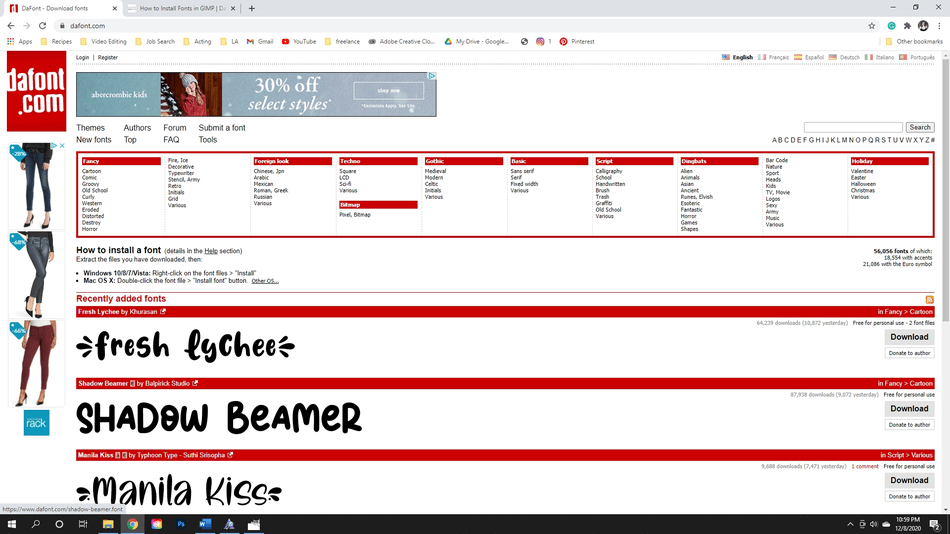
- First, let’s get a free font. I’m going to go to www.dafont.com. Here, there are thousands of fonts available for your download. I’m going to download Shadow Beamer by pressing Download on the right-hand side.
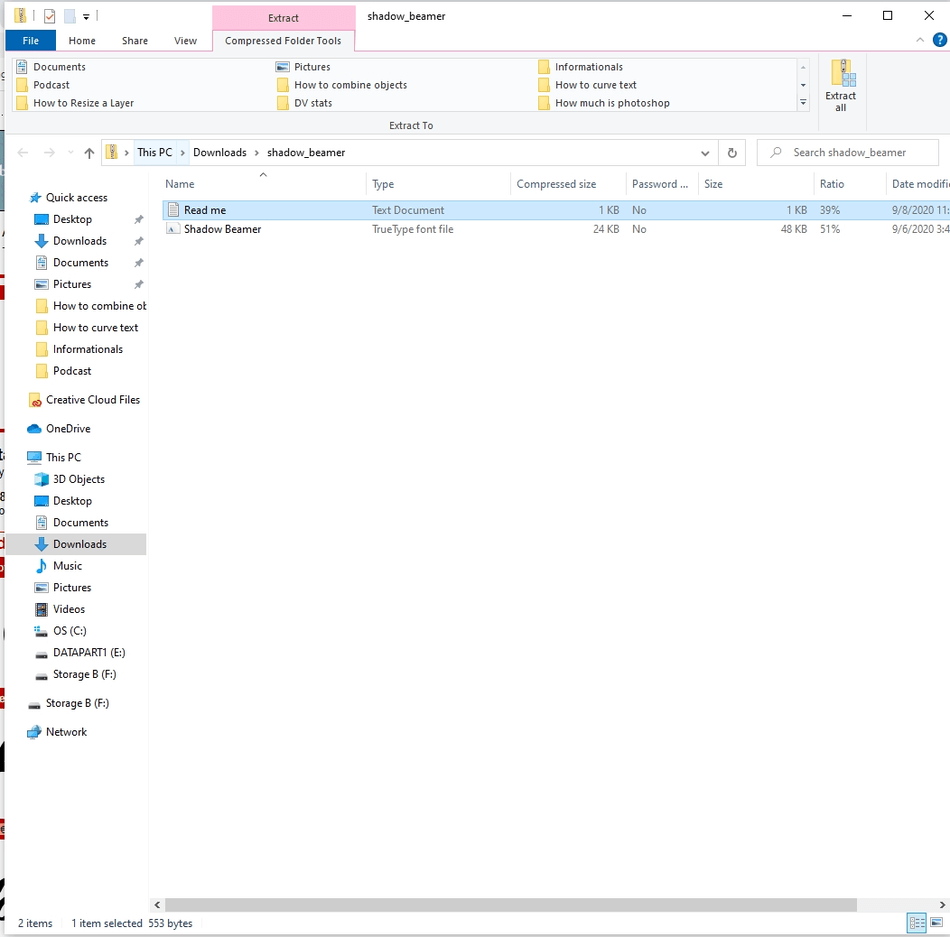
- Once the ZIP file is downloaded, I’m going to click on it, opening the file. You should see an OpenType file along with several other files, usually, Read Me files left by the author of the font describing how the font should be used and where to give donations. Click into the OpenType or TrueType file.
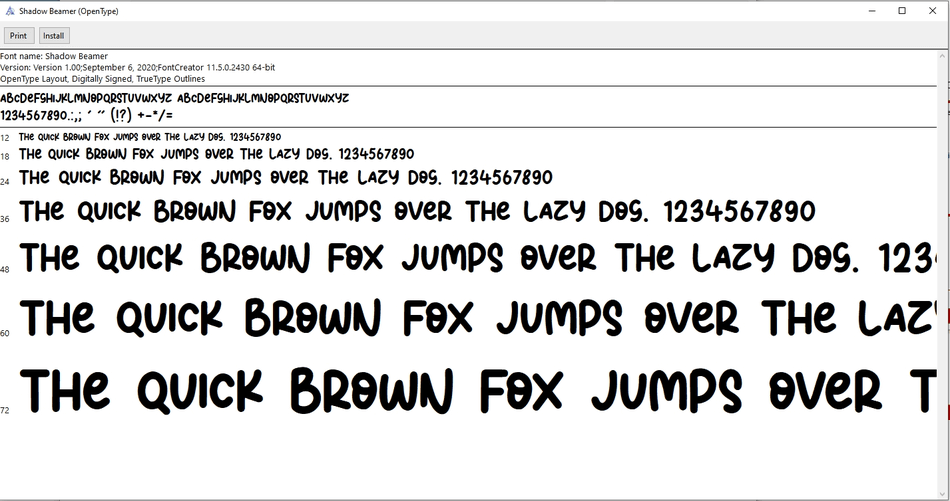
- After double-clicking on the file, an OpenType popup will open. Here, you will hit Install to install the font onto your computer.
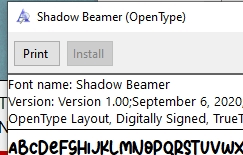
- After a moment, the font will be installed. After the button darkens, you are done!
- The font will now be ready to use for GIMP. You may have to quit GIMP and reopen the application for the font to show up in the application.

And there we go! The new font is installed, ready to use on future projects.
Using Text in GIMP
How do you create text in GIMP? Follow along:
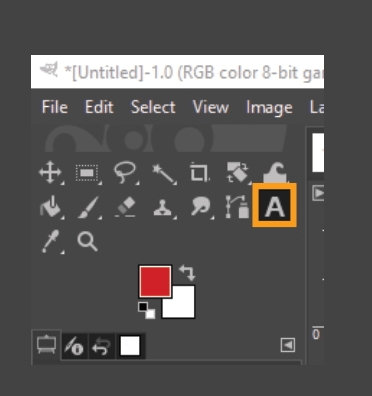
- Select the Text Tool or use the command key T.
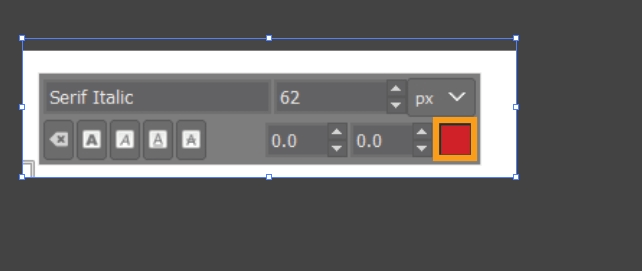
- Drag a marquee where you want the text to go into your project panel. A Text panel will pop up on the left-hand corner, along with a character panel on your artboard.
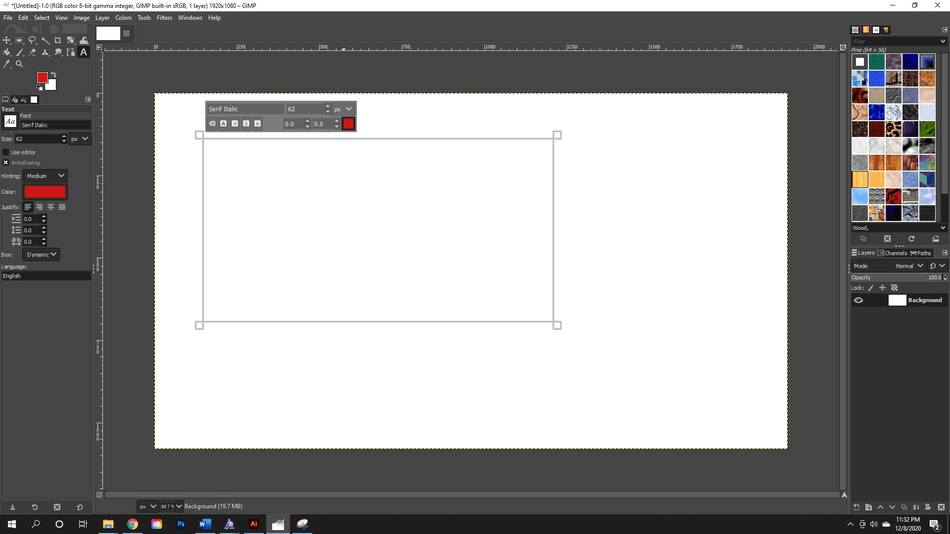
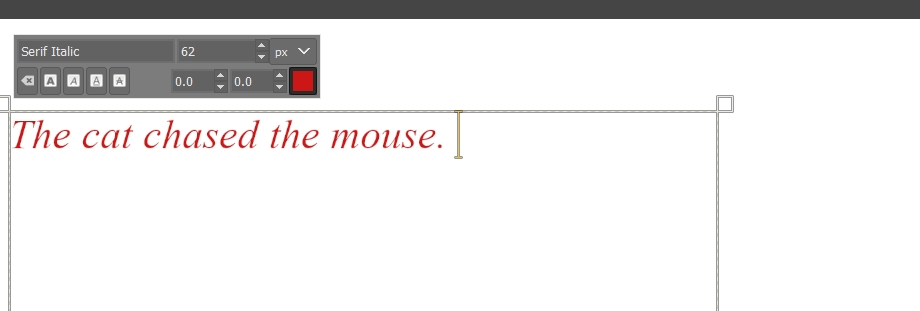
- Click into the box and start typing your text.
To edit the font (floating panel)
- Here you can change the font family.
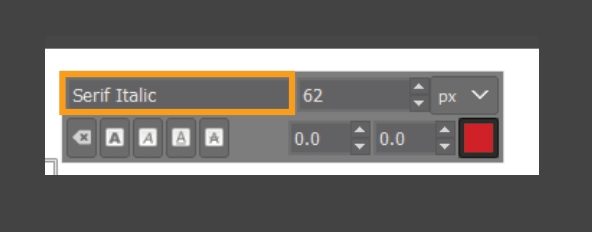
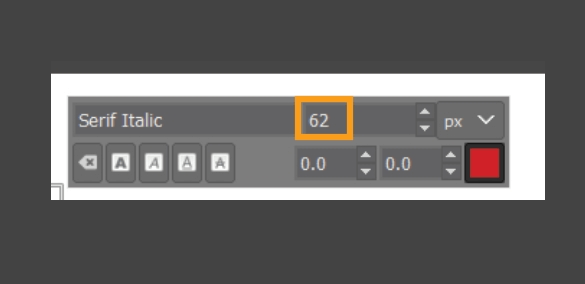
- Change the font size.
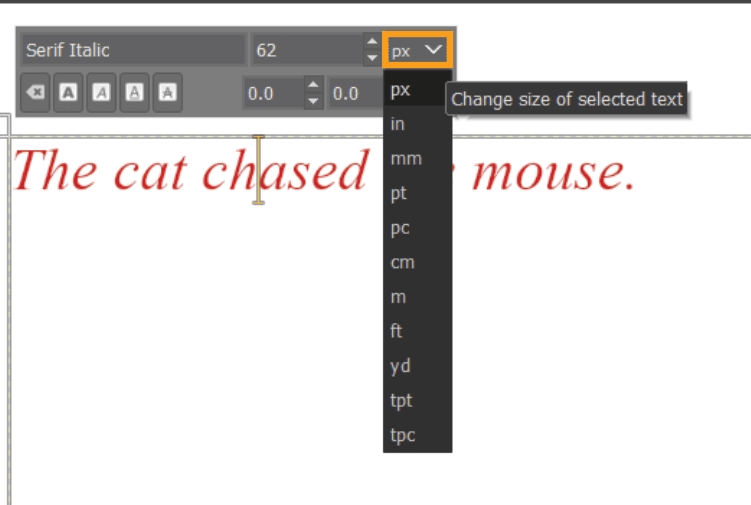
- Change the measurement of the font, changing it from pixels, inches, millimeters, and more.
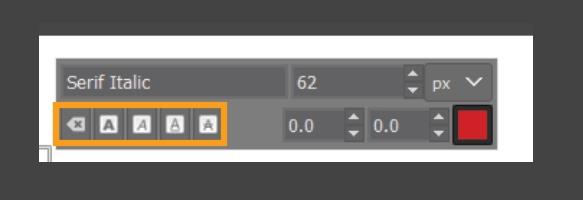
- Undo all changes, change the boldness, italics, underline, or strikethrough of your text. (from left to right)
- To the right, change the baseline and kerning of the text.
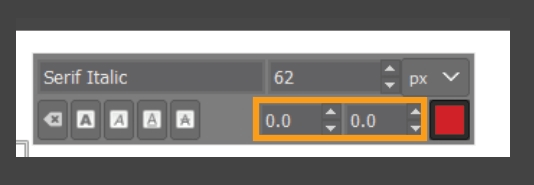
- Next, change the color of the text.
To Edit the Font (Side Panel)
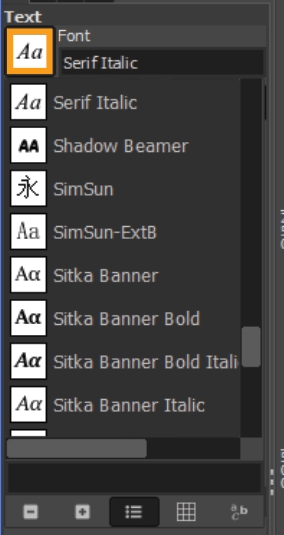
- Change the font family.
- Change the size of the font.

- Change the measurement of the font, from pixels to centimeters and more.
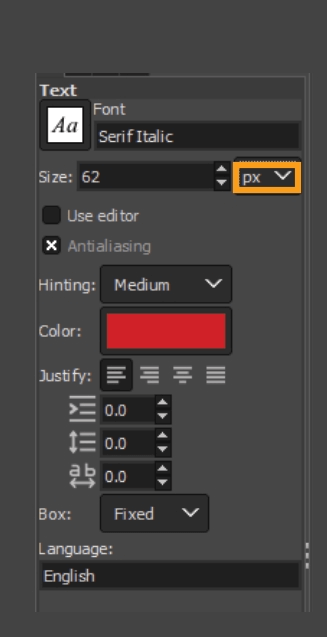
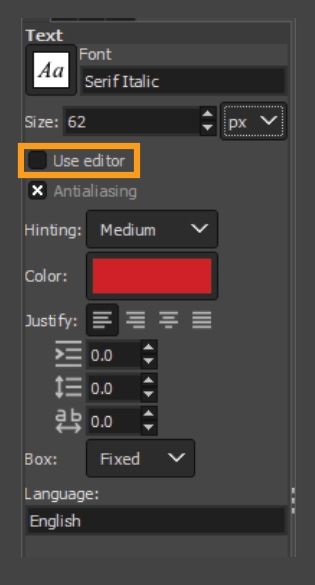
- Use an external editor to edit the text.
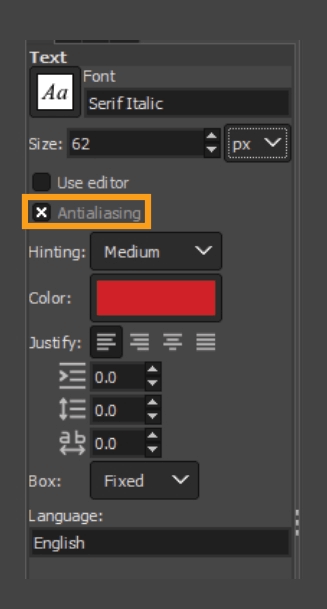
- Turns on antialiasing. Important to make fonts smooth and reduce jagged edges.
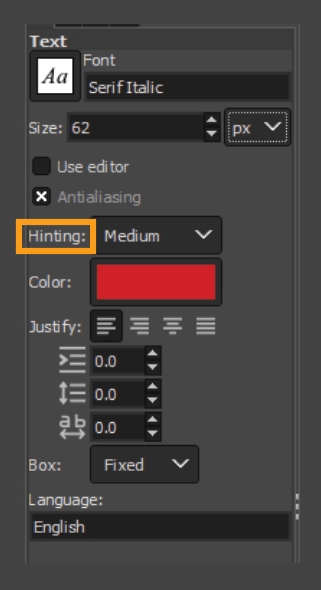
- Hinting alters the font outline to create a crisp bitmap for small sizes.
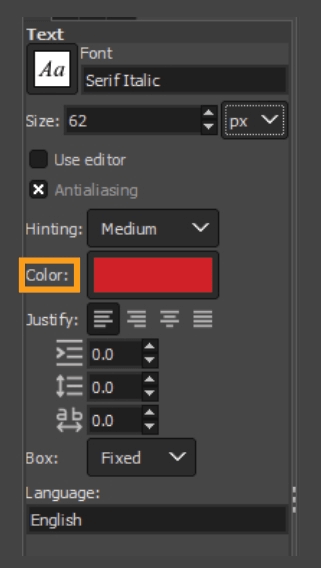
- Color alters the color of the font.
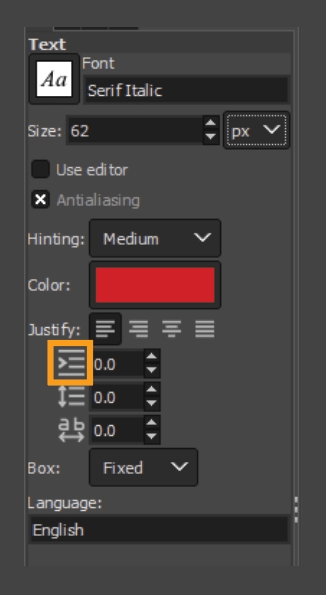
- Justify will justify your text left, right, centered, or filled.
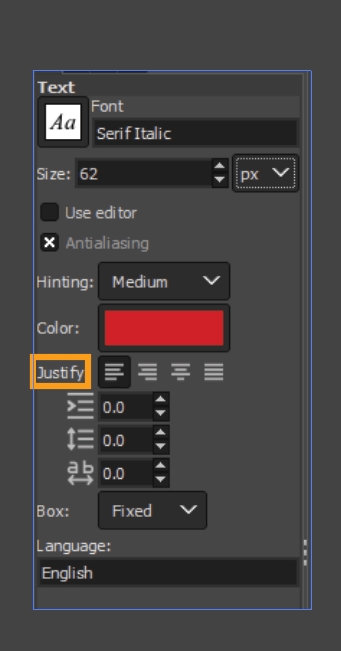
- Indents the first line of the text.
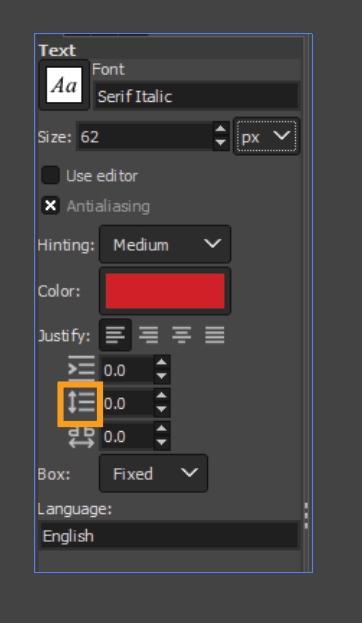
- Adjusts the line spacing of the text.
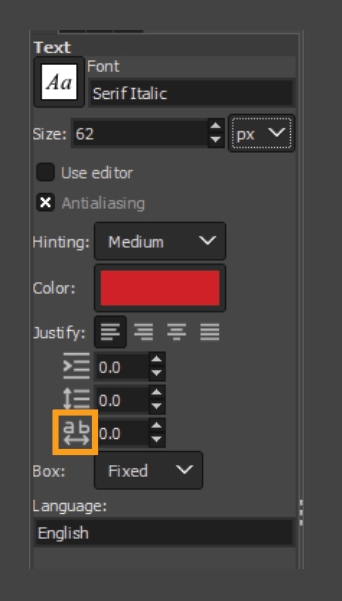
- Adjusts the spacing between the letters.
- Decide whether your text will flow in a rectangular shape or move into a new line when you press enter or return.
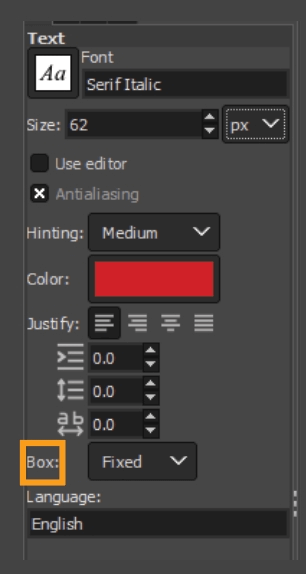
- Languages let you choose from the available language for the font.
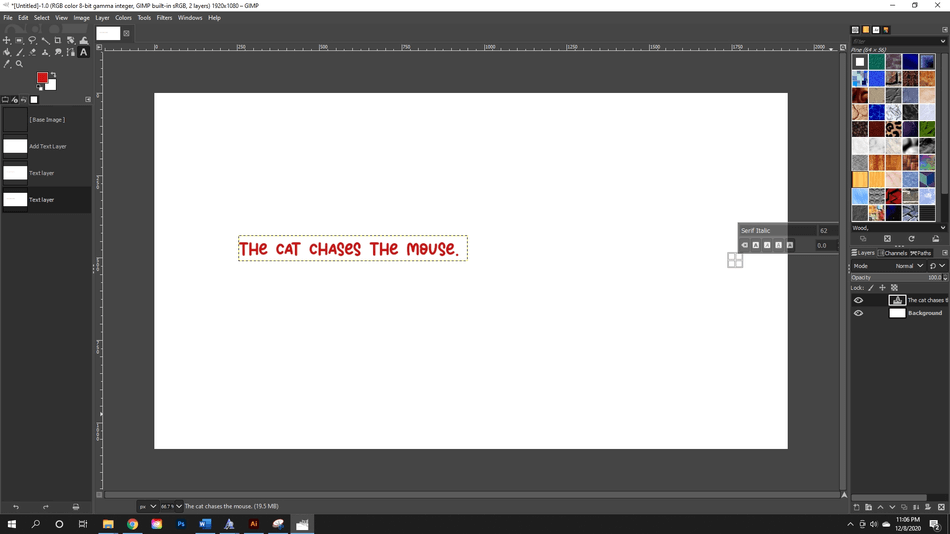
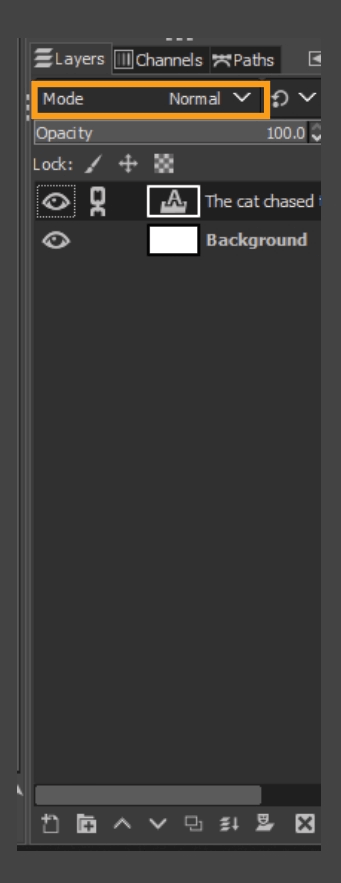
Layers Panel
- Whenever you create a new text box, it will show up as a new text layer in the layers panel.
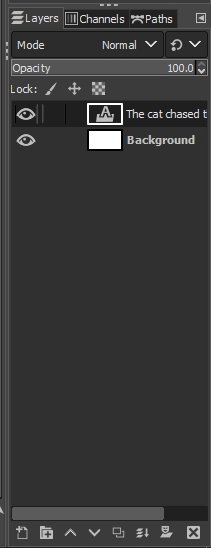
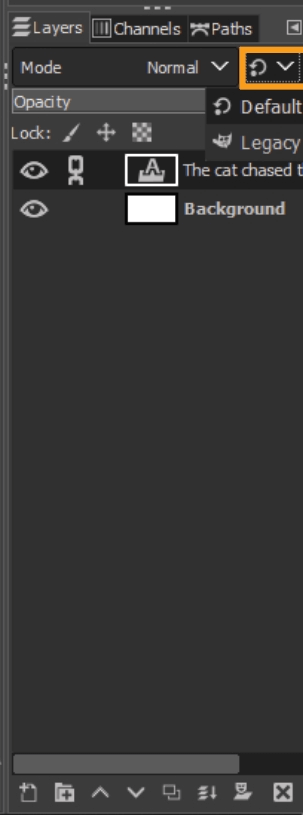
- Mode controls the blending mode of the layers.
- Let’s you switch to Legacy GIMP mode.
- Change the opacity of the layer.
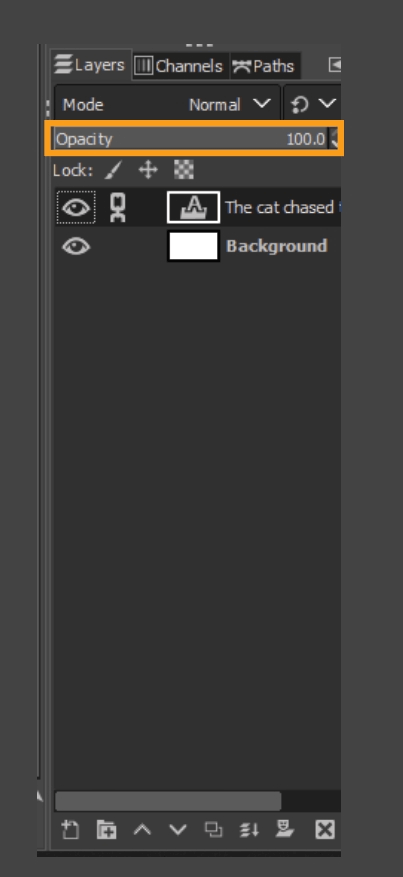
- Clicking the eye icon, you can hide/unhide the layer.
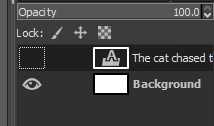
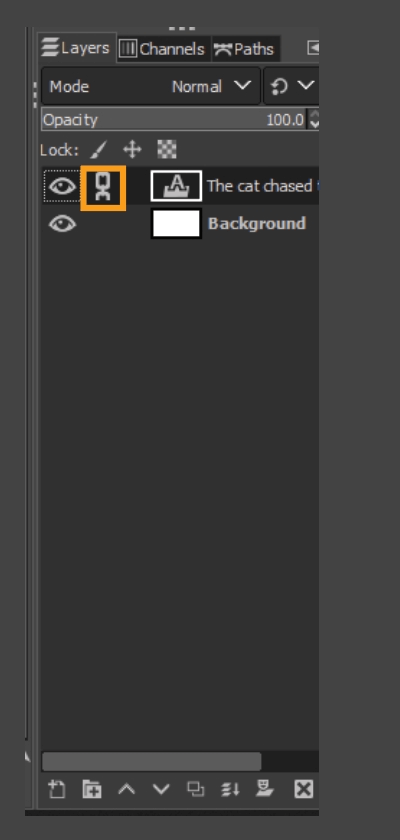
- You can lock the layer. There are also lock modes above, letting you lock by pixels, position and size, or alpha channels.
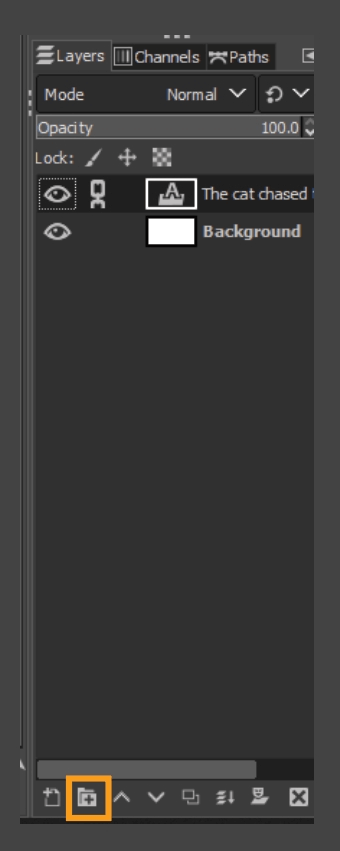
- Create a new layer.
- You can group layers.
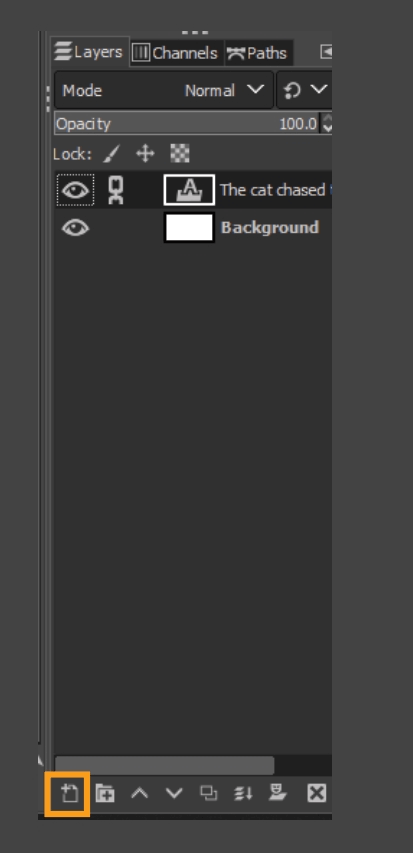
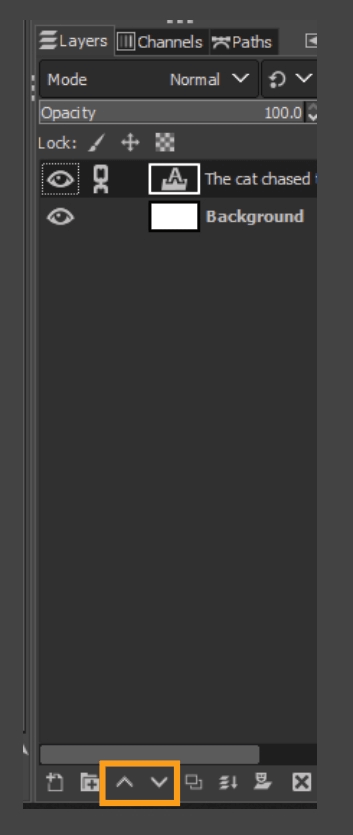
- You can reorganize the layers using these keys. By dragging layers up and down, you can rearrange them.
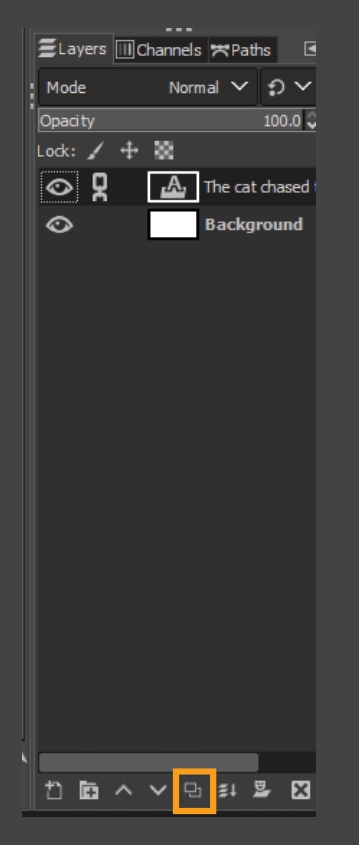
- Create a duplicate of the current layer.
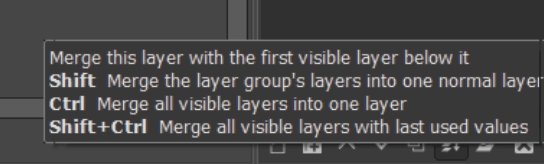
- Merge the layer with one immediately below it. If you hold Shift, you will merge the group of layers into one layer. Control/Command (Windows/Mac) will merge all visible layers into one layer. Shift + Control/Command (Windows/Mac) will merge all visible layers with last used values.
- This icon lets you add a mask to the layer. If you hold Shift, you can add a mask with the last used values. If you use the command Control/Command (Windows/Mac), you can remove the layer mask and its effect. If you use Shift + Control/Command (Windows/Mac), you can apply the effect of the layer mask and remove the mask in the process.
- Lastly, delete a layer.
And you are done. That is how you use text in GIMP.
Frequently Asked Questions (FAQs)
Where Do I Get New Fonts?
Thankfully, the internet has many places where you can get fonts – paid and free. Great free options include:
- www.dafont.com (what we used in today’s tutorial)
- www.fontsquirrel.com
- www.googlefonts.com
- www.behance.com
- www.dribble.com
These are great sites for Premium, paid fonts:
- www.fontspring.com
- www.myfonts.com
- www.typography.com
Why Should I Pay for Premium Fonts?
Looking into font licensing depends on your usage of the font. If the font is only used for personal use, such as a family photo book, you don’t need to be concerned. However, licensing gets important if you are creating graphics for a client project or any public work. There are several reasons why you would get a premium font:
- Licensing: Licensing is one of the most important reasons that you would buy a font. If you buy a font license, you can use it for however long your license lasts. This usage means that if you use the font for a client, you have full rights to use the font for the license duration.
The problem with free fonts is sometimes there is fine print in terms of actually using it. When you read instructions that come with the font, the author will often have specific conditions that they want you to follow while using the font. Using the font on a client’s piece that violates the font’s conditions could result in a licensing lawsuit—no fun for anybody.
- Originality: The more unique fonts you have, the better your work will stand out. Think about it. Everyone is using the free fonts that you downloaded. Very few people would purchase a font license. This rareness is where you come in, swooping an exclusive font for your projects that looks great.
- Font Quality: Font quality matters in the long run. If there are blurry pieces of the font (which can sometimes happen with free fonts), this will hurt your image in the long run. You want professional, readable fonts. Generally, paid fonts will be of higher quality than free ones. You will also generally receive a complete set including different font weights and more, unlike free sets.
- Multi-language support: This can be helpful if you need to do a project in multiple languages. Sometimes, free fonts are limited.
- Paying Creators: You are paying fellow artists for their typography work.
And now you know how to use fonts in GIMP. Finding and downloading fonts is quick and easy. Get creative with your next project and try out different fonts!

Anne is a filmmaker and writer with a passion to bring stories to life. She has created several short films, specializing in stop-motion animation. Anne has over eight years of filmmaking experience, and she is always ready to share her knowledge with other creators. She started her company Anne Gets Creative in 2020.
Anne is extremely familiar with many Adobe programs: Photoshop, Illustrator, InDesign, After Effects, Premiere, and Audition, to name a few. She has also worked with other programs such as Procreate, Canva, iMovie, and Final Cut Pro. She always strives to give the best software reviews, researching diligently so her readers don’t have to.